Hello! I’m Jooyoung Kim, an engineer and music producer.
In my previous post, we discussed organizing tracks. Today, we’ll delve into volume.
- Why Volume is Crucial
Volume is the beginning and end of mixing. Higher volumes bring elements closer to the listener, while lower volumes push them further away. This simple principle helps place instruments within the stereo image created by your speakers.
- How to Set Volume
First, listen to some reference tracks. Songwriters often get so absorbed in their own work that they miss when certain instruments are too loud or too quiet. Reset your ears by listening to professionally mixed songs.
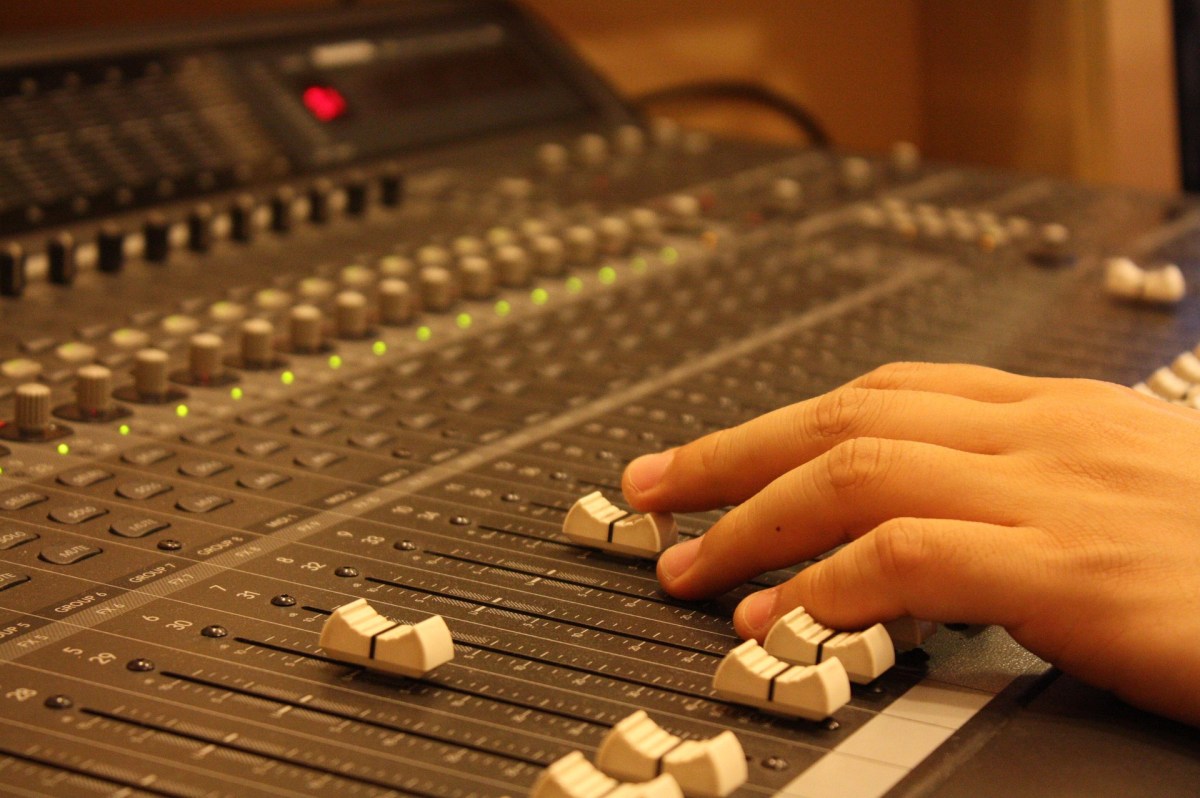
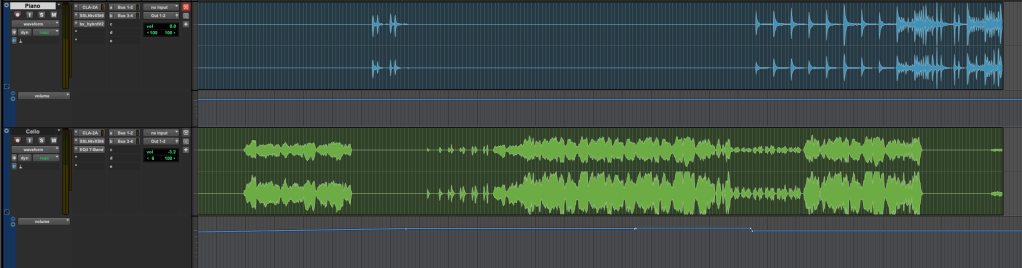
Next, return to your DAW and mute all the tracks. Unmute a key track, such as the kick, snare, or vocal, and set its volume appropriately. Use this as a reference to balance the volumes of the other tracks.
While adjusting volumes, align the phase of multi-track recordings like drums and start some basic panning of instruments.
(Note: For more on phase alignment, refer to my previous post: 2.2 Phase and Interference. Details on panning will be covered in a future post.)
Once you move into more detailed processing, you’ll use volume automation, but this initial balance setup is crucial.
Avoiding Digital Clipping

One key point is to avoid digital clipping. If signals in your DAW are too high, the DAC can’t process them, resulting in distorted sound. This is digital clipping, and it prevents proper mixing.
Clipping occurs when the meter exceeds 0dBFS. Some DAWs can handle signals beyond this without clipping, but if your bit depth isn’t in a float format, clipping can happen when you export, causing damage.
Ensure your final master doesn’t exceed the 0dBFS peak meter mark to avoid clipping.
That’s it for today. Keep these tips in mind, and I’ll see you in the next post!
