Hello! I’m Jooyoung Kim, a mixing engineer and music producer.
Today, I’m going to talk about how to effectively use delay in your mixes.
Let’s get started!
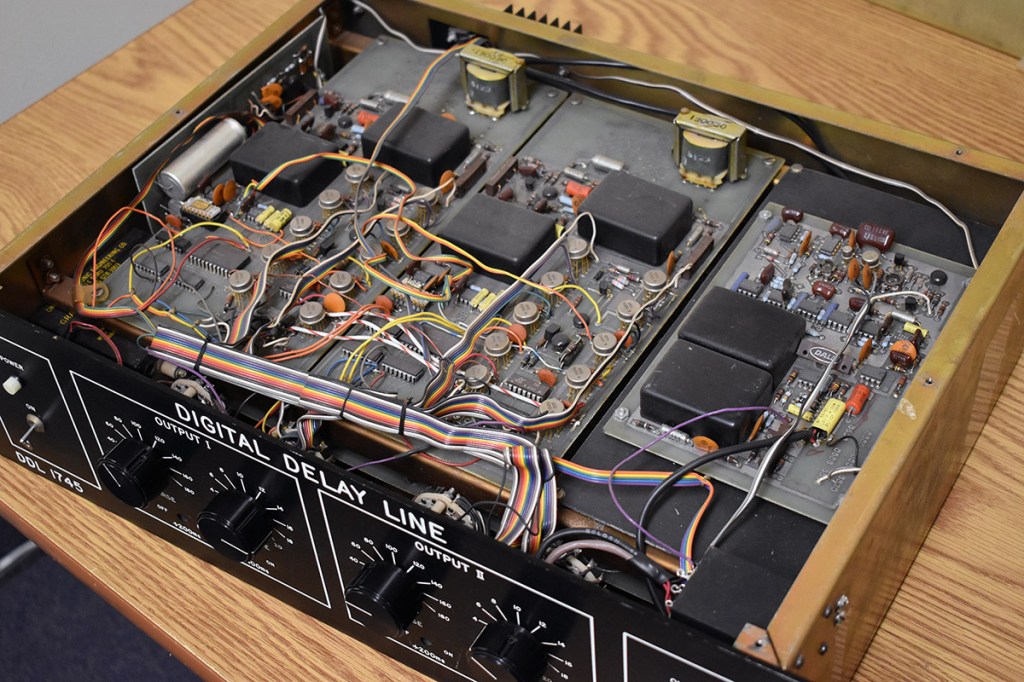
Delay is often used during the composition stage.
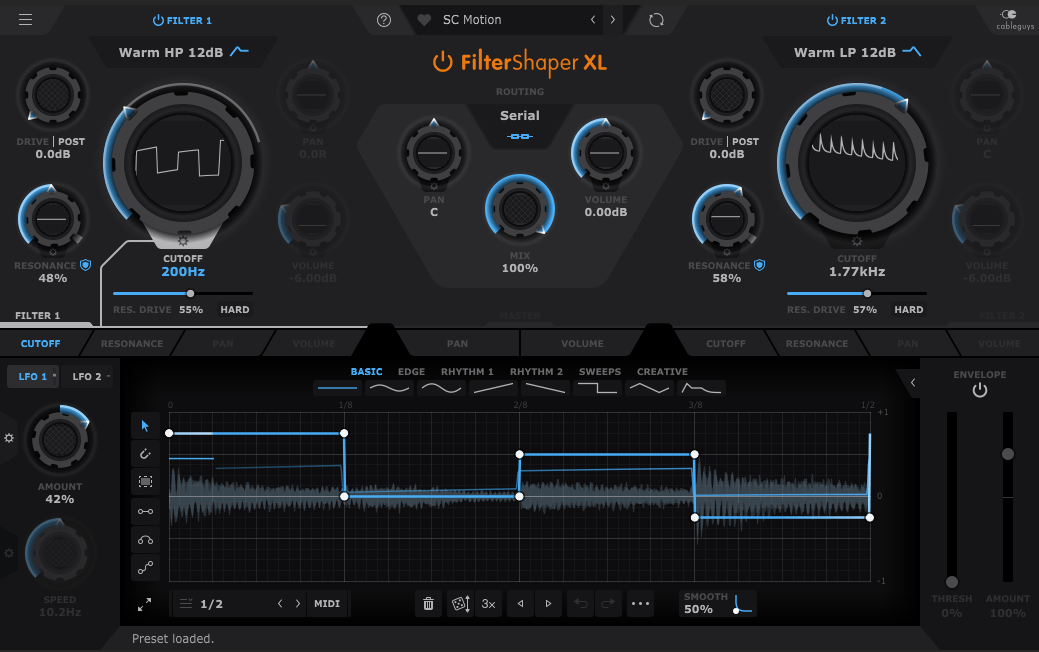
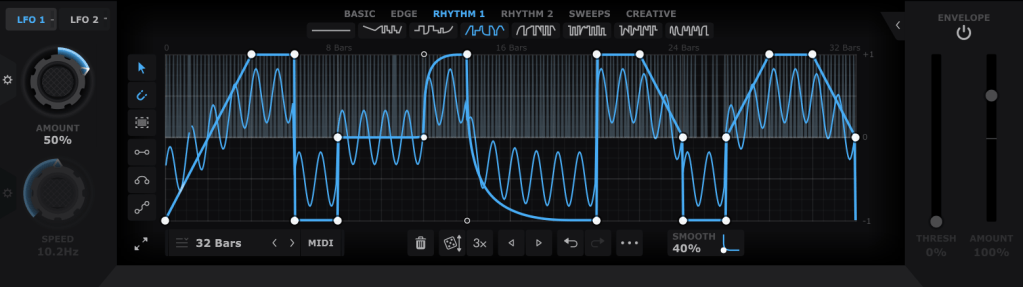
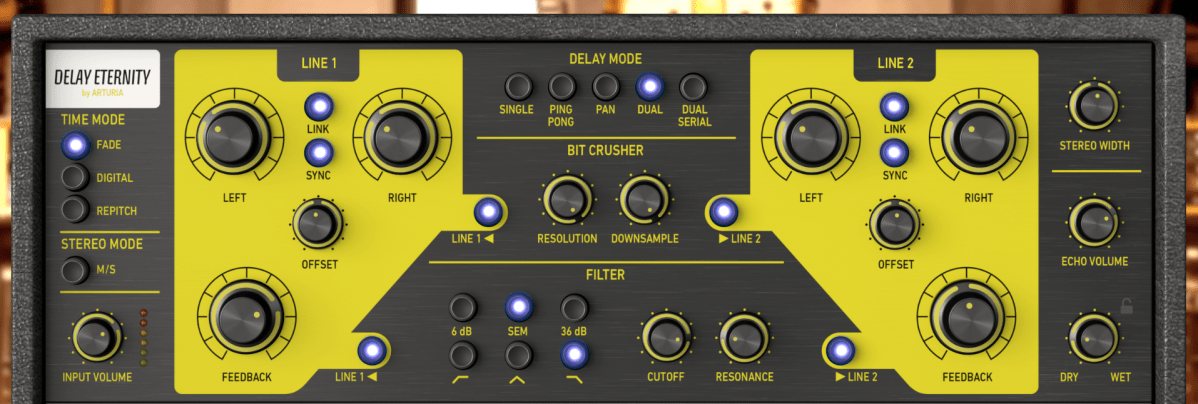
For instance, on instruments like guitars and electric pianos (EP), you can use the Feedback control to create a long-lasting echo, or apply a Ping Pong delay to bounce the effect between the left and right channels. In such cases, delay is usually synced to the BPM of the track.
From an audio perspective, when working with EPs that frequently use Auto Pan, you can send the signal to a delay, then apply the same Auto Pan effect to the delay, making the delay move left and right along with the instrument.
You can also add saturation to the delay to achieve a unique echo effect.
When using delay in sound design, it generally serves two purposes, as discussed in “7.1 What is Delay?”:
- To create natural reverberation, often in combination with reverb.
- To add an artificial groove to the source.
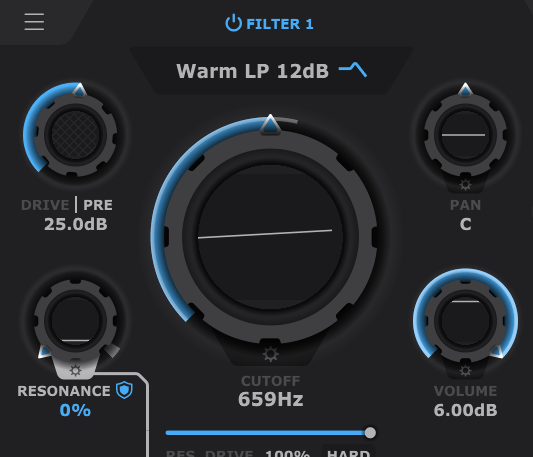
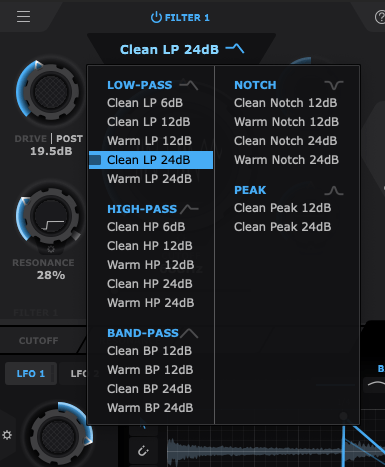
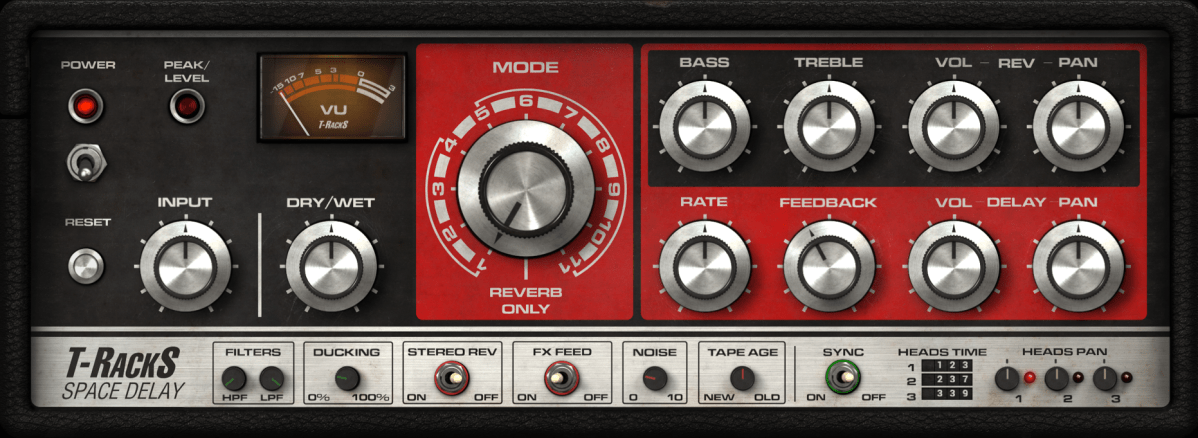
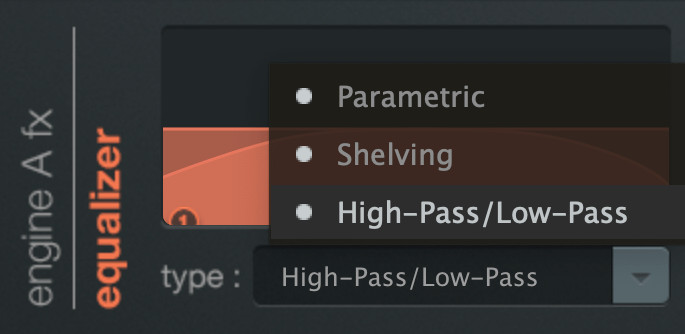
When using delay, it’s common to filter out the high frequencies to make the effect more natural. Low frequencies are often filtered out as well to prevent interference with the original sound. Keep these concepts in mind as we explore further.
Let’s start with the first use case.
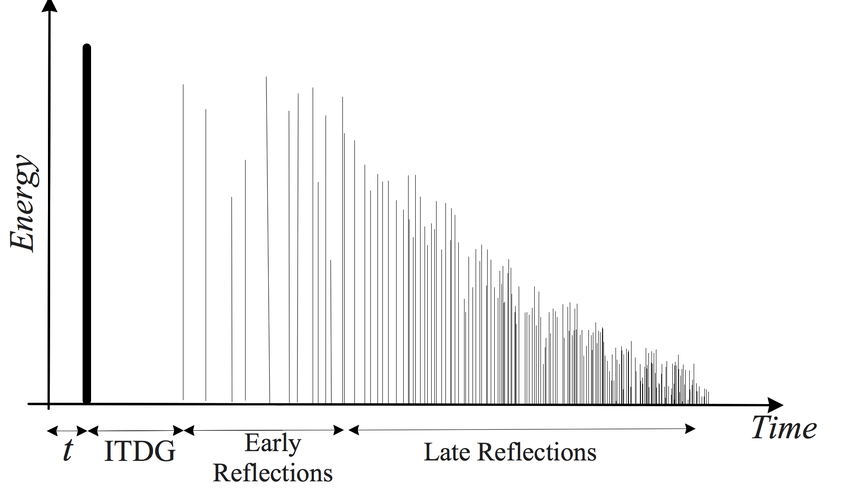
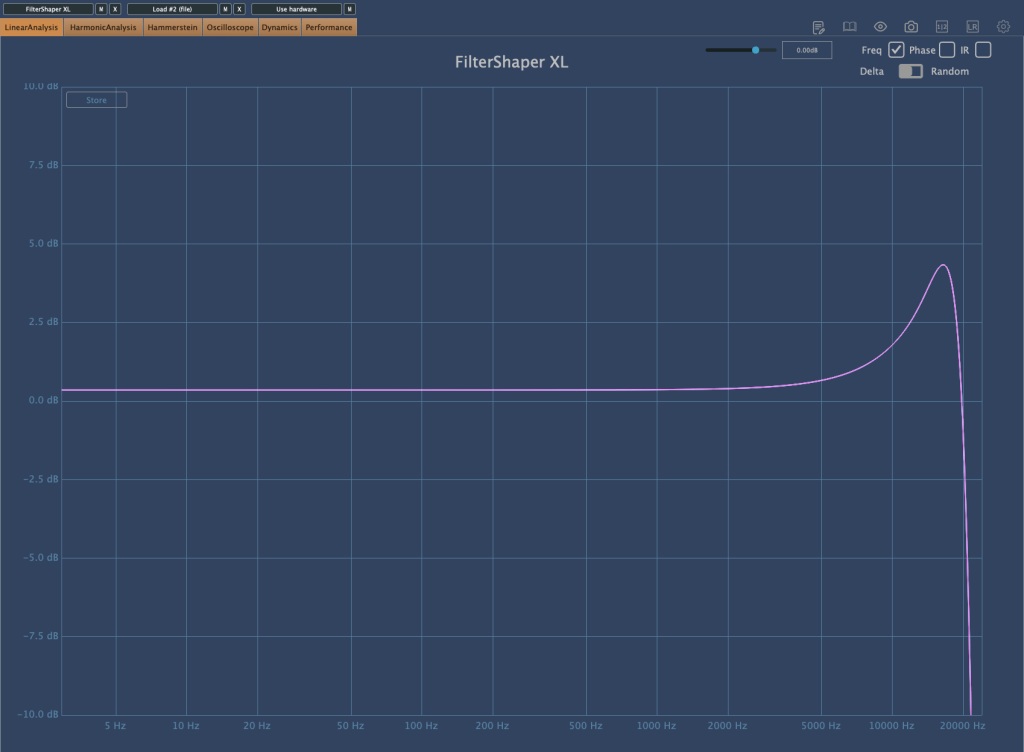
I’ll discuss this more when we cover reverb, but the graph above is a simple representation of how sound behaves in a space, showing how volume changes over time.
The bold line at the beginning represents the direct sound, followed by Early Reflections, which are the first reflections that bounce off the walls, and finally, the Late Reflections, which are the numerous echoes that occur after multiple reflections.
The point at which the sound level drops by 60dB from its initial value is known as RT60 or T60 (Reverberation Time 60). This is the reverberation time you see in reverb plugins.
The purpose of using delay in this context is to enhance the Early Reflections, making them sound more natural. While reverb alone can simulate Early Reflections, combining it with delay can produce an even more natural sound. If you set the Feedback value so that the delay fades out around the same time as the reverb, you can create a more seamless and natural reverberation.
I haven’t included an example because it’s time-consuming to create, but I believe you’ll notice a significant difference when you try it yourself.
Now, let’s move on to the second use case.
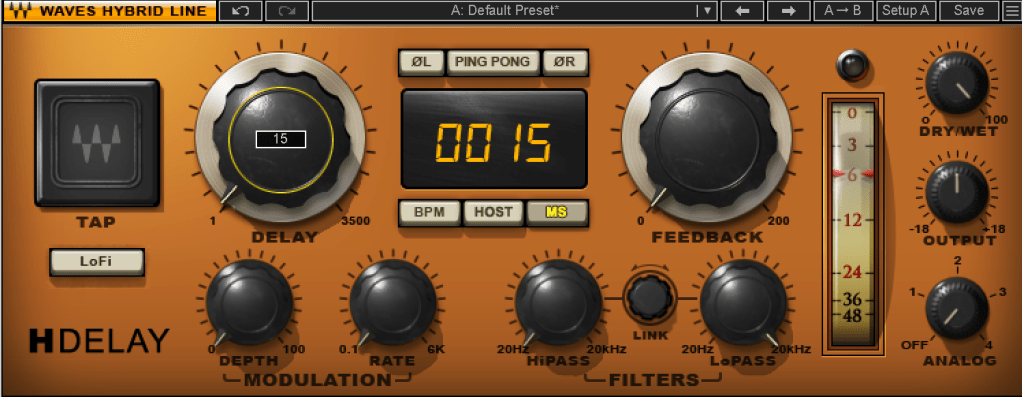
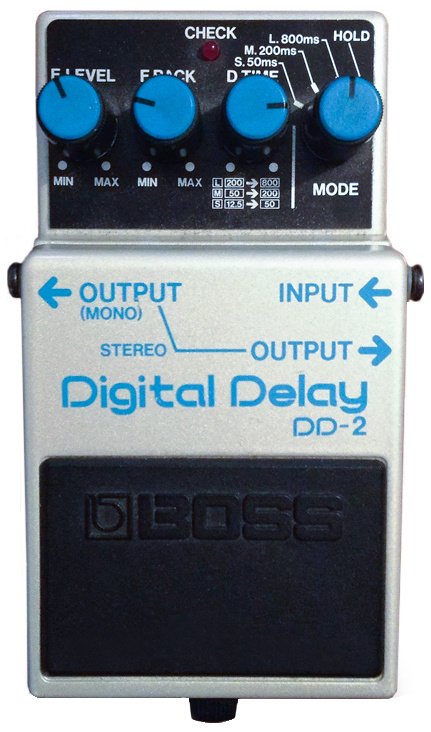
When using delay for groove, the Feedback value is typically set to zero, and the delay time is kept very short, usually between 10 to 50 milliseconds.
Where can you use this type of delay? Essentially, on any source in a track that needs a groove, whether it’s a kick, snare, clap, bass, or even vocals.
Of course, depending on the track, not using delay might sound better. It’s important to listen and decide whether it suits the song.
Initially, these techniques might seem subtle, but such details can significantly impact the quality of your track. That’s why it’s important to experiment and listen closely.
On a side note, I’ve finally finished writing the manuscript for the mixing book I’ve been working on. I was fortunate enough to receive a recommendation from a well-known figure, but the publication is delayed due to copyright issues with the photos.
For example, Antelope responded the day after I reached out, saying, “Feel free to use everything! Have a great day!” in a very casual tone. On the other hand, Universal Audio said their legal team would review my request and get back to me. I first contacted UA on July 31st, and I’m still waiting for their response… Hopefully, they’ll reply soon… 😢
I’ll see you in the next post! 🙂