A Tip Exporting or Bouncing FLAC and MP3 Files for Mastering (with a Bit of Python Codes)

Hey there! I’m Jooyoung Kim, a mixing engineer and music producer.

Today, I want to talk about something light but super useful: how to properly export audio files after mixing and mastering.

Let’s dive in!


The Basics of Exporting Audio Files

Once mixing and mastering are complete, you typically need to export your tracks in multiple formats—WAV, FLAC, and MP3—to send to clients or distributors.

But here’s the catch: not all DAWs make this process easy. For example:

  • Pro Tools and Logic Pro X don’t have built-in options to export FLAC files.
  • Cubase supports FLAC, but you have to export each format individually, which can be a hassle.

I’ve previously written about audio codecs in my blog series Basics of Mixing.

To recap:

  • WAV: The original, uncompressed file format.
  • FLAC: A lossless compressed format.
  • MP3: A lossy compressed format.

Both FLAC and MP3 use codecs that are freely available for encoding and decoding. So, why not use a simple script to automate the process?


Automating FLAC and MP3 Exports with Python

Here’s a quick and easy way to convert your WAV files to FLAC and MP3 using Python and the ffmpeg-python library.

Step 1: Install ffmpeg-python

First, make sure you have Python installed. Then, open your terminal (Mac) or command prompt (Windows) and run:

pip install ffmpeg-python

This might take a minute or two, but it’s worth it!

Step 2: The Python Code

Here’s a simple script to convert a WAV file to both MP3 and FLAC:

import ffmpeg

# 📂 Input file path
input_path = '/path/to/input.wav'

# 📂 Output file paths
output_mp3 = '/path/to/output.mp3'
output_flac = '/path/to/output.flac'

# ✅ WAV → MP3 (CBR - Constant Bitrate 320kbps; you can change '320k' to '256k' for different bitrates)
ffmpeg.input(input_path).output(output_mp3, audio_bitrate='320k', format='mp3').run()

# ✅ WAV → FLAC (compression_level: 0-8; higher numbers mean higher compression)
ffmpeg.input(input_path).output(output_flac, format='flac', compression_level='8').run()

Step 3: Save and Run the Script

  1. Copy the code above into a text editor.
    • Mac users: Ensure your text editor is set to plain text (not RTF).
  2. Save the file with a .py extension (like convert_audio.py).
  3. Run the script using Python (like python convert_audio.py).

Voilà! You’ll have your FLAC and MP3 files in no time.


How to Find File Paths

  • Mac: Drag and drop your WAV file into the Terminal, and the file path will appear automatically.
  • Windows: Right-click the file, select “Properties,” and copy the file path from there (you may need to adjust the path format slightly, use backslashes \).

Why This Matters

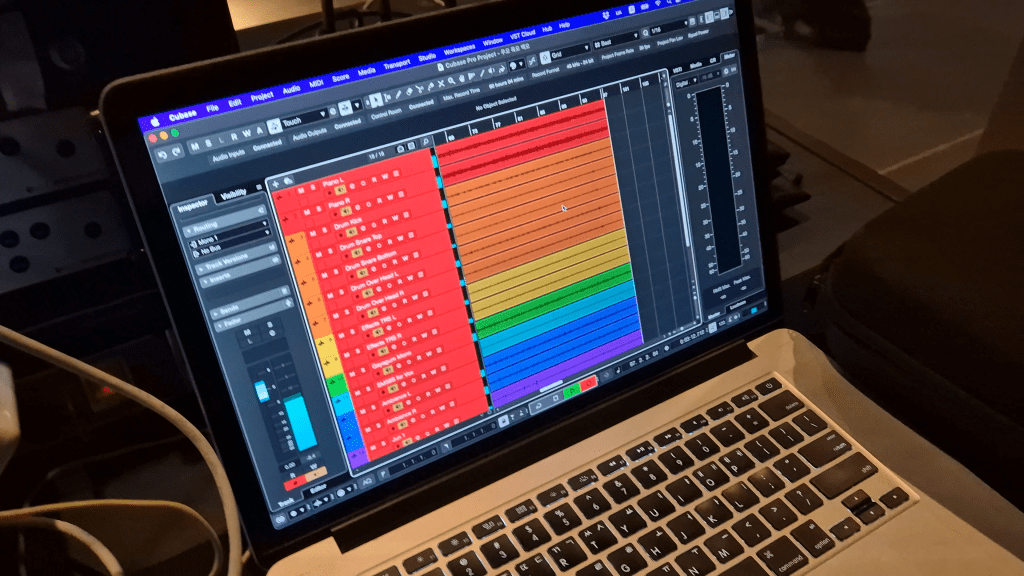
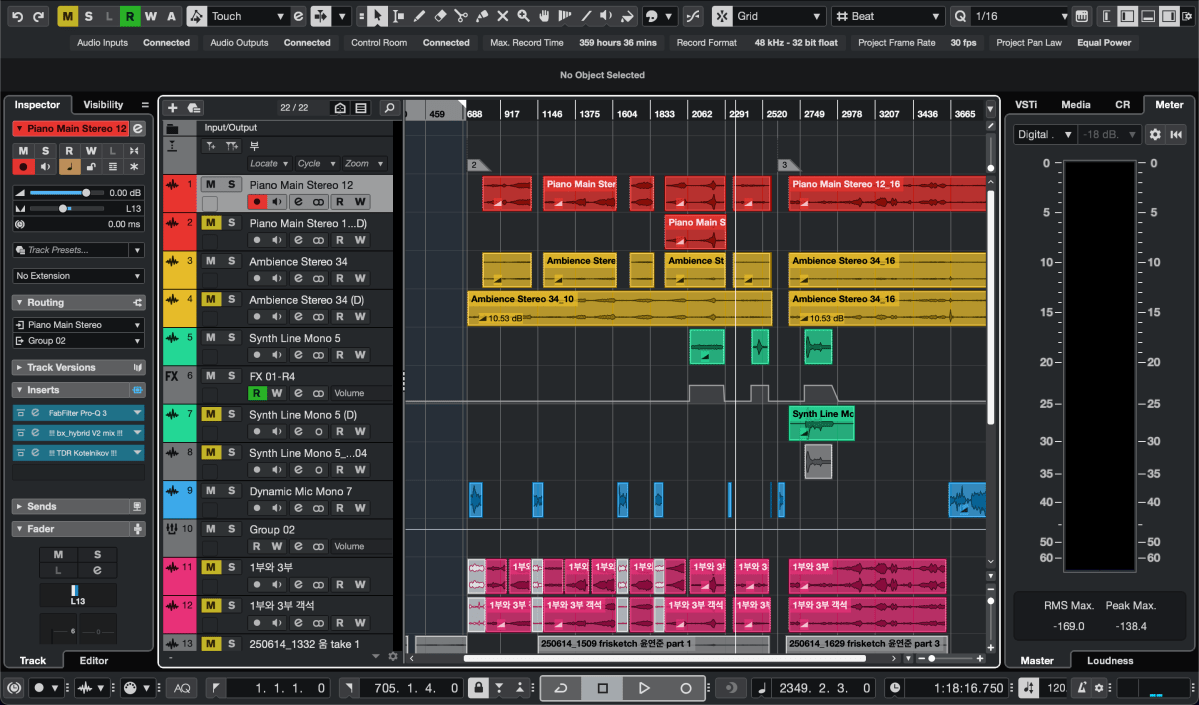
So many bars in this project.. It could be take a day if I export wav, flac and mp3 files by the export function of the DAW

Manually exporting files in different formats can be a time sink, especially for long projects like live recordings over an hour. Using this script, you can:

  • Save hours of repetitive work.
  • Quickly generate high-quality FLAC and MP3 files.

A Few Notes

  • Bit Depth and Sample Rate: For MP3 files, it’s standard to use 44.1kHz and 16-bit WAV files as the source. FLAC can handle higher resolutions (e.g., 48kHz, 24-bit) if needed.
  • Dithering: FFmpeg’s dithering options are basic, so for WAV files with specific bit depth or sample rate conversions (e.g., 48kHz/24-bit to 44.1kHz/16-bit), it’s better to handle those in your DAW for better quality.
  • MP3 Standards: Always use a 44.1kHz, 16-bit WAV file as the source for MP3 conversion to meet industry standards.

Final Thoughts

This is a super basic tip, but I couldn’t find many clear guides on this topic online, so I wanted to share it with you. If you’ve never coded before, this might seem intimidating at first, but trust me—it’s straightforward and will save you tons of time.

Give it a try, and let me know how it goes! Until next time, happy mixing! 🙂
Basics of Synthesizers (5) – Modeling (Physical Modeling, Analog Modeling)

Hey there! I’m Jooyoung Kim, a mixing engineer and music producer.

Today, we’re diving into modeling synthesizers, continuing from Basics of Synthesizers (4).

Ready to get started? Let’s go!

Yamaha VL1

In my post about FM synthesis, I mentioned how Yamaha dominated the market with the DX7 FM synthesizer, right?

Well, that FM synth came about through a collaboration between Stanford and Yamaha. And guess what? Physical Modeling synthesis is another product of that Stanford-Yamaha partnership.

Academically, Physical Modeling was already being discussed mathematically for a while. (Synthesizing Musical Sounds by Solving the Wave Equation for Vibrating Objects, 1971)

But creating the algorithms and implementing them efficiently? That’s a whole different story. Back then, computers didn’t have great DSP capabilities. So, in the 1983 paper (Digital Synthesis of Plucked-String and Drum Timbres), a simplified algorithm was proposed to make synthesis accessible to everyone via computer.

Fast forward to 1989, Stanford and Yamaha co-developed digital waveguide synthesis, and in 1994, the first product using this tech, the Yamaha VL1, hit the market.

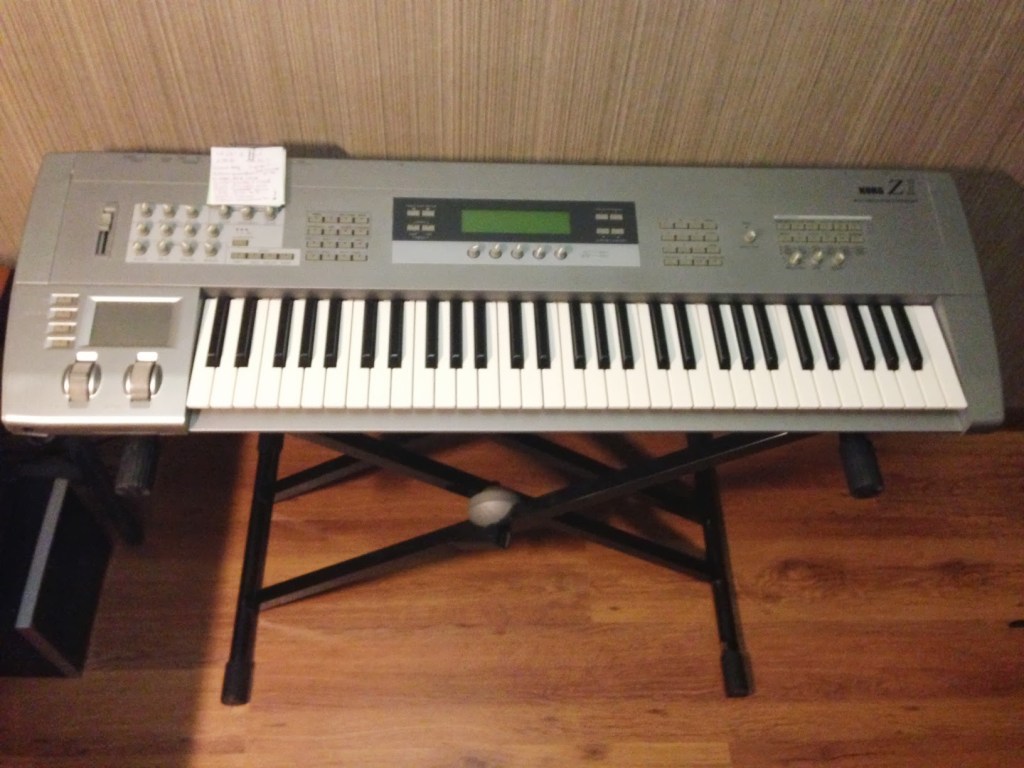
Korg Z1

Unlike Physical Modeling, which models the instrument itself, there’s also Analog Modeling, which digitally recreates analog synthesizer circuits.

Korg was a major player in this space.

Why go for analog modeling? Well, analog synths needed multiple oscillators to produce multiple voices, but with analog modeling, as long as the DSP could handle it, you could generate as many voices as you wanted at once.

Nowadays, with CPUs being so powerful, virtual instruments using these modeling techniques are everywhere.

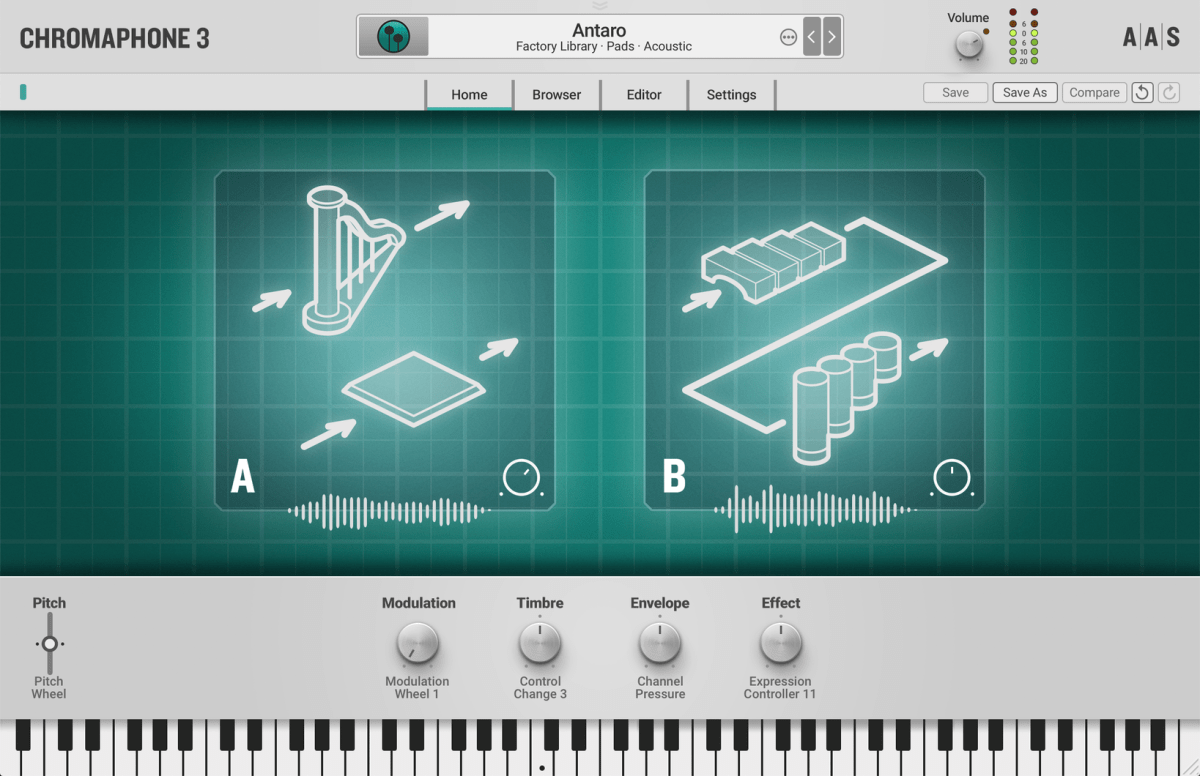
The string virtual instrument I introduced recently, Expressive E’s Soliste, is also based on Physical Modeling.

When I introduced IK Multimedia’s Total Studio products last year, Modo Drum and Modo Bass, which were included, are also Physical Modeling virtual instruments.

As CPU performance has improved, modeling tech has evolved to handle complex calculations that were previously impossible, allowing for realistic acoustic instrument sounds with minimal storage.

Still, it’s a bit hard to see these modeling synths as unique instruments that create a big splash like traditional synthesizers.

And that’s it for modeling in a nutshell!

See you in the next post!

Sonnox’s Insane Sale Kicks Off (90% Off, Until 8/30)

Hello, I’m Jooyoung Kim, a sound engineer and music producer.

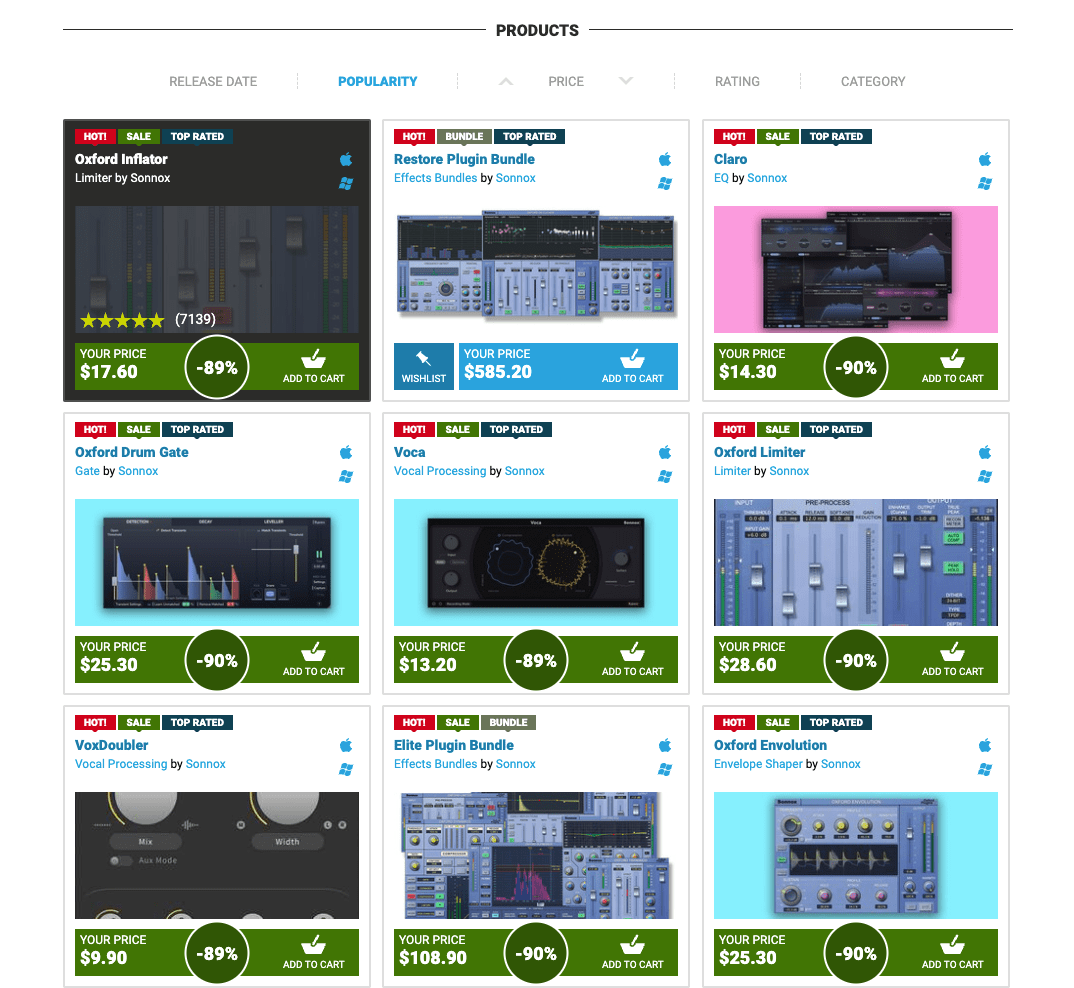
Starting yesterday, it seems Sonnox is feeling the heat and has ditched their high-price strategy for an explosive sale!

(If you purchase through the links in this blog, I earn a small commission, which really helps me keep going. Thank you!)

Check it out—everything except the Restore Plugin bundle is at a jaw-dropping 90% off. I’ve never seen Sonnox plugins this cheap before. This is the perfect time to add them to your cart!

Here are my personal recommendations:

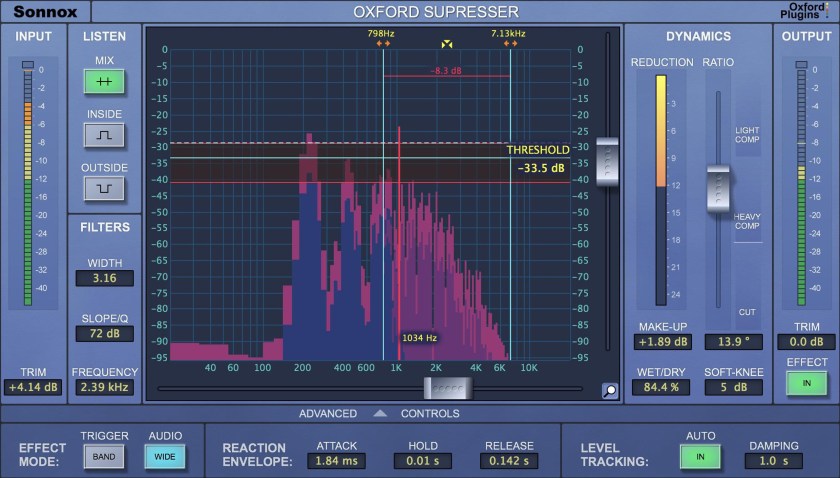
Oxford SuprEsser

Widely used as a de-esser, this plugin also doubles as a dynamic EQ with a simple mode for quick fixes and an advanced mode for precise tweaks.

Oxford Envolution

A go-to envelope shaper, loved for its versatility and power in shaping transients.

The other plugins may not have the flashiest UIs, but they’re clean, reliable, and have been industry standards for years. Definitely worth considering!

Sure, there could be bigger sales in the future, but I doubt they’ll hit 95% off. This 90% discount feels like it might stick around as their new benchmark. The next big sale will likely be around Black Friday or Christmas, but with this one running until August 30, we probably won’t see deals this good again until the holidays or early next year.

If you’re thinking about it, I’d say grab them now!

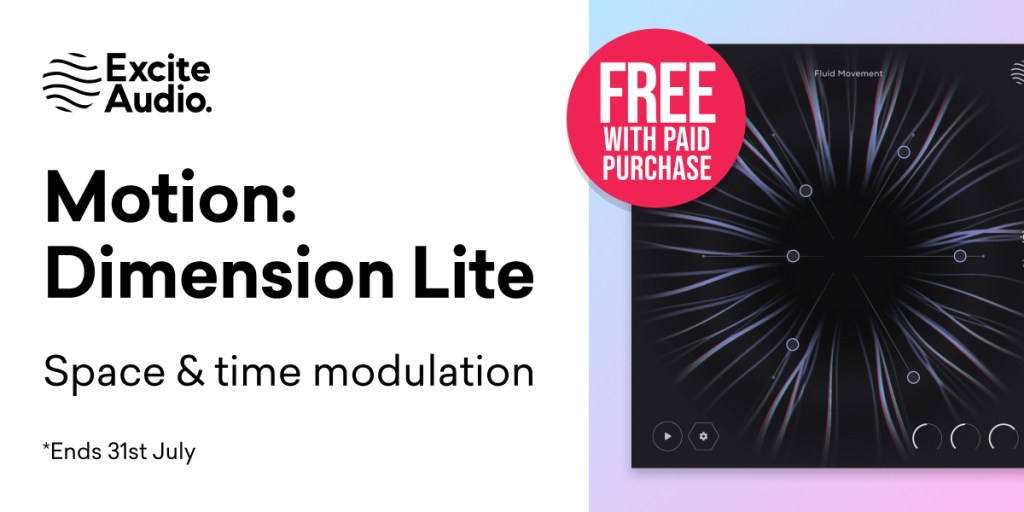
Also, this month, if you buy from Plugin Boutique, you get Excite Audio Motion: Dimension Lite for free.

Plugin Boutique, like many retailers, now adds a 10% tax, so prices are similar across the board. (The price in the first photo includes tax.) That said, some places don’t charge tax and might be cheaper. Still, this free plugin is so good that I recommend factoring it in, even if it means paying the 10% tax. With Sonnox plugins at 90% off, buying something like SuprEsser for $2.50 essentially gets you this free plugin as a bonus! 😄

That’s it for now. See you in the next post! 😊

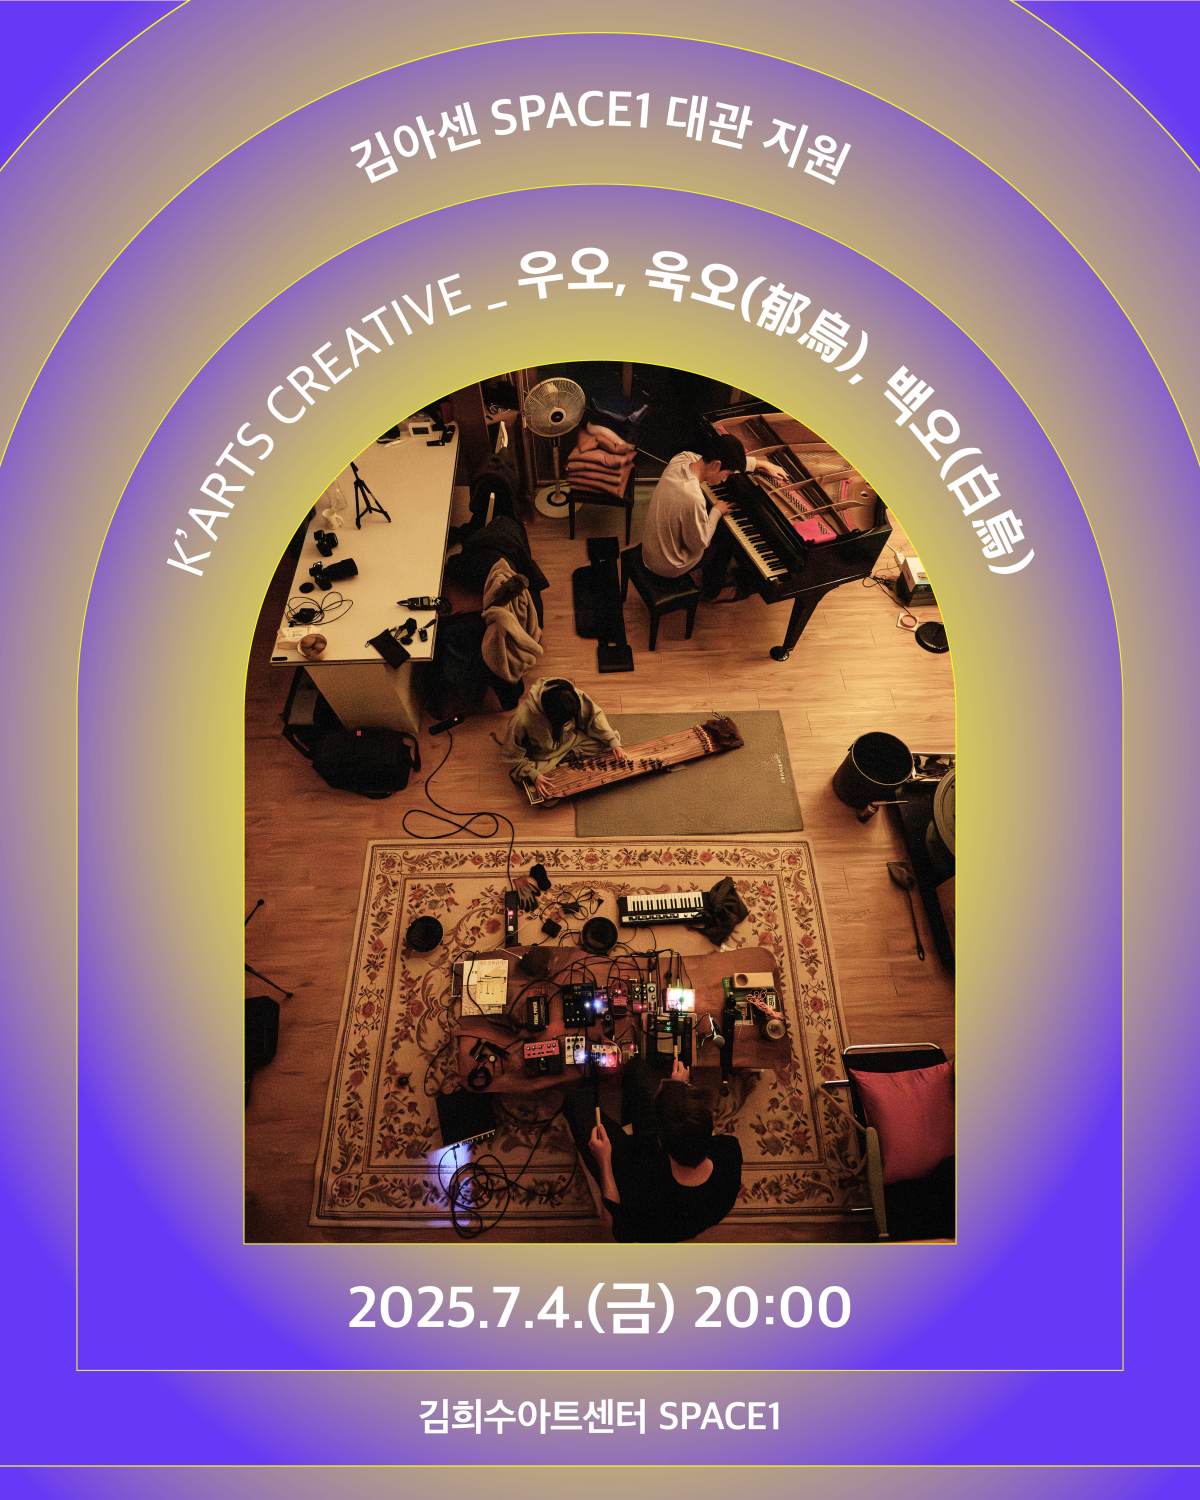
Uo, Uk-o, Baek-o | K-Arts Creative – Sound Directing Performance Recap

Hello, I’m Jooyoung Kim, a sound engineer and music producer.

Following my previous role as sound director for pianist Yeonjun Yoon’s performance, I had the opportunity to handle live sound and simultaneous recording at the Kim Heesoo Art Center last Friday.

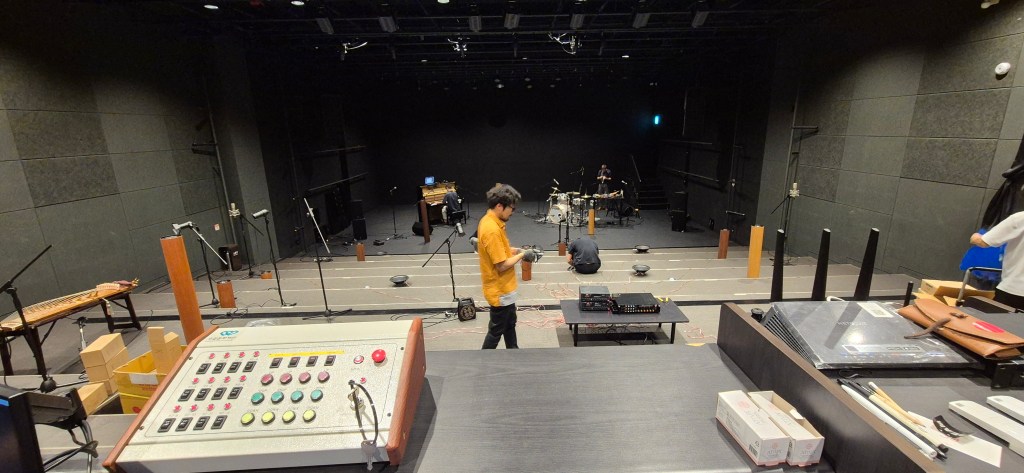
The venue’s facilities were top-notch, so I only brought two Peluso P87 mics for ambience and my headphones.

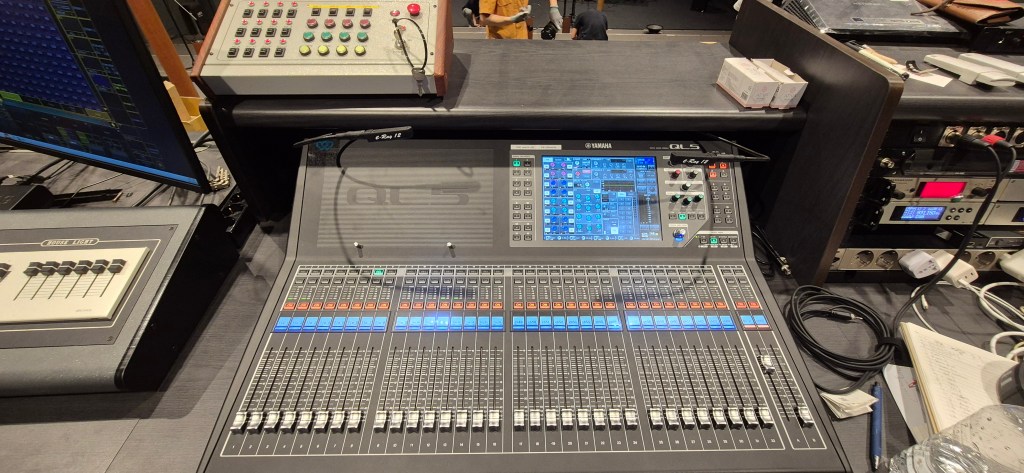
The setup included a Yamaha QL5 console and a Tio1608-D stage box. I configured Dante to record directly to my computer from the Tio1608-D, ensuring the stage speakers, controlled by the console, didn’t affect the recorded sound.

Dante was a bit tricky to set up since my only experience was with Focusrite Red series in college… haha.

There was an issue with the main speaker on the right side of the stage—either a power supply or grounding problem causing a ticking noise. We swapped it out with a 12-inch monitor speaker at the bottom and a 10-inch on top for both sides. For a makeshift solution, the sound came out surprisingly well, and I was pretty satisfied.

During the rehearsal for Uo, Uk-o, Baek-o

Miking was planned not just for live sound but also with mixing in mind:

  1. Piano (Pianist Yeonjun Yoon): Standard AB stereo setup.
  2. Drums (Artist Haimi Klemencewicz): Overhead mics in the Recorderman configuration, one on the kick, two on the snare.
  3. Vocals and personal effects mixer (Artist Haimi Klemencewicz): XLR stereo.
  4. Gayageum (Musician Kyungso Park): Mono.
  5. Speaker installation (Artist Jun Kim): The toughest part—three different sounds coming from various spots, each miked in mono.
  6. Ambience: Omnidirectional mics spread widely toward the audience.
  7. MC at the start and end (K-Arts Creative Team Leader Namwoo Bae): Mono.

Mics 5 and 6 were used primarily for recording and barely for the live mix.

During the performance, the gayageum’s dynamic range was quite narrow, so it got buried under the piano and drums when they hit their peaks, no matter how much we boosted it. I adjusted the instrument levels in real-time while also tweaking the monitor mix for the artists. Thankfully, they seemed pretty happy with the result.

After the show, two audience members came up to say they loved the sound, which was really heartwarming. Thank you! 😊

The recorded mix turned out so well that it feels like it could be released as an album. With a bit of personal bias, I sent the team leader not only the version with their commentary for video use but also a separate album-ready version… haha. The finale, just before the end, was especially thrilling. If it gets released as an album or video, I’ll share it here.

Live sound work is tough with all the heavy gear to lug around, but it’s honestly a lot of fun. Studio work keeps me glued to a chair, which isn’t great for my health, but live gigs get me moving, so it almost feels like a workout! 😄

I promised to blog more regularly, but things have gotten a bit hectic again… 😅 I’ll keep at it, even if it’s a bit delayed.

See you in the next post!