Basics of Mixing – 11.1 Enhancing Highs and Lows

Hello, everyone! This is Jooyoung Kim, mixing engineer and music producer.

If you’ve been following along with the previous posts, you already have enough knowledge to start mixing. The rest comes down to practice.

I skipped over automation because it’s something you really need to experiment with hands-on. Whether it’s volume automation or parameter automation, try as many creative approaches as possible!

Starting from Chapter 11, we’ll move into more advanced applications.

Today, let’s talk about enhancing the highs and lows in a mix. This content is based on my book Basics of Mixng.

Shall we dive in?


Enhancing the Highs

Boosting the highs? It’s pretty simple—just use an EQ, right?

But have you ever thought about which EQ, which frequency range, and how you should boost?

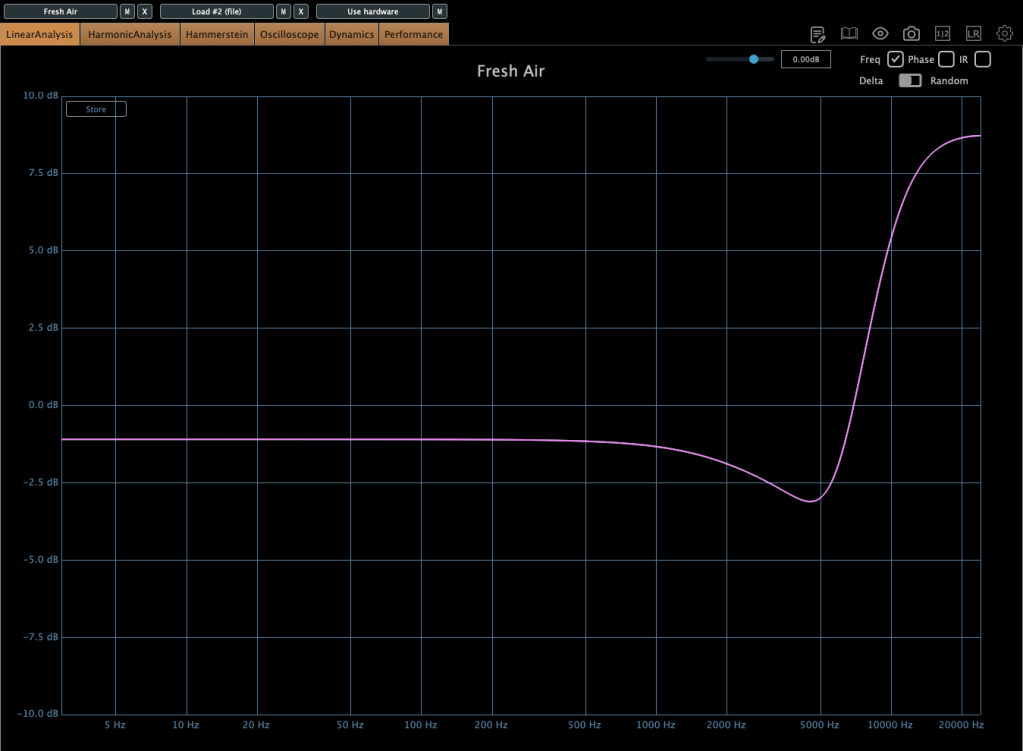
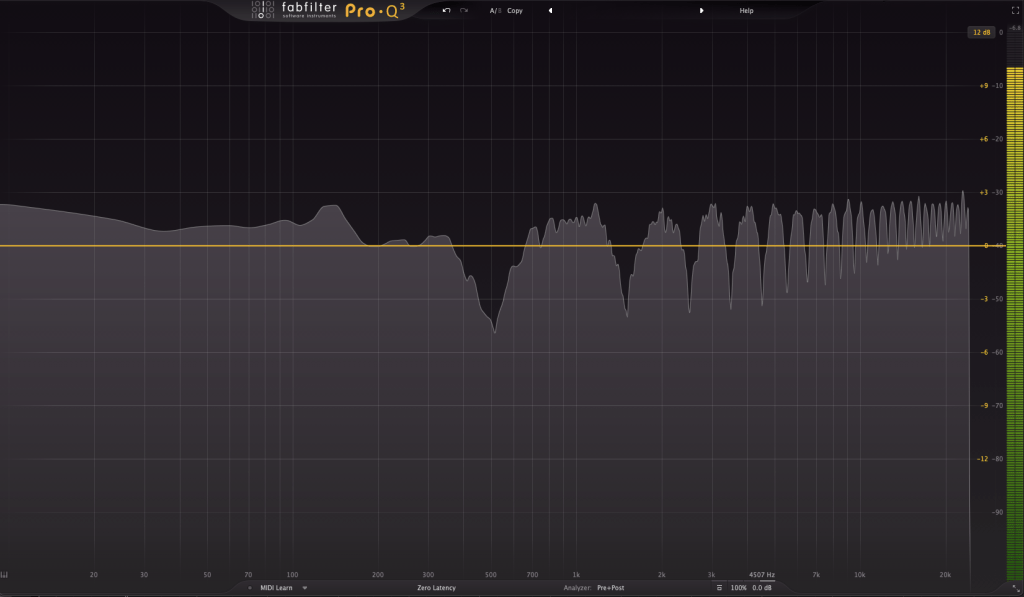
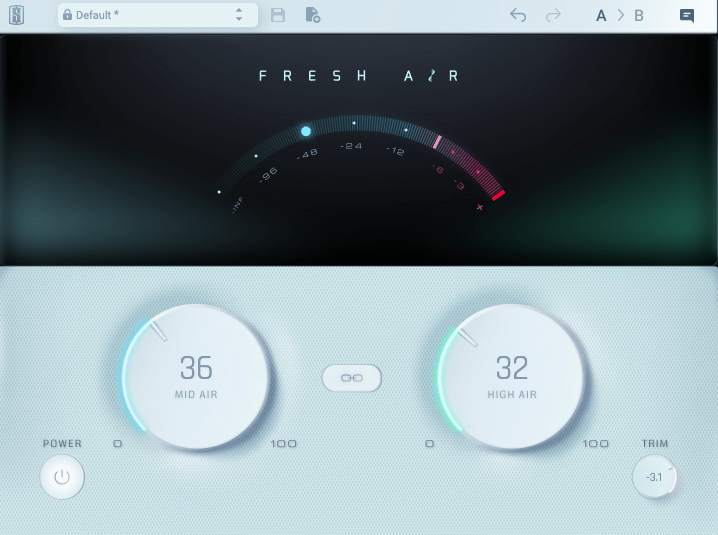
The image above shows the frequency response when using Slate Digital’s Fresh Air. It’s a popular tool for adding “airiness” to vocals.

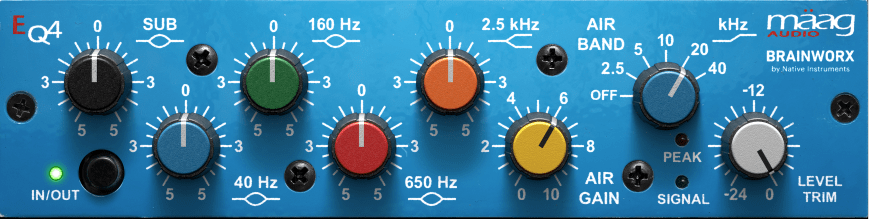
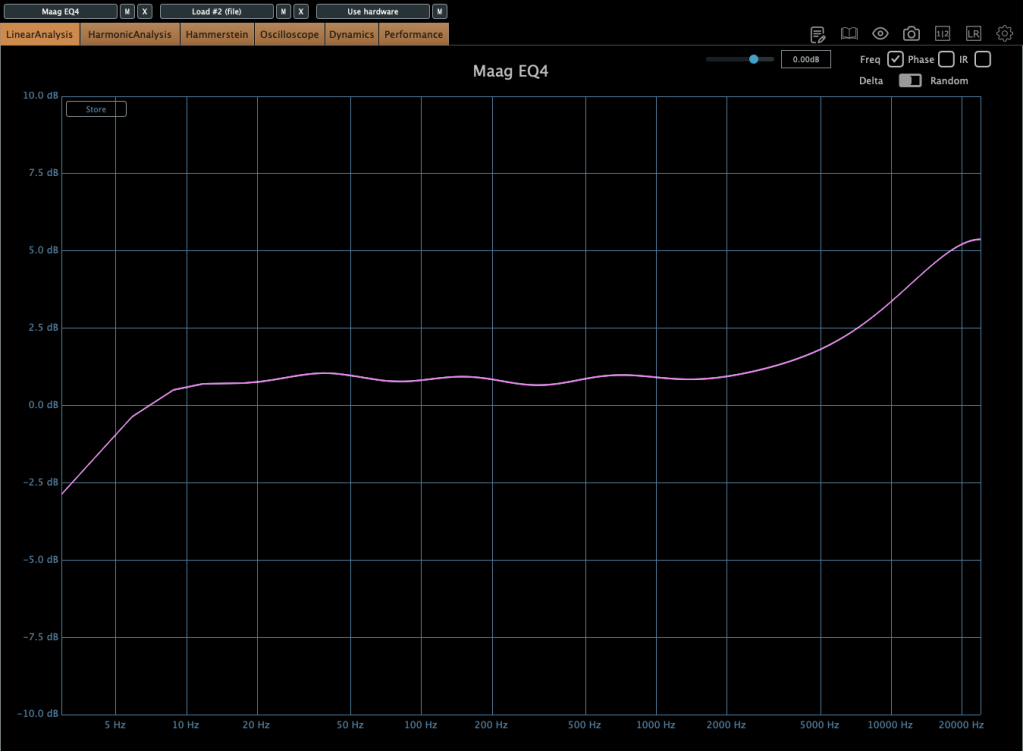
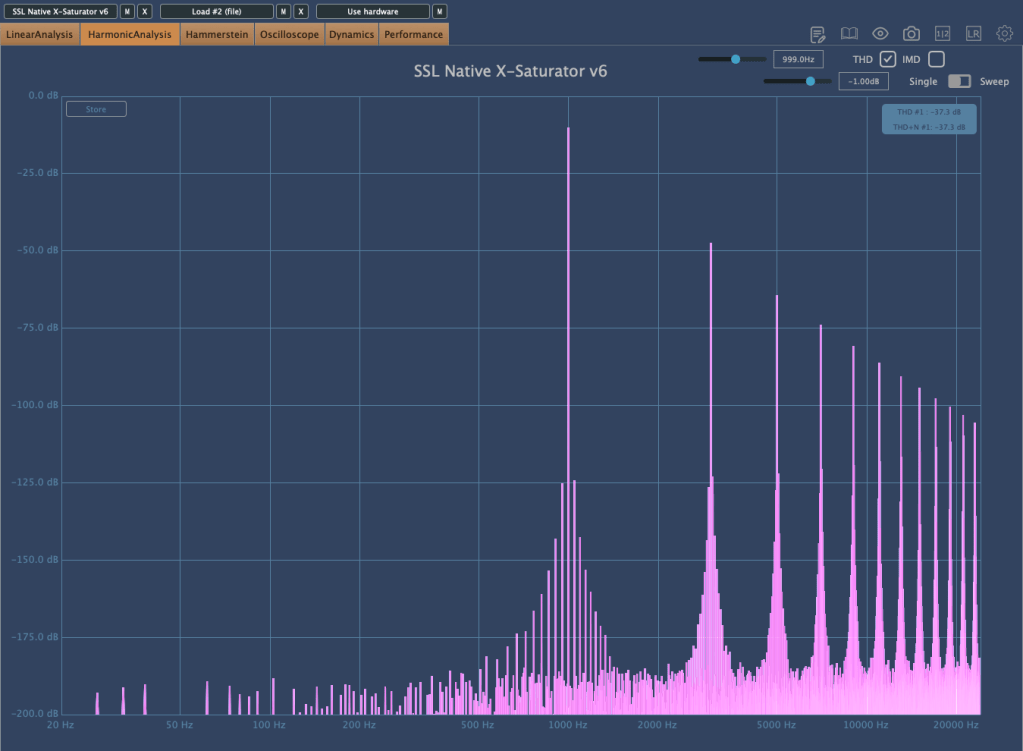
The Maag EQ4, on the other hand, offers a different character.

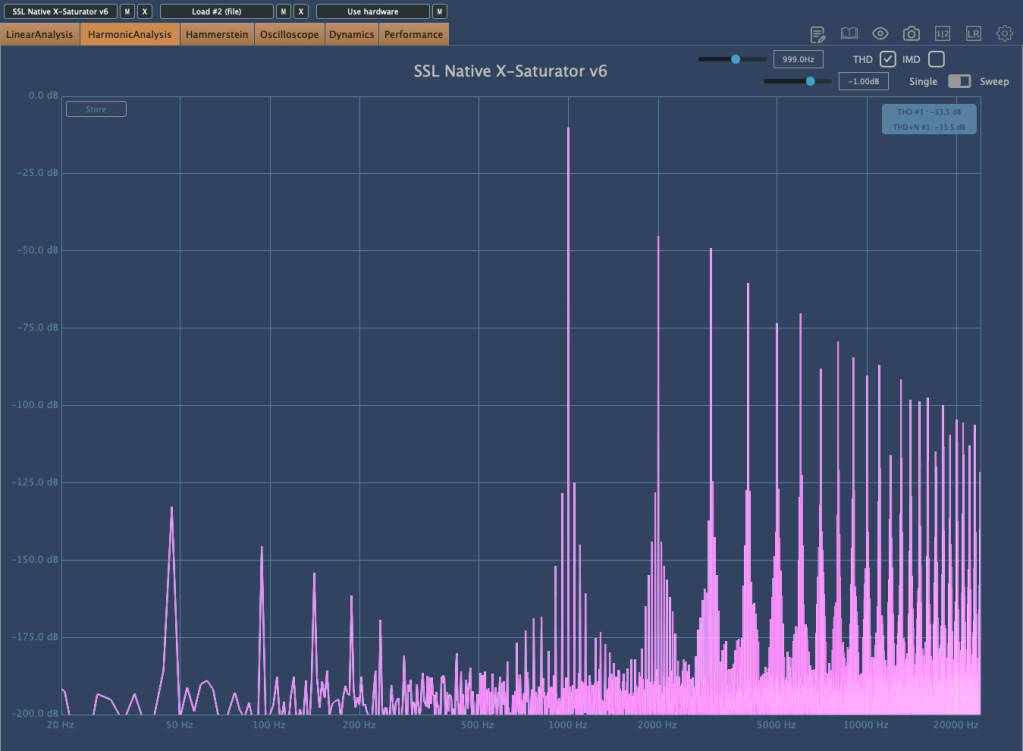
Each EQ introduces varying amounts of harmonic distortion, which impacts how and when they’re used.

For example, the Air Band on the Maag EQ4 reaches up to 40kHz, a frequency far beyond the human hearing range (20Hz–20kHz).

Why does this matter if we can’t hear it?

Research dating back to 1991 suggested that sounds beyond the audible range can influence brain activity.

  • 1991 Study: High-Frequency Sound Above the Audible Range Affects Brain Electric Activity and Sound Perception.
  • 2014 Study: Frequencies of Inaudible High-Frequency Sounds Differentially Affect Brain Activity: Positive and Negative Hypersonic Effects.

The latter found that frequencies above ~32kHz significantly increased alpha-2 EEG activity (associated with a calm mental state).

Even if your session’s sample rate is 48kHz or 44.1kHz, boosting ultra-high frequencies can indirectly affect the audible range based on the Q-factor.

Of course, you won’t always need to get this scientific about it—experience is the best teacher here!

While boosting highs can create pleasing clarity, it’s important to avoid overdoing it. Excessive use can result in a mix that feels “floaty” and leaves no lasting impact after the song ends. Use it judiciously.


Enhancing the Lows

For the low end, you can use EQ, but there’s another option: the subharmonic synthesizer.

This tool generates ultra-low frequencies by synthesizing them based on an incoming signal. It’s often triggered by kick drum signals to reinforce their sub frequencies.

Personally, I’m not a big fan—it’s challenging to perfectly match the kick’s attack and timing.

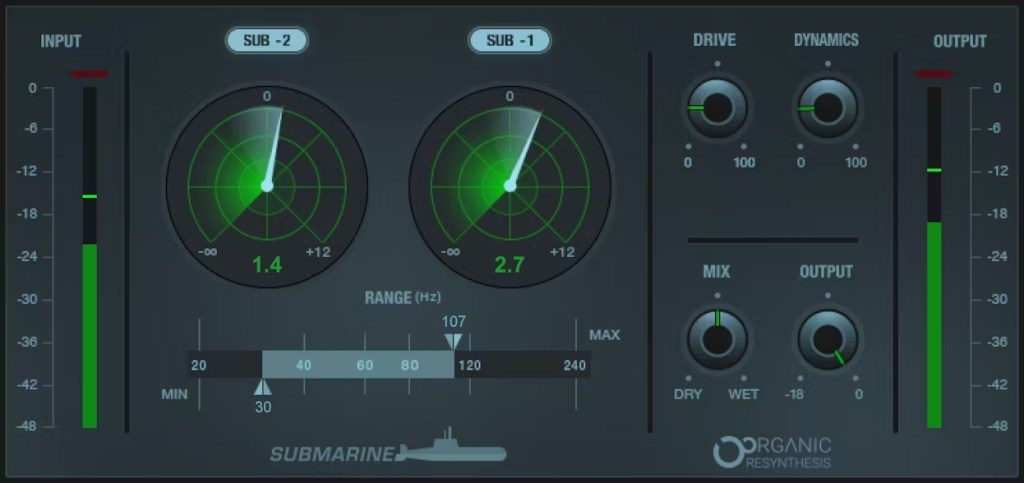
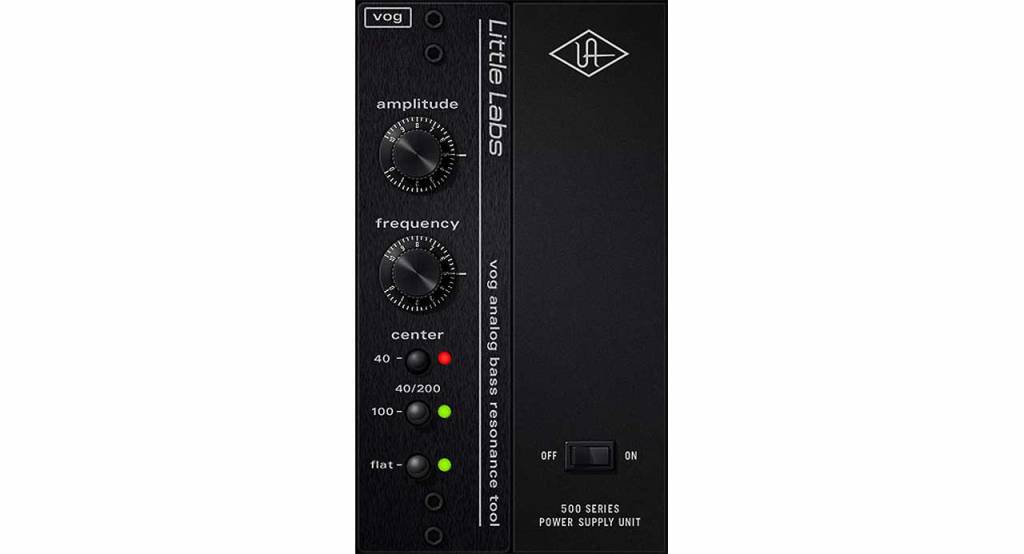
Popular plugins include Waves’ Submarine, Brainworx’s Subsynth and Subfilter, and UAD’s Voice of God.

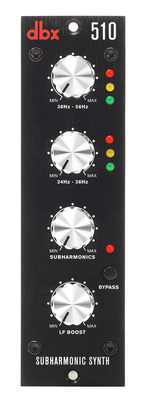
Hardware options like the dbx510 are also available, but if you’re on a budget, the free Bark of Dog plugin by Boz Digital Labs is a fun alternative.

While it’s best to start with well-recorded source material, subharmonic synthesis can be a lifesaver when the source lacks sufficient low-end.


That’s all for today. See you in the next post! 😊

The Basics of Mixing – 10.1 Modulation Effects (Part 2)

Hello, this is Jooyoung Kim, a mixing engineer and music producer!

Continuing from my previous post, today we’re diving deeper into modulation effects.

This content is based on my book, The Basics of Mixing, which I wrote in Korea.

Let’s get started!


1) Tremolo

As previously mentioned, modulation effects involve altering a parameter over time. Tremolo specifically modulates volume over time.

When applied heavily, it can create a pulsing effect, and it’s also useful for adding an artificial groove to your track.


2) Vibrato

Vibrato, unlike tremolo, modulates pitch instead of volume.

Pretty simple, right?


3) Flanger

The flanger effect has roots tracing back to Christiaan Huygens, the Dutch mathematician, physicist, and astronomer. (For those familiar with physics, you might recall Huygens’ Principle from studying waves!)

Flanger works by duplicating the original sound and playing the copy after a very short delay, creating what’s known as a comb filter effect.

By adjusting the delay time, the peaks and troughs in the frequency response created by the comb filter shift back and forth.

This may sound complex, but experimenting with it will make the concept much clearer. It’s this shifting comb filter effect that produces the signature whooshing or “rocket-like” sound of flanging.


4) Chorus

Chorus is similar to flanger but has a few key differences.

In chorus, the original sound is copied and delayed (often with multiple copies), but the delay time is longer than in flanging. Additionally, chorus effects often include adjustments to panning and pitch, creating a richer and fuller sound.


5) Phaser

Phaser is another modulation effect that shares similarities with flanger but operates differently. Instead of applying a short delay like flanger, a phaser uses an all-pass filter to manipulate the phase of the sound.

This phase-shifted sound is then blended with the original, resulting in a comb filter effect, just like flanger. However, the method of achieving this effect gives phasers their unique, swirling sound.

If you look at the waveforms, you’ll notice the phase shifts caused by the phaser. While the subtle changes in pitch can also be observed in the waveform, it’s tricky to capture it perfectly in a screenshot.


Final Thoughts

Understanding the principles behind these effects can help, but hands-on practice is essential to mastering their use. Spend time experimenting with these effects to familiarize yourself with their unique sounds and applications.

Both theoretical knowledge and practical experience are crucial, so try to balance learning with experimentation!

See you in the next post! 😊

Basics of Mixing – 10.1 Modulation Effects (Part 1)

Hi everyone! This is Jooyoung Kim, a mixing engineer and music producer.

Today, I want to talk about modulation effects, which are often overlooked during mixing.

(These concepts are based on my book Basics of Mixing, published in Korea.)


What are Modulation Effects?

In simple terms, modulation effects involve changing certain parameters over time.

Do you frequently use modulation effects when composing or mixing?

Do you ever have tools like these but rarely touch them?

I believe modulation effects, along with reverb and delay, are crucial in determining the quality of a track. However, even if you understand the theory behind these effects, you might hesitate to use them if you’re unfamiliar with how they sound in practice.

That’s why I encourage you to experiment with modulation effects regularly, even if it feels forced at first.


Types of Modulation Effects

Let’s break down some common modulation effects:

  1. Tremolo
  2. Vibrato
  3. Flanger
  4. Phaser
  5. Chorus

Before diving into these, we need to discuss two foundational concepts: the All-Pass Filter and the Comb Filtering Effect.


All-Pass Filter

An all-pass filter allows all frequencies to pass through unchanged. But why would we use such a filter?

The answer lies in phase.

When a signal passes through an all-pass filter, the phase shifts depending on the frequency. Combining this filtered signal with the original creates unique sounds due to constructive and destructive interference at different frequencies.

For more details on phase and interference, check out “Basics of Mixing – 2.2 Phase and Interference.”


Comb Filtering Effect

The comb filtering effect occurs when an original signal is combined with a delayed version of itself. This results in a frequency response that looks like the teeth of a comb.

It’s easy to understand this concept through simple experiments.

When every frequency in a signal is delayed by the same amount, some frequencies cancel out (destructive interference), while others amplify (constructive interference). This creates the characteristic comb-like frequency response.

Effects like flanger, phaser, and chorus are built on these principles of phase manipulation.


That’s all for now! In the next post, I’ll delve deeper into each modulation effect.

See you next time! 😊

Basics of Mixing – 9.5 Why Use Gear with Saturation?

Hello, everyone! I’m Jooyoung Kim, an audio engineer and music producer.
Today, we’ll dive into saturation and its role in mixing.

This post is based on my book, Basics of Mixing, written for a Korean audience.

https://product.kyobobook.co.kr/detail/S000214306169

Let’s get started!


In previous posts, we explored why certain hardware adds color to the sound.

Software emulations of hardware are programmed to replicate these tonal characteristics. However, due to a phenomenon known as aliasing in digital audio, the results aren’t always identical.

Thus, software can’t completely replace hardware. In fact, it’s better to consider them as entirely different tools.

Even hardware units of the same model have subtle variations, and software characteristics differ depending on the developer.

During a recent visit to my professor at Yonsei University’s music department recording studio, I noticed they’d added a Millennia Preamp and CL-1B to their Avid MTRX Studio setup. Quite the setup—if only I could afford it!

Mixing engineers often own multiple emulations of the same hardware for this reason.

For instance, I use several LA-2A emulations, each with its unique character:

  1. UAD – For adding sparkle to the high end
  2. Waves – To slightly lower the position and soften the tone
  3. IK Multimedia – For a more transparent sound

Some SSL hardware includes knobs labeled 2nd Harmonics and 3rd Harmonics to add harmonic saturation.

The SSL X-Saturator plugin replicates these features, allowing users to add harmonics independently.

Upon analysis, the plugin shows that:

  • 2nd Harmonics boosts both odd and even harmonics
  • 3rd Harmonics emphasizes odd harmonics only

The same logic applies to microphones and mic preamps.

  • Neve and API preamps are beloved for their bold color.
  • Grace Design and Millennia preamps are praised for their clean, subtle coloration.

While minimal coloration is ideal for playback systems, some listeners still prefer the warmth of analog mediums like LPs and tape.

Similarly, tube amplifiers were standard before transistors and remain popular for their unique sound, even in speakers.

Though such choices aren’t ideal for professional engineering work, understanding consumer preferences is important point too.


Conclusion

  1. Understand how each piece of gear applies saturation to your source.
  2. Think about how to use that saturation effectively in your mix.

Hope this post clarified things for you. See you in the next one!