Hello! I’m Jooyoung Kim, a mixing engineer and music producer.
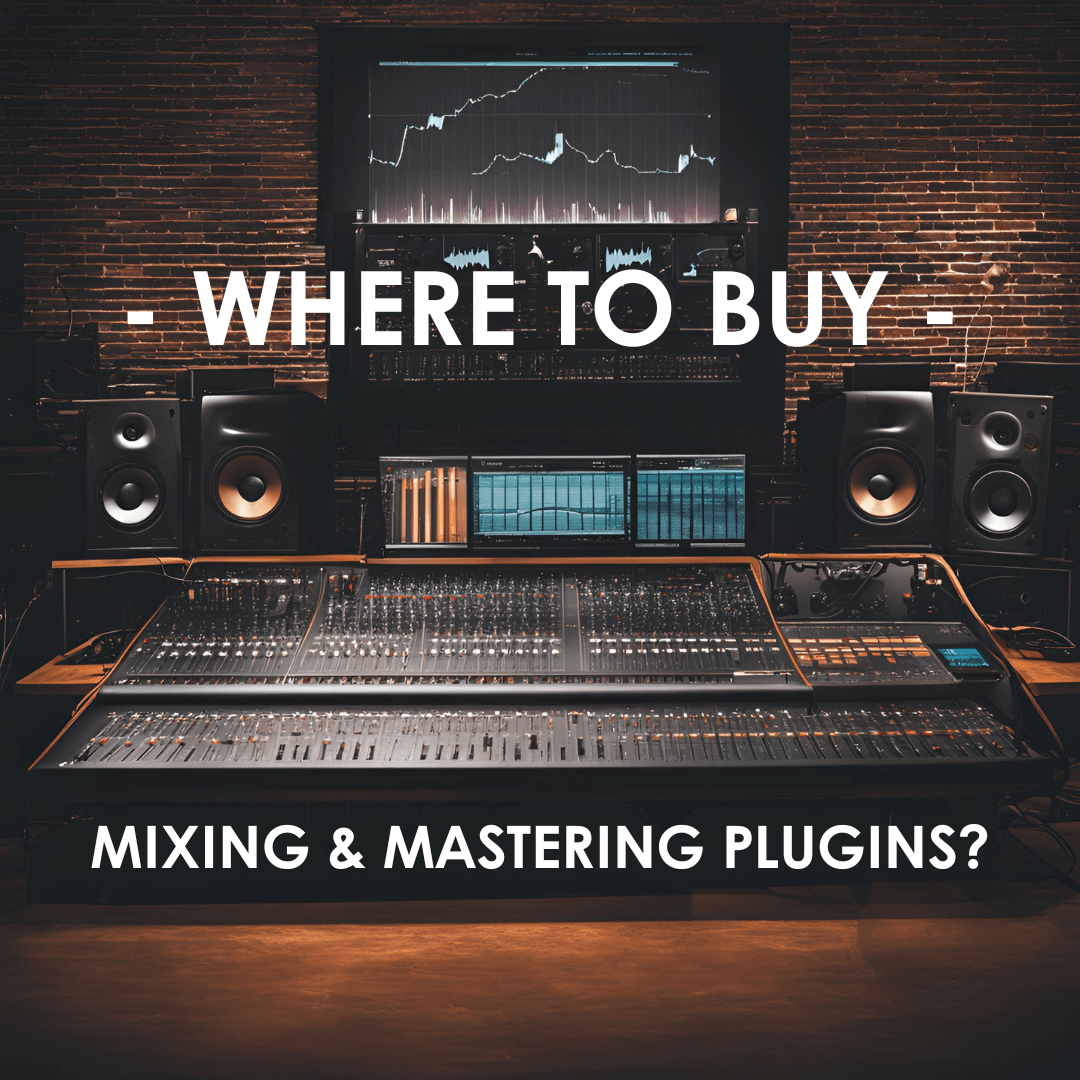
It seems like my posts about plugins are getting a lot of attention, so I’ve decided to compile a list of websites where you can find free plugins and purchase plugins at great prices.
Let’s dive in!
1. Audio Plugin Deals
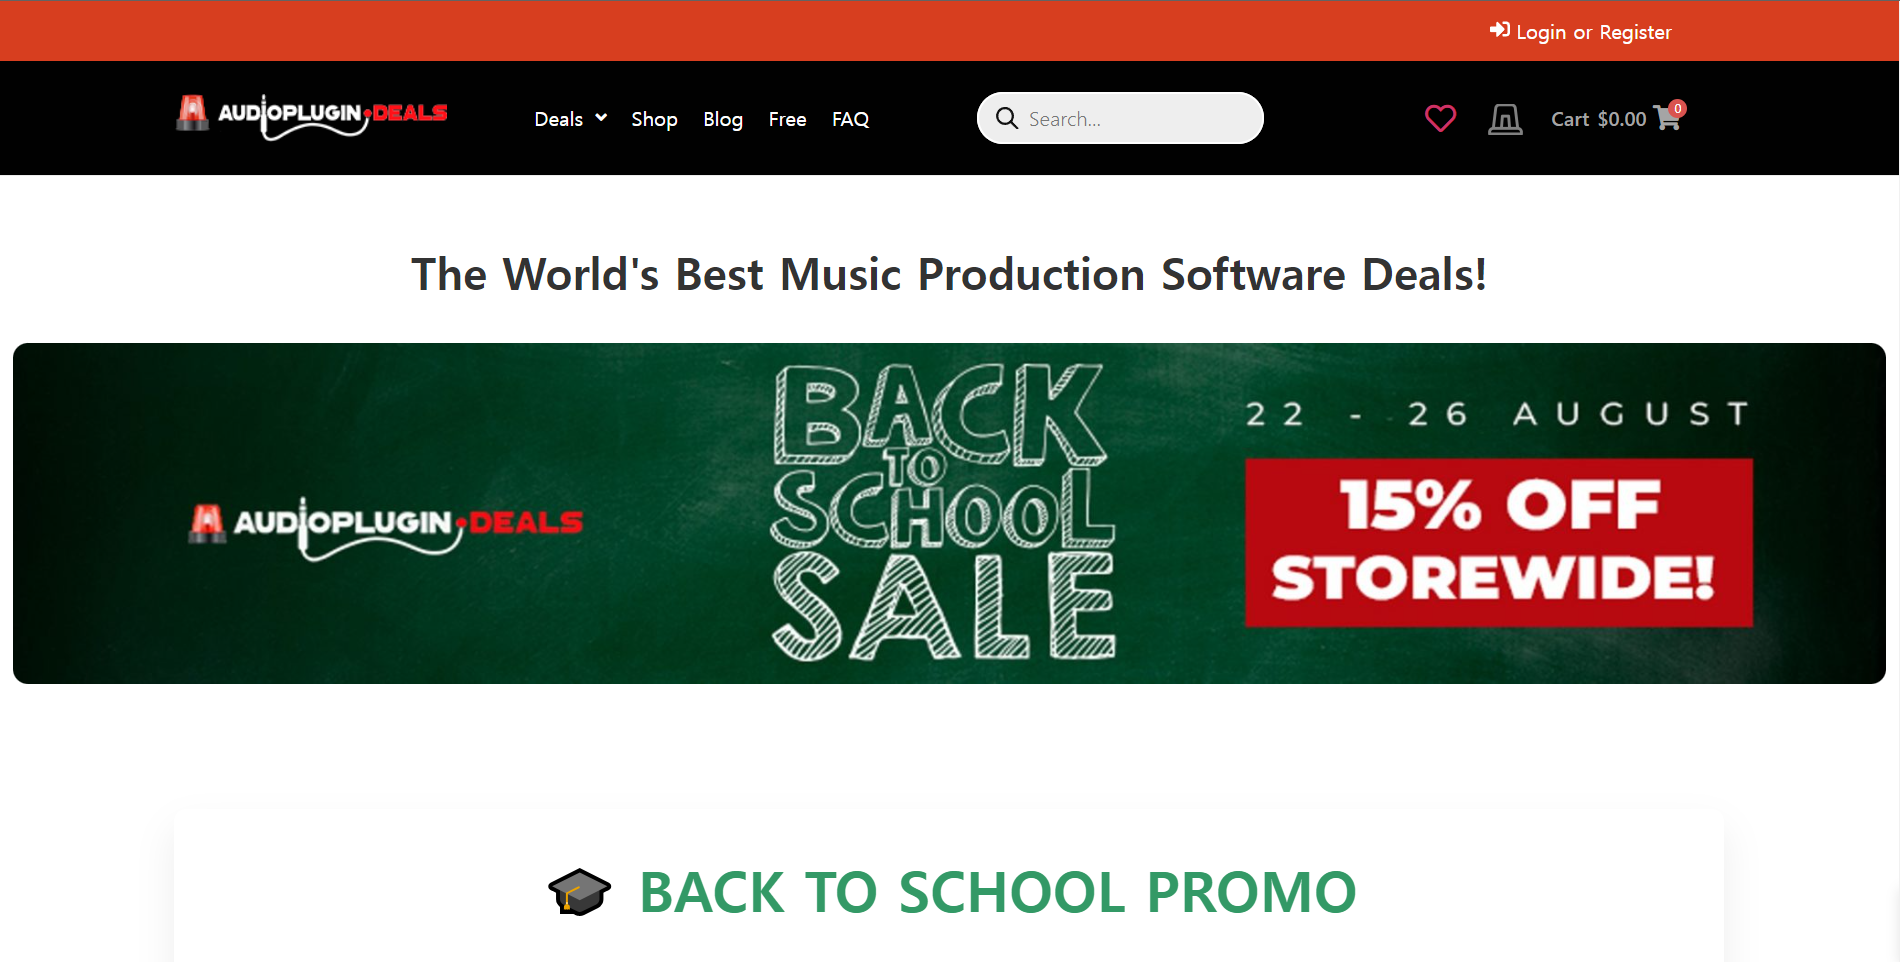
Audio Plugin Deals is a great site where you can find free plugins every month or so under their Free section. They also have time-limited deals in the Deals section, and discounted products are always available in The Shop.
When you make a purchase, you earn Rewards points, which can be used for discounts on future purchases in The Shop. Just keep in mind that some items in The Shop have a minimum purchase requirement, even if you’re using points.
2. Plugin Boutique

At Plugin Boutique, you can almost always get a free plugin when you make a purchase. They also offer Virtual Cash, similar to Audio Plugin Deals’ Reward system, which can be used without restrictions on future purchases.
If you spend over £50, you receive a token that can be exchanged for a sample pack from Plugin Boutique. They occasionally run exclusive free plugin offers, so signing up for their newsletter could bring some pleasant surprises.
You can also find permanently free plugins in their Free section, though quality varies, so it’s worth testing them out.
3. Audio Deluxe
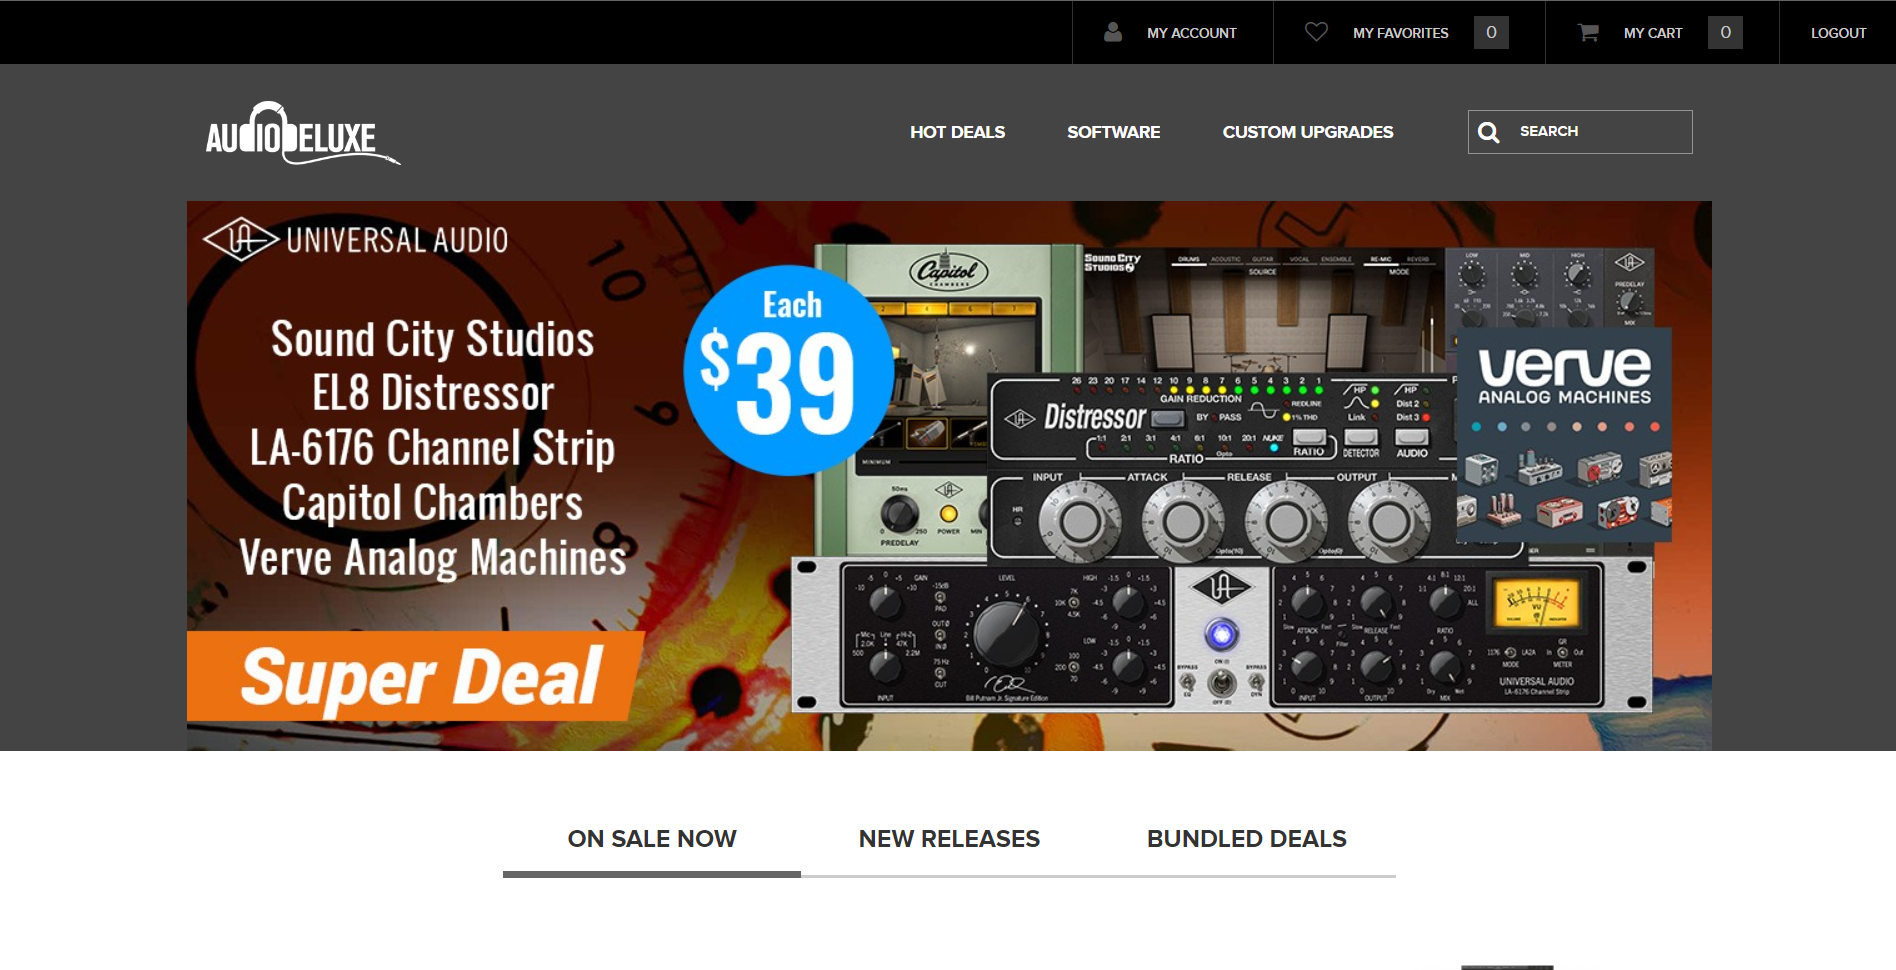
What sets Audio Deluxe apart from other sites is the regular availability of discount coupons, making prices even lower than they appear. You also earn points that can be used on future purchases.
However, most of the free plugins offered here can be found on other sites, so there isn’t much of an advantage in that regard.
4. every Plugin
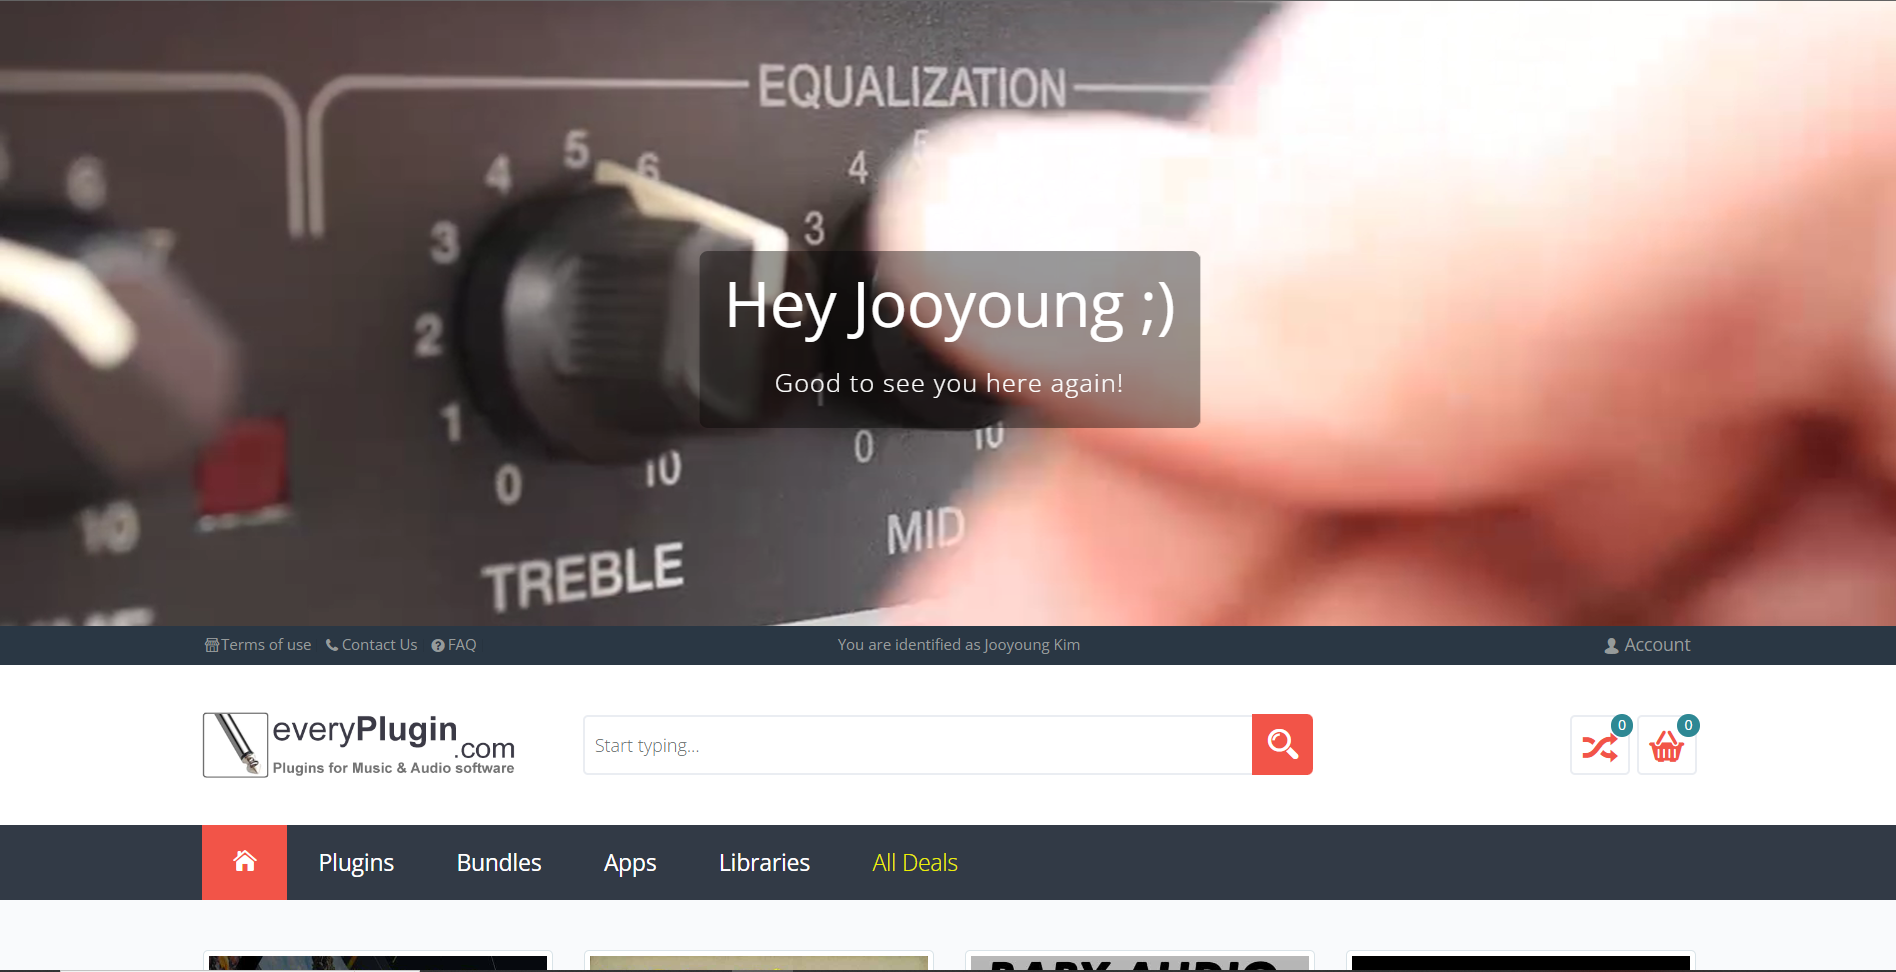
As I’ve mentioned before, Every Plugin is one of the best places to buy Waves plugins at a lower price. They often have the best prices on Eastwest plugins too. If you’re planning to buy, it’s a good idea to compare prices here with other sites.
The downside is that you need to sign up and log in to see the prices. Also, they don’t offer any free plugins.
5. JRR Shop

JRR Shop offers discounts on plugins and also sells hardware equipment. You can find free plugins under their Free Stuff section. They frequently have good deals, so it’s worth checking out if you’re looking for a specific plugin.
6. W.A. Production
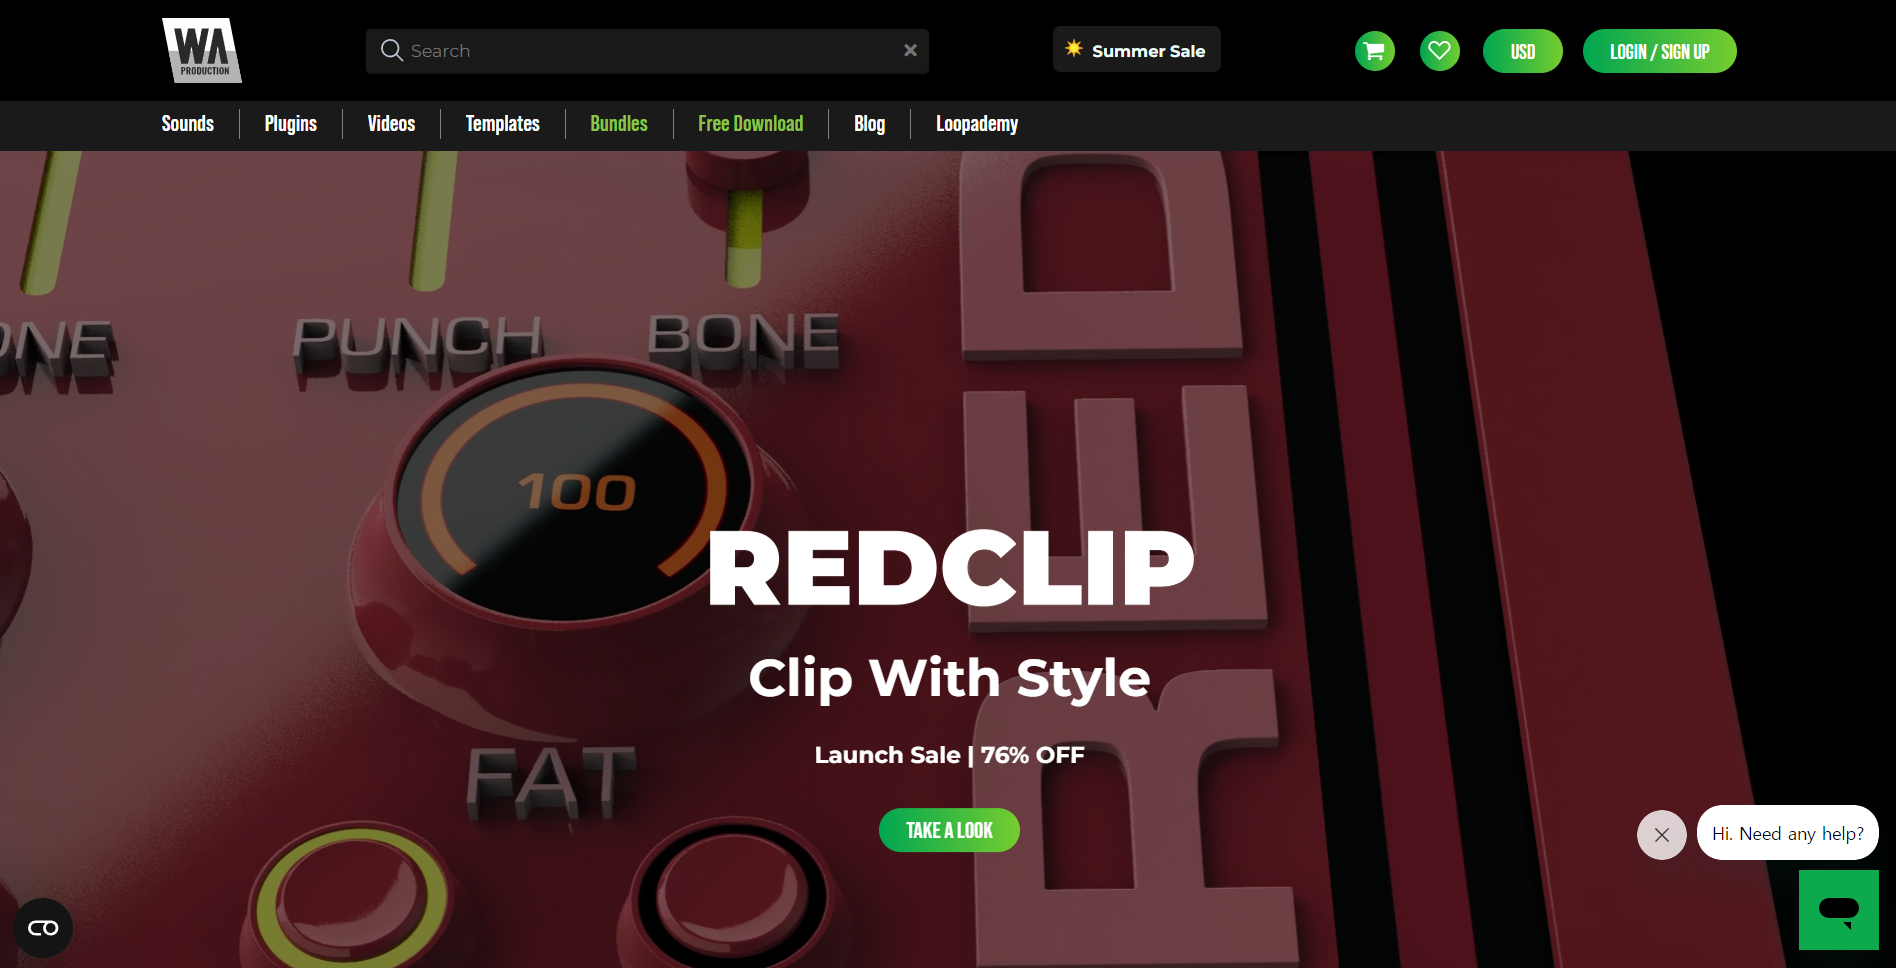
W.A. Production mainly sells sample packs and MIDI files, but they occasionally offer free plugins and samples, making it a site worth knowing about.
7. Blue Cat Audio
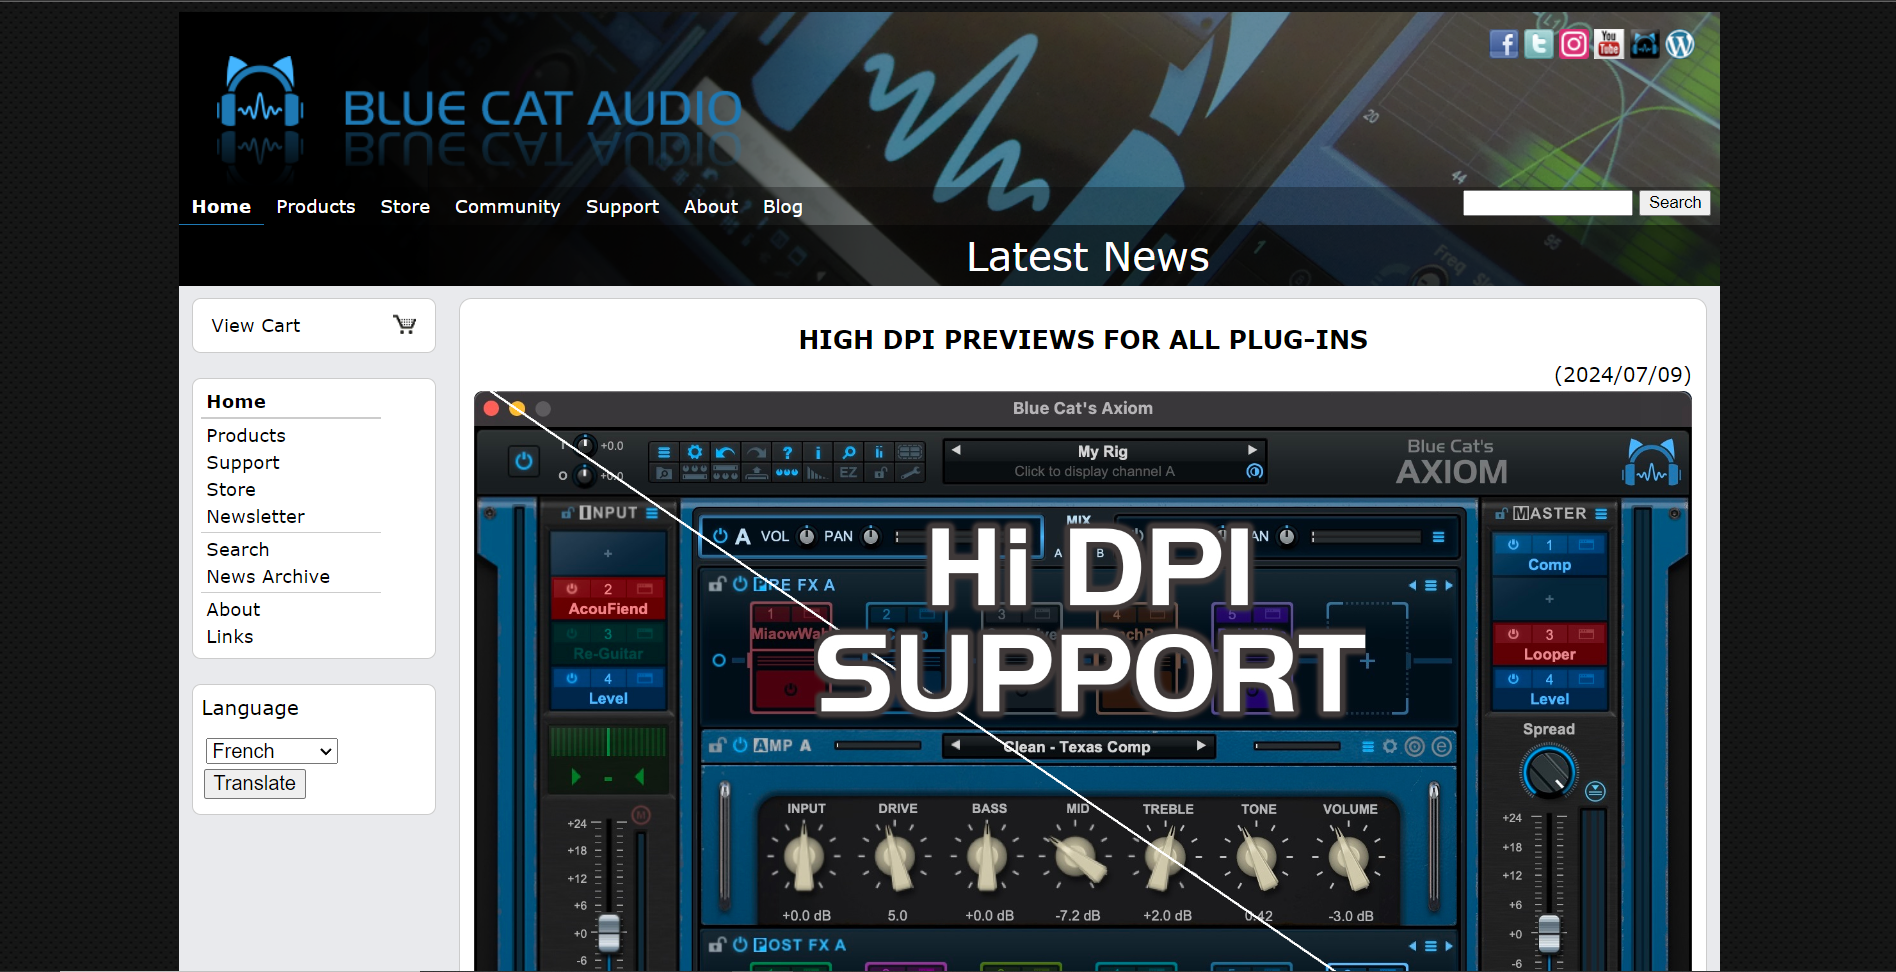
At Blue Cat Audio, if you go to the Download section and scroll down, you’ll find a Free Pack with all their free versions. The interface might not be the most attractive, but the plugins are solid. Although they primarily make their own plugins, I included them here as part of this list of free plugin sources.
8. Don’t Crack
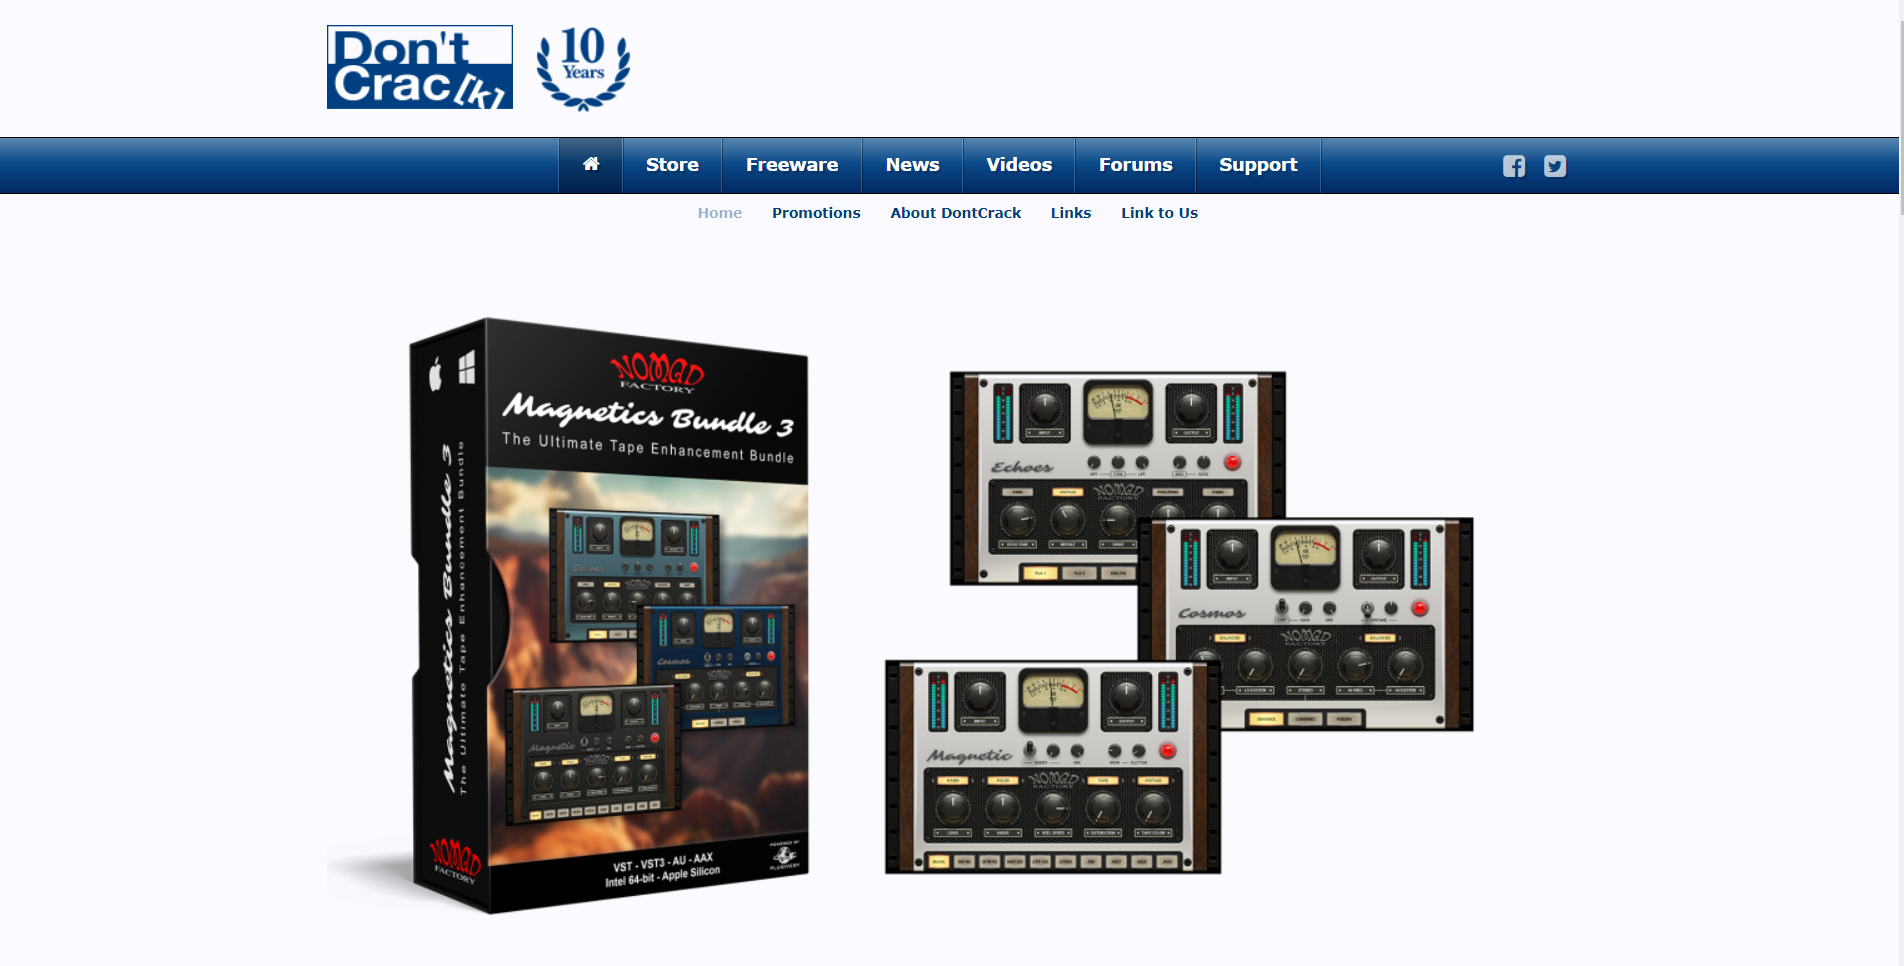
Don’t Crack is a well-named site with occasional good discounts. I remember getting a Flux Session pack at a very reasonable price last year. The site’s layout might feel a bit sparse, like JRR Shop, but you can find some great deals if you dig around.
9. Plugin Discounts
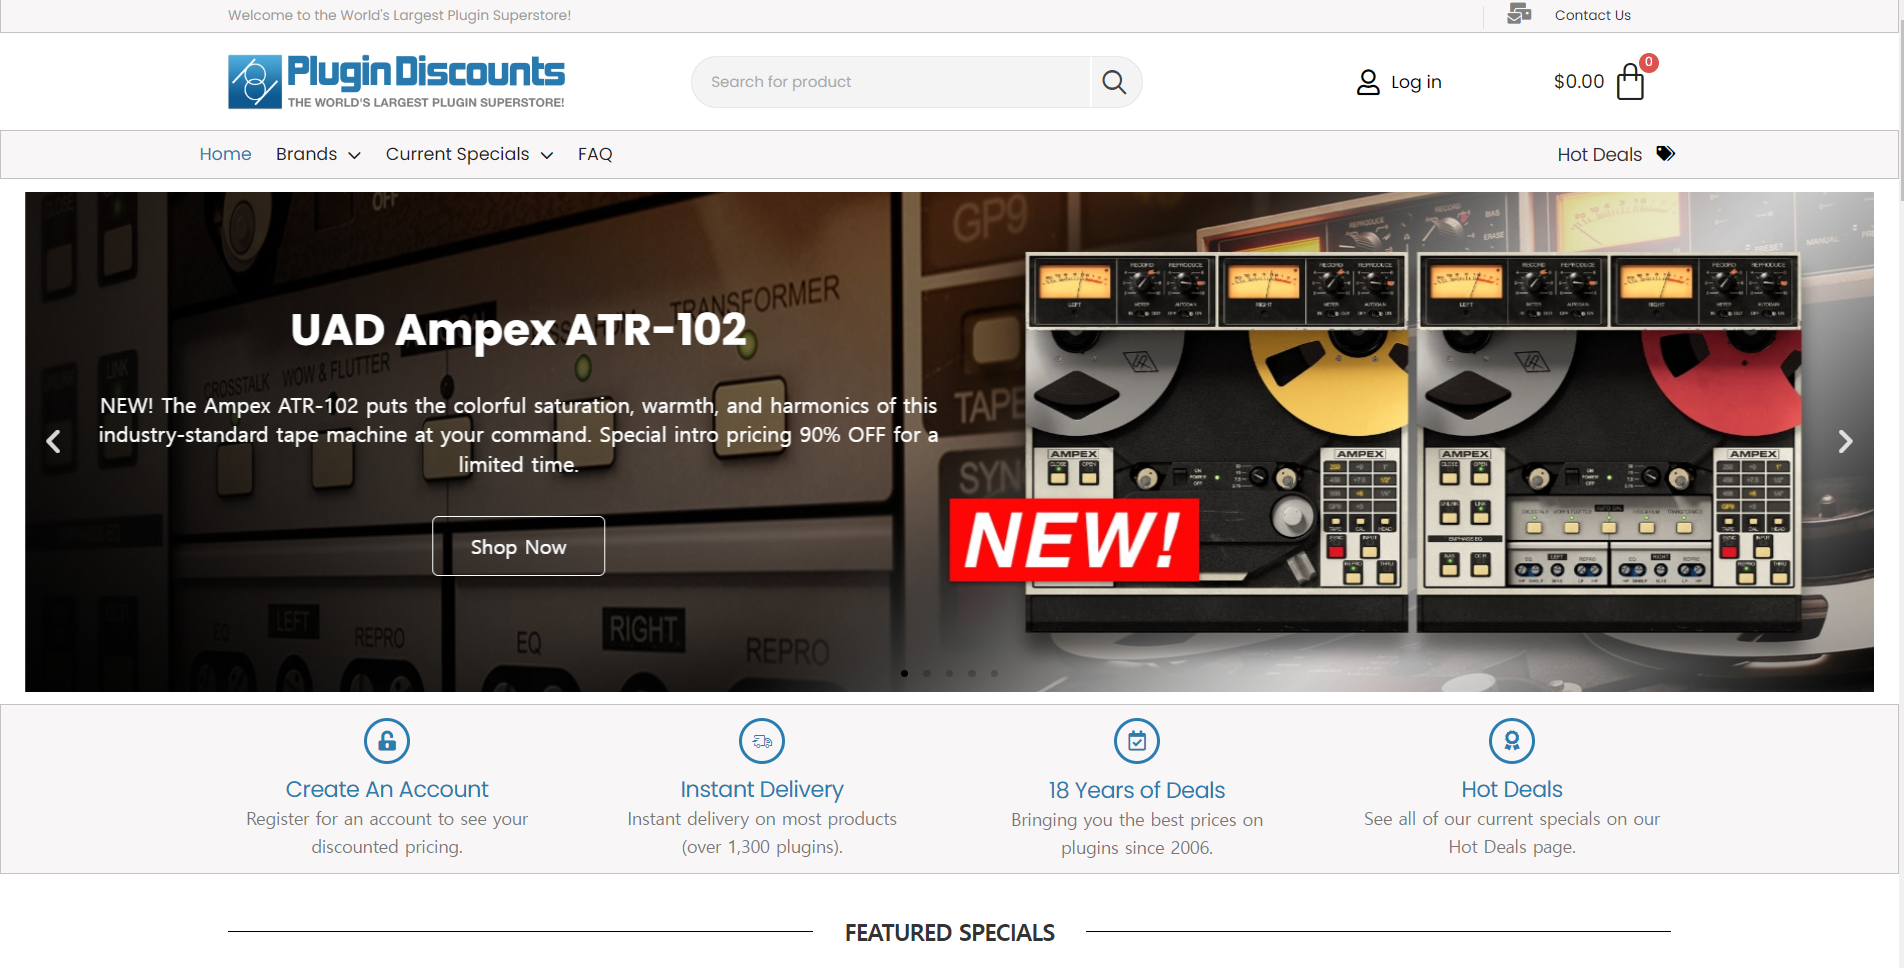
I haven’t used Plugin Discounts much, but like Every Plugin, you need to log in to see the prices.
10. Bedroom Producers Blog
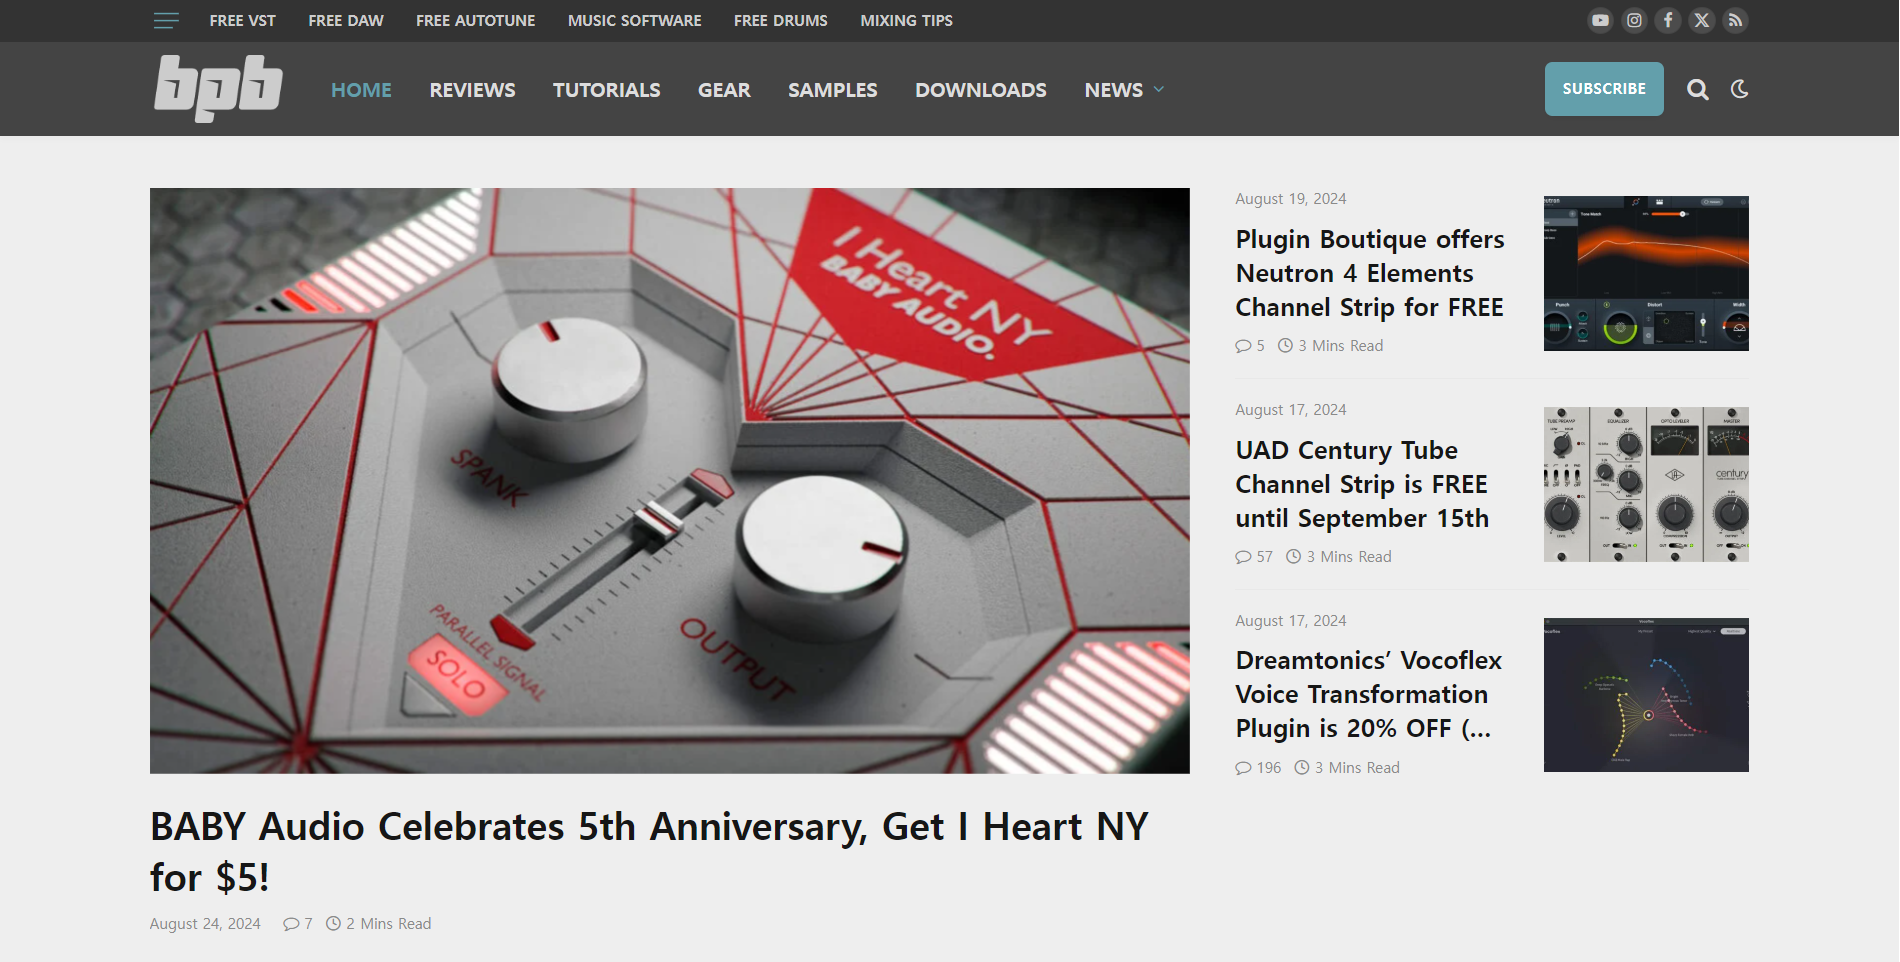
This is a large blog that regularly features free plugins and various discounts. They often curate good deals and organize them by time, and sometimes they offer exclusive discounts or free plugins. It’s a great site to check in on from time to time.
11. Production Expert
Production Expert isn’t a plugin store, but it’s a great resource for news, discounts, and free plugin information. Signing up for their newsletter is a good way to stay updated on the latest deals and news.
In addition to these, companies like Universal Audio frequently release free plugins these days, so it’s worth exploring and finding the ones that suit your needs.
That’s all for today. See you in the next post!