Hello, I’m Jooyoung Kim, an engineer and music producer.
Today, I’d like to share a quick recap of the performance I worked on as a sound director last Saturday.
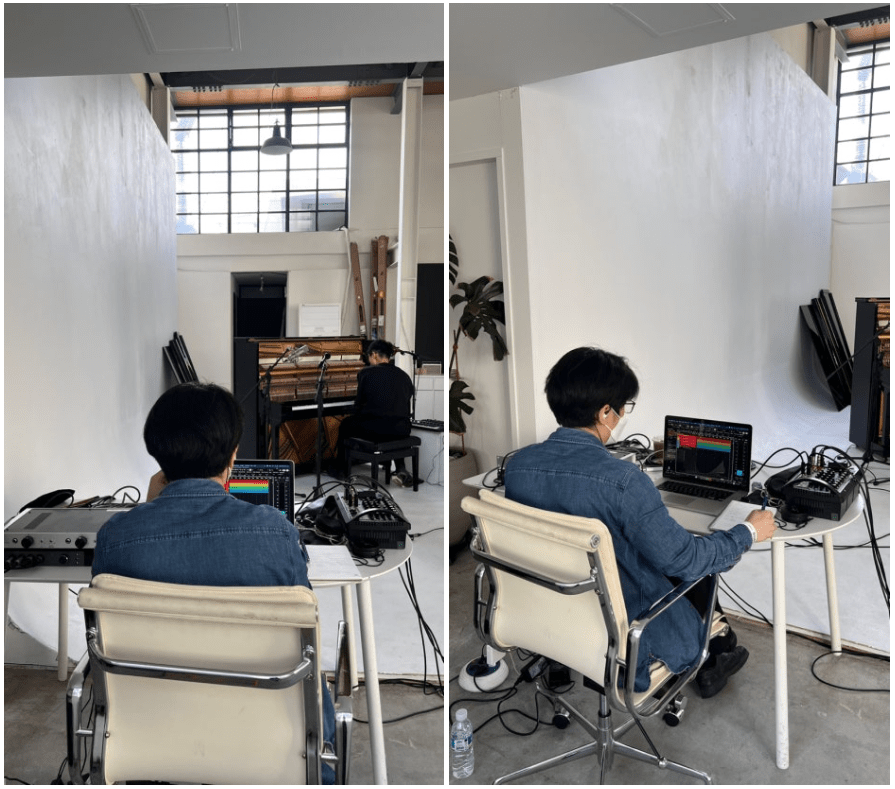
Originally, the plan was to rent some basic speakers and gear for simultaneous recording. But things took a slight turn, so I ended up hauling my own audio interface (Antelope Orion Studio Synergy Core) to the venue… haha.
I also brought a boutique mic preamp, handcrafted in Japan, known for its clean sound. It felt like a perfect fit for recording the acoustic piano, so I decided to take it along.
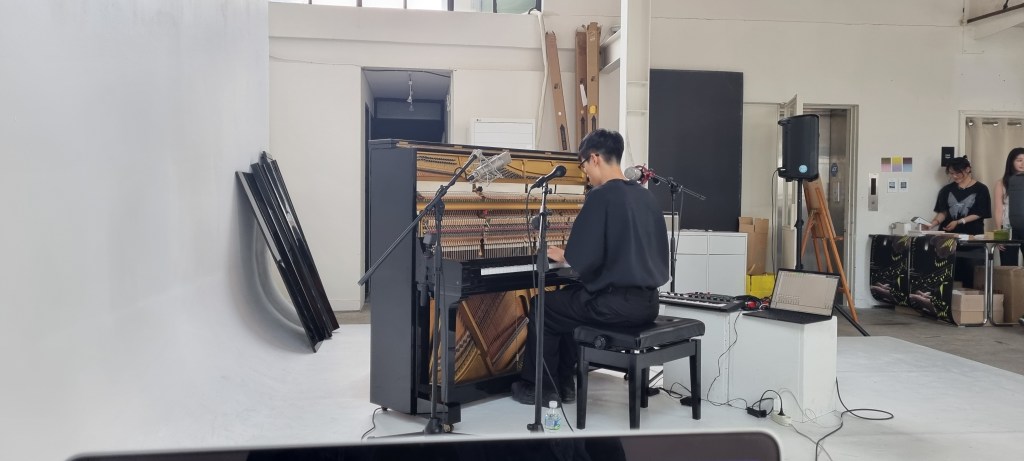
For miking, I went with an unconventional setup. To avoid peaks, I positioned the mics slightly off the hammers, using different mics for the left and right channels (Peluso P87 and Charter Oak E700). With just a touch of EQ in post-production, the sound came out surprisingly great.
For the audience-facing ambience mics, I was a bit short on options, so I used a Peluso CEMC 6 and an M30 measurement mic. They have different directionality and characteristics, but the result was honestly pretty impressive. Now I’m wondering if I should grab another pair of each to make a proper set…
The main mics ran through the external preamp, while the ambience and vocal mics for narration went through the built-in preamp. The synthesizer was recorded via the artist’s audio interface as a mono line while simultaneously outputting.
In post-production, I widened the synth’s mono line using the UAD Precision Reflection Engine and Leapwing Audio StageOne 2 to enhance the stereo image.
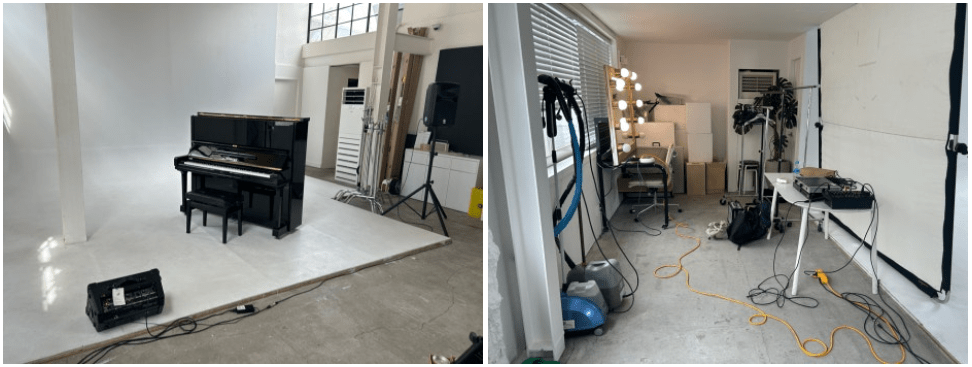
For output, we rented Yamaha 400i speakers, commonly used for busking.
I didn’t get a chance to snap a photo of the audience mic setup… oops. The photos I do have were kindly taken by a friend I was working with. [photo]
Hauling all the cables and gear was a bit of a hassle, but the sound came together nicely, and I was pretty satisfied.
The final mix turned out better than expected, and both the artist and I were really pleased with it. I’d love to share it with you all, but I can’t just post it without permission. If the artist releases it on YouTube or as promotional content later, I’ll make sure to share it here.
Hello, everyone! This is Jooyoung Kim, a mixing engineer and music producer.
Today, I’d like to share the story of an EP project called Miwha, which I worked on with a friend this past summer.
The EP was released on November 8th, so it’s already been nearly a month! I kept meaning to write about it here but had too much going on. Finally, I’ve found some time to share it with you.
About the Artist
The artist, originally known by his Korean name, Hanseong Kim, has been an indie band musician. For this project, he rebranded himself as Danny Boy and wanted to explore a new musical style.
He came across some of my past work and asked me to handle the production for this EP. We ended up working on a total of four tracks together.
The Production Process
Initial Submission: The artist sent me rough Logic projects with basic piano chords, vocals, and song structures.
Arrangement: I added instrumental arrangements.
Recording: We recorded vocals.
Final Touches: I handled vocal tuning, mixing, and mastering.
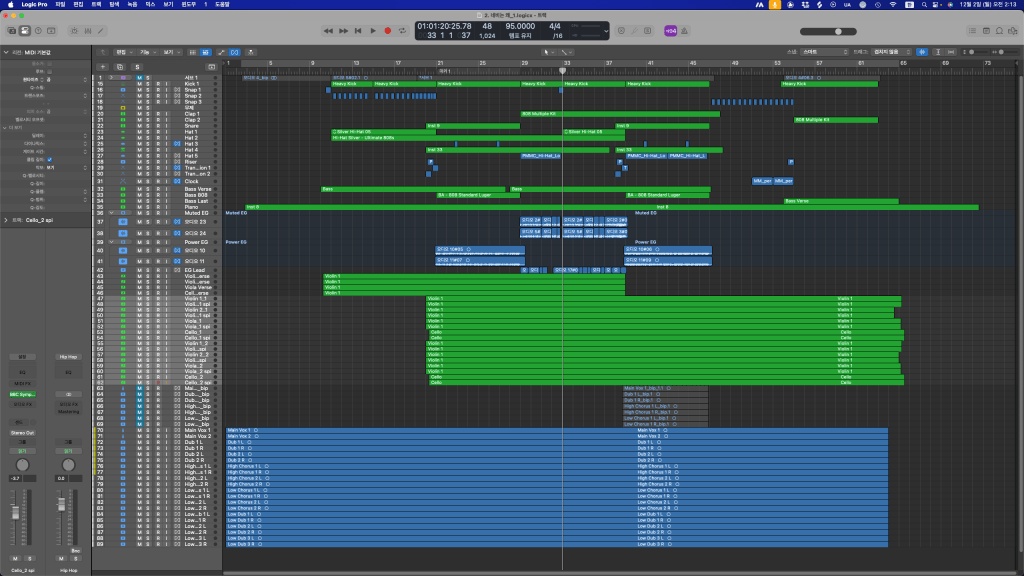
Initial Logic Project
Arranged and Mixed Project
Track Breakdown
Track 1. 귀엽게 입었어 (Dressed Cute)
The artist originally used Logic’s built-in Fender Rhodes virtual instrument for the comping, which matched the vibe perfectly. I decided to use Arturia’s Stage 73 V for the main tone.
Since the lyrics were playful, I kept the arrangement simple rather than overcomplicating it. Initially, I considered layering lots of vocal harmonies but ended up scaling back for a cleaner feel.
Recording went smoothly, and everything came together nicely.
Track 2. 네비는 왜? (Why GPS?)
This is my favorite track on the EP. 😊
The initial demo was a simple four-chord loop. To match the melody, mood, and tempo, I opted for a Japanese-style arrangement, breaking up the chords and adding more complex instrumentation.
I used string libraries like Musio and mixed it with either LASS or BBCSO for texture.
The artist gave me free rein with this one, so I even modified the song form. It was a lot of fun but also very time-consuming.
The vocal recording was particularly tricky. The artist’s voice had some harsh resonances in the high-energy parts, so I had to use a notch filter—something I rarely do for vocals.
Track 3. 미화 (Miwha)
This track was the hardest to arrange.
I wanted to add subtle swing or groove with 16th-note drums, but the artist preferred a straight 8th-note drum feel, so we stuck with that.
The song features both electronic and acoustic drums:
Trap-style electronic drums for the rap sections.
Acoustic drums for the chorus.
The artist had sketched out the basic chords with Logic’s built-in Wurlitzer piano, so I replaced it with Arturia’s Wurli V2.
The Bye Bye vocal chop in the intro was a fun accident—it was originally just a vocal ad-lib that sounded like “Bye” after pitch-shifting. It worked so well we decided to keep it.
The rap recording had its challenges since it was the artist’s first time rapping, but we made it work!
Track 4. 그럼에도 (Nevertheless)
This ballad-style track was relatively straightforward in terms of arrangement but took the longest to record.
With its slow tempo and vocally-driven melody, every line had to be carefully sung, especially since the lyrics in the first and second chorus differed.
Recording all the vocal parts left both me and the artist completely drained. We started recording at around 2 or 3 PM and finished the final track around 1:30 AM. This particular song alone took over three hours to complete!
Final Thoughts
The project spanned about two and a half months, from early July to mid-September. It was a whirlwind of a summer.
Since we were working on a tight budget, I handled most of the production solo. For the recordings, a director friend lent us his studio, where I used:
Preamp/EQ: HA-73EQ
Microphone: Peluso P87
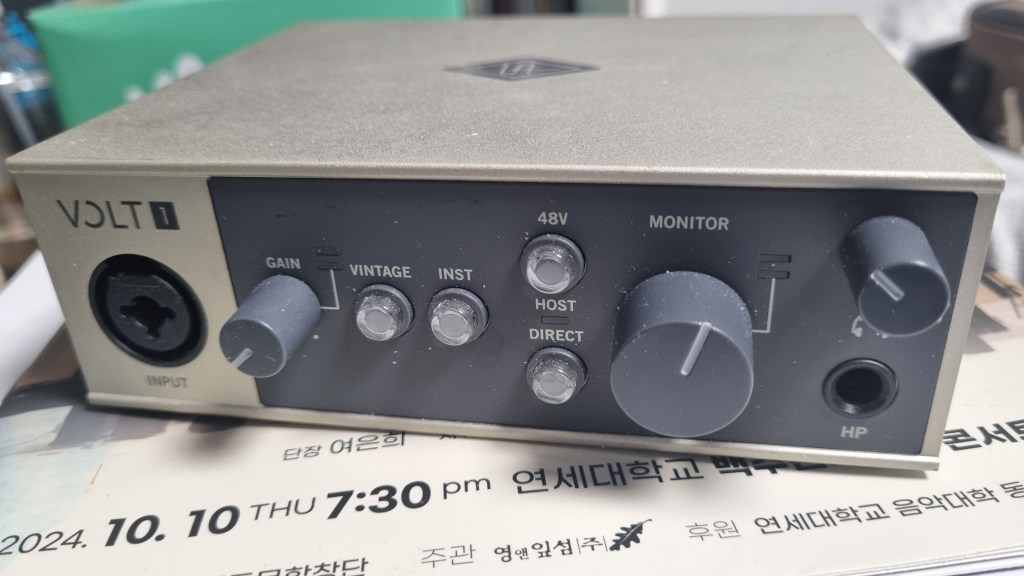
Audio Interface: UA Volt1
I also brought my Nero monitor controller, reflection filter, stands, cables—pretty much everything. Looking back, I should’ve taken more photos of the setup.
This experience reaffirmed that even with an affordable interface, good input gear and recording conditions make all the difference. Honestly, in most cases, something like a Focusrite Clarett should suffice if the rest of the chain is solid.
That said, I understand why studios lean toward higher-end gear for versatility and reliability. If it weren’t for my summing mixer, I’d probably use simpler equipment too.
I had so many thoughts during the production process that I wanted to write down, but now that I’m finally writing this, it’s hard to recall everything.
Anyway, that’s it for today! See you in the next post. 😊