Hello! This is Jooyoung Kim, a mixing engineer and music producer.
I’m excited to share that XLN Audio’s RC-20 Retro Color—the creative effect plugin famous for adding that authentic ‘Retro’ coloration to your sound—is having a flash sale this weekend!
I’ve received a Not-For-Resale (NFR) license to produce a thorough review for you. And if you decide to pick up the plugin using the links I provide, I’ll earn a small commission—Honestly, that small commission is a monumental help in keeping my work going and putting food on the table…:) Your support means the world to me.
Let’s start!
RC-20 Retro Color
RC-20 Retro Color has earned its place as one of the true ‘modern classic’ coloration plugins. Despite having been released nearly a decade ago, it remains incredibly popular, with producers all over the world still loving it. It has definitely become a steady seller in the world of creative effects.
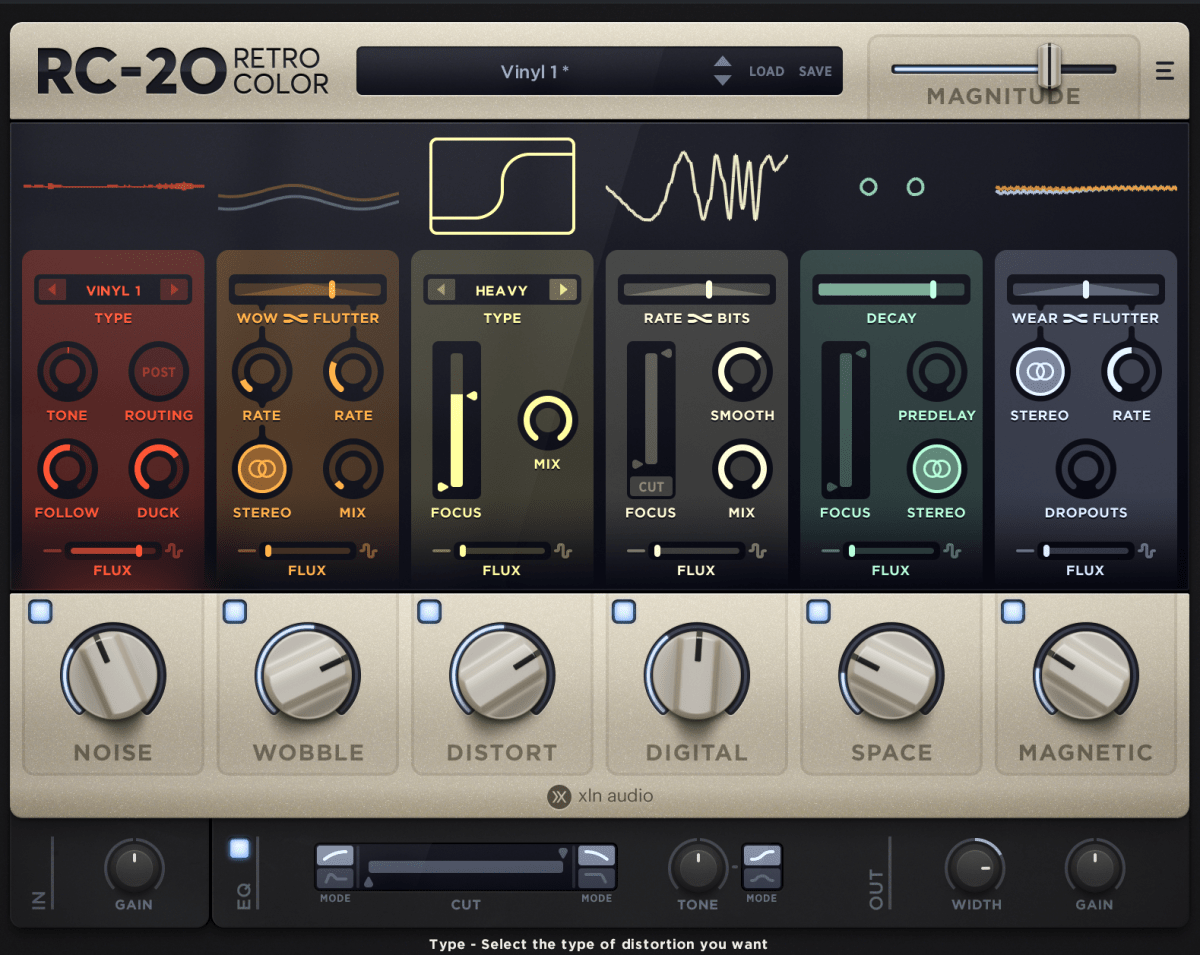
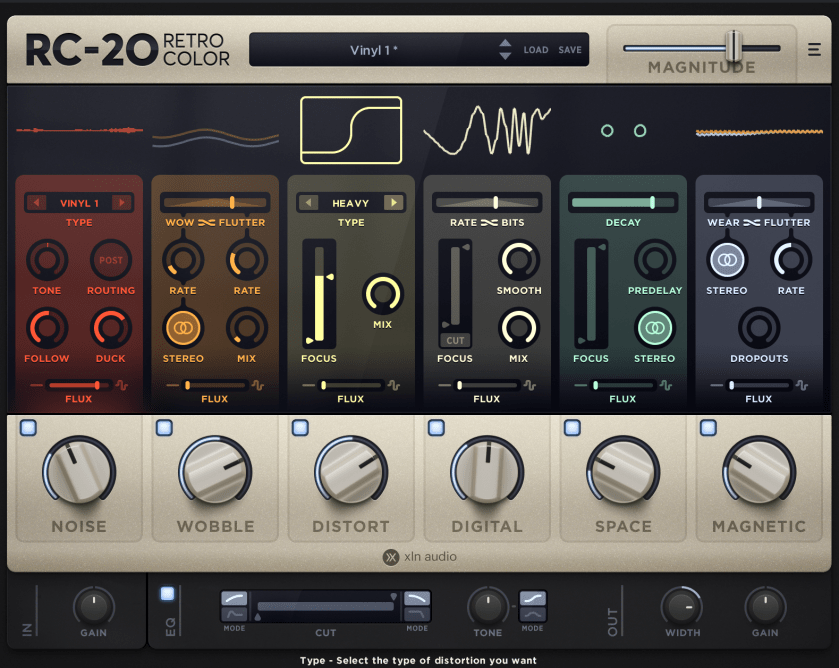
These are the six distinct effects modules that make up RC-20’s sound design capabilities:
- Noise: This generator adds texture by letting you select various noise types (like vinyl crackle or tape hiss) and allows the noise level to follow the amplitude of the source material (using the Follow parameter).
- Wobble & Flutter: Use this to introduce the pitch inconsistencies associated with unstable analog playback (like a worn cassette or vinyl). You can also expand the effect from mono to stereo width.
- Distortion: This module is straightforward—it makes things sound distorted, offering a range of saturation from subtle warmth to heavy fuzz.
- Digital: Degrade the audio to recreate the sound of vintage digital gear by lessening the sample rate or bit depth to provoke that classic digital noise and artifacting.
- Space (Reverb): Simply put, this is a reverb module for adding depth and dimension.
- Magnetic (Volume Drops): This simulates the wear, flutter, and volume loss artifacts associated with magnetic tape recording and playback.
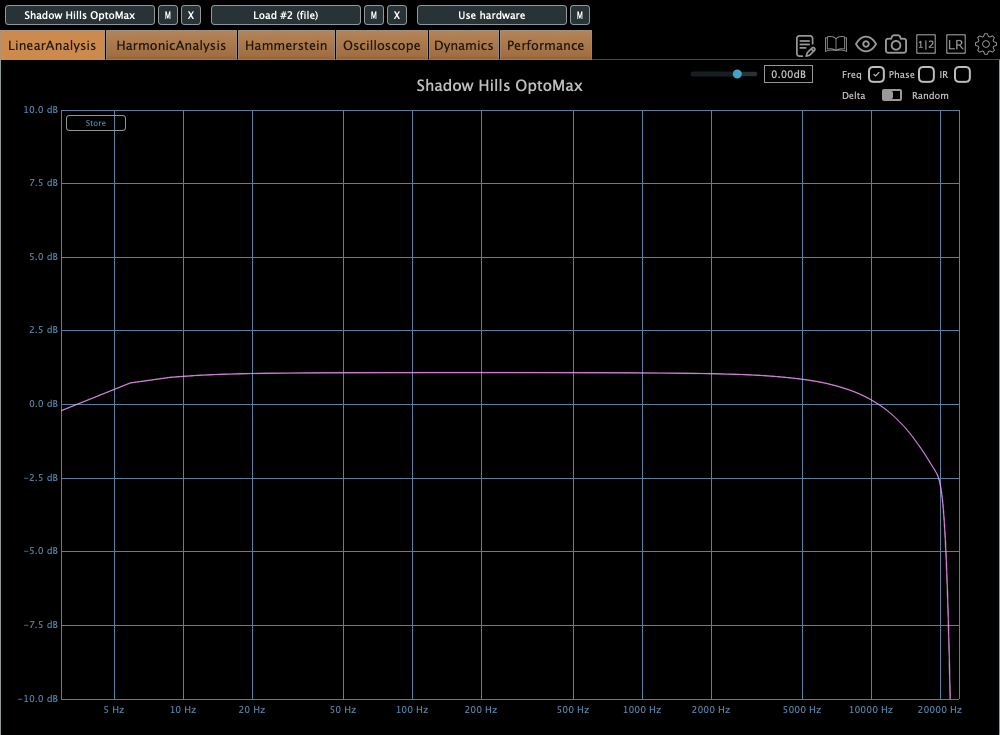
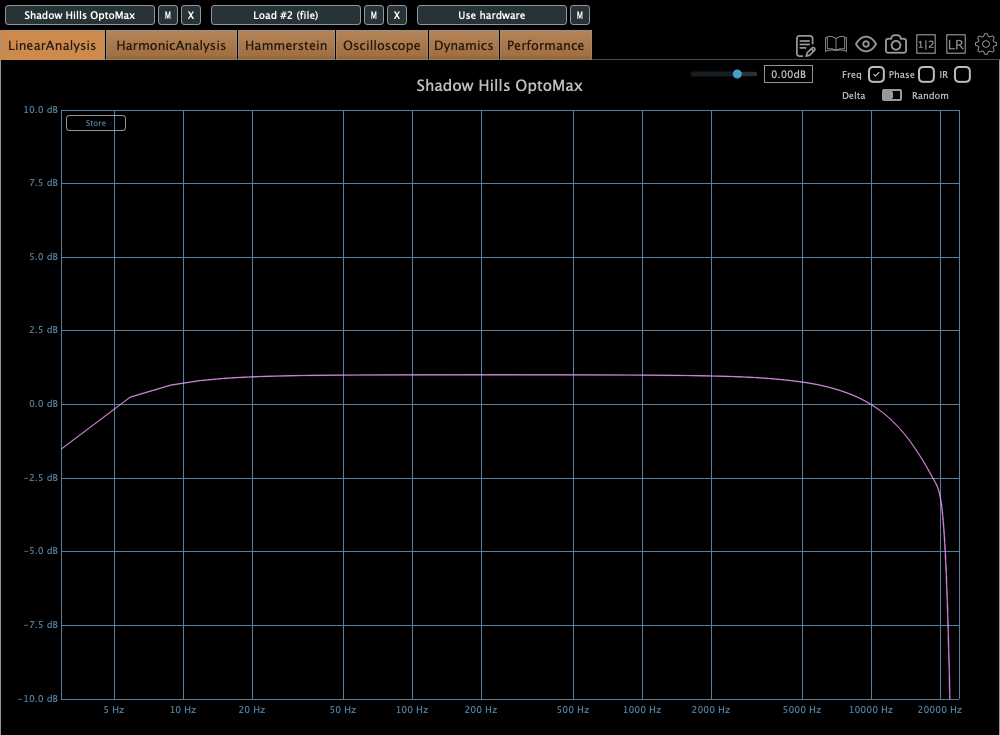
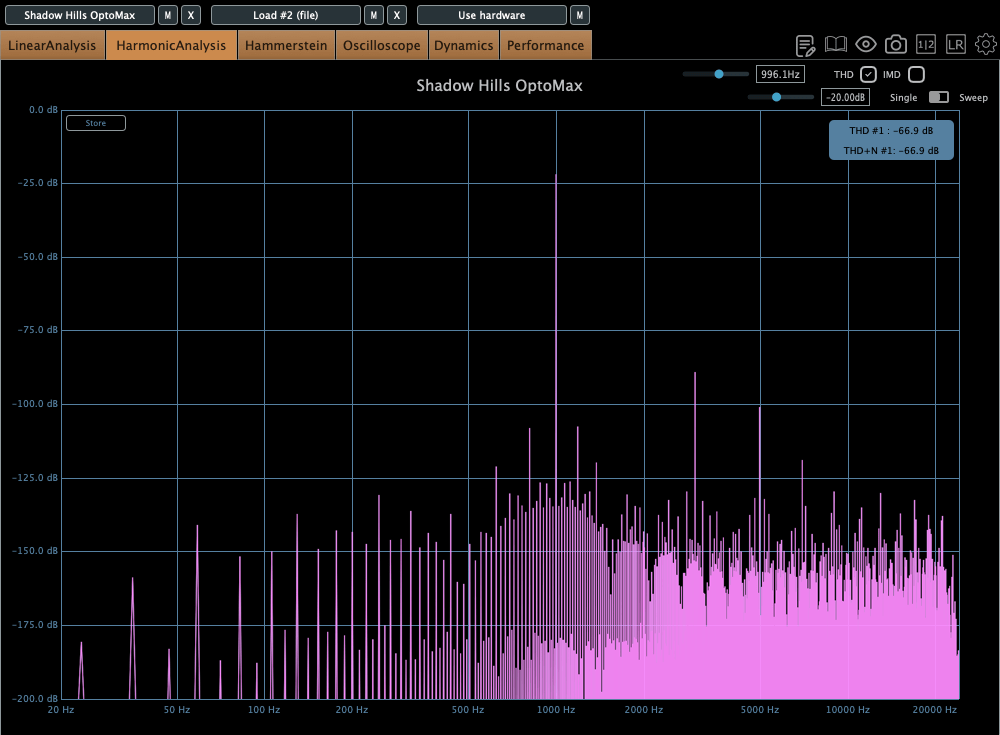
You also get helpful visual scopes that show you exactly how each effect module is transforming your sound in real-time.
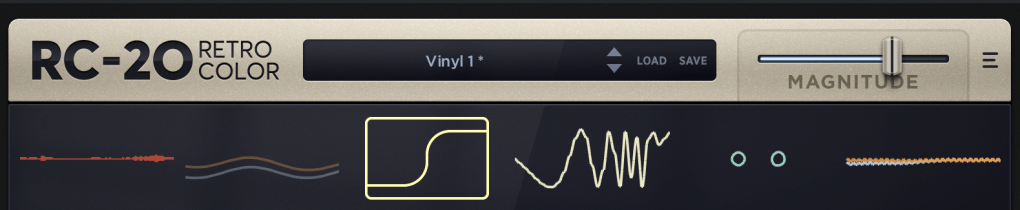
To manage the overall vintage intensity, simply use the Magnitude fader, which controls total amount of the effects.

Finally, the bottom of the plugin offers essential final controls, letting you adjust the Input/Output Gain and apply a crucial EQ filter to shape the final tone of your colored sound.
Final Thought
Really simple, isn’t it?
The core effects are incredibly powerful, yet the parameters are streamlined and intuitive. With a plugin this effective and this easy to use, there’s truly no reason not to add it to your collection!
I especially recommend it for sound designers who frequently work on music for advertisements, as well as music producers of all genres. You’ll be able to inject a huge range of interesting and fun effects into your tracks. I think it would be particularly cool for adding grit and vibe to Rock vocals, and it’s already a staple in the production of Lo-fi music.