Hello, I’m Jooyoung Kim, a sound engineer and music producer.
My last life update was all about programming, wasn’t it? This time, it’s about my thesis and research.

First off, my dissertation has been printed and bound! It’s about how to set subwoofer crossover frequencies, which required a ton of measurements—let’s just say, a lot of gritty work.
The dissertation itself wasn’t too tough, but submitting a related paper to an international journal was a real challenge. I got rejected twice, and by the third submission, I had to overhaul it multiple times. While the core methodology stayed the same, the journal paper became more refined with way more measurements. Including the ones that didn’t make the cut, I probably did about 300 measurements for the dissertation and 1,500 for the journal submission. 😅

Recently, I got a “Minor Revision” decision from Acta Acustica, an SCIE-level journal from the European Acoustics Association. After seeing “Reject” so many times, spotting “Minor Revision” almost brought tears to my eyes! 😄 This journal became Diamond Open Access this year, meaning no publication fees for authors and no subscription fees for readers. As someone with no funding and no institutional support for publication costs, getting rejected by major journals like the Audio Engineering Society or the Acoustical Society of America was tough, and I was really stressing about where to submit next. This feels like a huge relief.
Here’s hoping it gets accepted without further revisions! I need to finalize publication by next Thursday to apply for a school scholarship, but timing is always tricky… 😢 If I get the scholarship, I’m eyeing some outboard gear or a stereo mic pair… hehe.
Once the paper is officially published, I’ll dive into the details here.
On another note, I recently participated in a songwriting contest called Soniccon, hosted by Sonicwire, a company under Crypton Future Media (famous for Vocaloid). I submitted a song in Japanese that I wrote and performed myself.

I made it to the final round, ranking in the top 18! 😊 My dream has always been to work across songwriting, sound engineering, practical work, and academia, and it feels like things are finally starting to come together.

But, of course, whenever I say that, something goes wrong… 😅 My second international paper, submitted to IEEE Transactions on Consumer Electronics, got desk-rejected in just four days. The rejection letter said:
“Your manuscript has been denied publication in the Transactions on Consumer Electronics as this paper is identified as more appropriate for publication in other reputable journals.”
Even with a rejection, getting reviewer feedback helps pinpoint what to fix, but a desk rejection like this leaves me a bit lost. The topic leans toward circuits and electronics, but I don’t know any conferences or journals in that field, and I don’t have any electrical engineering friends or professors to ask for advice.
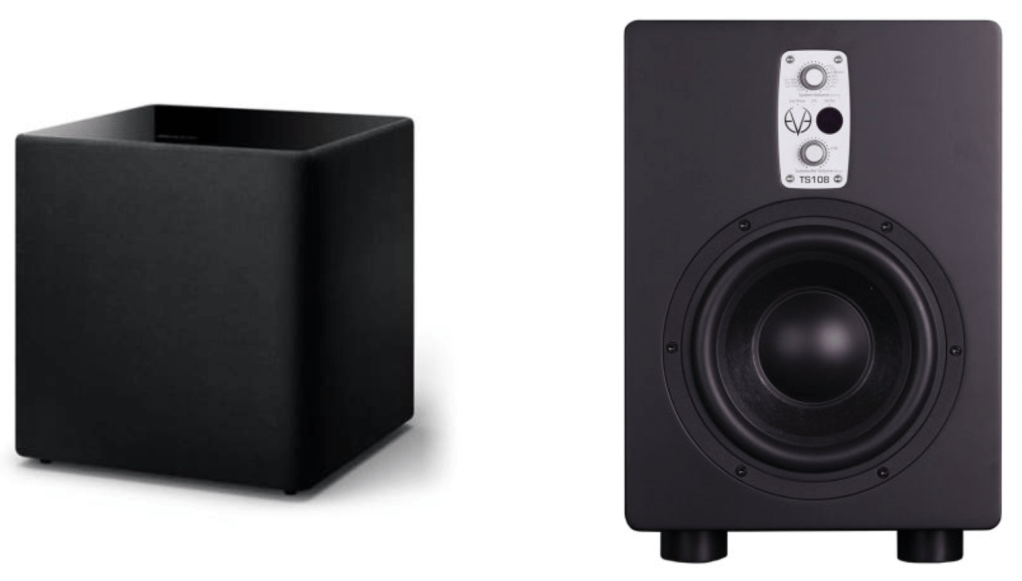
Looking at how music and research are often funded, I guess I’m destined to chase grants. 😄 But honestly, I’ve been funding all this myself—my subwoofer research used my own music gear or borrowed subwoofers from my professor, though the Earthworks M30 measurement mic was a painful purchase… 😢

The second paper cost about 250,000 KRW (~$180 USD) for materials, which is relatively cheap. Add in KCI journal publication fees, conference memberships, CDs, and music purchases, and I’ve probably spent around 800,000 KRW (~$580 USD) out of pocket. If I’d refined it more and aimed for an international journal, I could’ve saved about 600,000 KRW in fees, but I didn’t know the process back then. I’m chalking it up to tuition for learning the ropes.
I’d love to tackle bigger, time-intensive projects like Dolby multichannel, binaural audio, or deep learning, but those require serious funding. Binaural and Dolby Atmos setups need completely different gear, and the costs add up fast. 😅 Even for smaller projects, just covering material costs or extra page fees for open-access journals would be a huge help. Research support for master’s graduates is practically nonexistent, which makes things tough.
That’s the rough update for now!
See you in the next post! 😊