Life Update: Live Sound Engineer, Mixing Instructor, and Thesis Work (Oct 26, 2025)

Hello everyone, this is mixing engineer and music producer Jooyoung Kim.

It’s been another busy week, so this one’s going to be a short life update post. ^^;


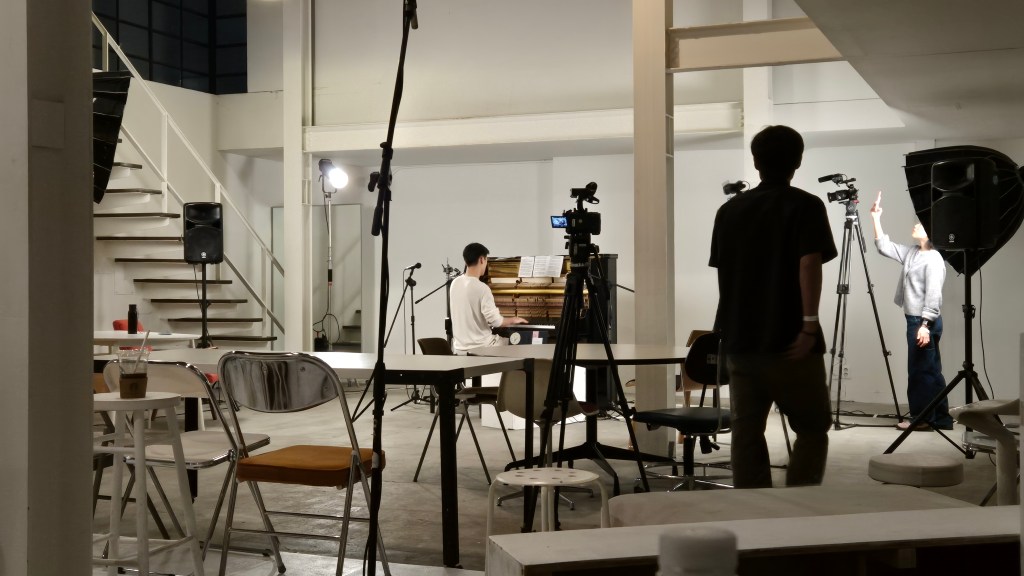
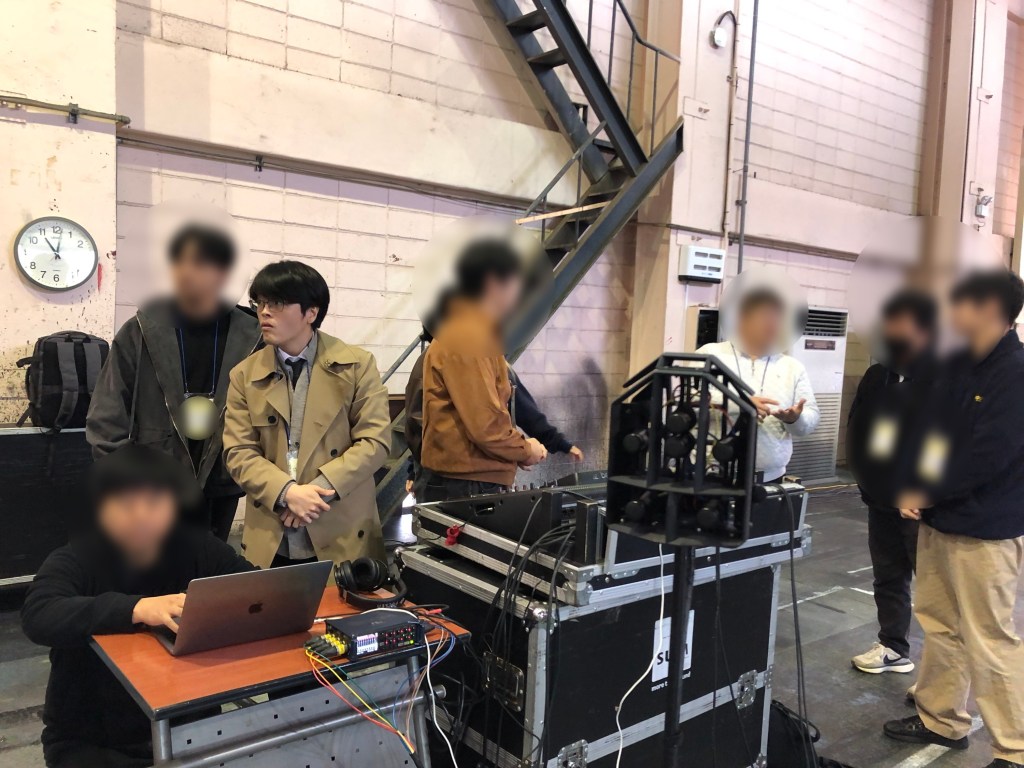
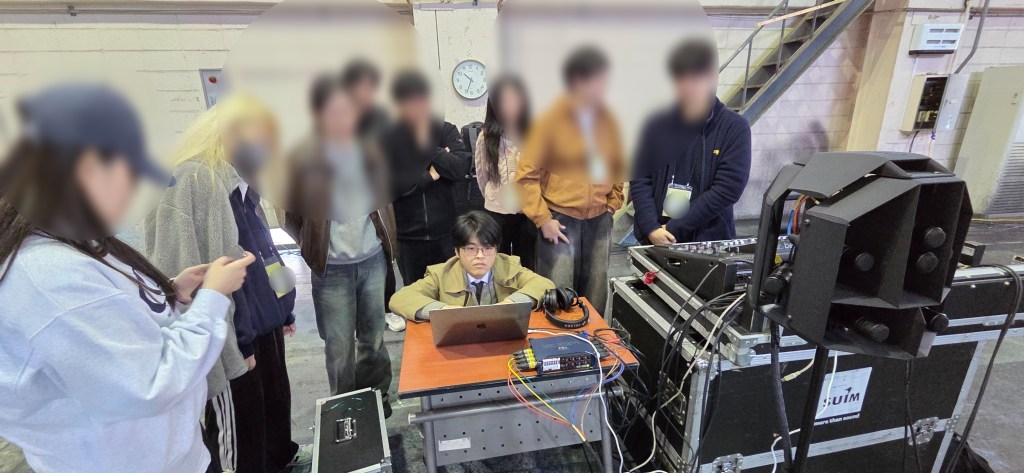
Last Saturday, we held the second “Frisketch x Yeonjun Yoon | Um” concert.

I worked as the sound director again. We used the same venue as the June concert, but this time we positioned the piano differently.

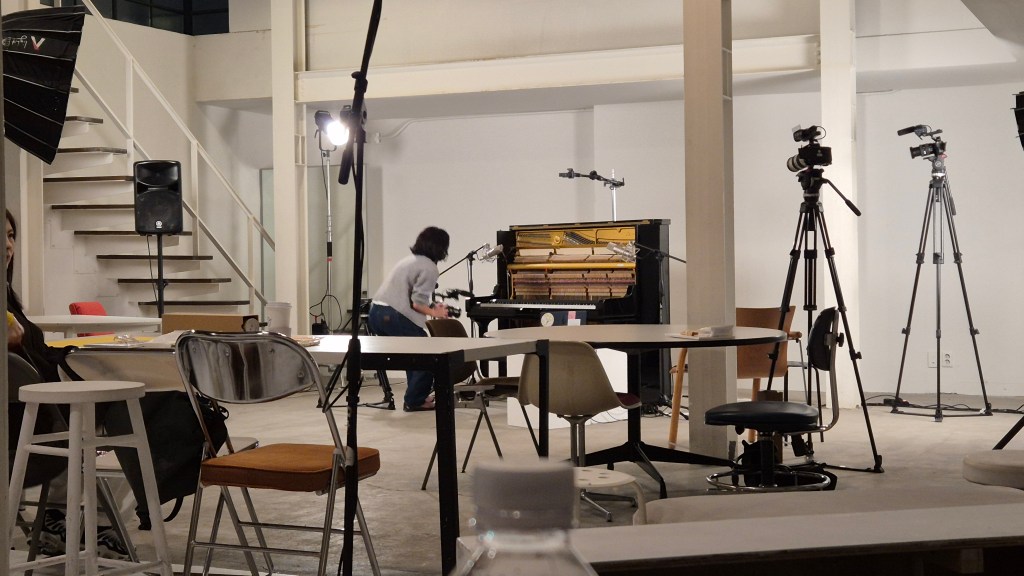
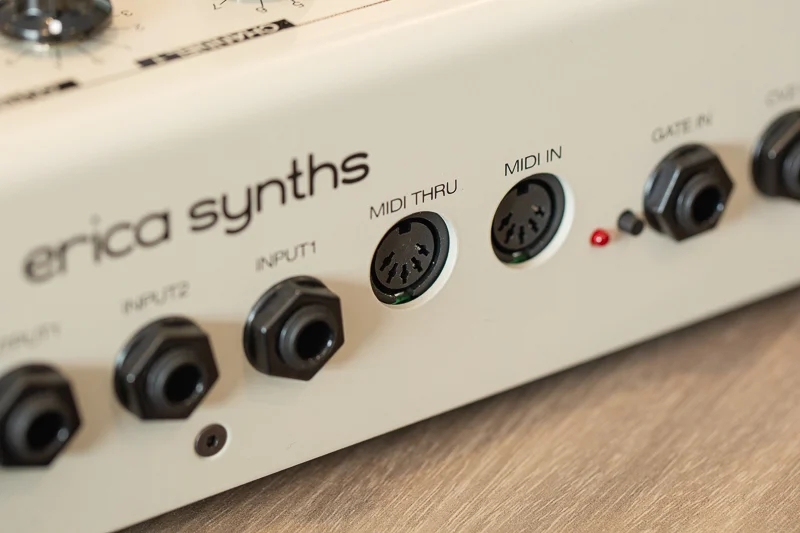
In the meantime, I picked up another Peluso P87 and added two RØDE NT55s for ambience. The sound came out much closer to what I had in mind this time.

Because of the speaker placement, I decided to run the mix in mono. Since the only instrument was the piano, the main mic (P87) captured it beautifully.

That said, when the artist mentioned, “I wish the piano tone were a bit less metallic,” I completely agreed. Haha.


Then on Tuesday and Wednesday, I assisted Sound Director Sung-won Yang in his class “Mixing with IR Reverb” at the Arko Arts Human Resources Institute in Ilsan.

On Wednesday afternoon, I took over and led the mixing lecture myself.

Sometimes I wonder if I made things too difficult, but the topics I consider most important in mixing tend to be the challenging ones.

So I told the students, “It’ll all make sense later—trust me,” and just went for it. Haha.

Honestly, I had so much I wanted to cover, but time was short. I trimmed and trimmed until the lecture fit the schedule perfectly—but it still felt a bit like a Spartan session.

Hopefully it wasn’t too much to absorb all at once.


By the way, I don’t think I’ve mentioned this here before, but I’ve been teaching major practical courses at my graduate school since finishing my master’s degree.

I used to give private lessons only to a few close acquaintances, but now that I’m officially teaching as part of the program, I’ve been thinking a lot more seriously about pedagogy and teaching methods.


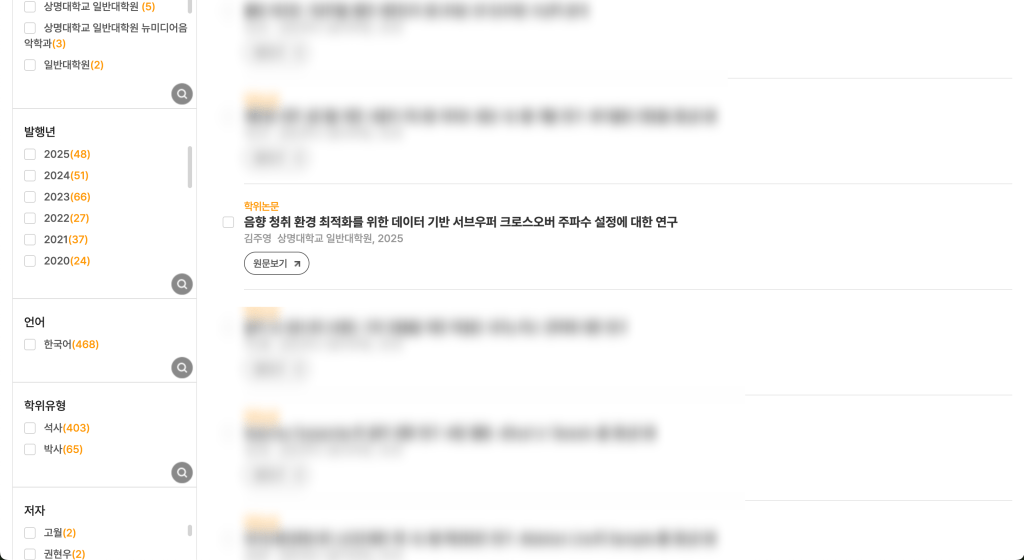
Also, my master’s thesis has finally appeared on D-Collection (The archive of theses in South Korea).

The topic is the same as my journal publication, though since it’s an earlier research version, the experimental conditions may feel a bit rougher.

I wanted to cite my published journal paper in the thesis abstract (which is normally standard practice), but unfortunately the publication and submission dates overlapped too closely.

I even contacted the university library afterward, but they said the submission was already finalized and online revisions weren’t possible.

Still, since the journal was published first, there’s no real issue academically.

(For context: a thesis isn’t considered an official publication—once your advisor approves it, the degree is granted.)

Interestingly, I couldn’t find another case online where the timing overlapped this perfectly. ^^;


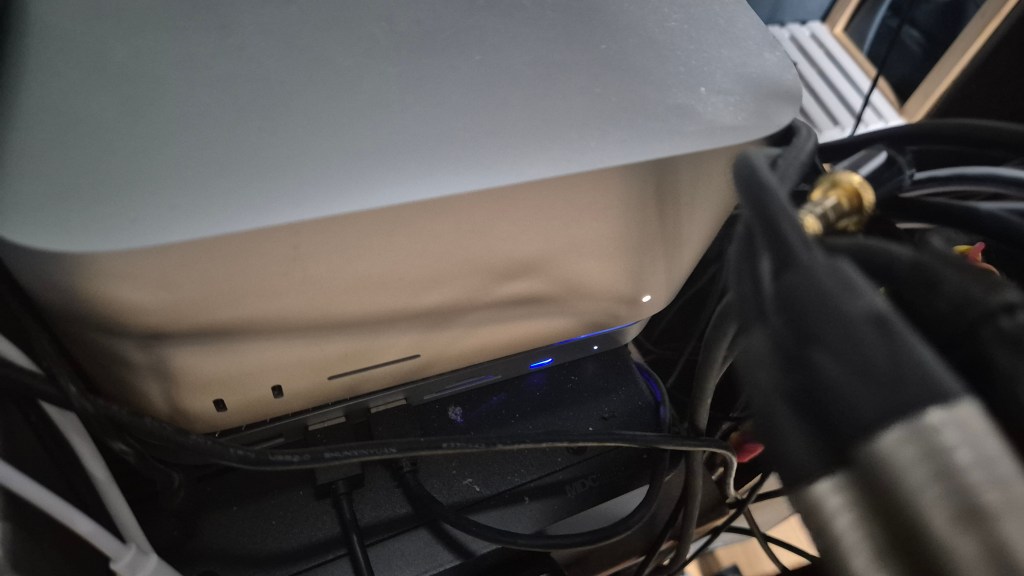
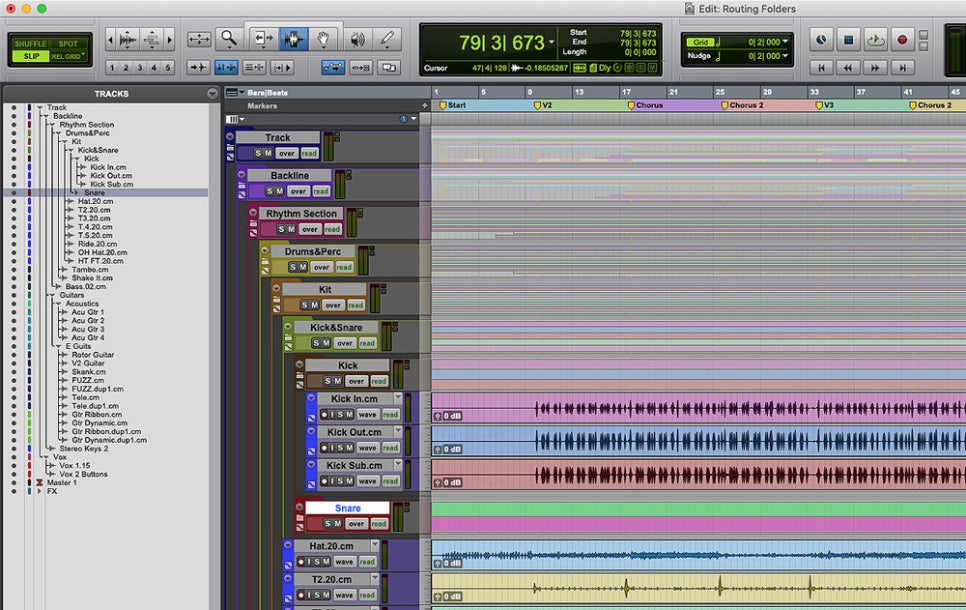
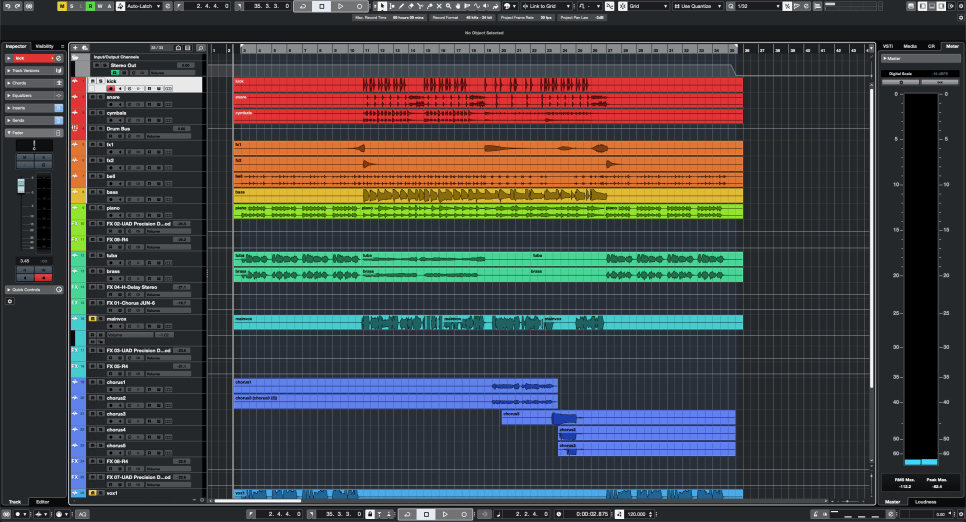
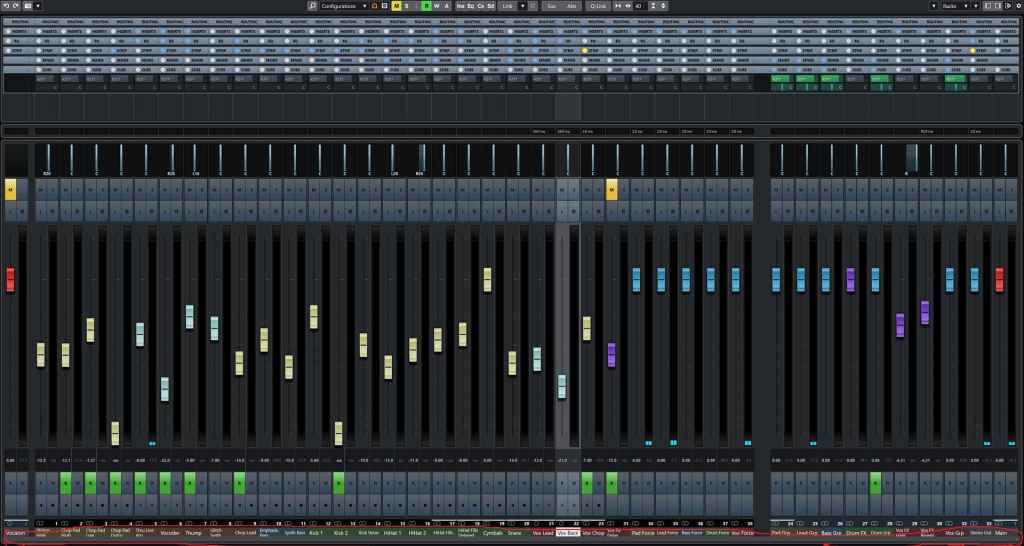
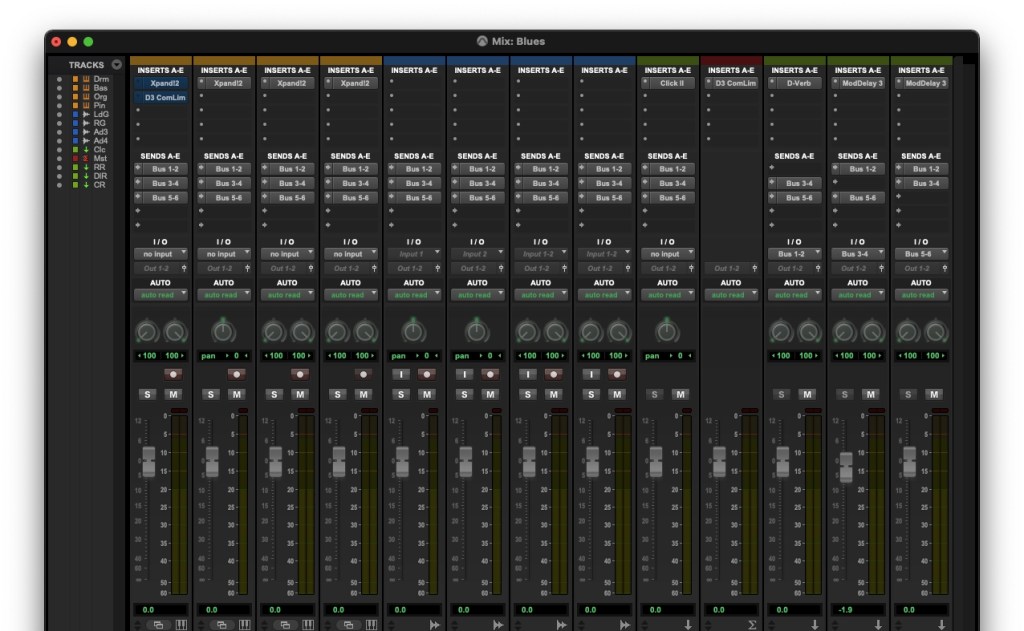
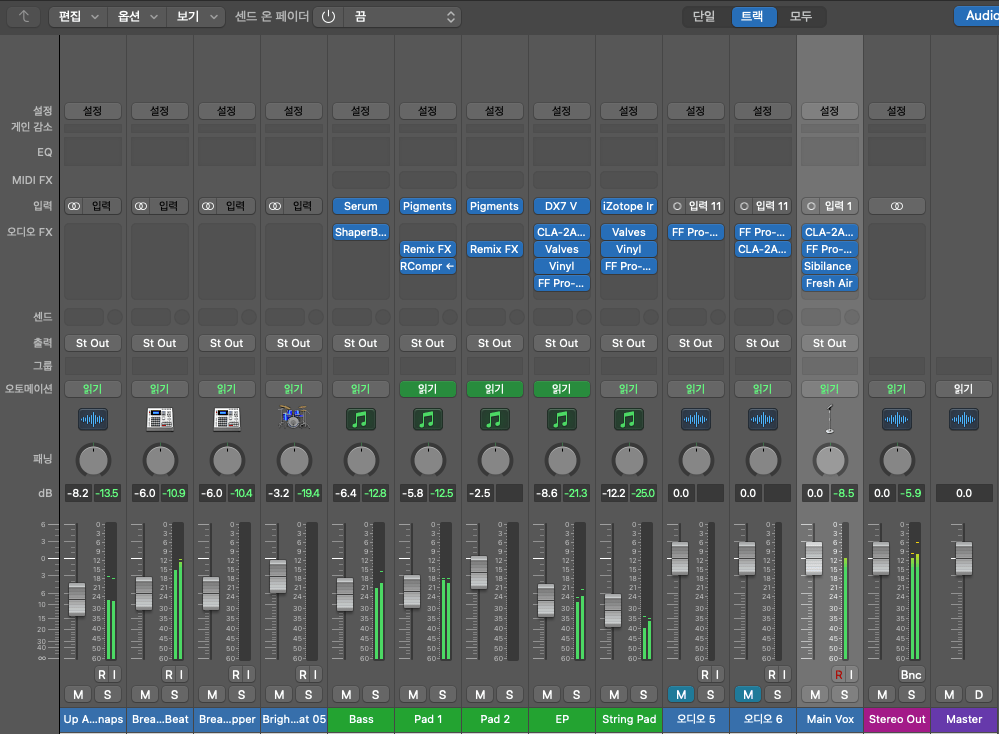
As for my recent live recordings, I’ve finished most of the mixing, and now my Mac Studio is running endless deep learning sessions again.

Compared to my old Windows PC with a GTX 1080, the Mac runs quieter and stays much cooler.

I’m redoing the experiment I failed back in May, and this time I plan to take my time and turn it into a proper paper.

I already got IRB approval, so I’m hoping the training finishes soon.

(Each CNN run takes about 20 days, by the way… hahaha… ha… 😭)

I’m planning to try a WaveNet model as well, but I’m slightly worried it might overrun the IRB deadline. 😭


That’s how things have been lately.
See you in the next post!

Basics of Mixing – 3.2 Types and Organization of Tracks

Hello! I’m Jooyoung Kim, a mixing engineer and music producer.

In the previous post, we looked at the functions of DAWs along with analog consoles.

Today, I will revisit the types of tracks within a DAW and share some tips on how to organize them.

There are about seven types of tracks that can be classified in a DAW:

  1. Audio Track
  2. MIDI Track
  3. Instrument Track
  4. FX Track
  5. Group Track
  6. Aux Track
  7. Folder Track

Other tracks such as tempo, video, markers, etc., exist, but I’ll skip those as they are more intuitive. Let’s take a look at each type.

  • Audio Track

Audio tracks are used for audio. You can set them to mono, stereo, or even multichannel as shown in the photo below.

Since I’m only using a laptop with limited inputs, only 2 out of 13 channels are recorded.

You can record at the sample rate and bit depth you’ve set and import external audio samples into these tracks.

  • MIDI Track

    MIDI tracks are a bit different from instrument tracks. They can record MIDI signals and send these signals externally.

    For those new to DAWs, this might seem unnecessary.

    These MIDI signals are primarily used with external synthesizers. The MIDI signals are received through the MIDI IN port on the synthesizer, which then plays according to the recorded signals.

    Synthesizers with keyboards can be played and recorded directly,

    but those without keyboards must be played via MIDI signals. Nowadays, MIDI signals can also be transmitted via USB instead of MIDI ports.

    • Instrument Track

      Instrument tracks are used to load virtual instruments and send MIDI signals to them. Like MIDI tracks, you can see the MIDI signals on the track, but they are played back directly.

      Each instrument has its own MIDI CC (Control Change) settings, so it’s important to familiarize yourself with the manual of the instrument you’re using.

      *MIDI CC

      MIDI CC is a transmission standard that allows you to control parameters on MIDI-supported instruments/devices.

      Each CC can be adjusted from 0 to 127. Commonly used CCs include:

      – 1: Modulation
      – 11: Expression
      – 64: Sustain Pedal
      – 66: Sostenuto Pedal

      • FX Track

      FX tracks receive signals sent from audio and instrument tracks. In DAWs like Pro Tools and Logic, these tracks don’t exist separately and are found only in Cubase among the DAWs I use.

      These tracks are used for parallel processing or adding reverb, delay, and other effects.

      • Group Track

      Group tracks bundle multiple tracks together, allowing you to process them collectively.

      • Aux Track

      Aux tracks are found in Logic and Pro Tools, used to create FX and group tracks.

      To use Aux tracks, you need to understand the concept of buses.

      * What is Bus?

      Black Ghost Audio

      As shown in a previous post, a bus is a ‘path’ that other tracks go through before reaching the Aux track via the ‘Send’ or Output designation.

      In Aux tracks, you need to specify the channel input to a specific bus for the signal to flow.

      Therefore, Aux tracks used via Send can function as FX tracks, and those used via Output can serve as group/stack tracks.

      This process is sometimes referred to as OOBus when grouping tracks.

      • Folder Track

      Folder tracks are used solely for organizational purposes and do not affect routing. They can mute/solo entire sections or consolidate unnecessary tracks.

      • Organizing Tracks

      Here’s a simple project I mixed.

      Organizing tracks can be done in any way, but I usually categorize them as follows:

      1. Drums and Percussion
      2. FX sources like risers and bells
      3. Bass
      4. Piano/Pad
      5. Other synthesizer instruments
      6. Acoustic/Electric Guitar
      7. Orchestral Instruments
      8. Vocals

      I tend to place lower frequencies at the top and higher frequencies at the bottom. Orchestral instruments are arranged in score order.

      FX tracks sent via Send are placed directly below the corresponding instrument/group track. I prefer designing and fine-tuning FX for each instrument individually, so this method works best for me.

      As you work on multiple projects, you’ll develop your own track organization method, tailored to your convenience.

      However, organizing tracks can significantly speed up your workflow, so having a consistent routine is beneficial.

      That’s all for today. See you in the next post!

      Basics of Mixing – 3.1 Console and DAW

      Hello! This is Jooyoung Kim, a mixing engineer and music producer.

      Today, I will finally talk about the functionalities.

      Shall we begin?

      In the days when all recording processes were done analog, mixing was performed using analog mixers and tape.

      Here is a video I found related to this topic. If you are interested in analog recording, you might find it interesting to watch.

      The transition from analog to digital began with the release of Digidesign’s (now AVID) Sound Tools.

      Sound Tools included a DAW program called Sound Designer, various chipsets, and devices that acted as audio interfaces, all designed exclusively for Mac.

      Later, this program evolved into Pro Tools, a representative DAW.

      Such systems, integrated with DAWs, show why Pro Tools has become the industry standard and why Macs are commonly used in studios today.

      As we moved from analog to digital, DAWs developed by incorporating analog functionalities into computers. Therefore, understanding the functions of an analog mixer can make it easier to approach mixing with a DAW.

      The DAW mixer window that you need to get familiar with if you’re into mixing

      The interface of the mixer window is also designed similarly to an analog mixer. Let’s take a closer look at a mixer.

      • Analog Mixer and Signal Flow

      I wanted to bring a larger one, but it was difficult to see clearly.

      Let’s start from the left.

      Each channel has a series of stages: Pre section with mic preamp and input gain, Insert section with compressor and EQ, Send/Return section for external effects, and Post section with panning and output gain.

      This configuration of a single channel is called a channel strip, and a mixer consists of multiple channel strips. The DAW mixer window is organized in a similar sequence.

      The signal usually flows from top to bottom, and this path is called the ‘signal flow.’ Each DAW has a different signal flow, so you need to learn the signal flow of your specific DAW.

      I usually prefer Cubase for mixing, but the current project is in Logic, so I brought the Logic mixer window. Here, you can see that each channel strip is quite similar to an analog mixer.

      Let’s check the Send section in the DAW mixer window and then return to the analog mixer.

      • Send Section

      The analog mixer I brought doesn’t specifically say Send but is labeled FX. This Send function allows you to send the signal from each channel strip to a separate Send channel to apply effects independently.

      Some might wonder why not just apply effects in the Insert section.

      In the past, studio reverb and delay units were large and expensive. Applying such effects to each channel individually was nearly impossible. Additionally, sending the sound separately through the Send section provided the advantage of processing it independently.

      This feature remains in modern DAWs.

      In mixing, the Send section is primarily used for applying delay, reverb, and sometimes modulation effects like phaser or chorus, as well as saturation effects like distortion.

      Next, we need to look at the group/send section and bus.

      • Group and Aux Channels, and Bus

      Group/Aux channels are mostly seen in large analog mixers. They are used to bundle similar instrument groups for collective control.

      In Cubase, the concept of a bus isn’t used, making it more intuitive. However, in Logic and Pro Tools, the bus concept can be a bit confusing.

      A bus is a signal path that combines audio signals from multiple tracks. This explanation might sound complex, but think of it as an additional step before the Aux track.

      In Logic and Pro Tools, the bus function is used to create groups or apply effects like reverb or delay through Send.

      • Master Channel

      All tracks ultimately converge at the master channel, which is usually the Stereo Out channel in standard mixing.

      It is crucial to ensure that the digital peak does not exceed 0dB in the master channel.

      Although the 32-bit float format prevents audio quality destruction even if peaking occurs, it’s good practice to manage digital peaks for industry standard compliance and effective communication.

      This should provide a basic understanding of the tracks and their functionalities.

      See you in the next post!