The Basics of Mixing – 10.1 Modulation Effects (Part 2)

Hello, this is Jooyoung Kim, a mixing engineer and music producer!

Continuing from my previous post, today we’re diving deeper into modulation effects.

This content is based on my book, The Basics of Mixing, which I wrote in Korea.

Let’s get started!


1) Tremolo
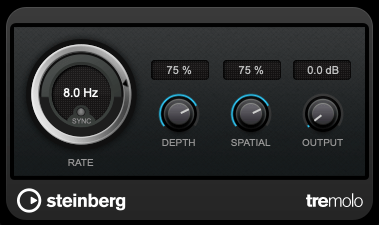
As previously mentioned, modulation effects involve altering a parameter over time. Tremolo specifically modulates volume over time.

When applied heavily, it can create a pulsing effect, and it’s also useful for adding an artificial groove to your track.


2) Vibrato
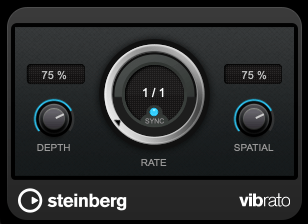
Vibrato, unlike tremolo, modulates pitch instead of volume.

Pretty simple, right?


3) Flanger
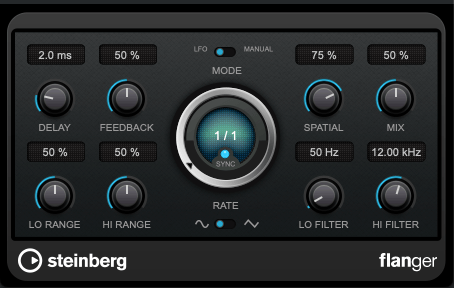
The flanger effect has roots tracing back to Christiaan Huygens, the Dutch mathematician, physicist, and astronomer. (For those familiar with physics, you might recall Huygens’ Principle from studying waves!)

Flanger works by duplicating the original sound and playing the copy after a very short delay, creating what’s known as a comb filter effect.

By adjusting the delay time, the peaks and troughs in the frequency response created by the comb filter shift back and forth.

This may sound complex, but experimenting with it will make the concept much clearer. It’s this shifting comb filter effect that produces the signature whooshing or “rocket-like” sound of flanging.


4) Chorus

Chorus is similar to flanger but has a few key differences.

In chorus, the original sound is copied and delayed (often with multiple copies), but the delay time is longer than in flanging. Additionally, chorus effects often include adjustments to panning and pitch, creating a richer and fuller sound.


5) Phaser

Phaser is another modulation effect that shares similarities with flanger but operates differently. Instead of applying a short delay like flanger, a phaser uses an all-pass filter to manipulate the phase of the sound.

This phase-shifted sound is then blended with the original, resulting in a comb filter effect, just like flanger. However, the method of achieving this effect gives phasers their unique, swirling sound.

If you look at the waveforms, you’ll notice the phase shifts caused by the phaser. While the subtle changes in pitch can also be observed in the waveform, it’s tricky to capture it perfectly in a screenshot.


Final Thoughts

Understanding the principles behind these effects can help, but hands-on practice is essential to mastering their use. Spend time experimenting with these effects to familiarize yourself with their unique sounds and applications.

Both theoretical knowledge and practical experience are crucial, so try to balance learning with experimentation!

See you in the next post! 😊

Basics of Mixing – 9.2 Saturation of Transistors and Vacuum Tubes

Hello, I’m Jooyoung Kim, an audio engineer and music producer. I’ve been quite busy lately, and my blog posts have been delayed…^^;;

Today, I want to talk about the saturation effects of transistors and vacuum tubes.

Shall we get started?

First of all, why do we use transistors and vacuum tubes? Let’s start with this question. Why exactly are they used?

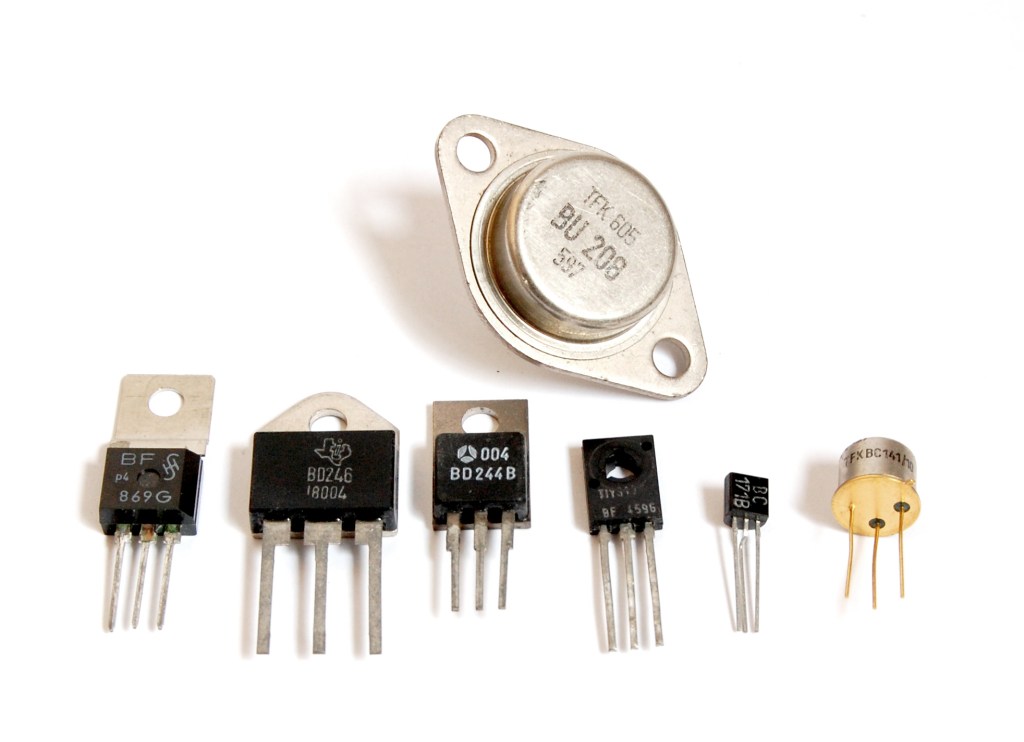
In the past, they were found in speakers, amplifiers, and even microphone preamps used by musicians—basically everywhere. The primary reason we use them is to “amplify” small electrical signals.

Now, I believe you understand why components like vacuum tubes or transistors are included in speaker power amps, integrated amps, microphone preamps, and why they are called “amps” in the first place.

In my previous post, “[Link – 9.1 Harmonics and Saturation],” I explained from a non-linear signal perspective why harmonics are produced when signals pass through these devices.

Let’s dive into how these harmonics are generated.

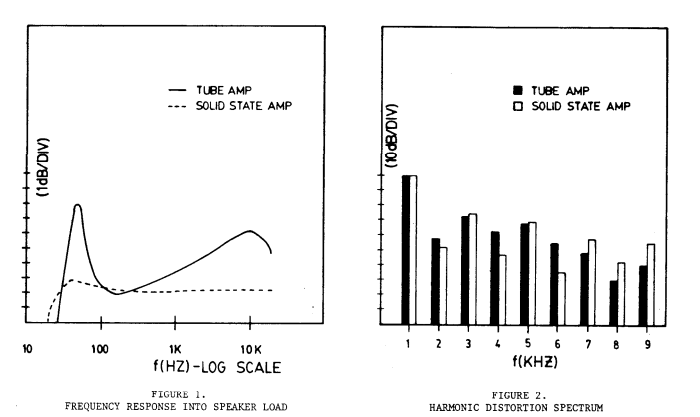
W. Bussey and R. Haigler, “Tubes versus transistors in electric guitar amplifiers,” ICASSP ’81. IEEE International Conference on Acoustics, Speech, and Signal Processing, Atlanta, GA, USA, 1981, pp. 800-803, doi: 10.1109/ICASSP.1981.1171205.

The image above is from a 1981 paper titled Tubes versus Transistors in Electric Guitar Amplifiers. It shows the response of electric guitar amps that use vacuum tubes or transistors.

The graph on the left shows the frequency response, while the one on the right displays harmonic distortion. It’s clear how different they are, even without further explanation.

References
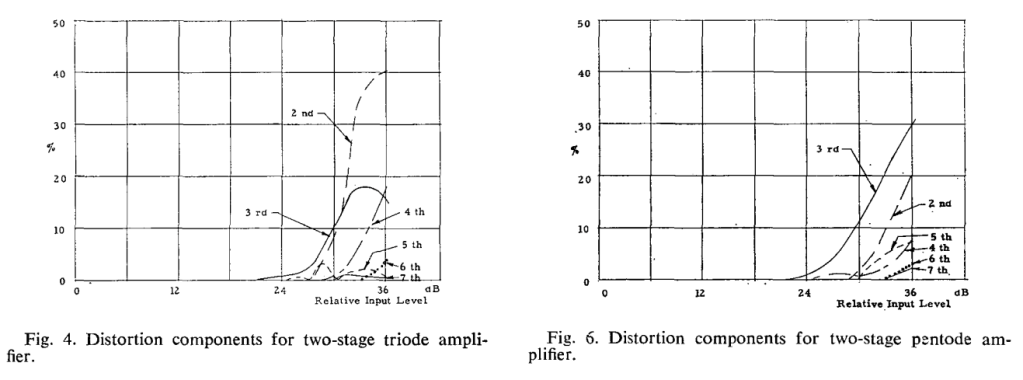
O., H. R. (1973). Tubes Versus Transistors – Is There an Audible Difference? Journal of the Audio Engineering Society, 21, 267–273.

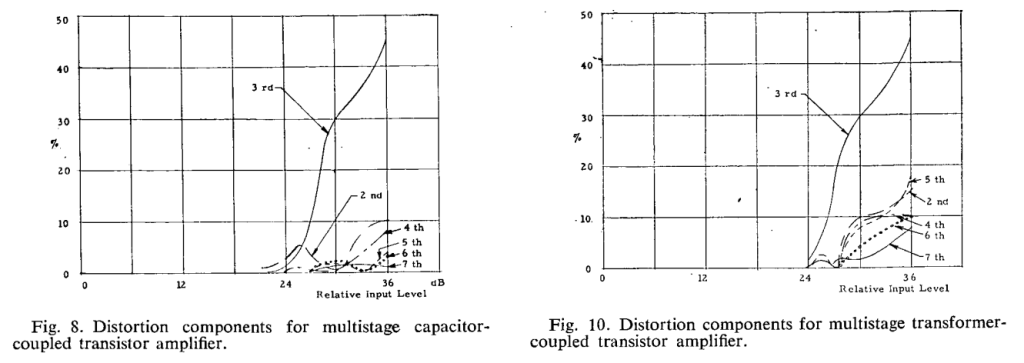
If you search online for Tubes Versus Transistors – Is There an Audible Difference?, you’ll find this paper. It’s originally an AES paid article, so if there’s any issue with the image, I’ll remove it…^^;;

Anyway, the top left graph shows two triodes (vacuum tubes), and the top right shows two pentodes (vacuum tubes). The bottom left graph combines capacitors and transistors, while the bottom right combines transformers and transistors.

So, what is this measuring? It’s measuring harmonic distortion based on input level. Rather than focusing on specific meanings, it’s enough to note that they are all very different.

If each vacuum tube and transistor has different harmonic distortion characteristics, is it really meaningful to define sound solely based on whether it’s a tube or a transistor? In my view, it’s not that significant.

What’s important for music production, in my opinion, is not differentiating between these categories but understanding how each specific device affects sound individually.

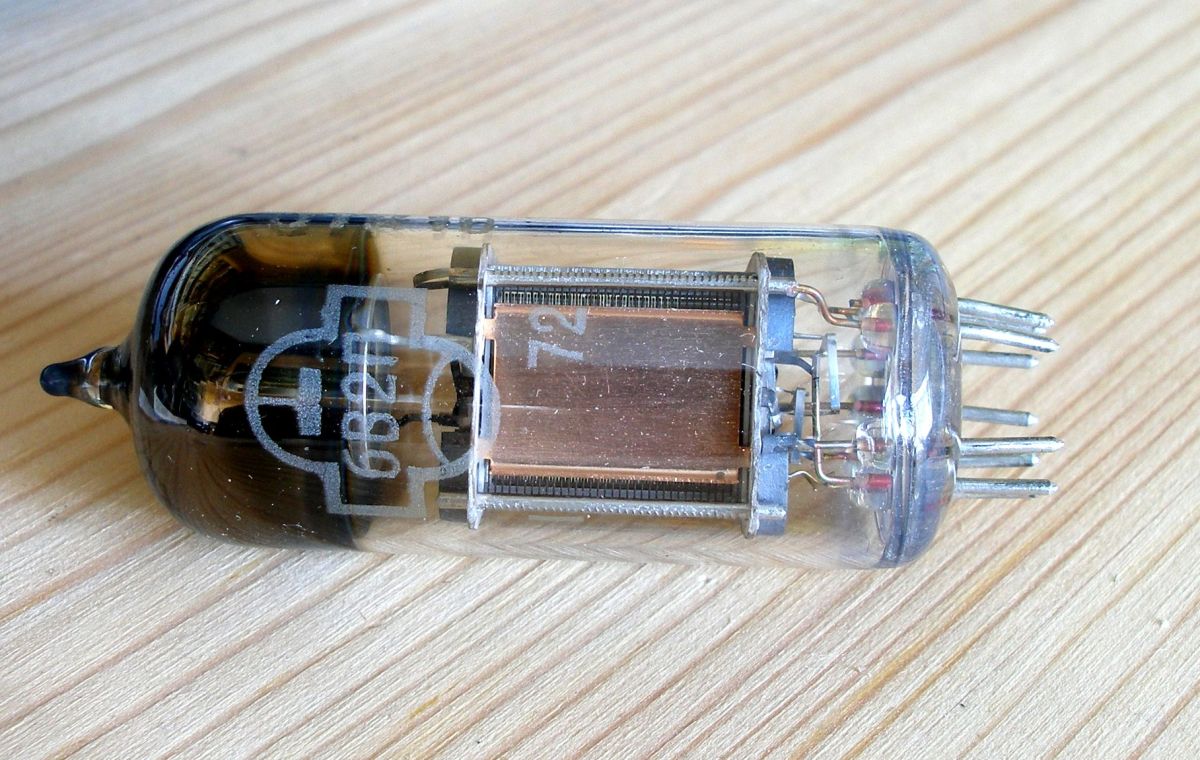
This is a microphone preamp with a vacuum tube… Doesn’t it make sense that different brands of tube preamps have their own distinct characteristics?

As an equipment enthusiast, I find myself trying to understand each piece of gear one by one, and my bank account… well… haha… ha… ha…

To make matters worse, I also play instruments, so it’s quite the struggle… I’ve been hunting for a second-hand bass recently because I’ve decided to play bass myself. It looks like I’ll be carrying this gear addiction with me for the rest of my life.

That’s it for today. In the next post, I’ll discuss the saturation effects of tape 🙂

Basics of Mixing – 7.3 Using Delay

Hello! I’m Jooyoung Kim, a mixing engineer and music producer.

Today, I’m going to talk about how to effectively use delay in your mixes.

Let’s get started!


Delay is often used during the composition stage.

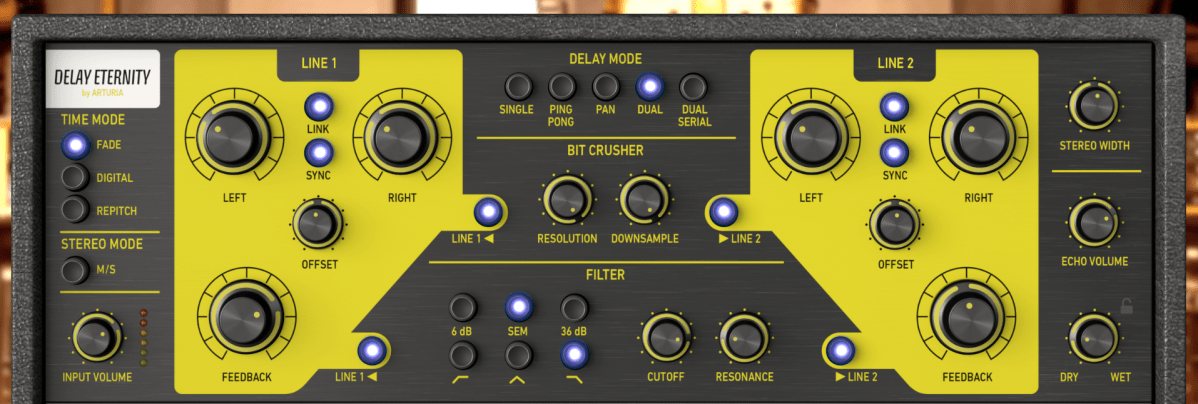
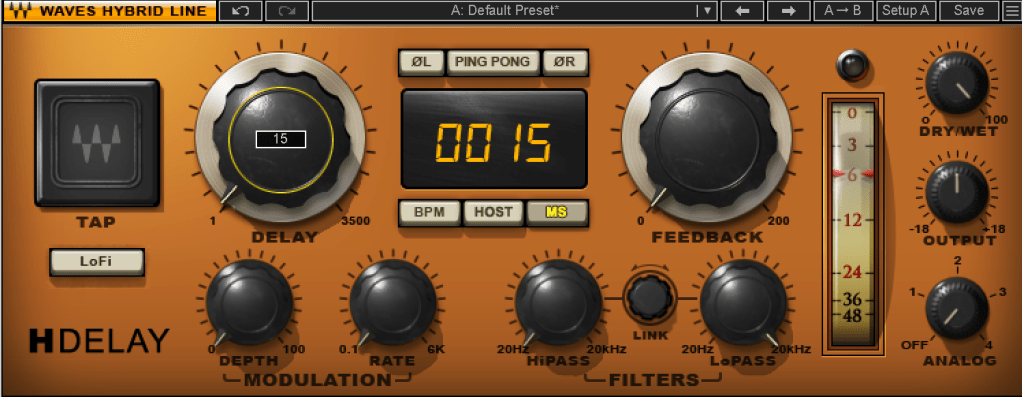
For instance, on instruments like guitars and electric pianos (EP), you can use the Feedback control to create a long-lasting echo, or apply a Ping Pong delay to bounce the effect between the left and right channels. In such cases, delay is usually synced to the BPM of the track.

From an audio perspective, when working with EPs that frequently use Auto Pan, you can send the signal to a delay, then apply the same Auto Pan effect to the delay, making the delay move left and right along with the instrument.

You can also add saturation to the delay to achieve a unique echo effect.

When using delay in sound design, it generally serves two purposes, as discussed in “7.1 What is Delay?”:

  1. To create natural reverberation, often in combination with reverb.
  2. To add an artificial groove to the source.

When using delay, it’s common to filter out the high frequencies to make the effect more natural. Low frequencies are often filtered out as well to prevent interference with the original sound. Keep these concepts in mind as we explore further.

Let’s start with the first use case.

Kaplanis, Neofytos & Bech, Søren & Jensen, Søren & Waterschoot, T.. (2014). Perception of reverberation in small rooms: A literature study. Proceedings of the AES International Conference. 2014.

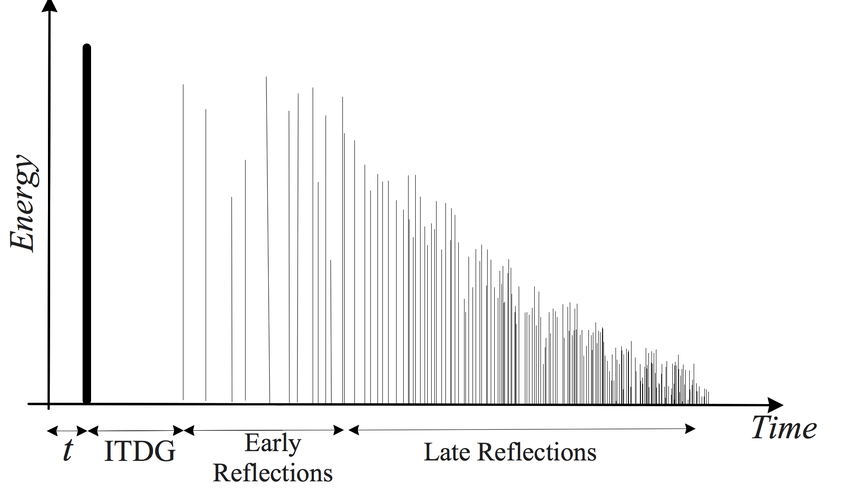
I’ll discuss this more when we cover reverb, but the graph above is a simple representation of how sound behaves in a space, showing how volume changes over time.

The bold line at the beginning represents the direct sound, followed by Early Reflections, which are the first reflections that bounce off the walls, and finally, the Late Reflections, which are the numerous echoes that occur after multiple reflections.

The point at which the sound level drops by 60dB from its initial value is known as RT60 or T60 (Reverberation Time 60). This is the reverberation time you see in reverb plugins.

The purpose of using delay in this context is to enhance the Early Reflections, making them sound more natural. While reverb alone can simulate Early Reflections, combining it with delay can produce an even more natural sound. If you set the Feedback value so that the delay fades out around the same time as the reverb, you can create a more seamless and natural reverberation.

I haven’t included an example because it’s time-consuming to create, but I believe you’ll notice a significant difference when you try it yourself.

Now, let’s move on to the second use case.

When using delay for groove, the Feedback value is typically set to zero, and the delay time is kept very short, usually between 10 to 50 milliseconds.

Where can you use this type of delay? Essentially, on any source in a track that needs a groove, whether it’s a kick, snare, clap, bass, or even vocals.

Of course, depending on the track, not using delay might sound better. It’s important to listen and decide whether it suits the song.

Initially, these techniques might seem subtle, but such details can significantly impact the quality of your track. That’s why it’s important to experiment and listen closely.

On a side note, I’ve finally finished writing the manuscript for the mixing book I’ve been working on. I was fortunate enough to receive a recommendation from a well-known figure, but the publication is delayed due to copyright issues with the photos.

For example, Antelope responded the day after I reached out, saying, “Feel free to use everything! Have a great day!” in a very casual tone. On the other hand, Universal Audio said their legal team would review my request and get back to me. I first contacted UA on July 31st, and I’m still waiting for their response… Hopefully, they’ll reply soon… 😢

I’ll see you in the next post! 🙂