Hello, this is Jooyoung Kim, a mixing engineer and music producer!
Continuing from my previous post, today we’re diving deeper into modulation effects.
This content is based on my book, The Basics of Mixing, which I wrote in Korea.
Let’s get started!
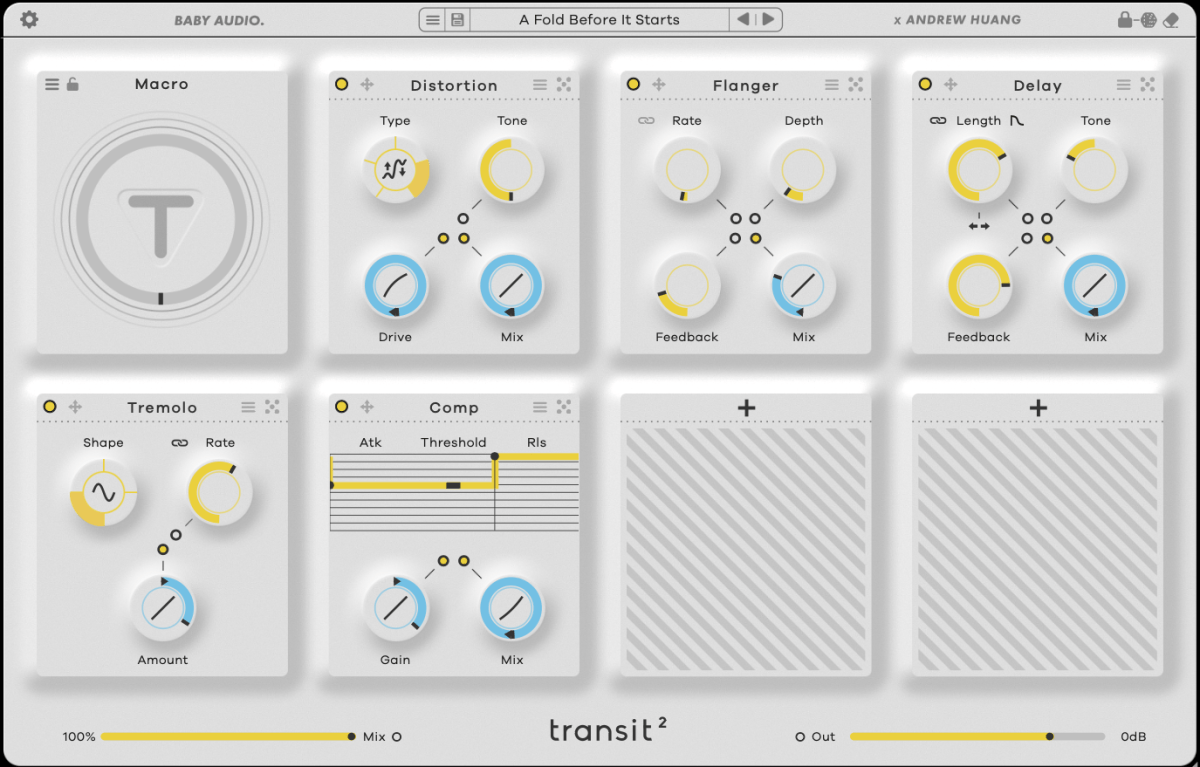
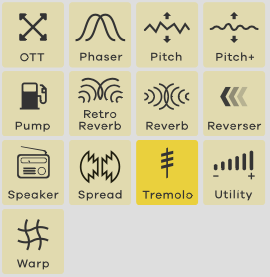
1) Tremolo

As previously mentioned, modulation effects involve altering a parameter over time. Tremolo specifically modulates volume over time.
When applied heavily, it can create a pulsing effect, and it’s also useful for adding an artificial groove to your track.
2) Vibrato
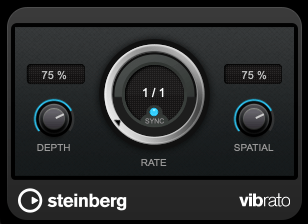
Vibrato, unlike tremolo, modulates pitch instead of volume.
Pretty simple, right?
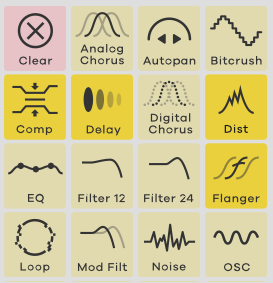
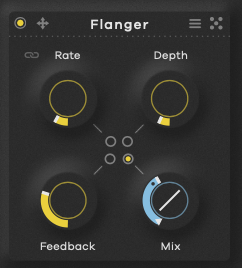
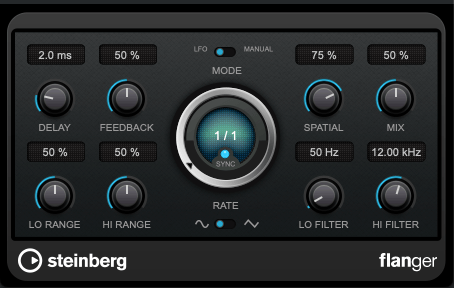
3) Flanger
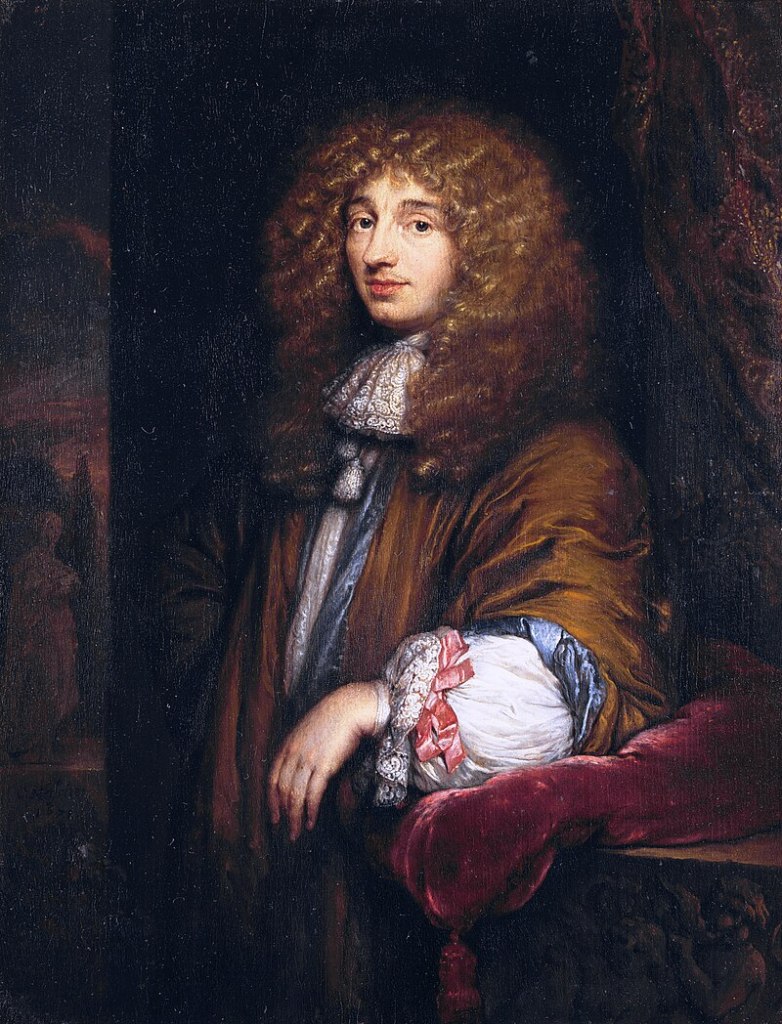
The flanger effect has roots tracing back to Christiaan Huygens, the Dutch mathematician, physicist, and astronomer. (For those familiar with physics, you might recall Huygens’ Principle from studying waves!)
Flanger works by duplicating the original sound and playing the copy after a very short delay, creating what’s known as a comb filter effect.
By adjusting the delay time, the peaks and troughs in the frequency response created by the comb filter shift back and forth.
This may sound complex, but experimenting with it will make the concept much clearer. It’s this shifting comb filter effect that produces the signature whooshing or “rocket-like” sound of flanging.
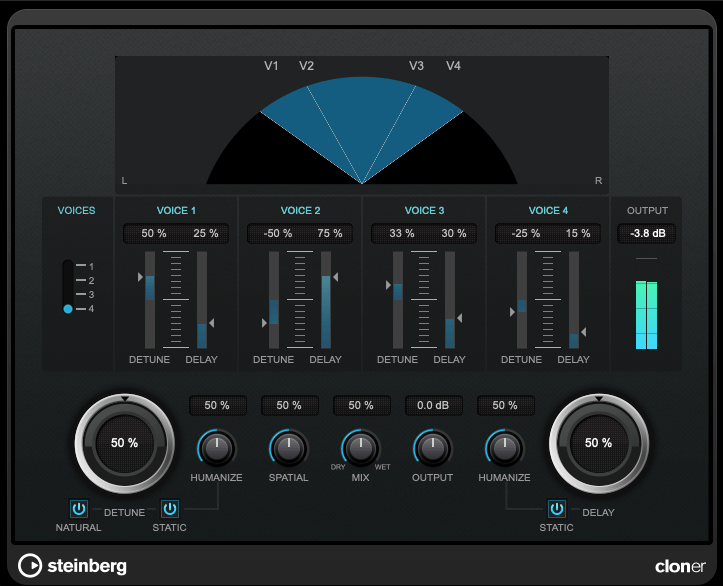
4) Chorus

Chorus is similar to flanger but has a few key differences.
In chorus, the original sound is copied and delayed (often with multiple copies), but the delay time is longer than in flanging. Additionally, chorus effects often include adjustments to panning and pitch, creating a richer and fuller sound.
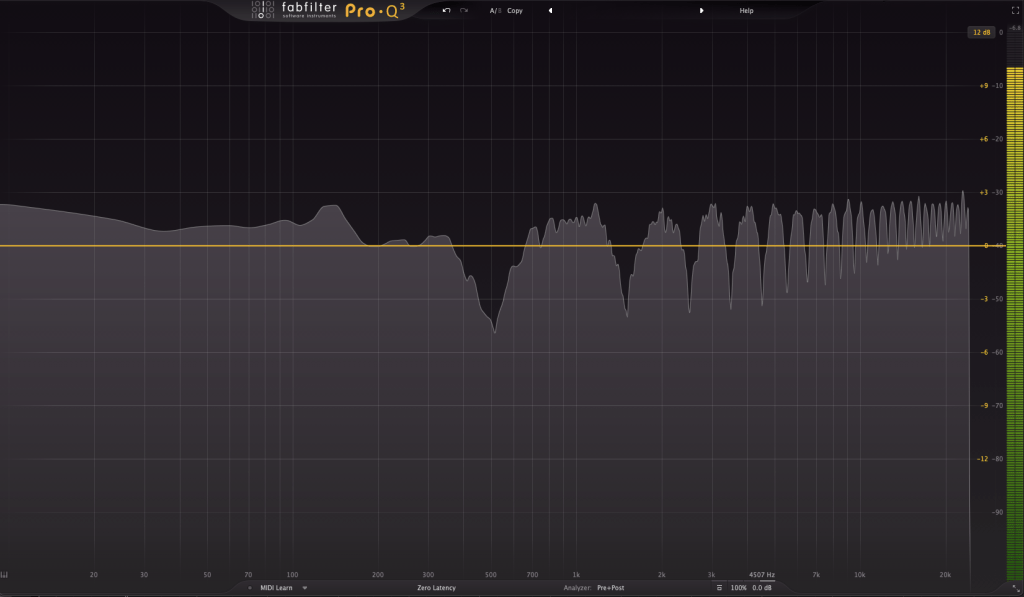
5) Phaser

Phaser is another modulation effect that shares similarities with flanger but operates differently. Instead of applying a short delay like flanger, a phaser uses an all-pass filter to manipulate the phase of the sound.
This phase-shifted sound is then blended with the original, resulting in a comb filter effect, just like flanger. However, the method of achieving this effect gives phasers their unique, swirling sound.

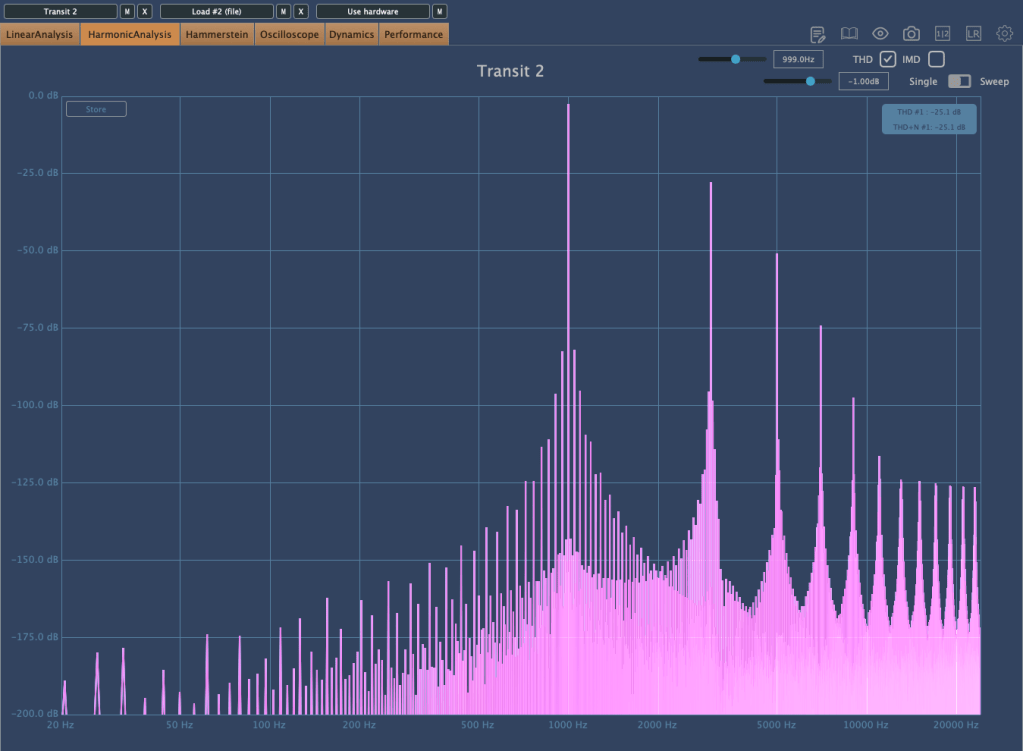
If you look at the waveforms, you’ll notice the phase shifts caused by the phaser. While the subtle changes in pitch can also be observed in the waveform, it’s tricky to capture it perfectly in a screenshot.
Final Thoughts
Understanding the principles behind these effects can help, but hands-on practice is essential to mastering their use. Spend time experimenting with these effects to familiarize yourself with their unique sounds and applications.
Both theoretical knowledge and practical experience are crucial, so try to balance learning with experimentation!
See you in the next post! 😊