Hello, I’m mixing engineer and music producer Jooyoung Kim.
Today, I’m excited to introduce you to Output’s Movement plugin, a tool designed for creating dynamic rhythms.
As with my previous posts on Output products, this plugin was provided by Plugin Boutique under Not for Resale conditions, enabling me to write this review.
(Purchasing through this link gives me a small commission, which greatly helps in running this blog.)
Let’s dive right in!
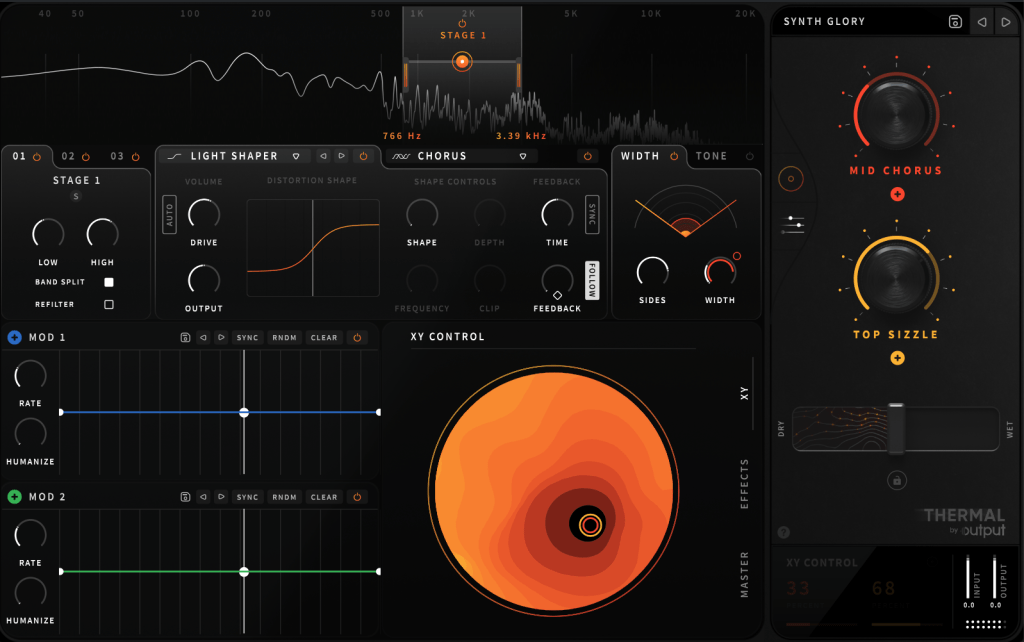
If you’re seeing this plugin for the first time, it might seem a bit overwhelming. To summarize the concept of Movement:
- It separates sounds in parallel,
- Modulates various parameters through signals like Step Sequencers, LFOs, and Sidechain,
- And then combines the sounds back together.
This plugin is particularly specialized in rhythmic modulation, which is why it’s marketed as a Powerful Rhythm Engine.
Now, let’s break down its features one by one.
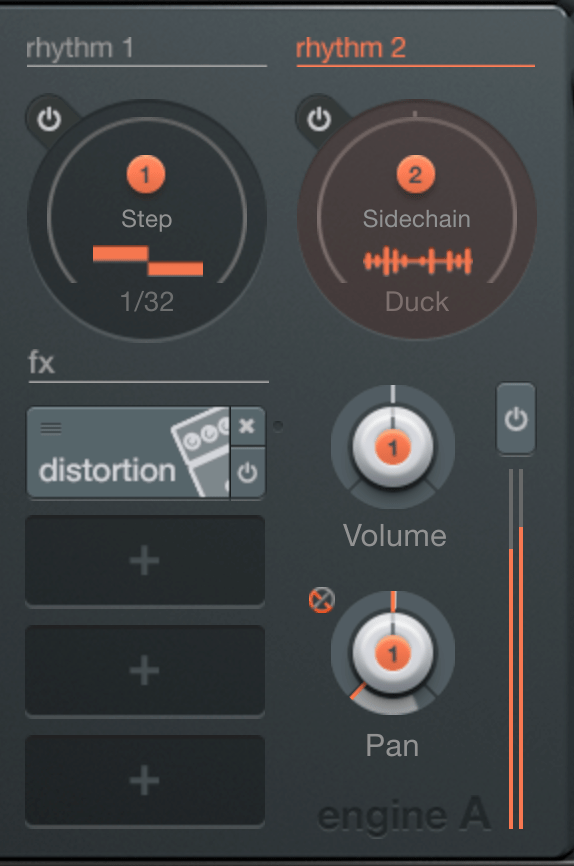
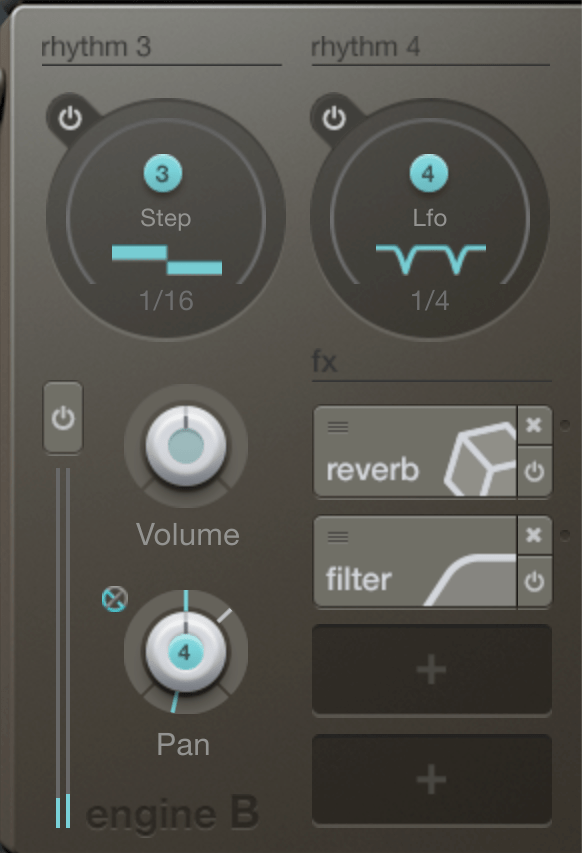
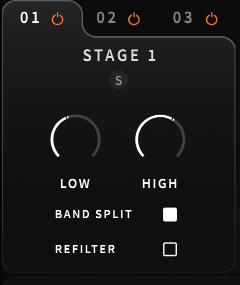
First, you’ll notice Engine A and B on either side, where you can adjust each engine’s volume and pan values. Above the engines is the rhythm section responsible for modulation. Let’s start from there.
The rhythm section allows you to choose between Step, LFO, and Sidechain.
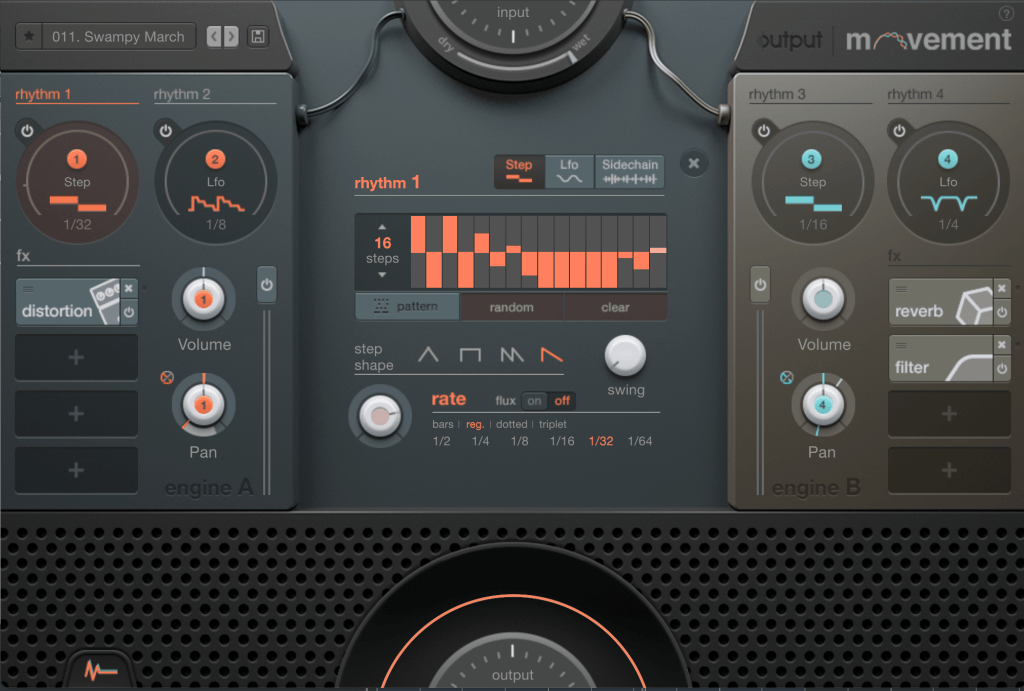
When Step is selected, you can create up to 32 steps.

You can manually create steps, generate them randomly, or choose from presets. You can adjust the shape and swing of the steps, and determine how often the steps change through the Rate setting.

LFOs work similarly. You choose a shape from the shape presets, select the starting phase, and use the Chaos function to set the amplitude randomly, which creates a unique sound that is both unpredictable yet rhythmic.
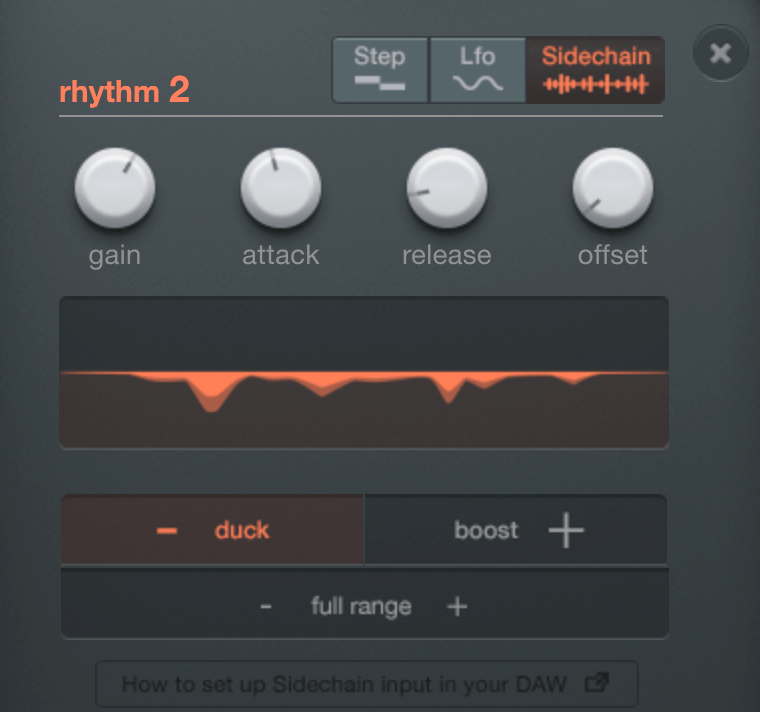
Sidechain is exactly what it sounds like! You can use external audio signals as triggers for modulation.

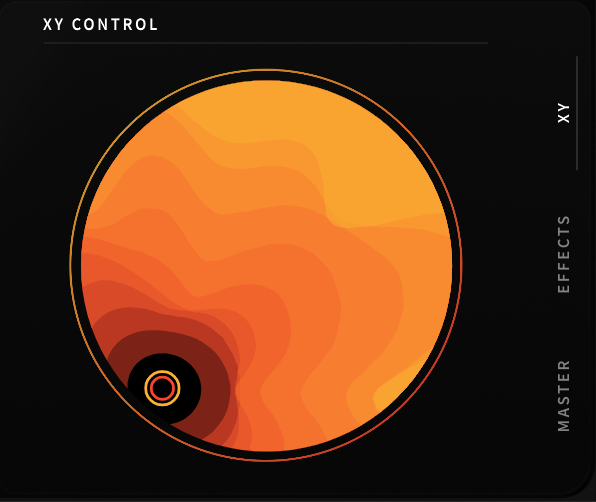
By placing the rhythm section’s number buttons on a knob, you can modulate that knob according to the selected rhythm value. Right-clicking on the knob allows you to access a modulation window where you can adjust how much it modulates based on the x-y axis movement.
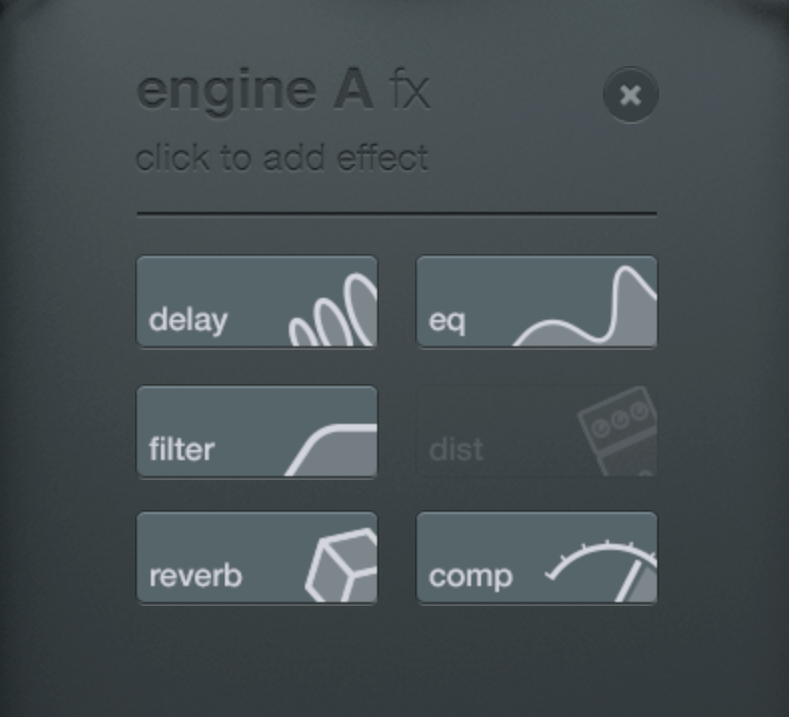
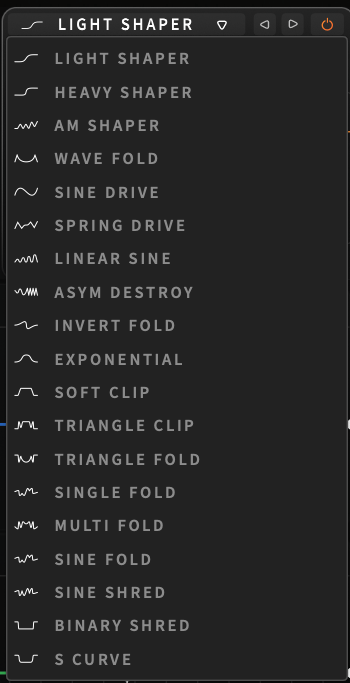
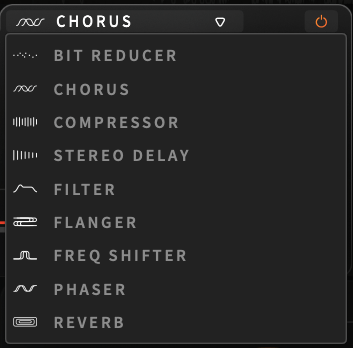
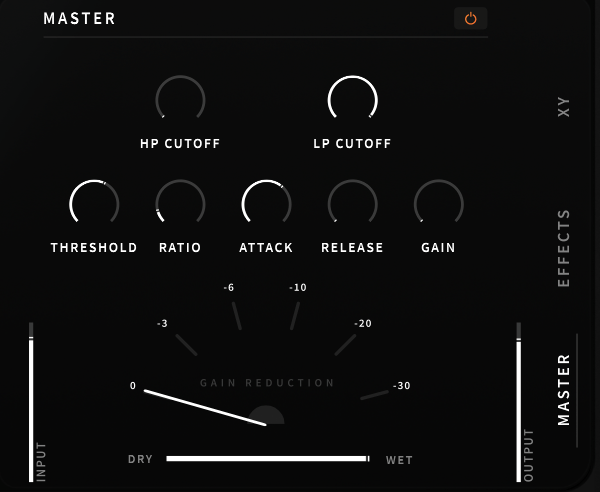
You can choose up to six FX to apply. I analyzed Comp, EQ, and Distortion in particular.
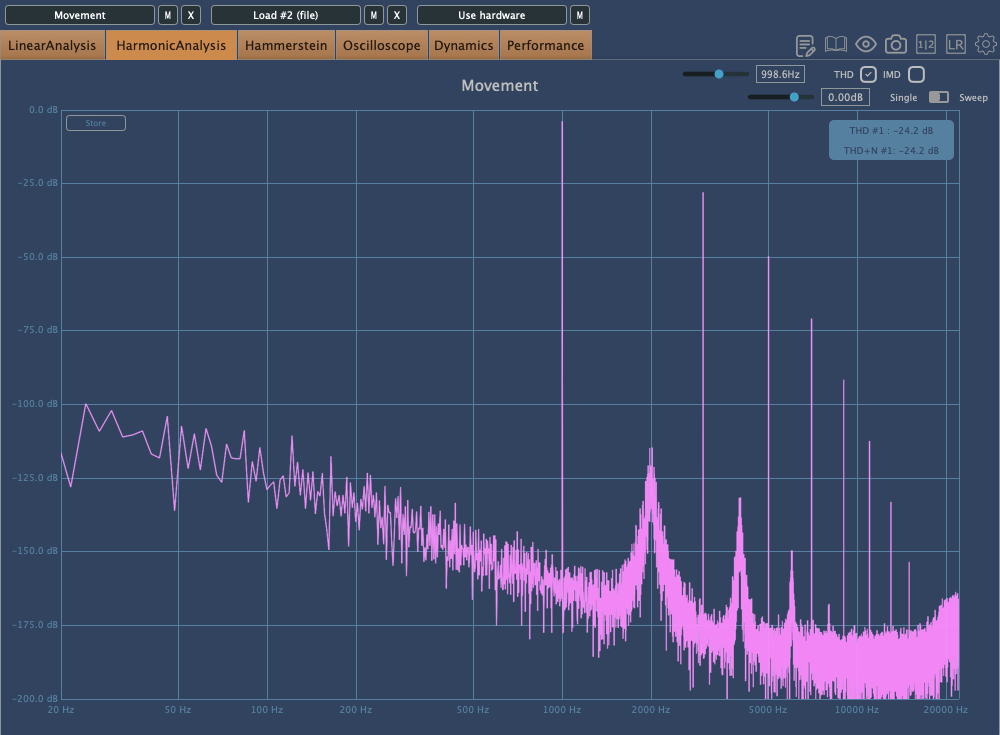
Comp

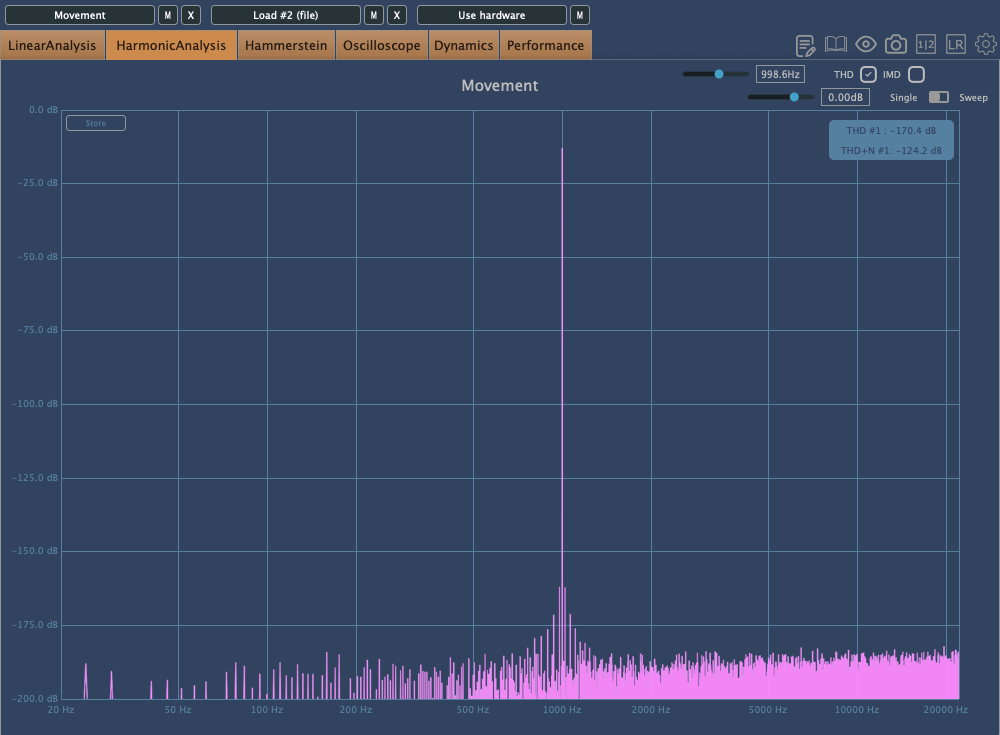
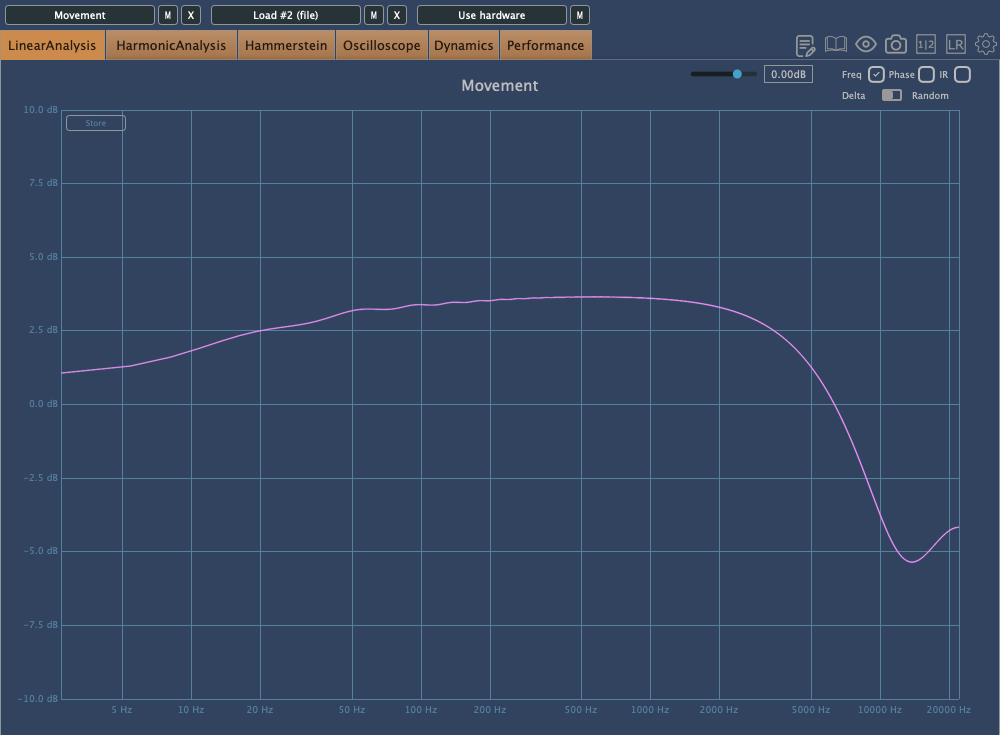
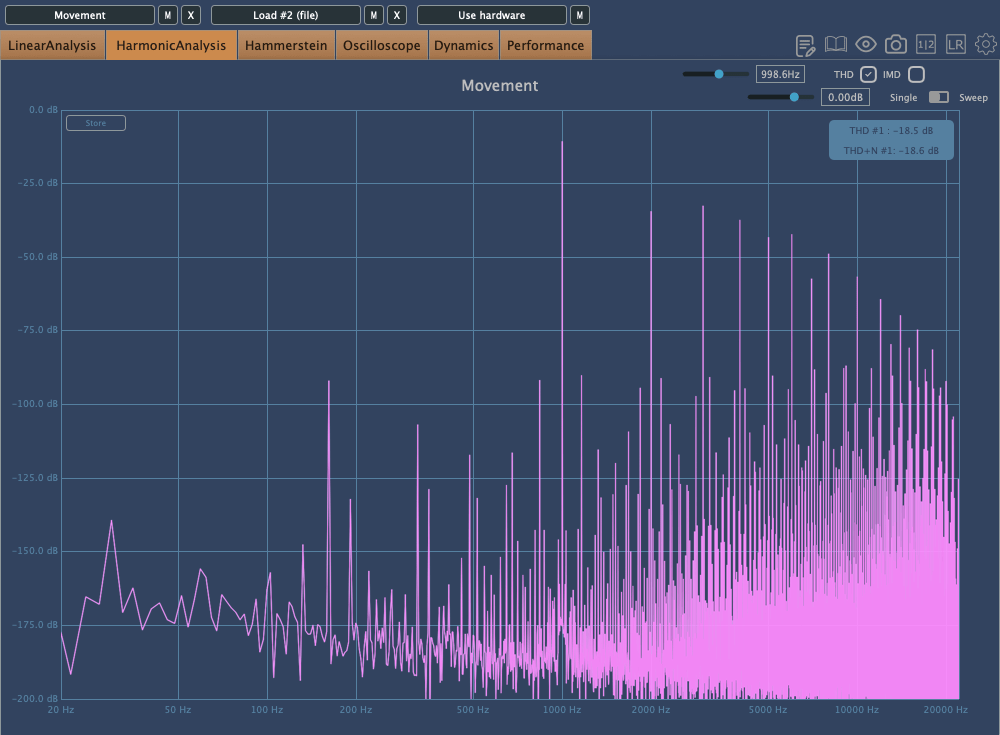
The above images show the frequency response and harmonic distortion with Warmth set to 0, while the ones below show the same with Warmth increased.
With Warmth at 0, it functions as a clean digital compressor. With Warmth added, the high frequencies are slightly rolled off, and the sound becomes more saturated.
Distortion


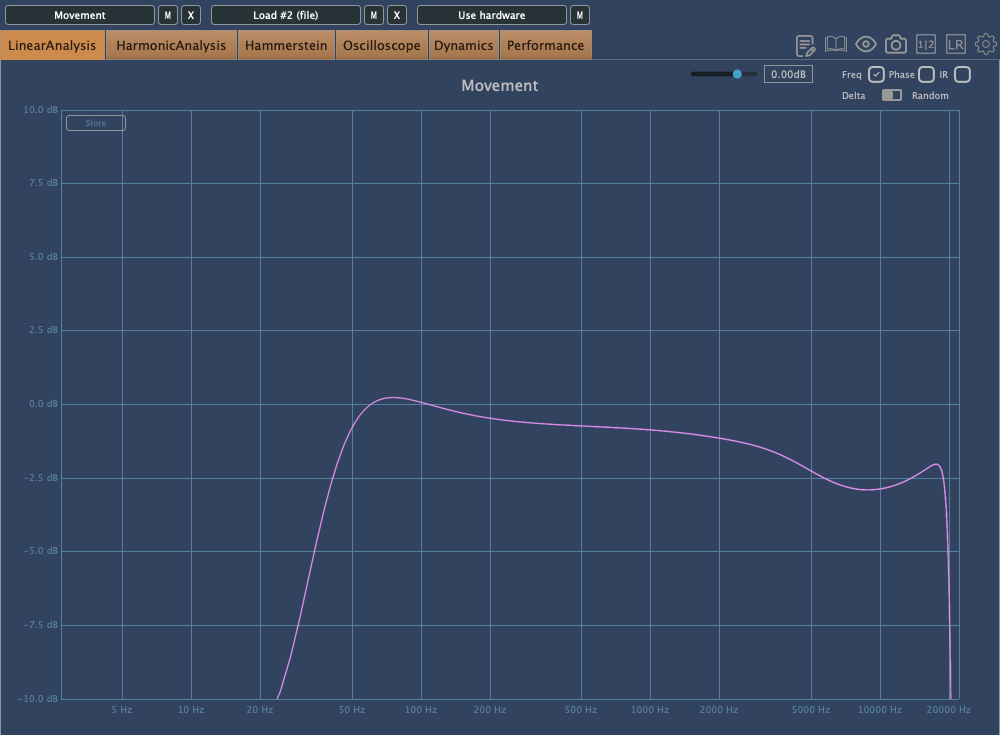
The Distortion effect includes High Pass and Low Pass Filters as basic parameters, so the extreme lows and highs are filtered out. The upper images show Crunch at 0, while the lower images show it at a medium setting. This effect can add strong saturation!
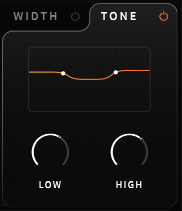
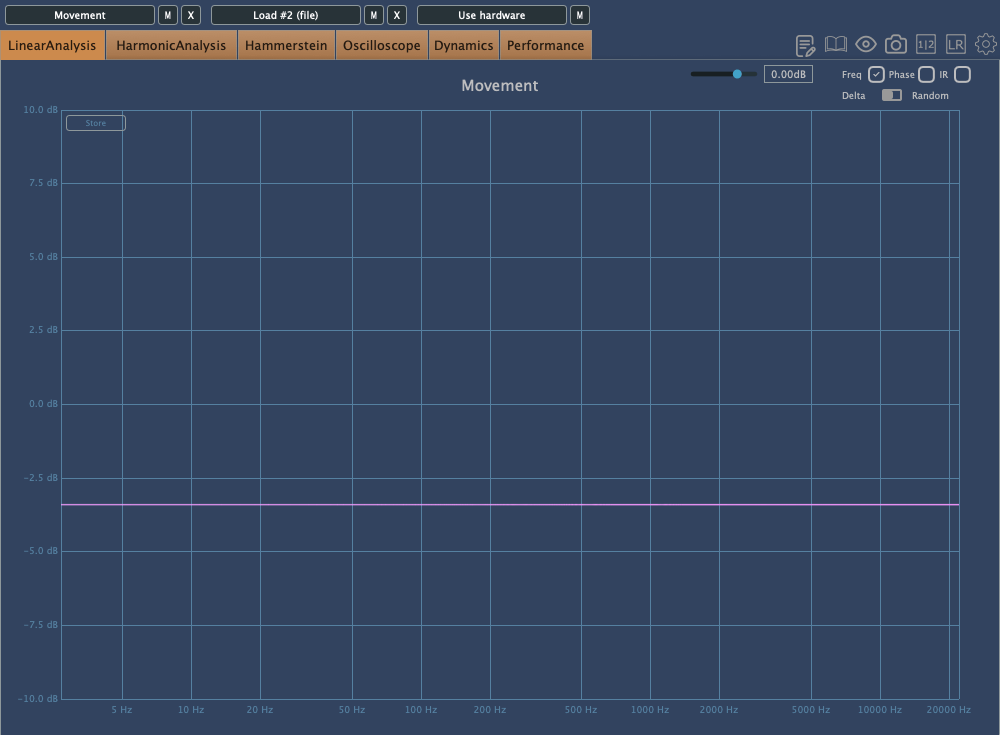
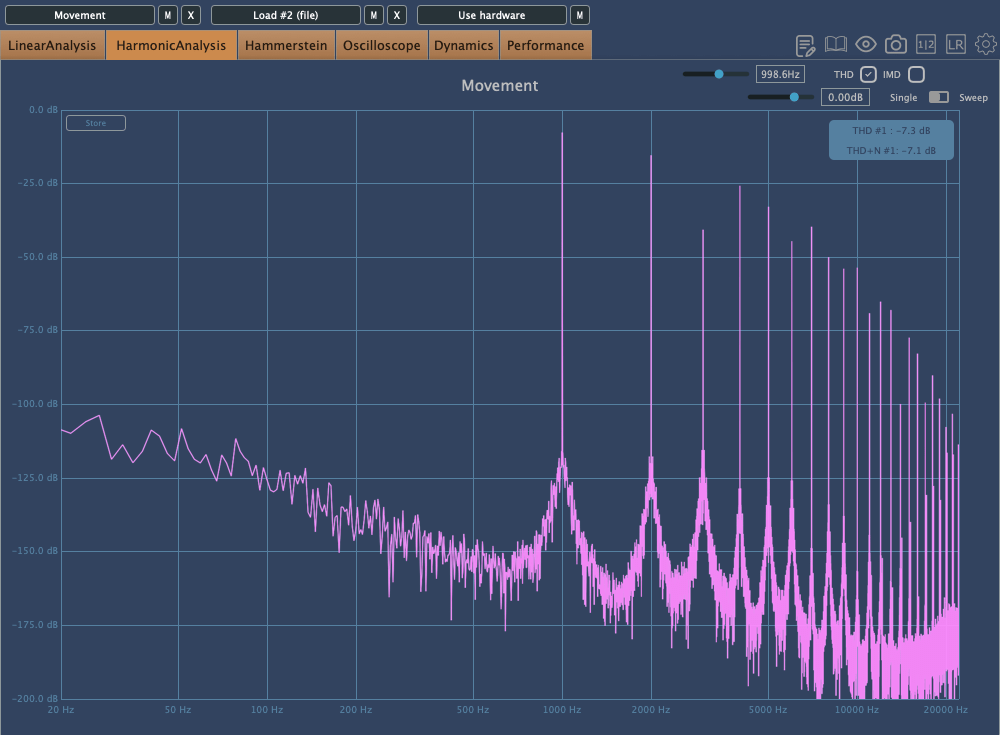
EQ

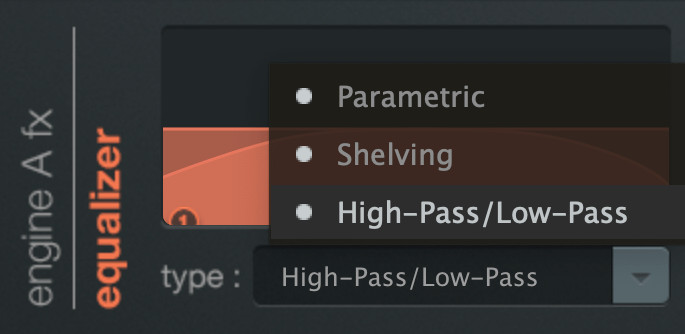
The EQ offers three types: Parametric, Shelving, and High/Low Pass.
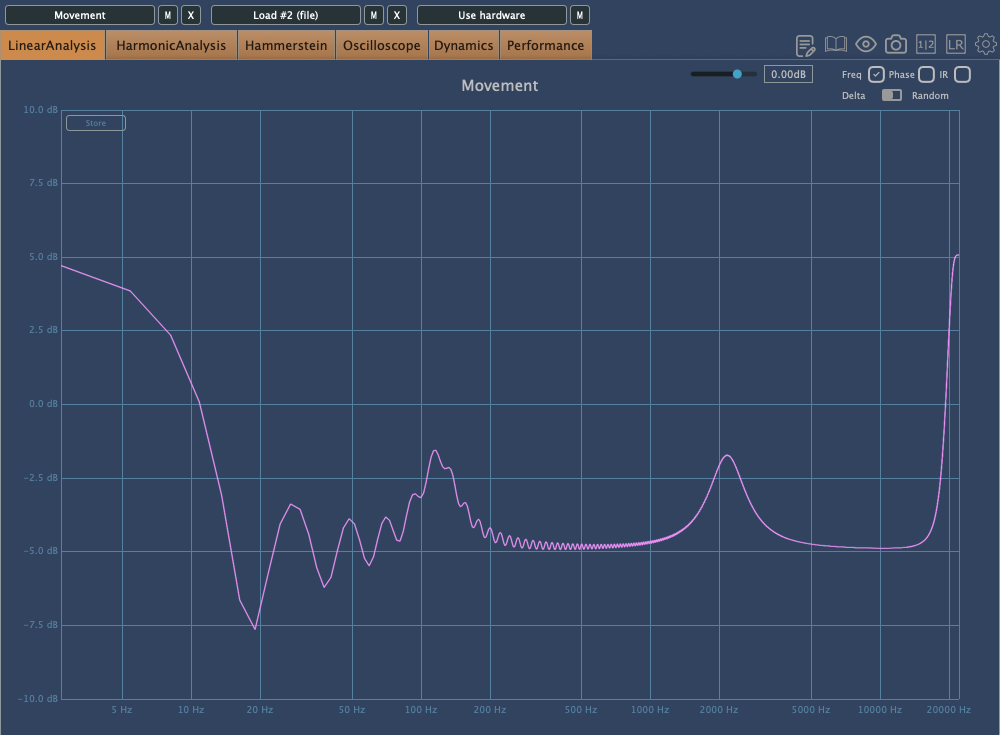
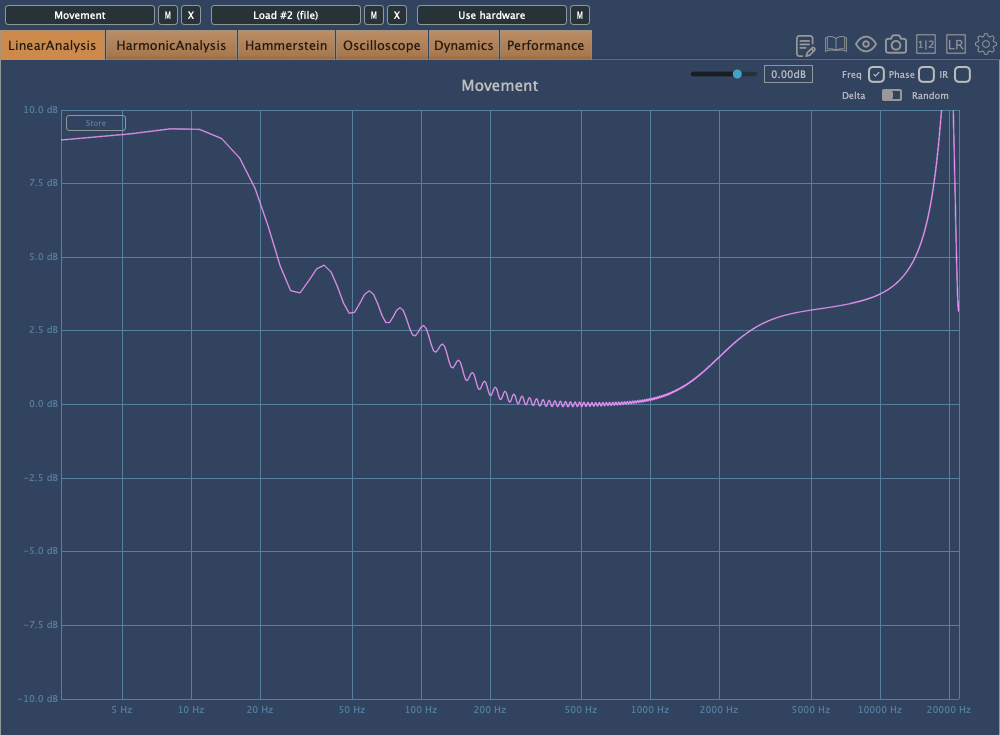
Interestingly, this EQ still affects the sound even if Gain1 and Gain2 are set to the center. This applies to both Parametric and Shelving EQs, so keep this in mind when adjusting.
The EQ also tends to boost the extreme high frequencies.

When flattening the frequency response and examining the phase, you’ll notice some unique characteristics.
I’ll skip the details of the remaining FX as they are more straightforward.

Finally, the button at the bottom left of the plugin reduces the processing load, easing the burden on your CPU. It doesn’t affect the sound but reduces the amount of movement in the plugin’s UI, making it less taxing on your system.
Check out Output’s official trailer to see how it works and hear what it sounds like.
You might think this plugin is only useful for electronic music, K-Pop, or hip-hop, but it can actually be applied across various genres. The Sidechain function, in particular, offers some exciting possibilities.
Output’s products are on sale at Plugin Boutique until August 16th, so if you’re curious about other plugins, it’s worth checking them out.
(Purchasing through this link gives me a small commission, which greatly helps in running this blog.)
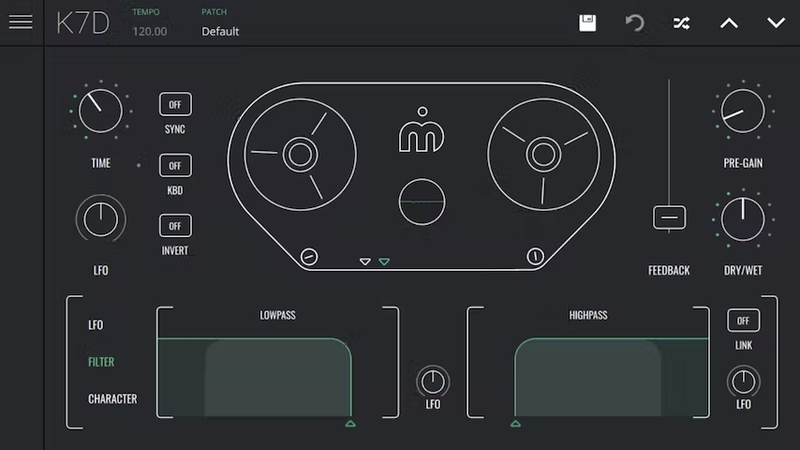
When you purchase a plugin from Plugin Boutique, you’ll also receive a free plugin. This month’s free plugins are Softube’s VCA Compressor or Imagine Audio’s K7D Delay.
If you don’t have a dbx160-style compressor, I’d recommend the VCA Compressor. If you want to apply delay to a variety of sources, K7D is a great choice.
See you in the next post~:)