Hello, I’m Jooyoung Kim, an audio engineer and music producer.
Today, I’d like to talk about two crucial aspects of sound: harmonics and coloration. As audio engineers, we know from experience—and from measurements—that the audio signal changes when it passes through hardware or plugins.
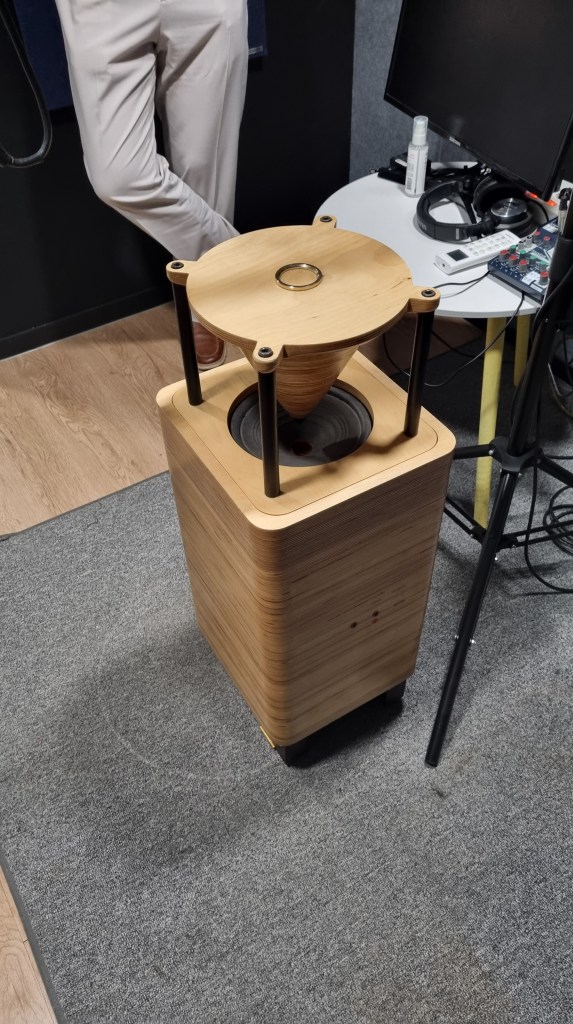
For example, why do sounds processed through vacuum tubes and tape machines end up so different from each other?
It’s a topic worth considering for anyone involved in sound production: how exactly does the signal change, and why?
Of course, if it sounds good, that’s all that matters. But if we take that approach, we could say the same for EQs and compressors—if it sounds good, it’s good enough, right?
That said, this chapter will focus on explaining the devices that introduce coloration to sound.
When an analog audio signal passes through analog devices, harmonics are generated due to the non-linear behavior of these devices.
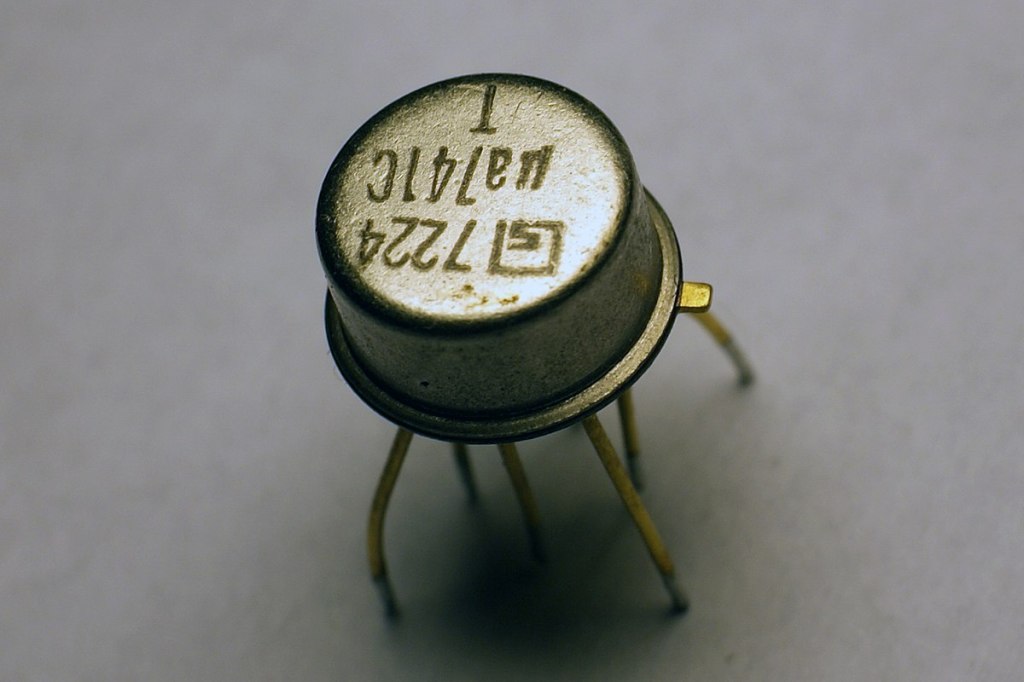
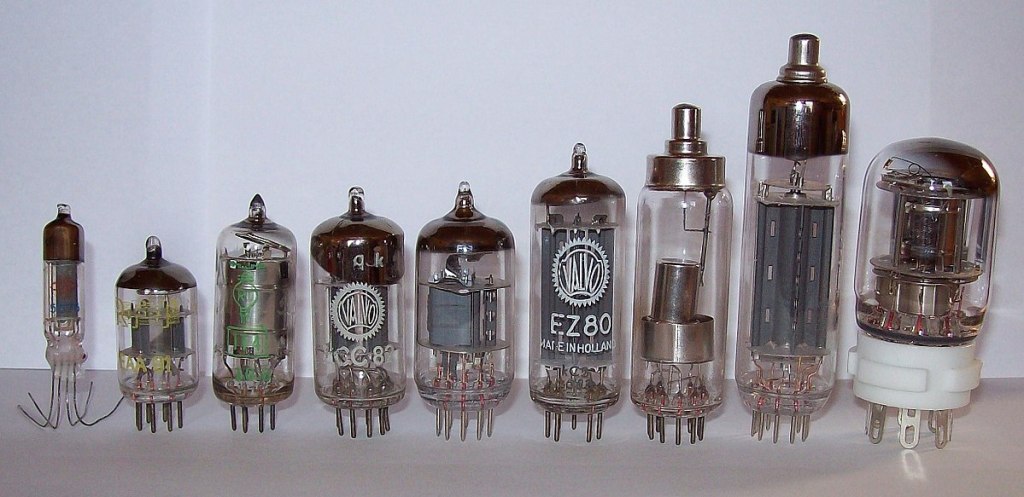
For example, when components like transistors (such as OP Amps) or vacuum tubes are part of the circuit, they create non-linear responses in the output, which results in harmonic distortion.
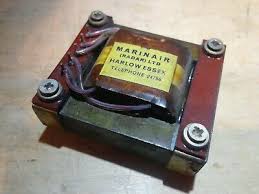
If you’re a fan of hardware, you’ve probably heard the term “transformer.” When you insert a transformer like the one shown above at the input or output stage of hardware, it creates non-linearities that result in harmonics.
This is why different components alter the character of a device, and why those who modify gear often swap out transformers, tubes, or transistors!
Why do non-linear behaviors generate harmonics? We could explain this through Fourier analysis, but I’ll spare you the math to keep things interesting.
(If you’re curious, look up non-linear systems and functions.)
If you’ve studied music, you might recall learning about harmonics and harmonic series in class. Generally speaking, even-order harmonics sound more harmonious and pleasant, while odd-order harmonics tend to create dissonance and can sound harsher.
So, if a device emphasizes odd-order harmonics, it will sound sharper. On the other hand, if it emphasizes even-order harmonics, it will blend more smoothly into the mix.
Now, are there analog devices that exclusively boost even or odd harmonics? Not really.
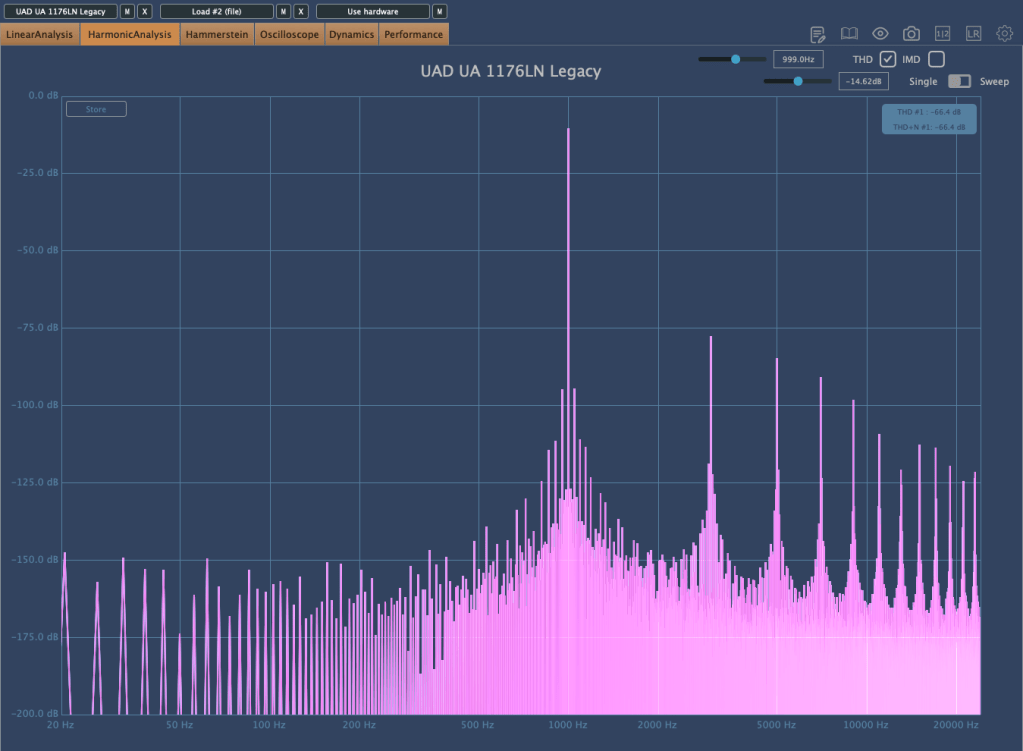
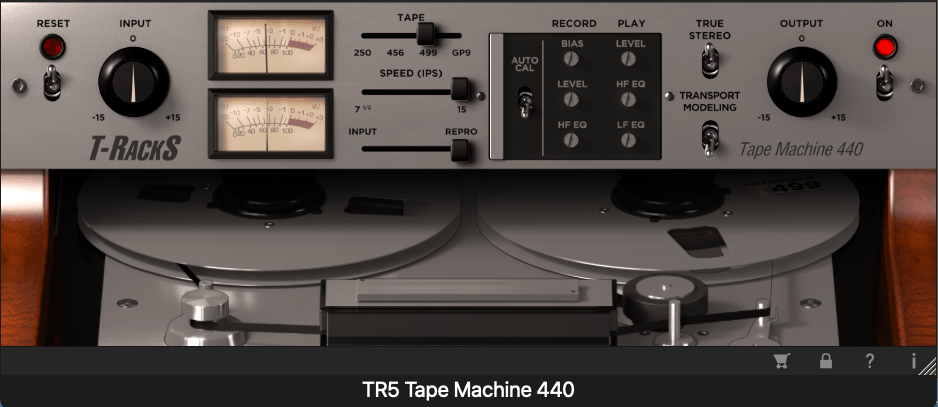
As shown above, you’ll find this kind of control in plugins, but not in analog hardware.
Additionally, because of non-linear responses, the levels of second, third, fourth, and other harmonics also vary in non-linear ways.
So how should we understand these devices? Do vacuum tubes and transistors have unique characteristics?
We’ll continue exploring these questions in the next post.