Hello, this is Jooyoung Kim, music producer and audio engineer.
Last time, we explored the history and types of reverb. Today, we’ll dive into the practical ways to use reverb in your mix. Let’s get started!
When you first open a reverb plugin, the numerous settings can be overwhelming. But in reality, you only need to focus on three key parameters:
- Pre-Delay
- RT60 (Reverb Time)
- Type of Reverb
Pre-Delay refers to how much time passes between the original sound and the reverb effect. If the listener is close to the sound source, a larger Pre-Delay feels natural, while a smaller Pre-Delay is ideal if the source is far away.
RT60 measures the time it takes for the sound to decay by 60dB. While the decay time can vary depending on the frequency, you can generally think of it as the time for the reverb to fade out.
Reverb types are crucial because they give your mix different atmospheres depending on the choice. Knowing these basics should be enough to get you started!
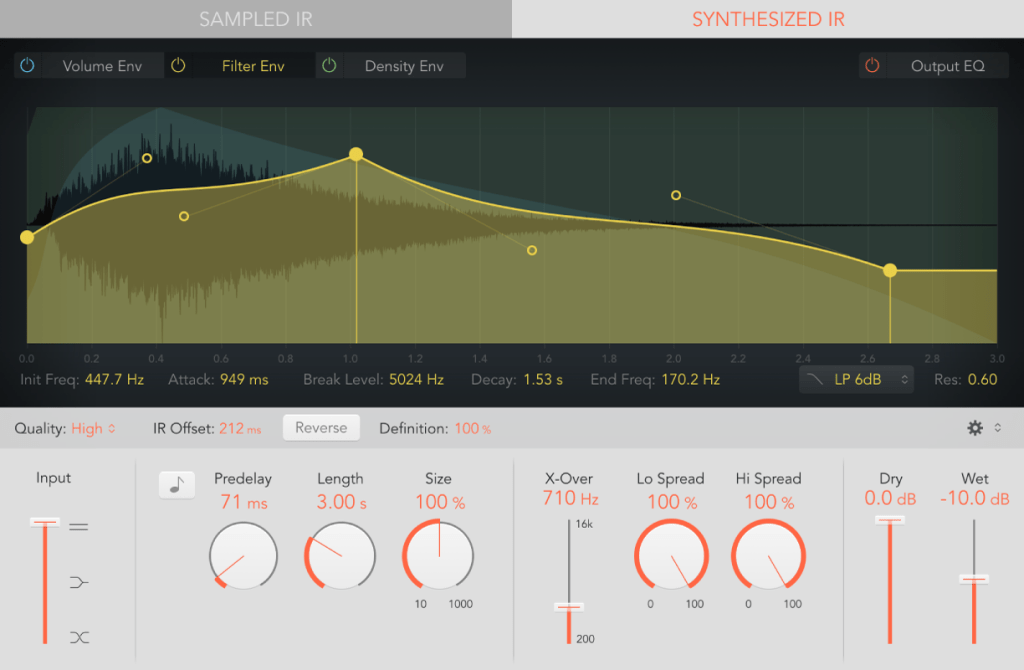
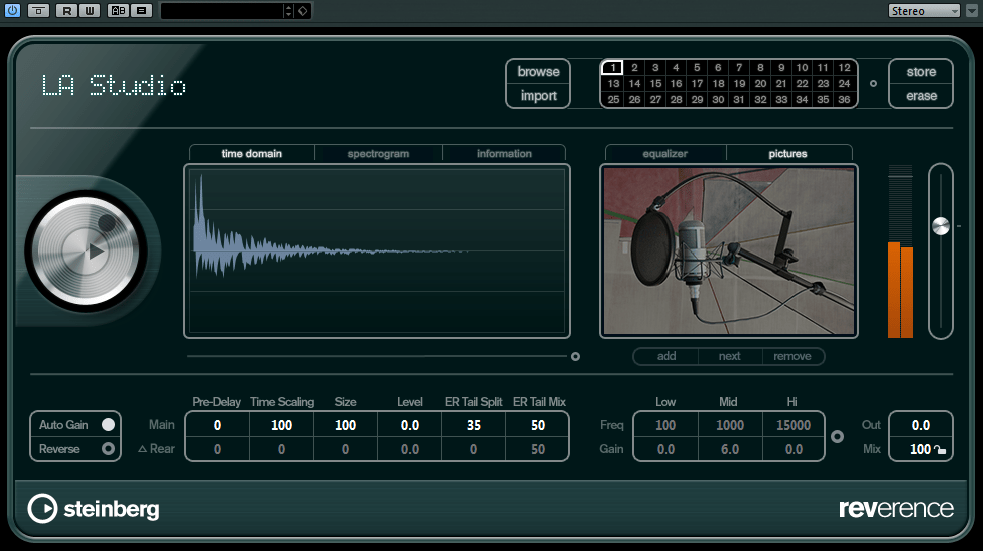
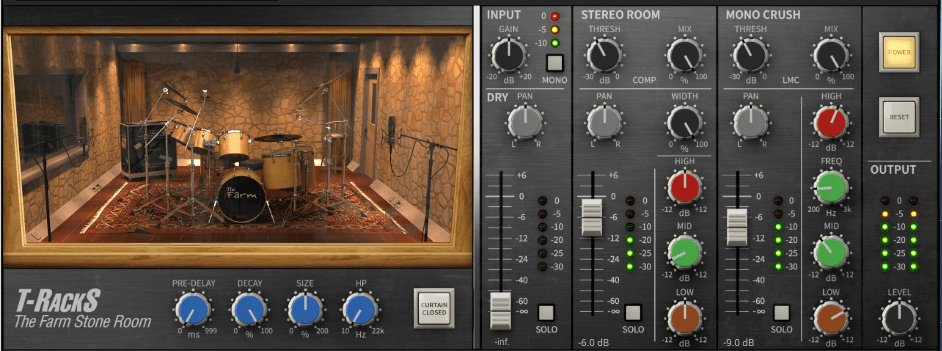
Understanding Reverb Parameters
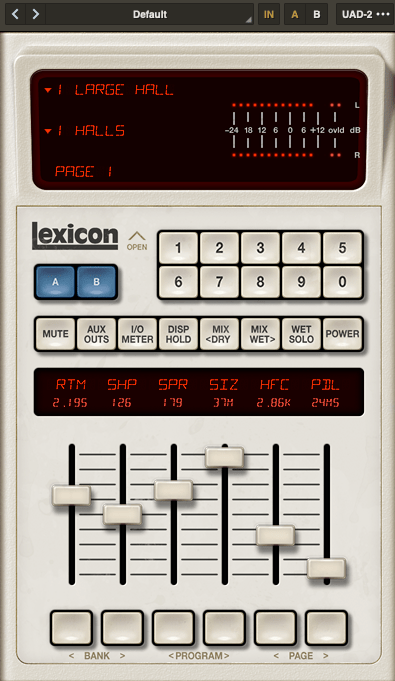
Here’s RVerb, a basic digital reverb plugin from Waves.
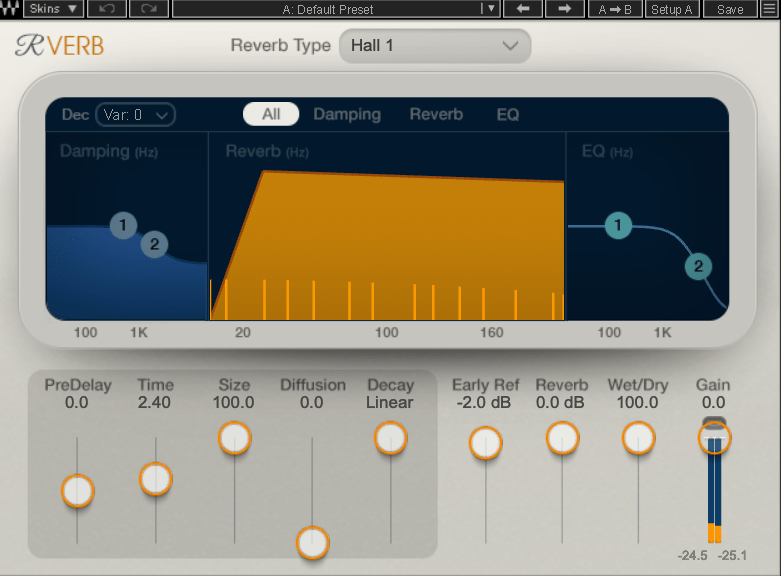
Time represents RT60, but what about Size? Size controls the virtual space’s dimensions, affecting the initial reflections and how the reverb tail forms.
Diffusion varies across plugins. It manages whether the reverb tail is formed by the direct sound or by the reflections. Lower values make the tail clearer and less cluttered, while higher values create a fuller sound.
Decay isn’t always present, so we’ll skip that for now. Early Reflections control how strong the initial echoes are. Smaller rooms produce stronger early reflections, while larger rooms have weaker ones. Wall materials can also affect this.
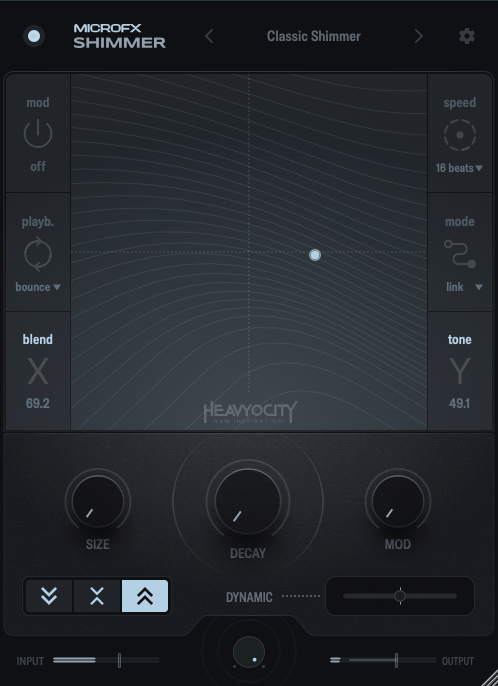
Reverbs like Shimmer add pitch modulation, Plate and Spring reverbs adjust materials, and Chamber reverbs may let you adjust mic and speaker positions.
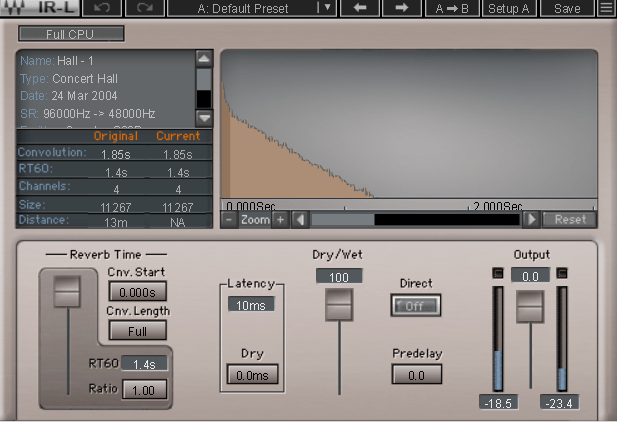
With IR (Impulse Response) reverbs, drastic changes to settings like Pre-Delay can feel unnatural, so if you’re not satisfied with the sound, it’s better to switch to a different reverb entirely.
Reverb EQ
There’s a reason why many reverb plugins include built-in EQs.
When applying reverb, EQ is key. Think of a live concert venue like a club in Hongdae. Outside, you mostly hear bass, while the vocals are hard to make out, right? This is because low frequencies travel further, while high frequencies lose energy faster in the air.
To simulate the natural acoustics of a real venue, especially for orchestral performances, applying EQ to the reverb can help create a more realistic reverb effect. Additionally, reducing some lows and mids from the reverb will help prevent the reverb from muddying up your mix, allowing for a clearer sound.
Reverb Compression & Saturation
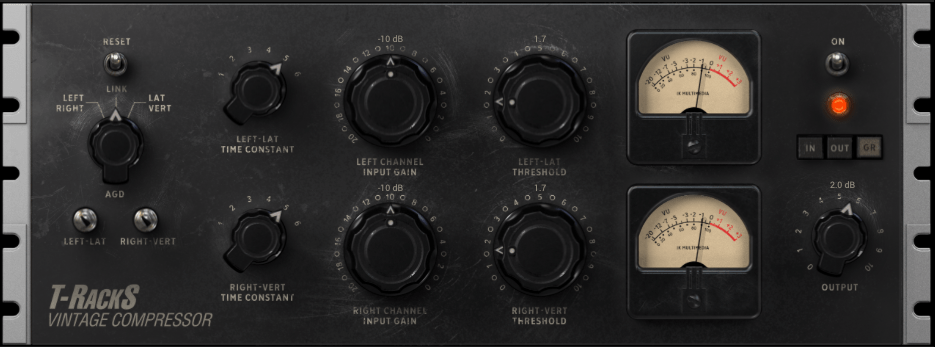
What happens when you apply compression to reverb? Compression reduces dynamic range, which gives the illusion of a longer reverb tail, making it feel like the reverb lasts longer.
You can also add tonal color through hardware or plugin saturation to alter the feel of the reverb. For example, sidechaining the reverb to a vocal or lead instrument can reduce the reverb when those elements are prominent, and increase it when they are not.
Gated Reverb
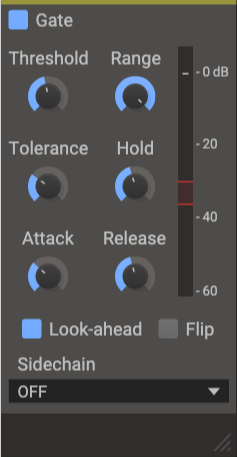
By using a gate, you can tightly control the reverb to match the groove of the track. Using sidechain techniques with gates or envelope followers, you can craft tight, precise reverb effects. This technique works wonders in genres like funk, but it can feel out of place in ballads—so choose carefully!
Various Reverb Uses

It’s common to use more than one reverb in a mix. For instance, a UAD Precision Reflection Engine can add artificial ambience to dry tracks, while you might apply a Plate Reverb specifically to the snare drum.
For consistency, you might apply a Hall Reverb across all elements in the mix. And don’t forget to adjust your Send Panning for spatial accuracy.
That’s about it for reverb usage! While theory helps, there’s no substitute for hands-on experience. Keep experimenting, and I’m sure you’ll get the hang of it.
Until next time, see you in the next post! 😊