Hello! I’m Jooyoung Kim, an engineer and music producer.
In my previous post, we discussed organizing tracks. Today, we’ll delve into volume.
Why Volume is Crucial
Volume is the beginning and end of mixing. Higher volumes bring elements closer to the listener, while lower volumes push them further away. This simple principle helps place instruments within the stereo image created by your speakers.
How to Set Volume
First, listen to some reference tracks. Songwriters often get so absorbed in their own work that they miss when certain instruments are too loud or too quiet. Reset your ears by listening to professionally mixed songs.
Next, return to your DAW and mute all the tracks. Unmute a key track, such as the kick, snare, or vocal, and set its volume appropriately. Use this as a reference to balance the volumes of the other tracks.
While adjusting volumes, align the phase of multi-track recordings like drums and start some basic panning of instruments.
(Note: For more on phase alignment, refer to my previous post: 2.2 Phase and Interference. Details on panning will be covered in a future post.)
Once you move into more detailed processing, you’ll use volume automation, but this initial balance setup is crucial.
Avoiding Digital Clipping
One key point is to avoid digital clipping. If signals in your DAW are too high, the DAC can’t process them, resulting in distorted sound. This is digital clipping, and it prevents proper mixing.
Clipping occurs when the meter exceeds 0dBFS. Some DAWs can handle signals beyond this without clipping, but if your bit depth isn’t in a float format, clipping can happen when you export, causing damage.
Ensure your final master doesn’t exceed the 0dBFS peak meter mark to avoid clipping.
That’s it for today. Keep these tips in mind, and I’ll see you in the next post!
Hello! I’m Jooyoung Kim, a mixing engineer and music producer.
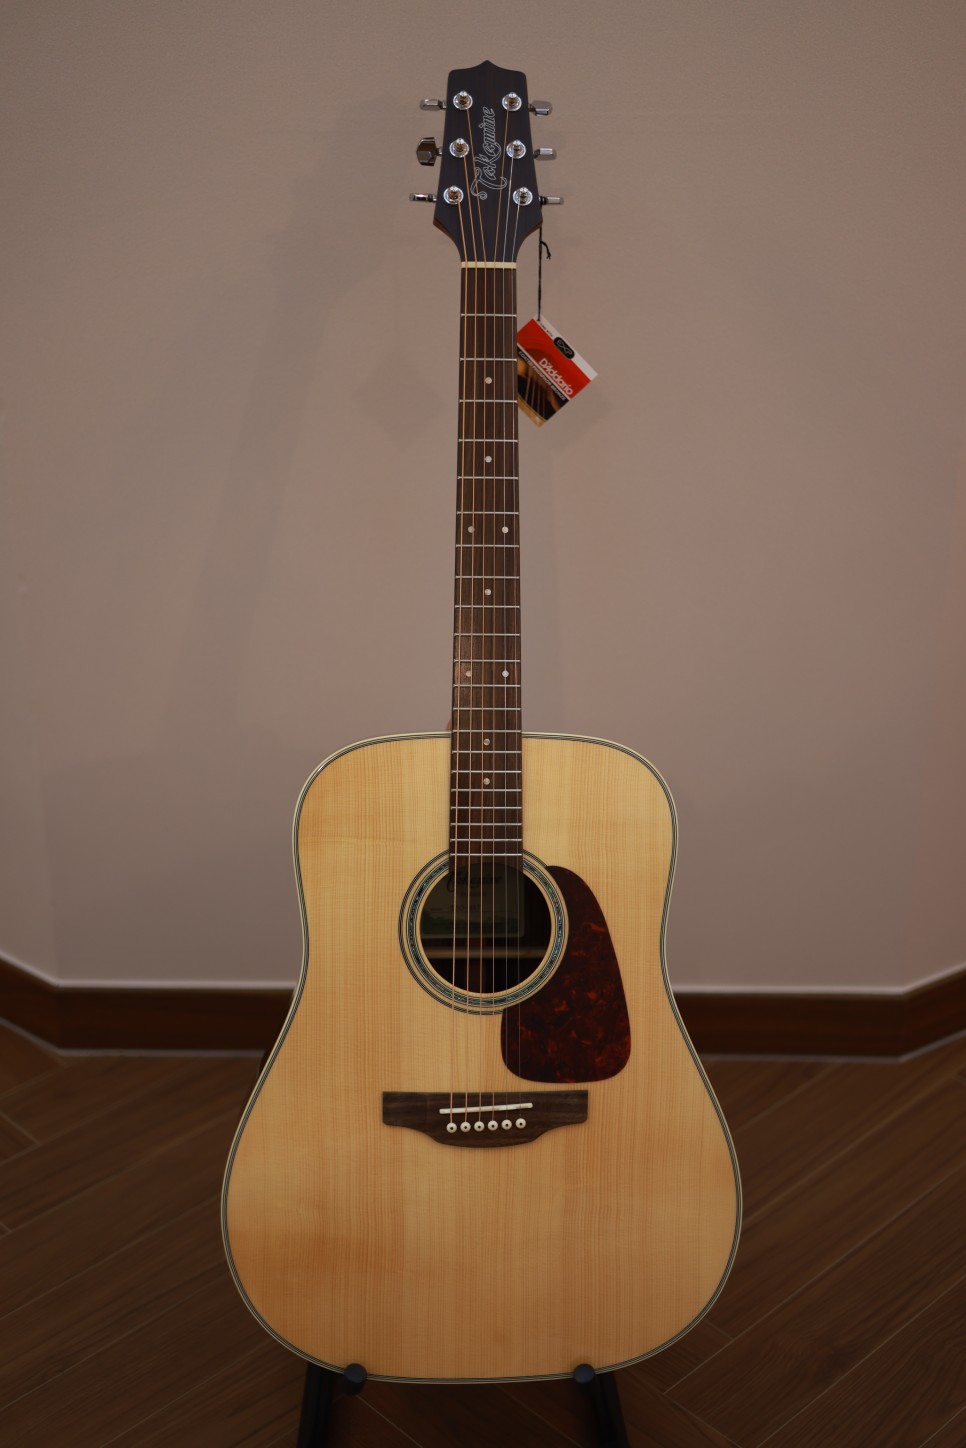
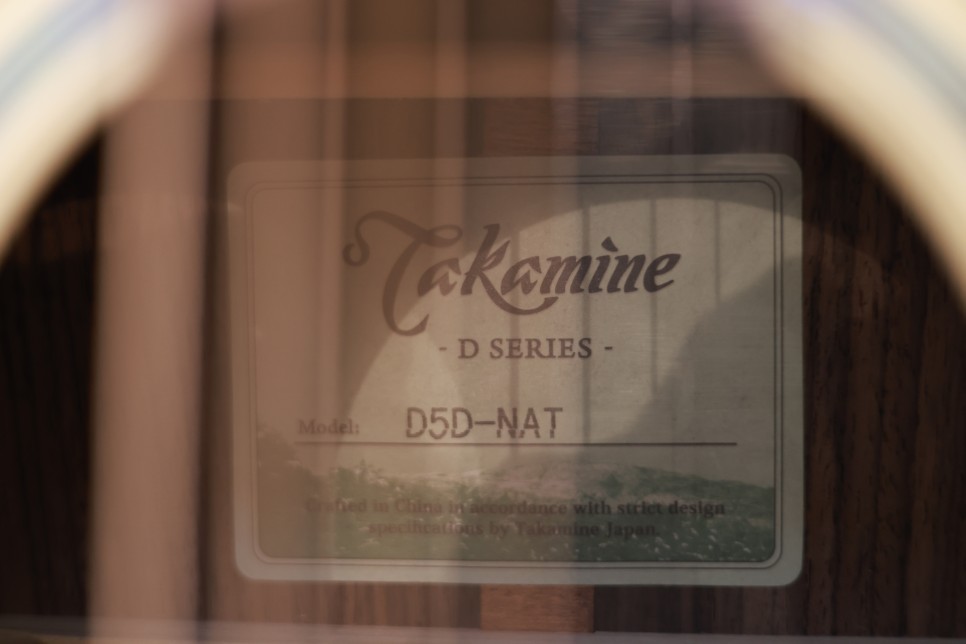
The D series is Takamine’s entry-level lineup, structured as D-series, G-series, and Pro-series.The D-series is numbered from 1 to 5, with models 1 to 3 featuring laminated tops and models 4 and 5 having solid spruce tops. The D4 comes with a mahogany back and sides, while the D5 features rosewood back and sides.Let’s dive into the details!
Appearance
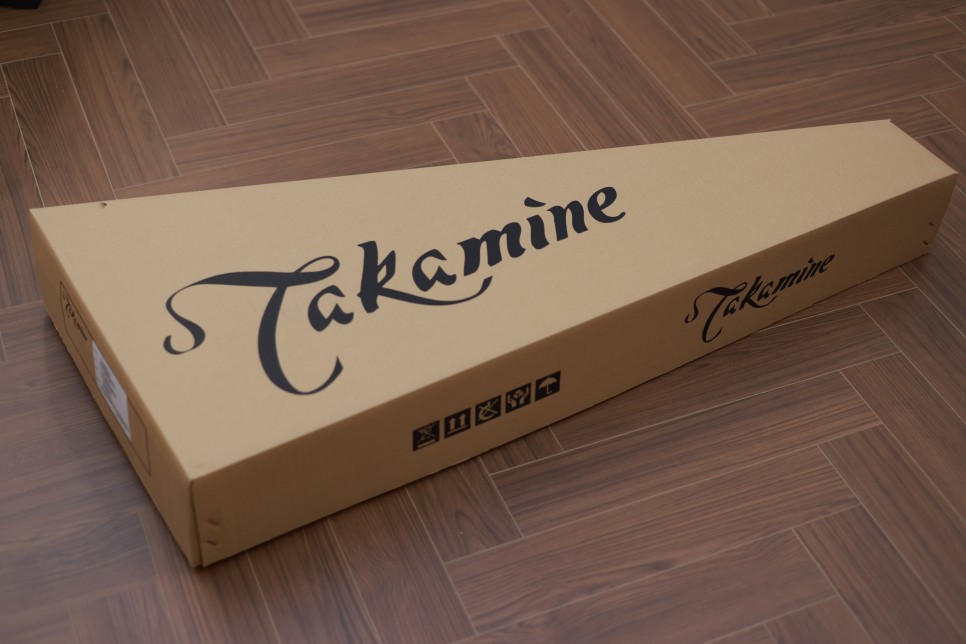
The packaging is slightly different this time, prominently displaying the D-series label.
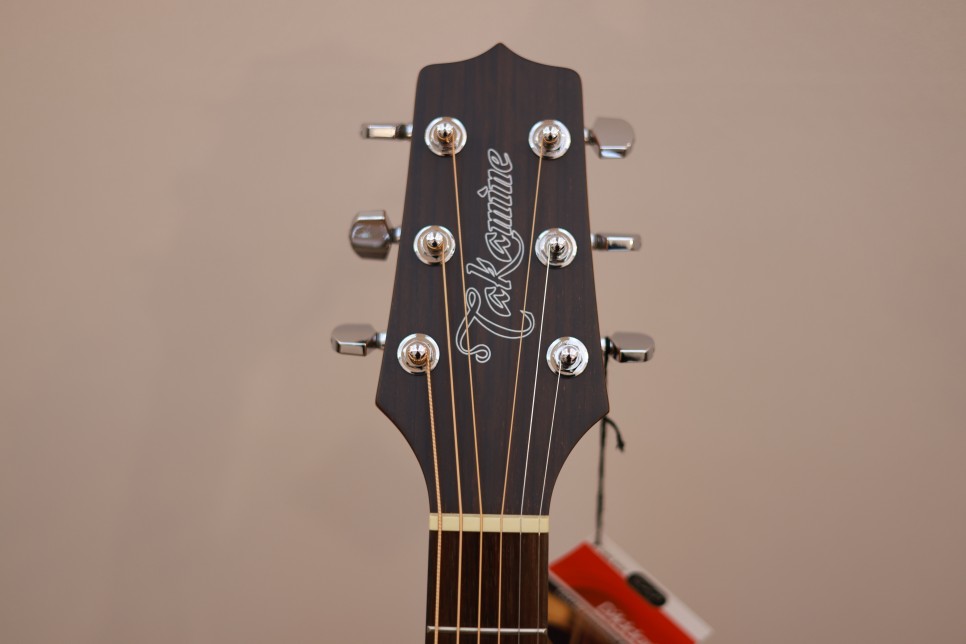
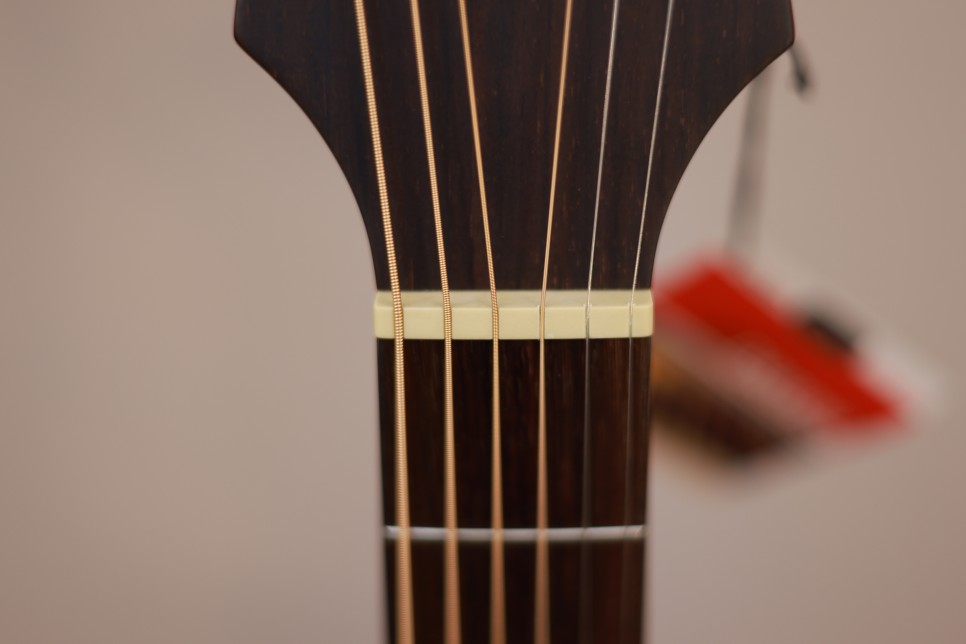
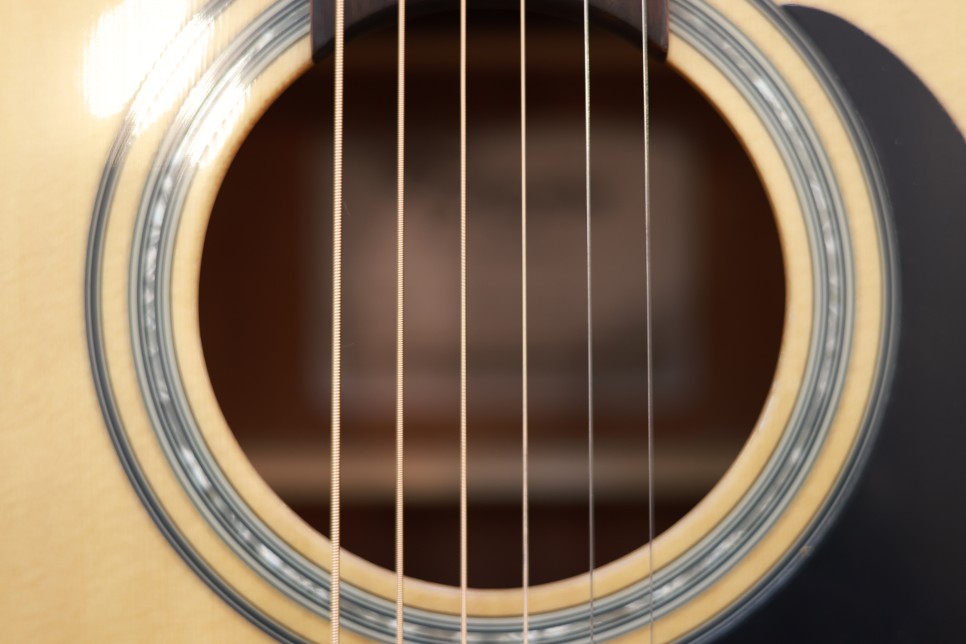
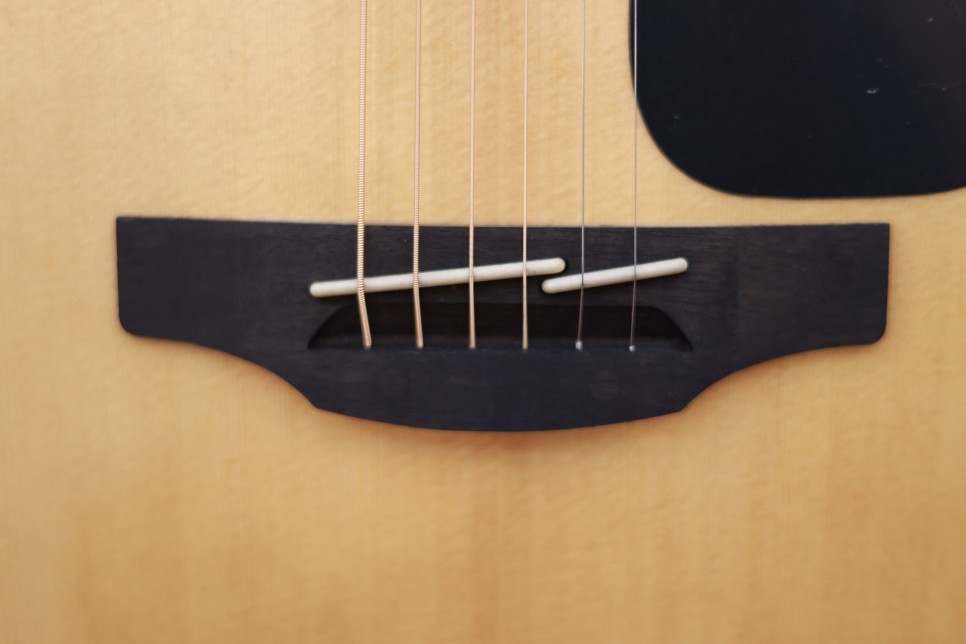
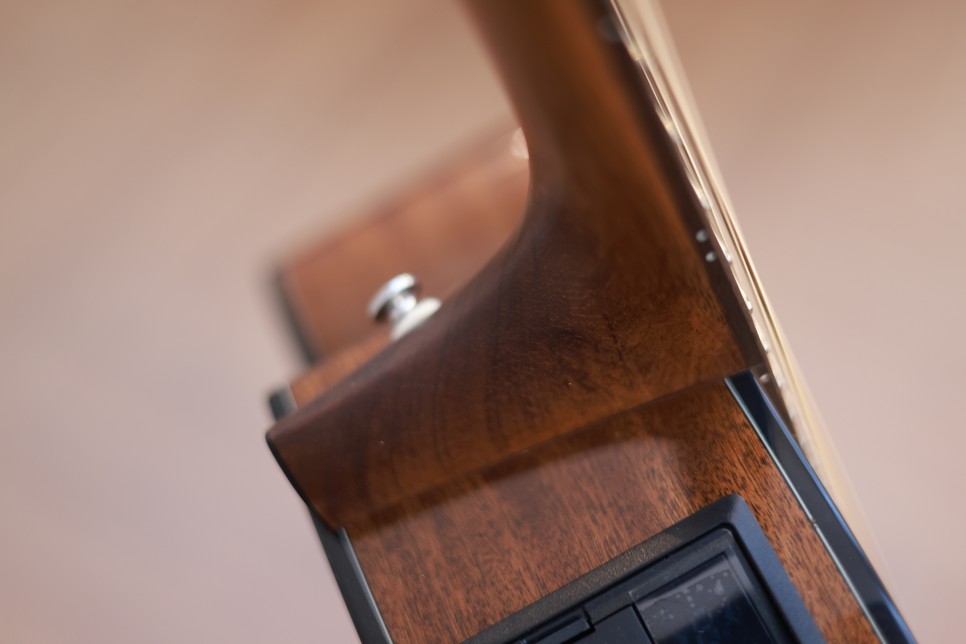
This model has bridge pins. The nut, saddle, and pins are all plastic.
The guitar comes strung with discontinued D’Addario EXP strings. It seems that while individual packs are sold out, bulk packs are still available.
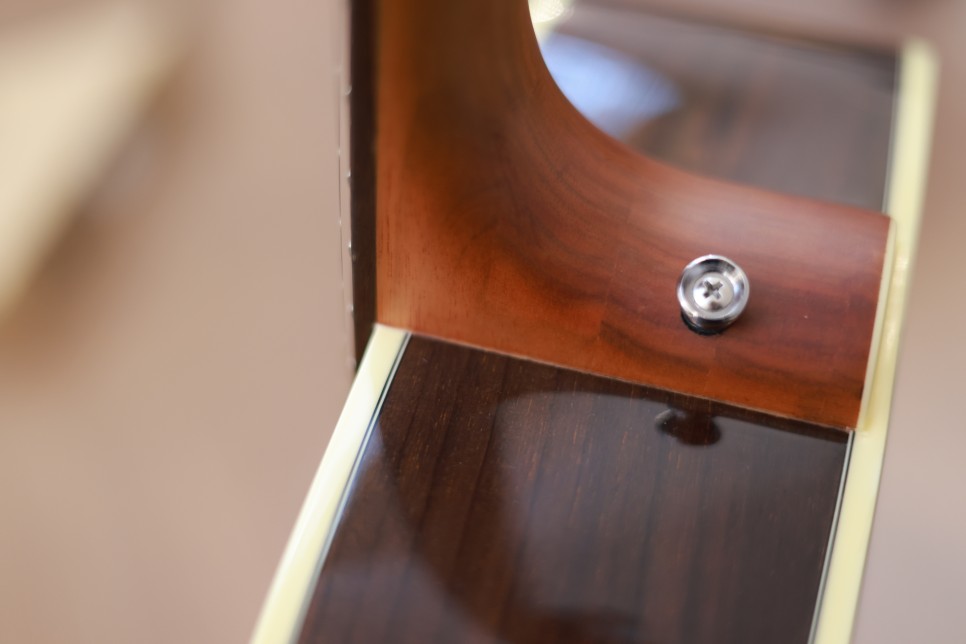
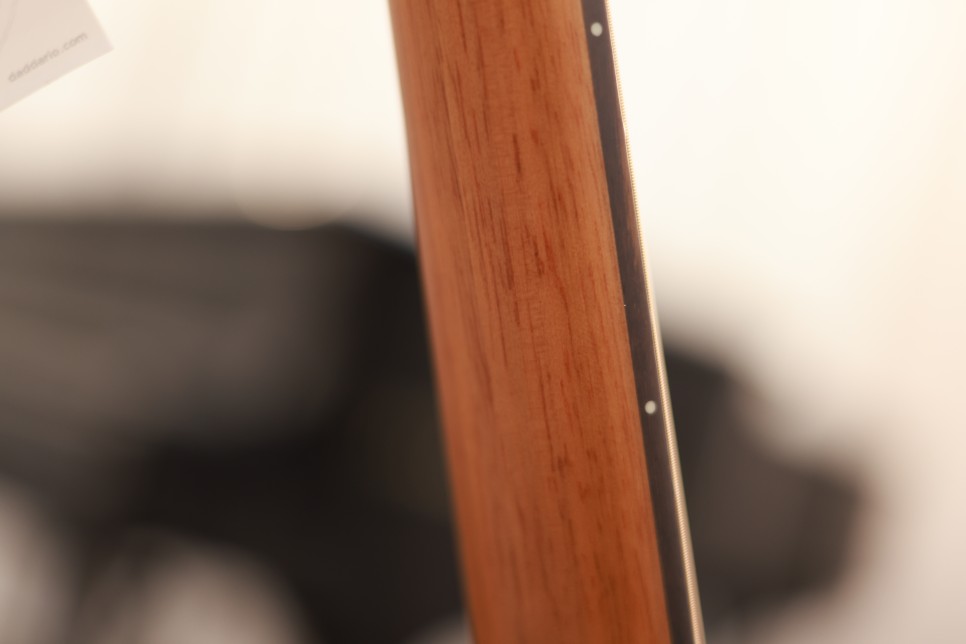
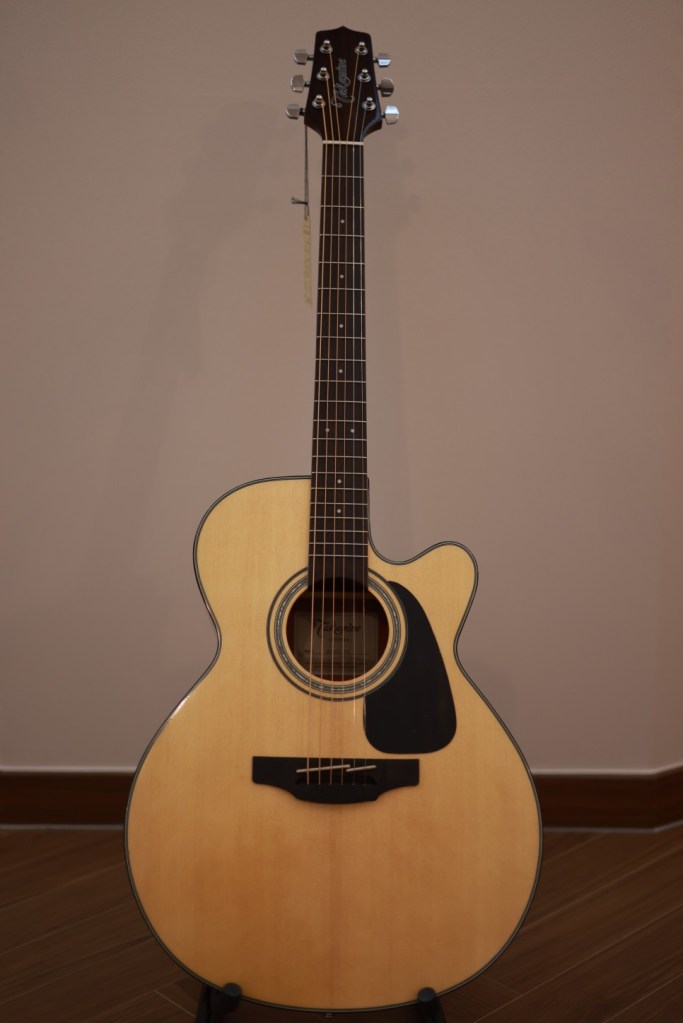
The neck has a matte finish, and the binding is a slightly yellowish plastic.
As an entry-level model, the wood grain isn’t perfectly uniform, but it’s challenging to find a foreign brand with these specs at this price point.
Specifications
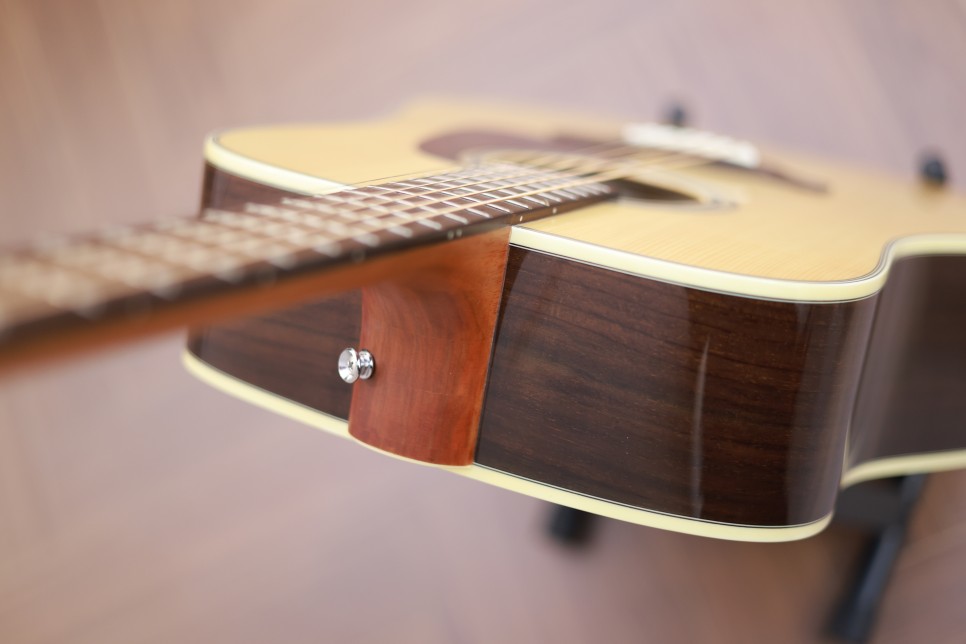
Solid spruce top
Rosewood back and sides
Rosewood fingerboard
Plastic saddle and nut
Plastic pins
42.5mm nut width
Sounds
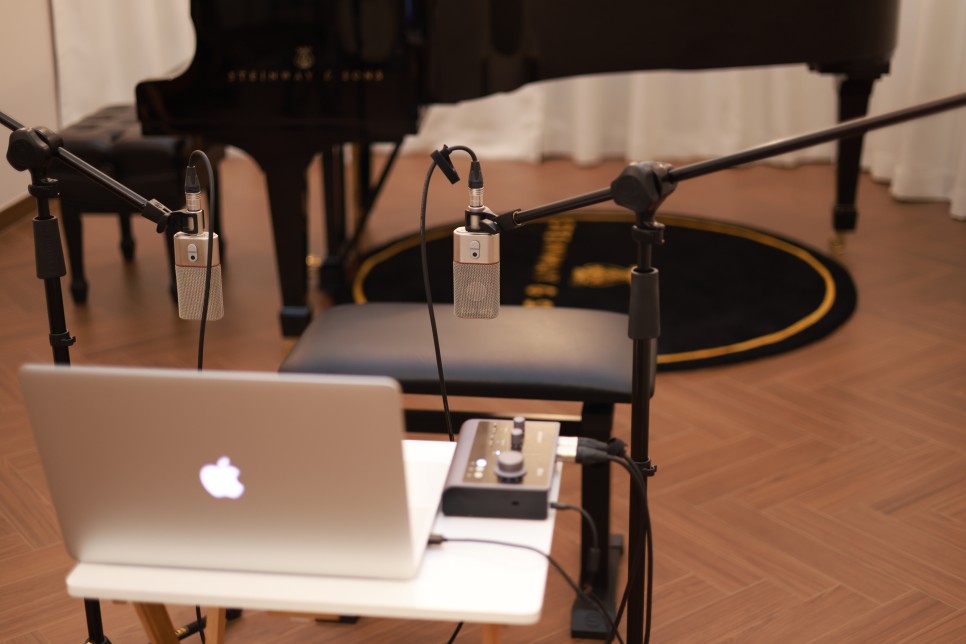
I received this guitar on the same day as my last review, so the setup is identical. The recording was done using an Audient id14 mk2 and an Austrian Audio oc818 in stereo. No reverb or delay was added; only the volume was adjusted.
A quick disclaimer: I haven’t played guitar in a while, so my playing might not be the best. Please focus on the sound quality.
For the best experience, increase the video quality on YouTube to avoid losing high frequencies.
1) Strumming
2) Fingerpicking (There’s some noise, so please turn up the volume.)
Overall Impression
The sound is loud and robust, but the price does reflect in the quality. Compared to the G30 series, the D5D’s sound feels a bit more scattered, possibly due to the plastic nut and saddle. Changing the strings might help achieve a more mellow tone.
This guitar might be ideal for country music where a more open, airy sound is preferred. While the D5D has solid specs, the sound quality doesn’t quite match the G30CE models, which are exceptionally well-made for their category.
Like the other models, the neck tends to lift slightly. Some adjustments to the truss rod, saddle, and nut might be necessary upon receiving the guitar.
Priced at 495,000 KRW(about 360$), it is approximately 170,000 KRW cheaper than the 30 series, which is a noticeable difference.
The neck is slightly thicker than the G series, which I personally prefer. My main guitar has a neck width of 45mm, so I like a bit of heft. However, everyone has their preferences, so it’s best to try a guitar in person and use that as a reference.
Generally, Taylor guitars are known for their slim necks. The G series has a neck similar to Taylor’s 100 and 200 series, while the D series is slightly thicker.
Hello, this is Jooyoung Kim, a music producer and mixing engineer.
Today, I’m going to review the Takamine GN30CE NAT guitar. Let’s get started!
Appearance
The packaging is the same as the GD30CE NAT model I reviewed before. It includes a truss rod and a QC card.
Like the GD30CE NAT, this model passed QC in 2019. Additionally, it has a pinless bridge.
The overall look is clean.
The outer binding is black, so there’s no worry about discoloration over time. Personally, I prefer black plastic binding.
Though it’s hard to tell, the body has a glossy finish, while the neck has a matte finish. This makes it easier to play.
Specifications
The GN30CE NAT is a top-solid model with a NEX-style body. The NEX body is Takamine’s version of a little jumbo, and it looks similar to a slightly larger GA (Grand Auditorium) body.
As you can see, it has a cutaway and is equipped with Takamine’s TP-4TD preamp.
Other specifications include:
Solid spruce top
Mahogany back and sides
Synthetic bone nut and saddle
42.8mm nut width
Ovangkol fingerboard
Sound
The sound was recorded together with previous recordings, using the same setup: a 2015 MacBook Pro with Audient id14 mk2 and oc818 for stereo recording.
As I mentioned before, I haven’t played the guitar in a long time, so please focus on the sound rather than my playing skills. Also, please listen in the highest quality possible, as YouTube lowers the high frequencies if not set to the maximum quality.
Let’s listen!
1) Strumming
2) Fingerpicking (please increase the volume as it’s low. When I increased it myself, there was too much noise.)
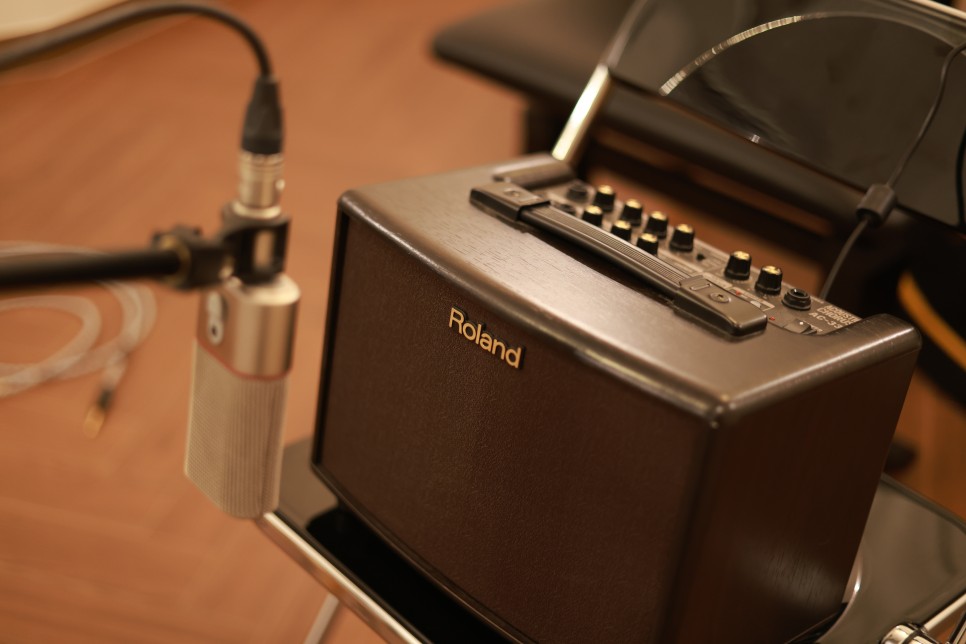
As with the previous review, I also recorded the sound from a Roland AC33 amp in mono.
3) Amped strumming
4) Amped strumming + adjusting the guitar preamp (I accidentally forgot to take a picture, but I set the lows to neutral, mids down, and highs up.)
Personal Overall Assessment
Before playing, I expected it to be similar to a scaled-down jumbo body as described by Takamine. However, it felt more like a Taylor 14 or 16 in terms of body size and feel.
The sound is neither completely thin like a parlor body nor fully resonant like a dreadnought, making it suitable for both strumming and picking.
For those who find it difficult to handle guitars with large bodies like dreadnoughts, the NEX body is a good alternative as it’s smaller. Choosing a guitar that matches your body type can be an important criterion.
Personally, I have a small stature and hands but prefer dreadnought bodies for their encompassing sound over the sharp clarity of smaller bodies.
To diverge slightly, larger guitar bodies tend to have better resonance, making them ideal for strumming, while smaller bodies produce clearer single notes, which are better for melody. Typically, dreadnought bodies are used for strumming, OM or parlor bodies for melody, and NEX bodies can be used for both.
Though I’m not particularly fond of GA or NEX bodies, they are stylish and well-designed. Taylor guitars, for example, have better sound in their 12 and 16 or 10 models, but the GA body (14) is the most popular in the second-hand market, likely due to its attractive appearance.
This guitar has specs and looks comparable to Yamaha’s LS16. If you don’t prefer Yamaha’s characteristic high tones, the GN30CE NAT is worth considering.
While it’s not my personal favorite compared to the GD30CE NAT, which I highly recommend, the GN30CE NAT has decent finish and sound quality.
When purchasing, consider the following:
It might be an older model like the QC date suggests.
The neck might need adjustment with the truss rod.
If these two points are acceptable, it’s a good choice.
Hello! I’m Jooyoung Kim, a mixing engineer and music producer.
In the previous post, we looked at the functions of DAWs along with analog consoles.
Today, I will revisit the types of tracks within a DAW and share some tips on how to organize them.
There are about seven types of tracks that can be classified in a DAW:
Audio Track
MIDI Track
Instrument Track
FX Track
Group Track
Aux Track
Folder Track
Other tracks such as tempo, video, markers, etc., exist, but I’ll skip those as they are more intuitive. Let’s take a look at each type.
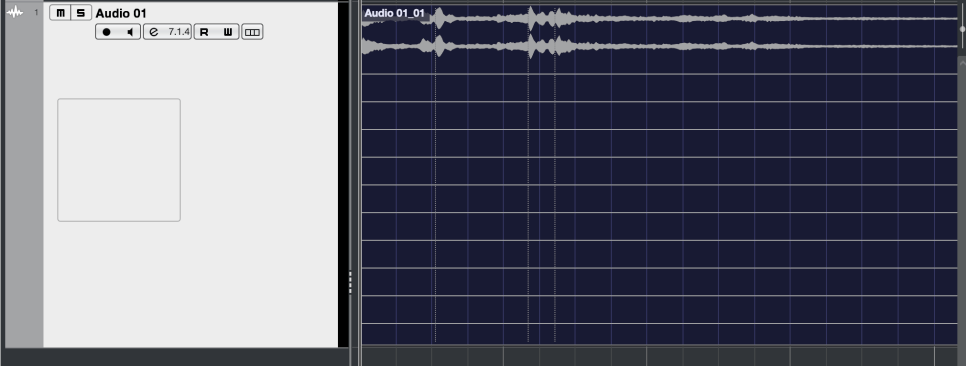
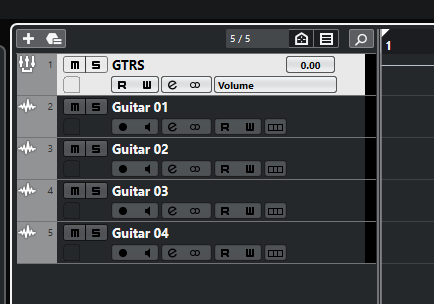
Audio Track
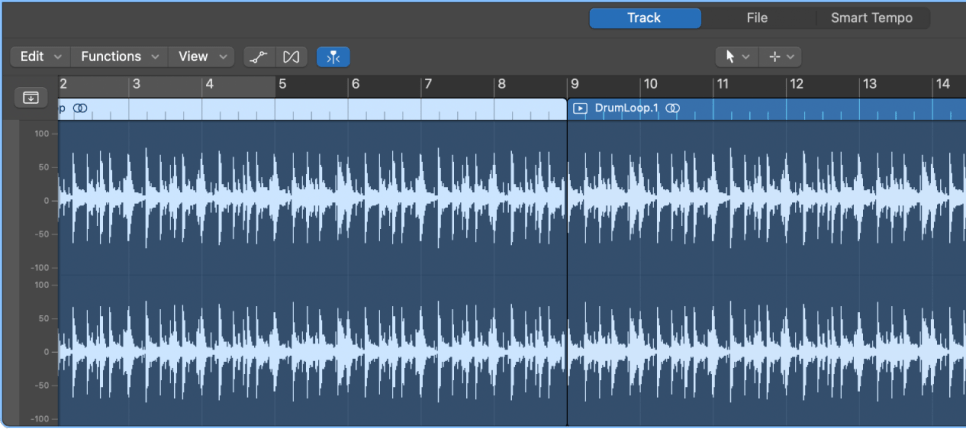
Audio tracks are used for audio. You can set them to mono, stereo, or even multichannel as shown in the photo below.
Since I’m only using a laptop with limited inputs, only 2 out of 13 channels are recorded.
You can record at the sample rate and bit depth you’ve set and import external audio samples into these tracks.
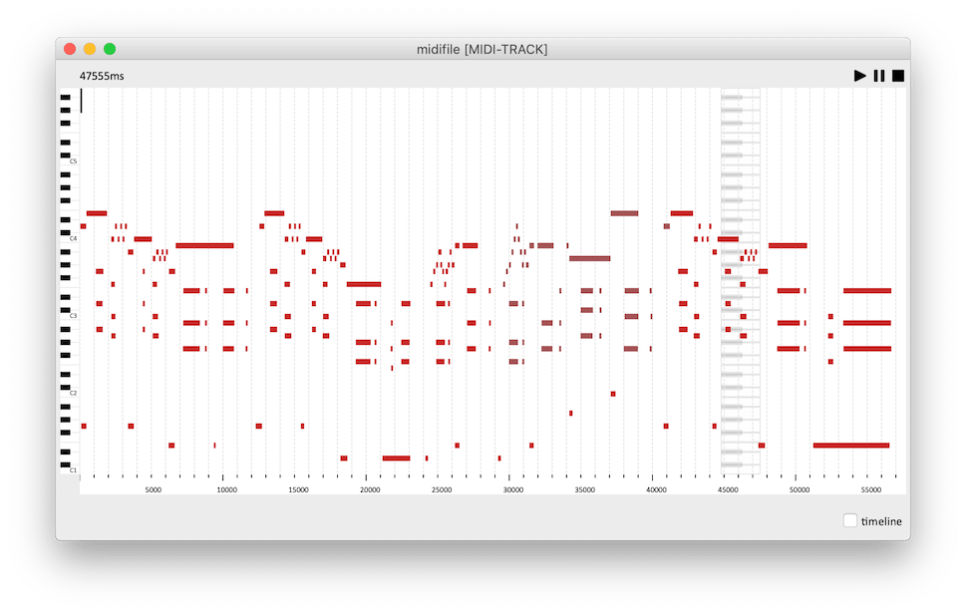
MIDI Track
MIDI tracks are a bit different from instrument tracks. They can record MIDI signals and send these signals externally.
For those new to DAWs, this might seem unnecessary.
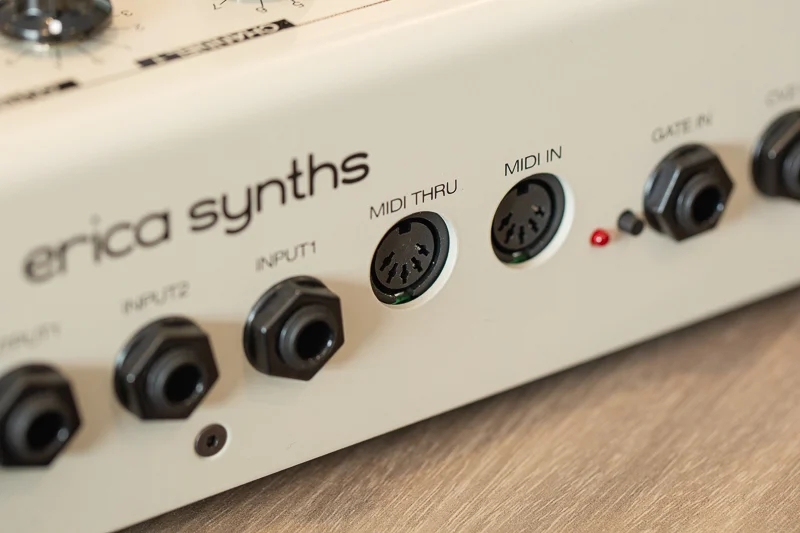
These MIDI signals are primarily used with external synthesizers. The MIDI signals are received through the MIDI IN port on the synthesizer, which then plays according to the recorded signals.
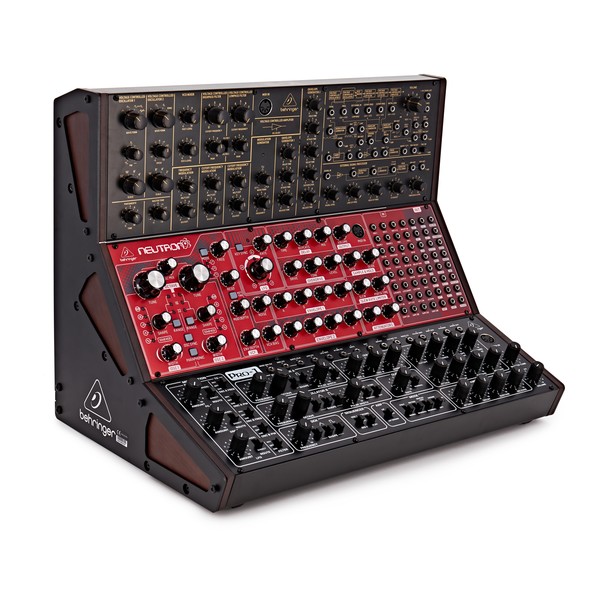
Synthesizers with keyboards can be played and recorded directly,
but those without keyboards must be played via MIDI signals. Nowadays, MIDI signals can also be transmitted via USB instead of MIDI ports.
Instrument Track
Instrument tracks are used to load virtual instruments and send MIDI signals to them. Like MIDI tracks, you can see the MIDI signals on the track, but they are played back directly.
Each instrument has its own MIDI CC (Control Change) settings, so it’s important to familiarize yourself with the manual of the instrument you’re using.
*MIDI CC
MIDI CC is a transmission standard that allows you to control parameters on MIDI-supported instruments/devices.
Each CC can be adjusted from 0 to 127. Commonly used CCs include:
FX tracks receive signals sent from audio and instrument tracks. In DAWs like Pro Tools and Logic, these tracks don’t exist separately and are found only in Cubase among the DAWs I use.
These tracks are used for parallel processing or adding reverb, delay, and other effects.
Group Track
Group tracks bundle multiple tracks together, allowing you to process them collectively.
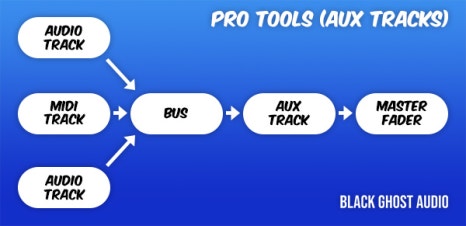
Aux Track
Aux tracks are found in Logic and Pro Tools, used to create FX and group tracks.
To use Aux tracks, you need to understand the concept of buses.
* What is Bus?
Black Ghost Audio
As shown in a previous post, a bus is a ‘path’ that other tracks go through before reaching the Aux track via the ‘Send’ or Output designation.
In Aux tracks, you need to specify the channel input to a specific bus for the signal to flow.
Therefore, Aux tracks used via Send can function as FX tracks, and those used via Output can serve as group/stack tracks.
This process is sometimes referred to as OOBus when grouping tracks.
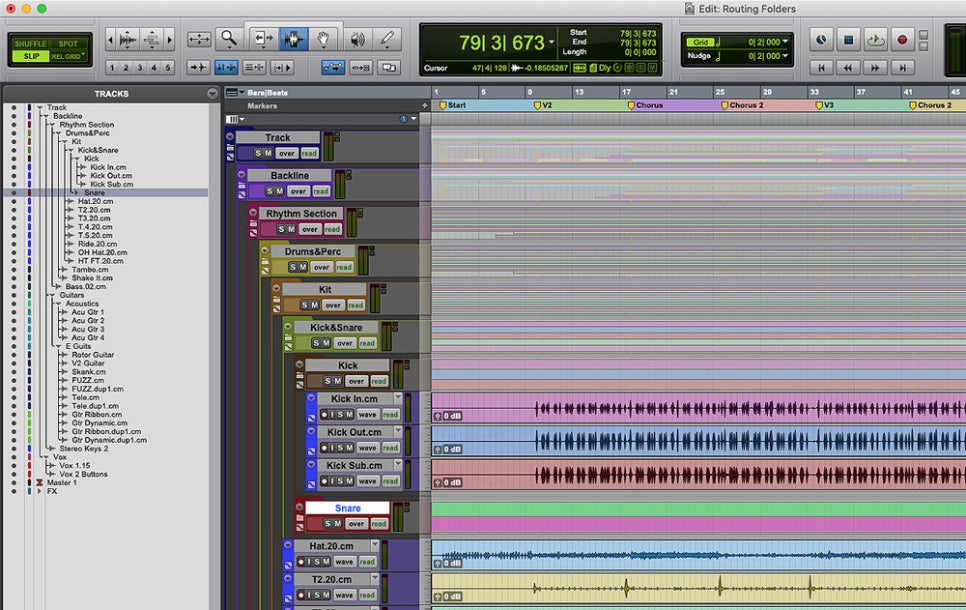
Folder Track
Folder tracks are used solely for organizational purposes and do not affect routing. They can mute/solo entire sections or consolidate unnecessary tracks.
Organizing Tracks
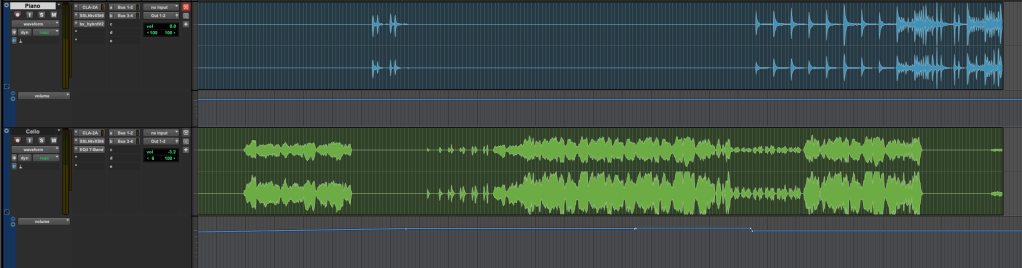
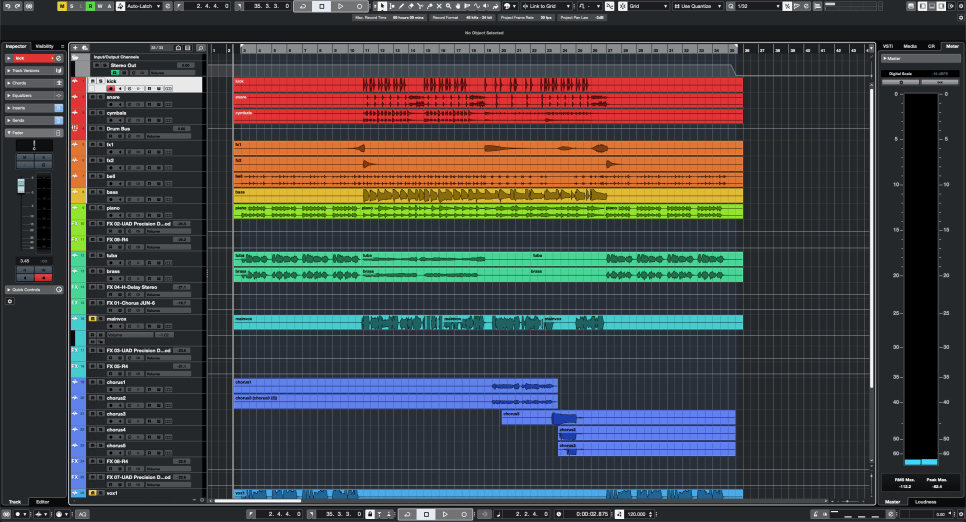
Here’s a simple project I mixed.
Organizing tracks can be done in any way, but I usually categorize them as follows:
Drums and Percussion
FX sources like risers and bells
Bass
Piano/Pad
Other synthesizer instruments
Acoustic/Electric Guitar
Orchestral Instruments
Vocals
I tend to place lower frequencies at the top and higher frequencies at the bottom. Orchestral instruments are arranged in score order.
FX tracks sent via Send are placed directly below the corresponding instrument/group track. I prefer designing and fine-tuning FX for each instrument individually, so this method works best for me.
As you work on multiple projects, you’ll develop your own track organization method, tailored to your convenience.
However, organizing tracks can significantly speed up your workflow, so having a consistent routine is beneficial.