Hello, I’m Jooyoung Kim, an audio engineer and music producer.
For a while now, I’ve been wanting to have more control over certain articulations, like sliding, vibrato, and slap techniques. That led me to decide that I should start playing the bass myself.
Since I’ll be using it for music production, I didn’t want to settle for a cheap, entry-level instrument. At the same time, I didn’t have the budget for a high-end one…
This is where a solid domestic brand comes in handy!
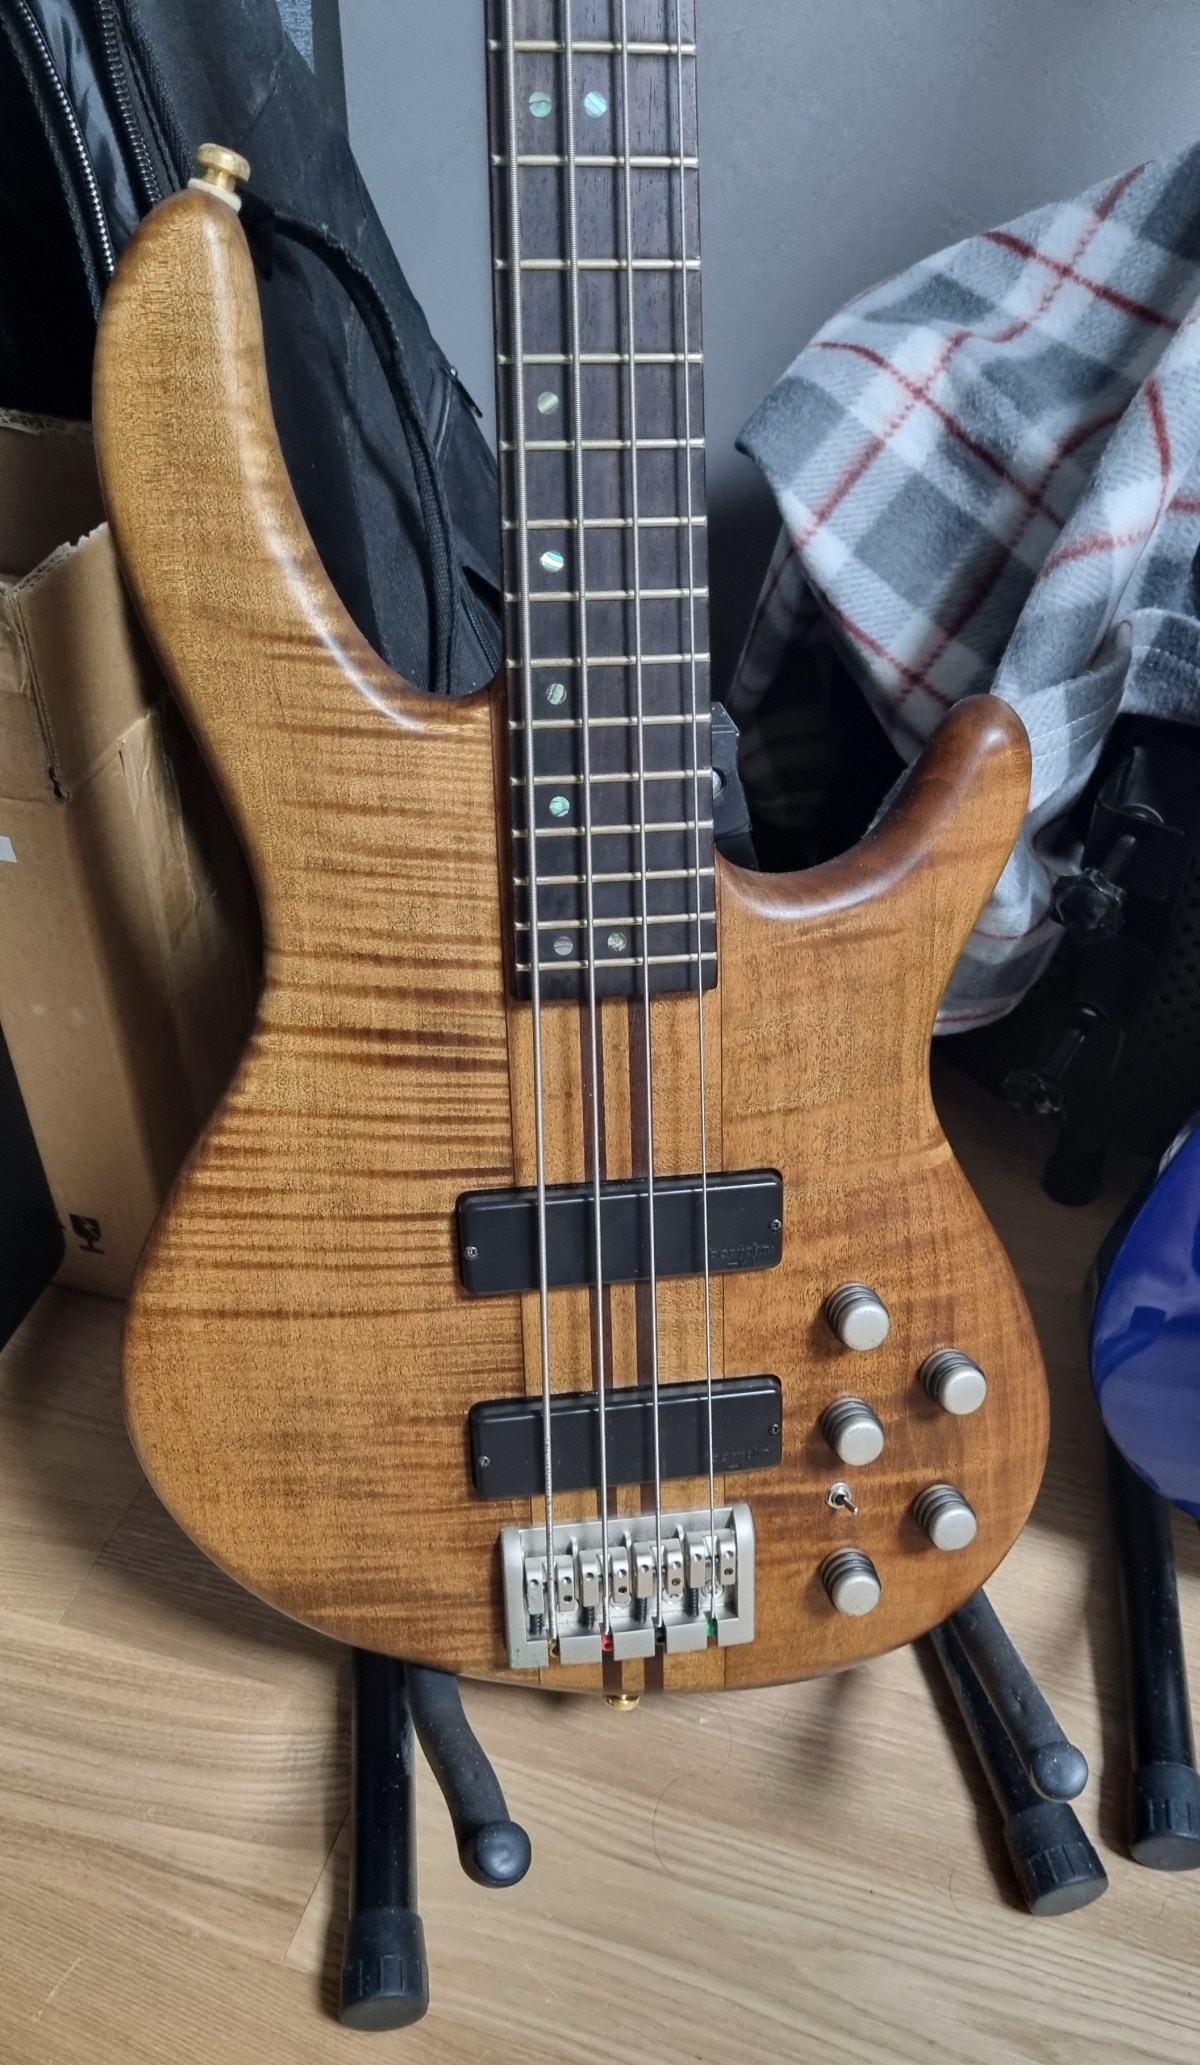
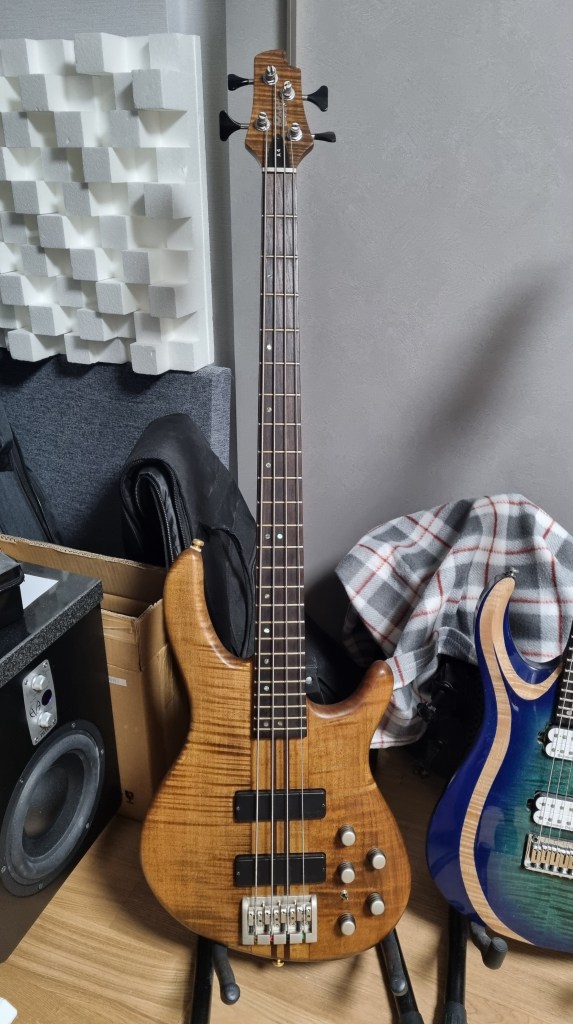
Yes, I’m talking about Cort. My electric guitar is Cort, and now my bass is too.
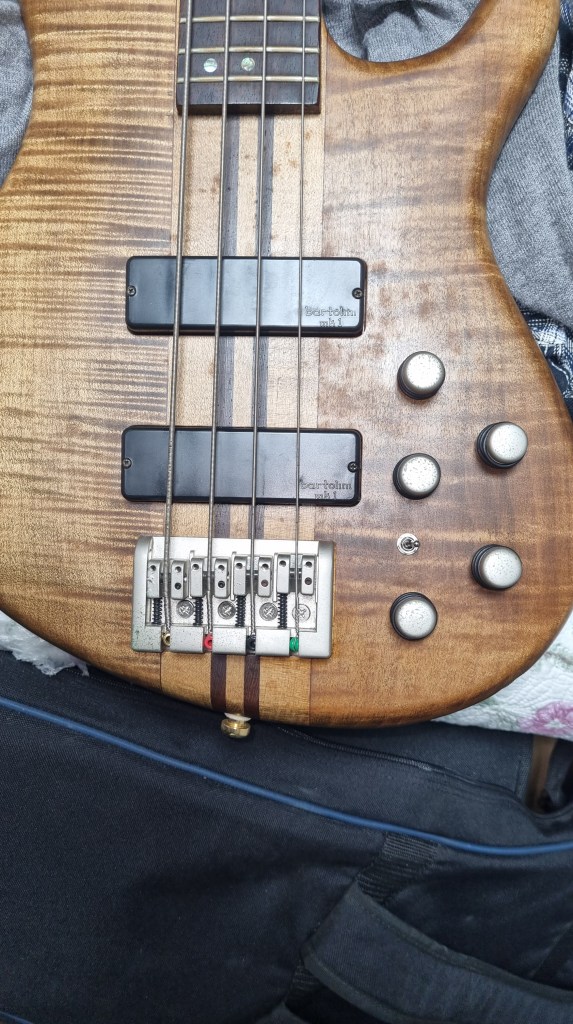
It’s an older model, so unfortunately, it only works in active mode with no option to switch to passive. There’s also some rust on the knobs and bridge, which is a slight drawback. However, after trying it out, I really liked the sound—it’s exactly what I was looking for.
I had borrowed a Squier bass from an older friend for a few days (though I’m not sure what model it was), and I have to say, this Cort bass feels way more comfortable in my hands.
The strings are a bit old, so I’m curious how it will sound once I change them.
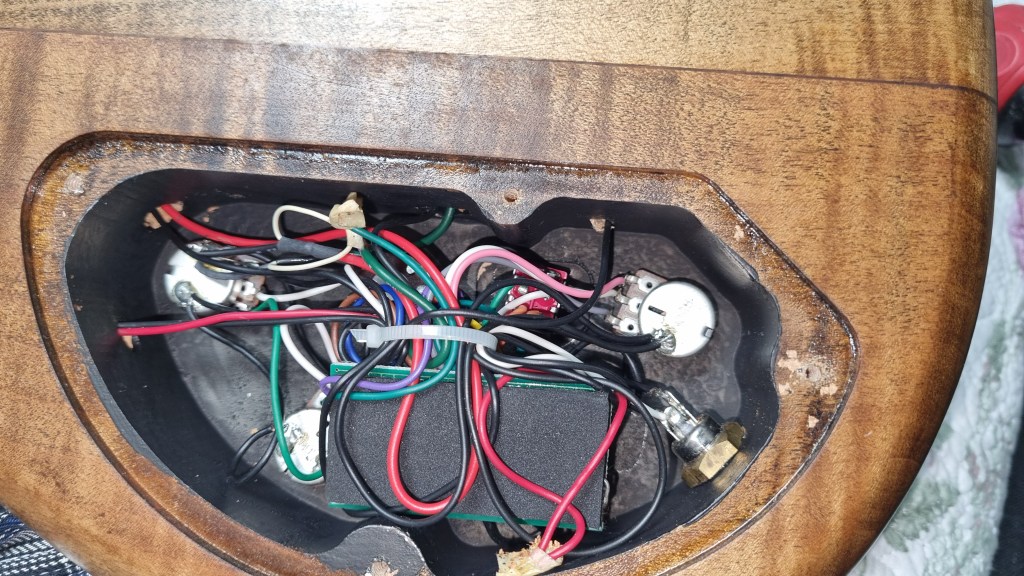
Then I thought about adding a switch for active/passive mode and took a look inside the back panel.
The wiring looks like a bit of a mess, so I’ll have to think it over when I get more time.
The goal is to practice more and eventually record most of the bass parts myself! But honestly, I feel like I might end up buying a Precision bass too… It never ends!
I’ve also been wanting to learn drums—am I becoming a one-man band? Haha.
Hello, I’m Jooyoung Kim, a mixing engineer and music producer.
A while back, I wrote about connecting passive speakers after I picked some up for free (though I haven’t covered that here on this English blog yet. I’ll make time to write about it soon).
Unfortunately, the ones I found picked up too much external radio interference, so I ended up throwing them away.
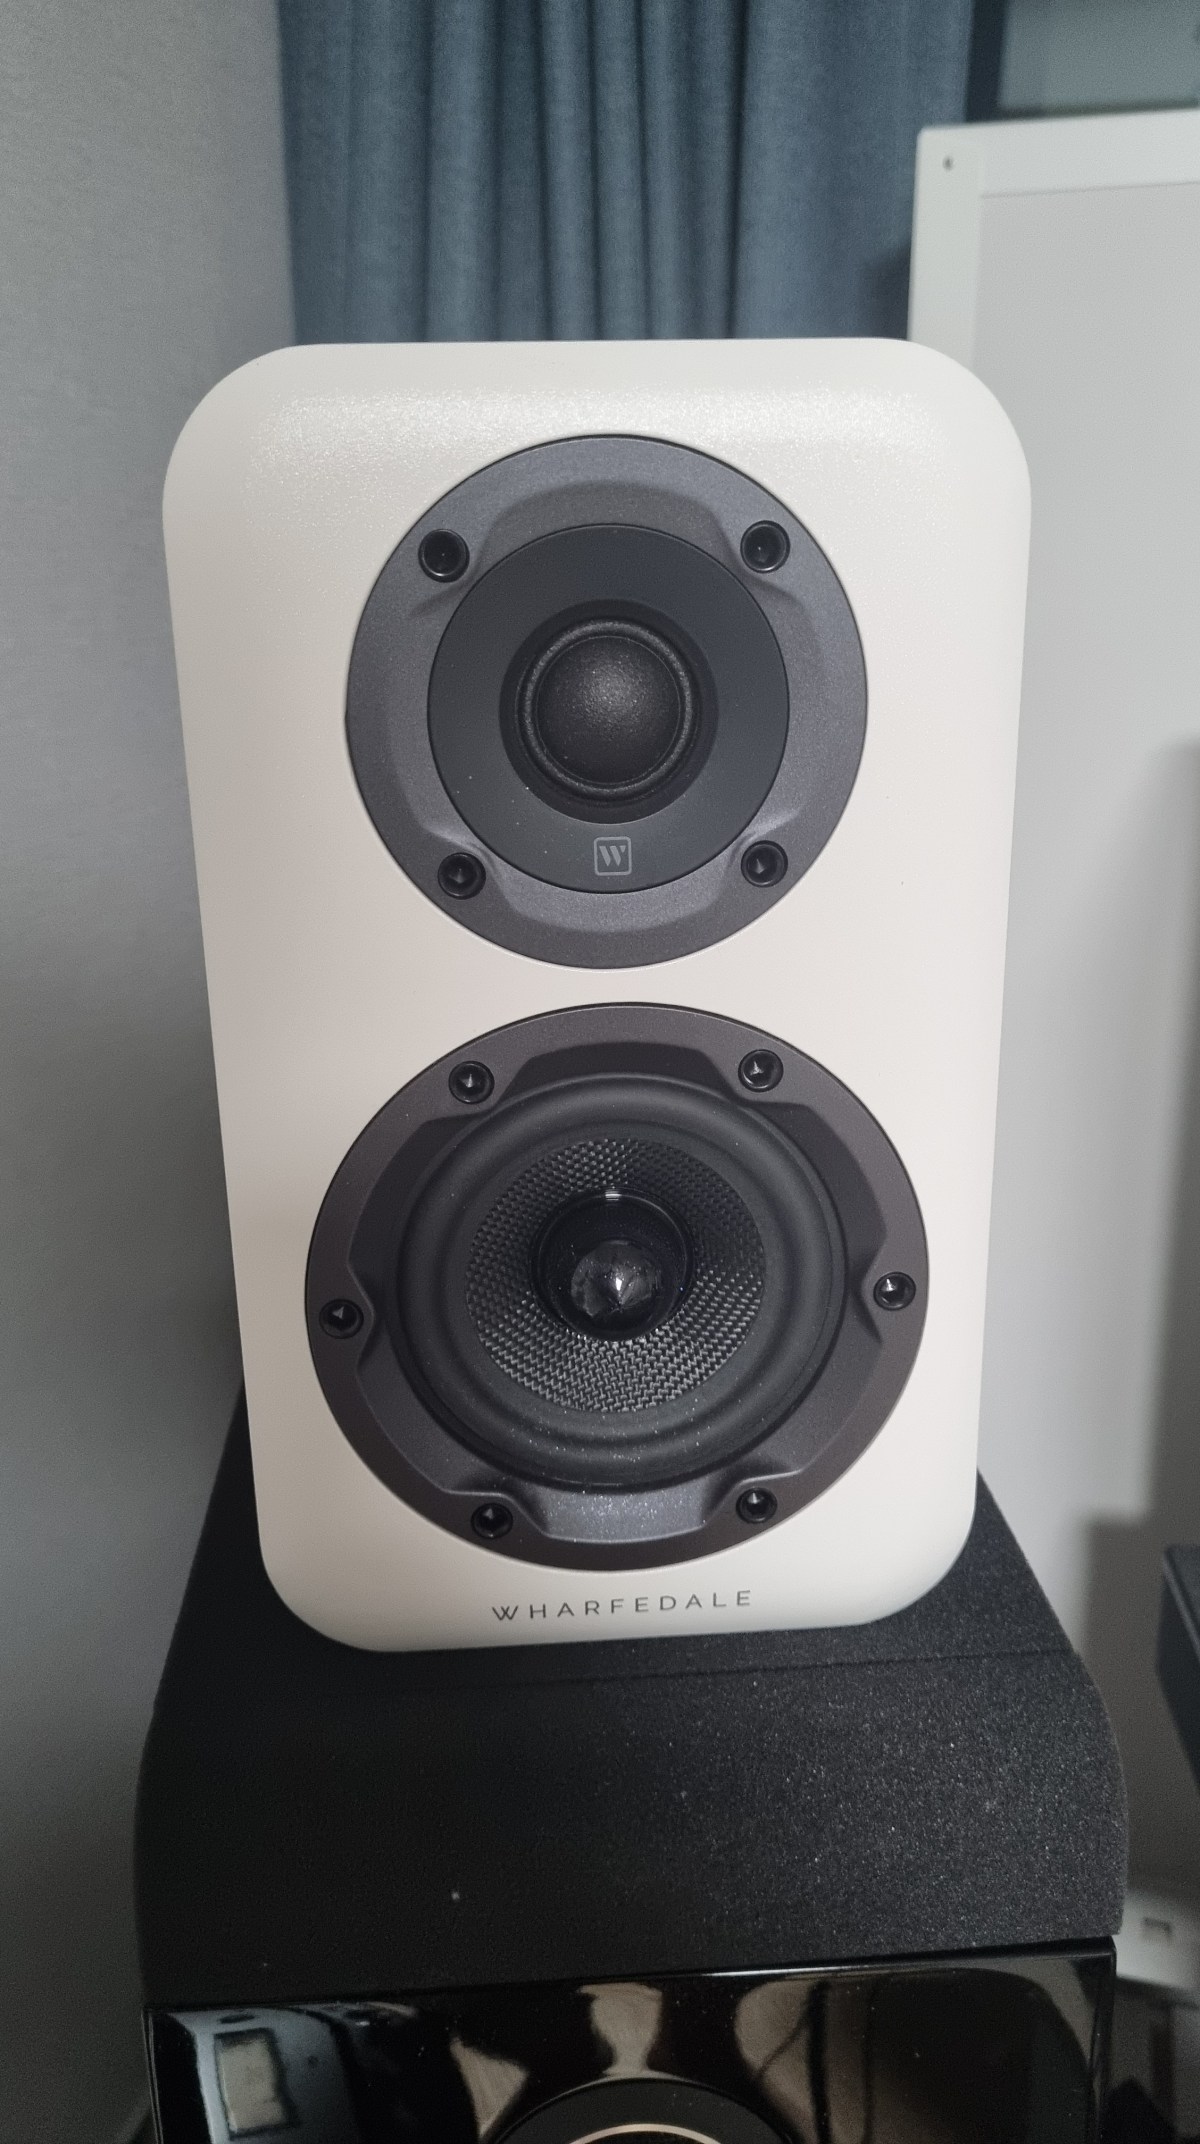
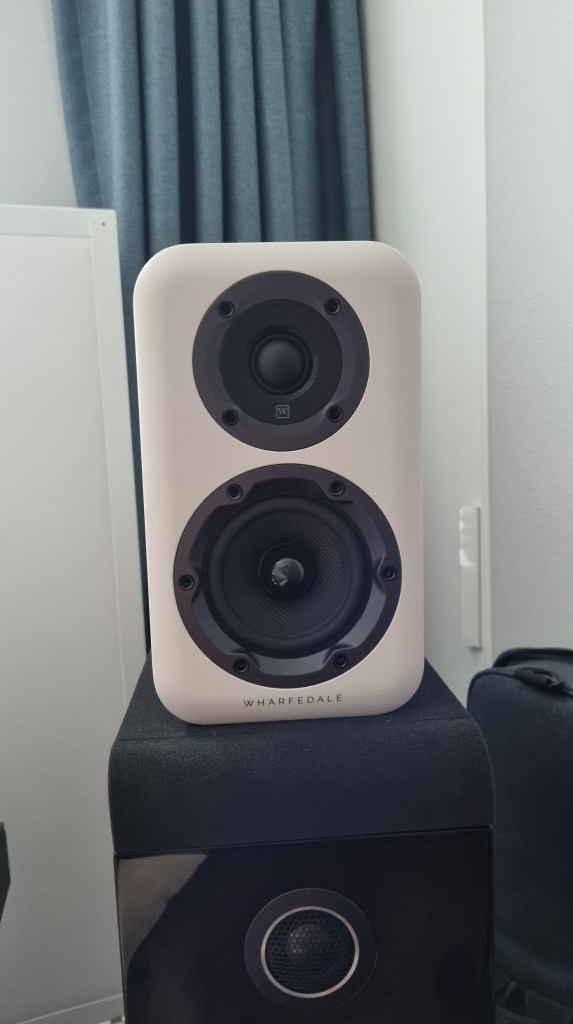
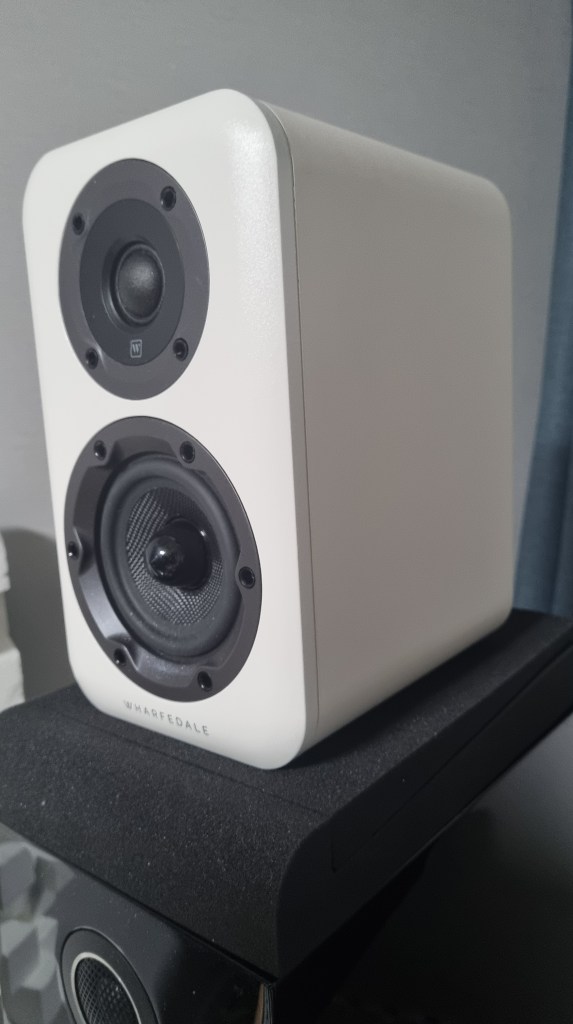
But, I still had my old Inkel amp sitting around unused, and I kept thinking it was a shame to waste it. So when I found these Wharfedale D310s for a bargain price, I decided to buy them.
These speakers retail for just $129 overseas, but each one weighs 2 kg, which is pretty hefty for its size.
For audio hobbyists and engineers alike, weight can tell you a lot about a speaker. A heavier build usually means the enclosure is well-designed, and you can expect decent quality woofers and tweeters.
I bought these mainly to refresh my ears when they get fatigued, so sound quality wasn’t my top priority. But the weight alone gave me a good impression.
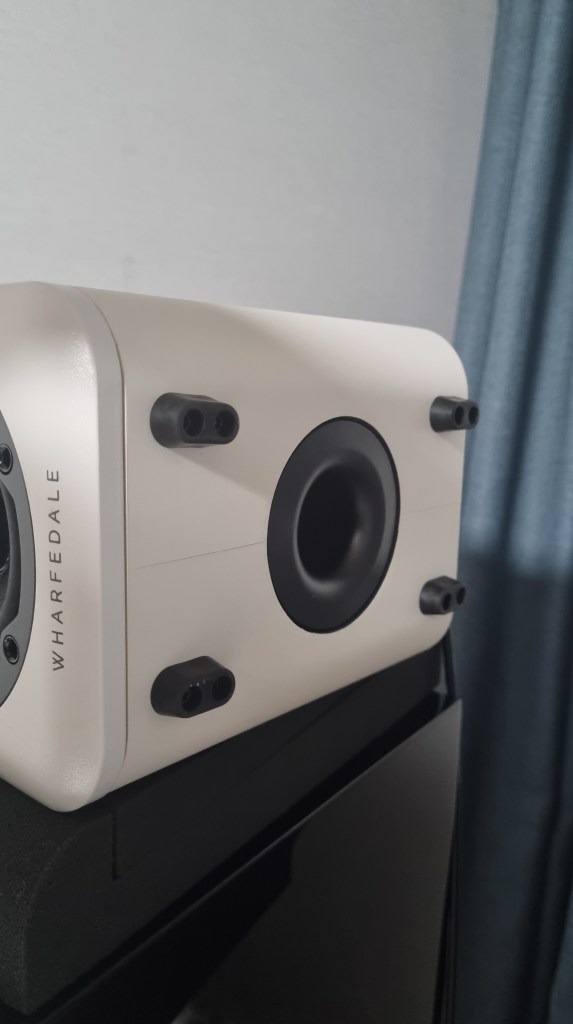
Interestingly, these speakers have their ports placed underneath. I initially planned to flip them upside down so the tweeters would sit at ear level, but that idea fell apart once I noticed the design.
To my surprise, the sound quality was much better than I expected. At this price point, it made me question why anyone would insist on using active speakers from the pro audio world.
These are also well-shielded, so I didn’t notice any external radio interference. And since these are passive speakers without built-in amps, they have more freedom in the port design, which seems to result in better bass compared to typical 4-inch active speakers.
Even after adding in the cost of my old, cheap Inkel amp, the total was under 200,000 KRW ($150). Compared to similarly sized active speakers, these are a much better deal.
Of course, adding in cables and other extras could push the cost up a little, but you need cables for active speakers too.
I already knew Wharfedale had a reputation for making budget-friendly products, but my personal bias was shattered once again.
The build quality is a bit lacking, but if you look at active speakers in pro audio, it’s often the same. So, I don’t see it as a big issue, especially since this is clearly an entry-level model.
I strongly recommend that musicians challenge their biases and give passive speakers a try. You might be surprised at what you find.
Hello, I’m Jooyoung Kim, a mixing engineer and music producer.
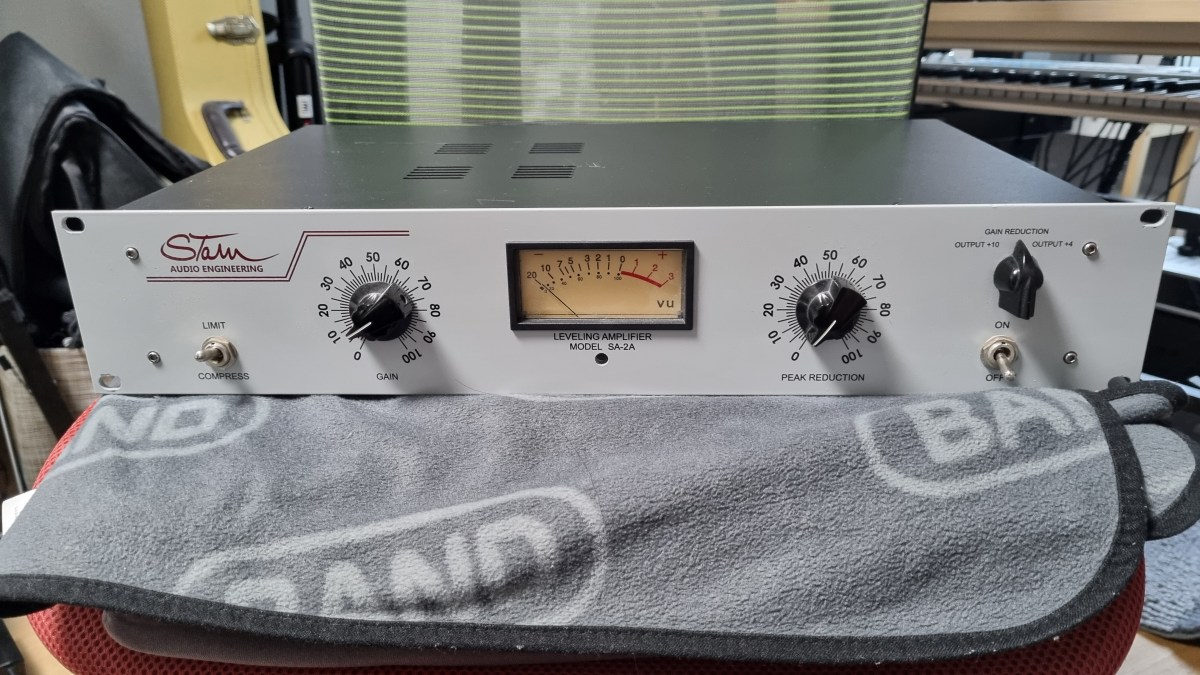
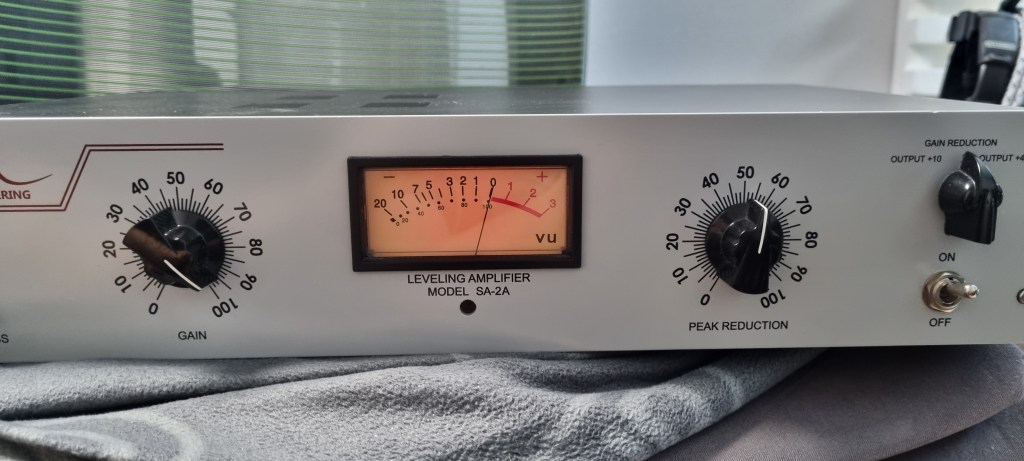
Today, I’m excited to share my review of the SA-2A, something I’ve been eagerly anticipating! Let’s dive right in.
The Struggle with the Gear
If you’ve been following my blog, you might know that this unit had quite a journey before it landed in my studio. Initially, I bought a faulty one with the idea of enhancing my understanding of circuits and practicing some soldering by fixing it myself.
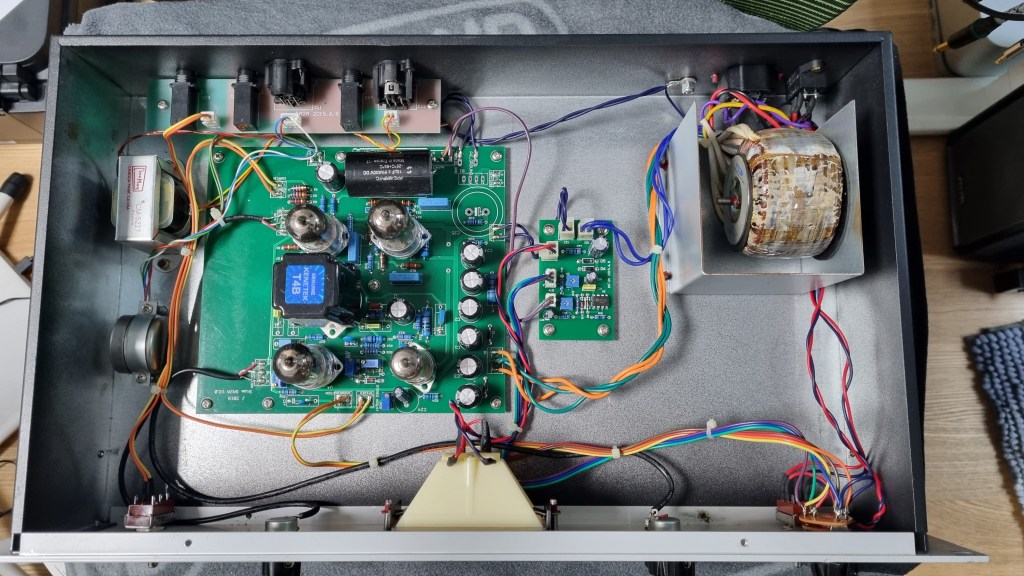
I thought it might just be a simple fuse issue… But after blowing through about five fuses, I took a closer look at the circuit board.
Despite my inspection, I couldn’t find any blown capacitors or burnt resistors. So, I decided to take it to a repair shop after seeking advice.
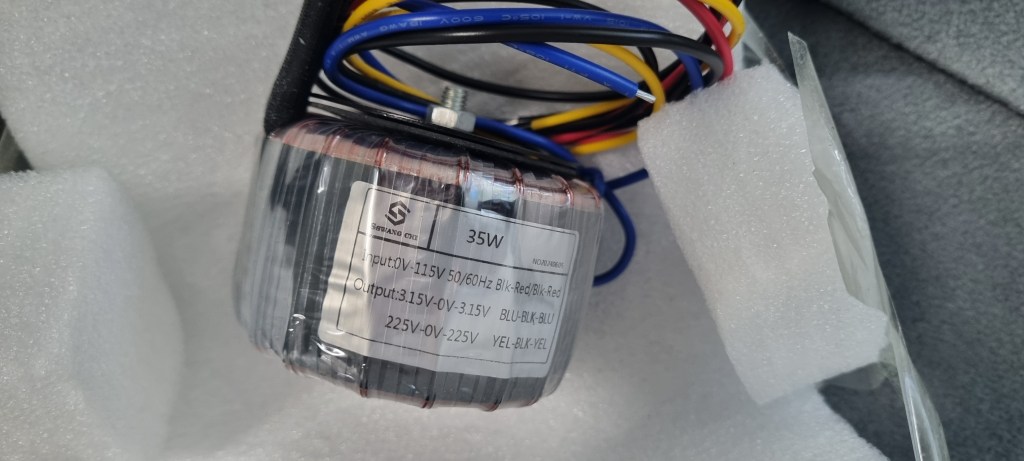
The culprit turned out to be a burnt toroidal transformer, damaged by overcurrent.
The challenge was that this early version of the SA-2A used a Cinemag transformer, and Stam Audio wasn’t sure if they had any spares left.
After two weeks of waiting for a response with no luck, I asked them to send me the specifications so I could have a custom transformer made.
After installing the custom transformer, the unit finally came to life!
I purchased the broken unit in January, and the repair was completed by early July, marking a nearly six-month battle.
Of course, I was a bit busy, which contributed to the delay, but it was quite the saga nonetheless!
Measurements
As regular readers of my blog know, I like to run measurements on gear, whether it’s hardware or plugins. While measurements don’t tell the whole story, they do help in explaining things more clearly.
I find it especially useful to compare my impressions from using the gear with the measured data, which can sometimes reveal if my ears are having an off day.
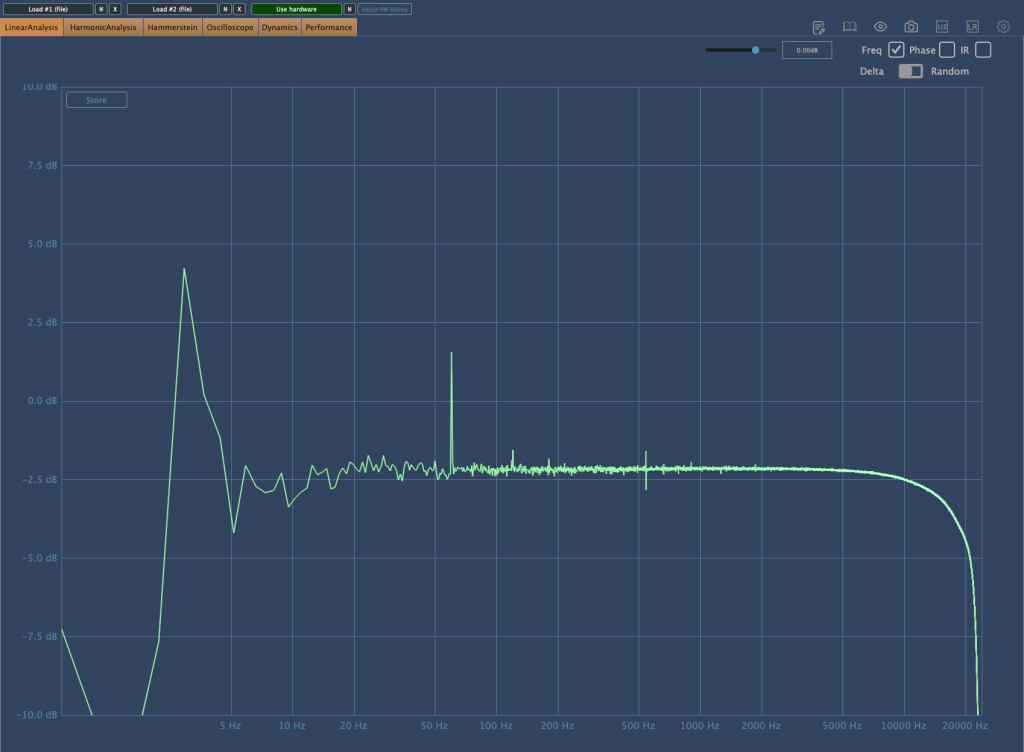
The frequency response graph above shows the response with no compression applied. (Keep in mind the peaks and valleys you see are typical of analog gear.) You can see a noticeable roll-off in the high frequencies.
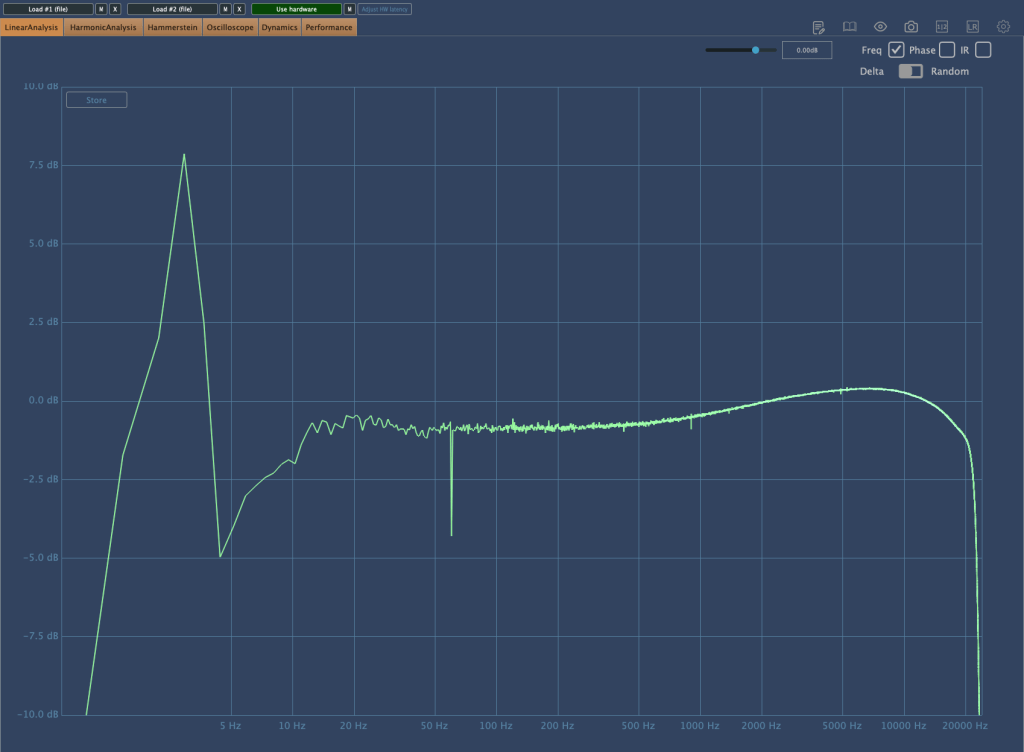
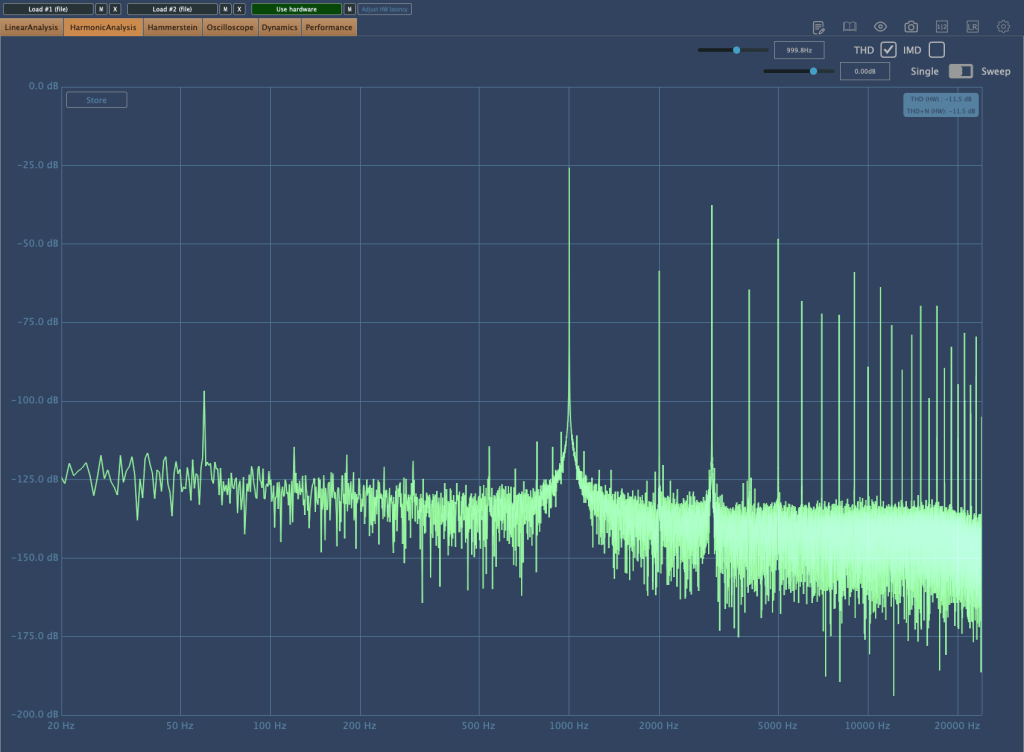
Here’s the frequency response graph with compression applied and gain compensated. There’s a rise in the high frequencies, and the right-hand graph shows noticeable distortion.
As the Peak Reduction increases, harmonic distortion also changes. It seems much more dynamic than using a plugin.
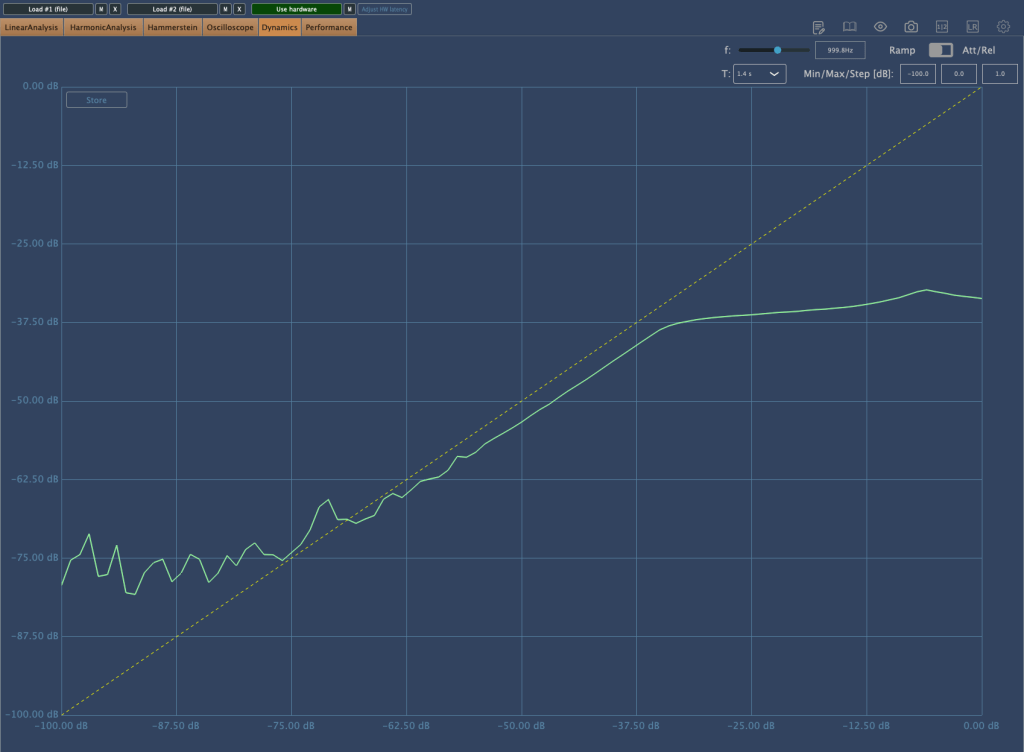
This is the compression curve graph. Strangely, the left side shows the settings for “Comp,” and the right side shows the settings for “Limit.” They seem switched, don’t they? Perhaps it’s just a labeling issue.
Even when using the device, it felt like the settings were somewhat reversed.
Practical Use
I tested the SA-2A on vocals and lead acoustic guitar in a project I’m currently mixing, as well as on some demo vocals for a production I’m working on. Additionally, I conducted a few simple tests.
My observations are as follows:
It’s a saturation machine that adds a hefty amount of color.
It can sound a bit rough, so careful EQing or the use of de-essers/multiband compressors may be necessary to tame it.
As you increase the Peak Reduction, the high frequencies rise, so setting the Input Gain properly beforehand is crucial.
It’s challenging to use on sources that are already colored.
The lack of an Emphasis knob is a drawback.
I wouldn’t say I’m in love with it, but it certainly has its uses.
Since 2017, there’s been an option to use Sowter transformers, and it seems they’ve started custom ordering these transformers from the two companies they work with.
While the raw sound isn’t spectacular, it integrates nicely into a mix. I plan to experiment more with transformer and tube swapping in the coming months.
I hope you enjoyed reading this review. See you in the next post!
I’m always open to reviewing hardware products! If you’d like me to review a product, please feel free to reach out at joe1346@naver.com.
This post is a translation of a Korean blog post I wrote on February 27, 2022.
Hello, I’m Jooyoung Kim, a mixing engineer and music producer. I recently had the opportunity to review the new Lewitt LCT 1040 microphone, thanks to Sound & Music, Lewitt’s distributor in Korea. They provided me with a demo unit for a week, with no other compensation.
Since I was going to be busy soon, I conducted a quick two-day test as soon as I received the unit and wrote this review. Let’s dive in!
Unboxing and Appearance
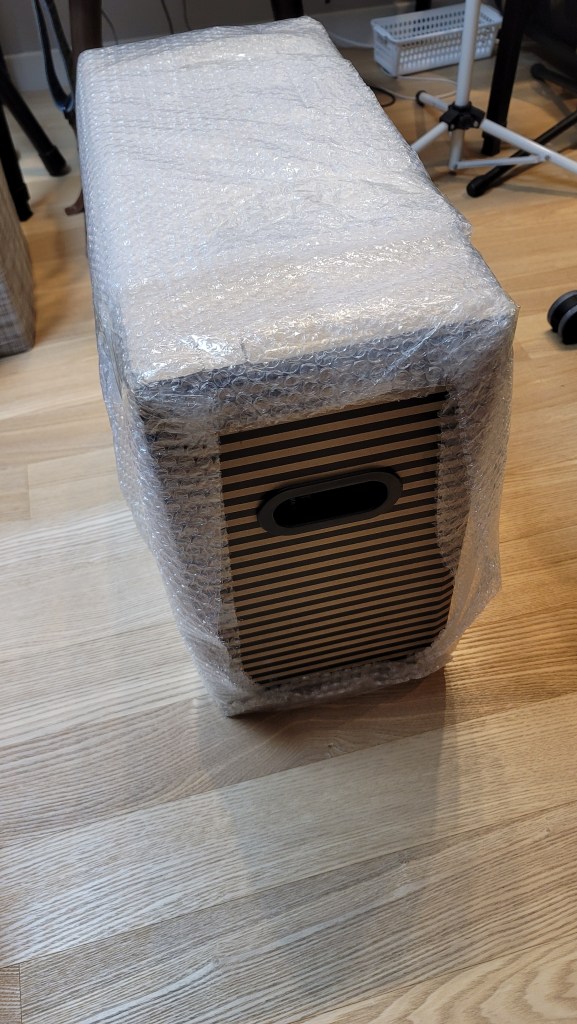
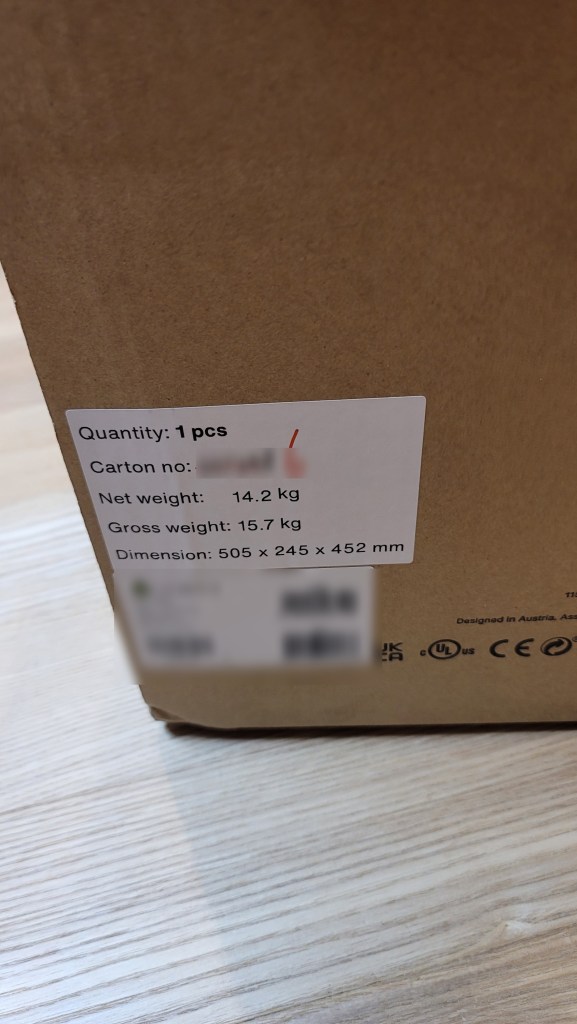
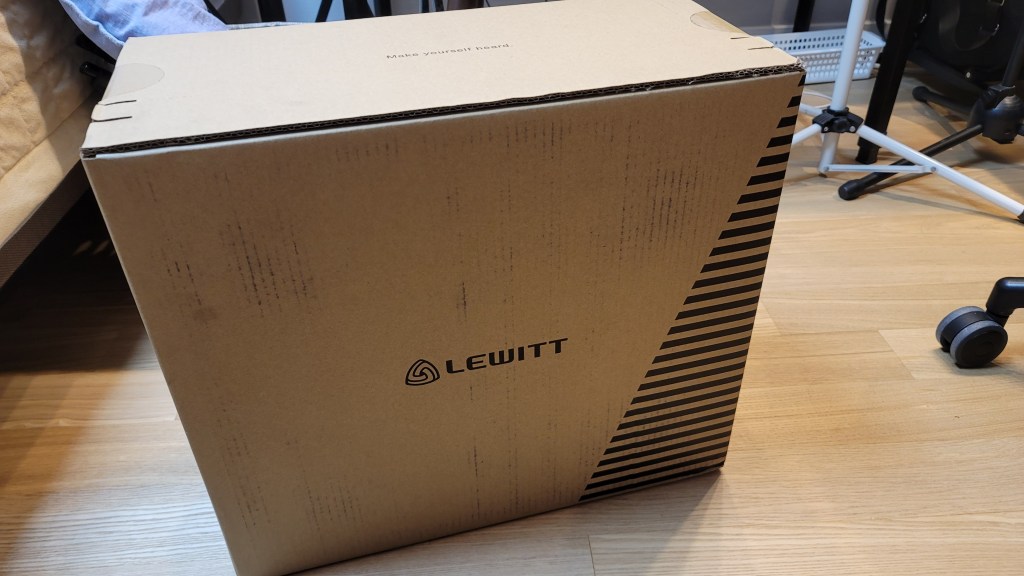
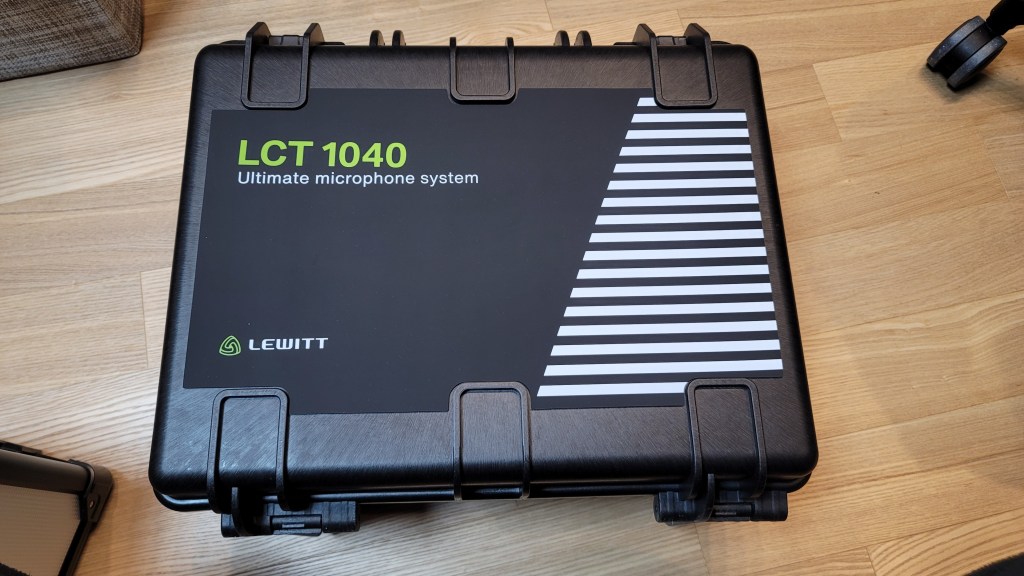
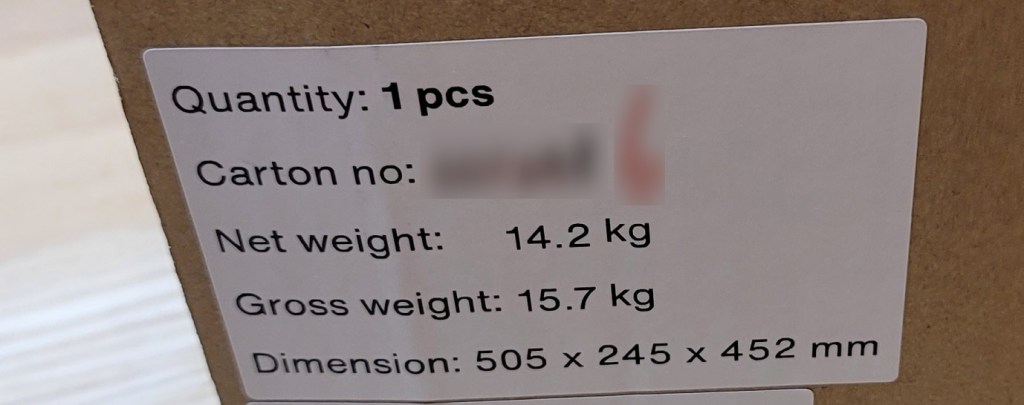
I received a brand-new, unopened demo unit, which was a pleasant surprise. The package was quite heavy. The box design was unique, with tear-off strips to open it.
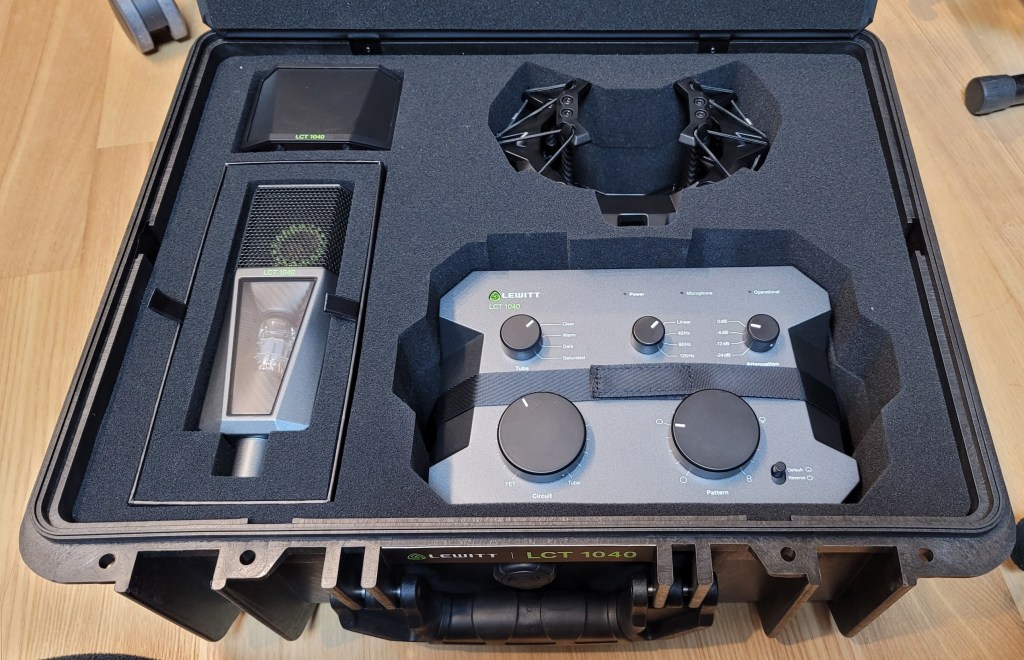
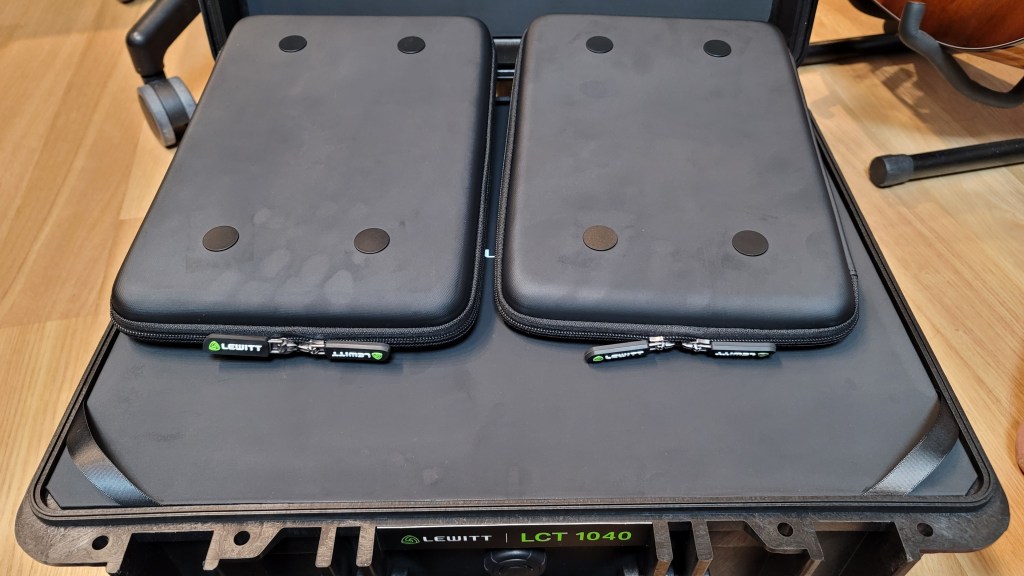
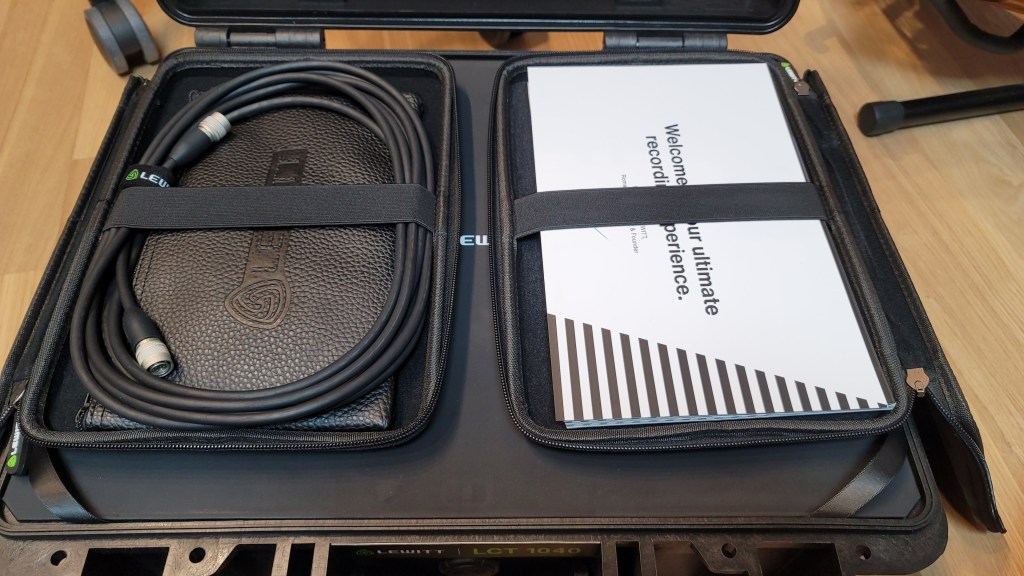
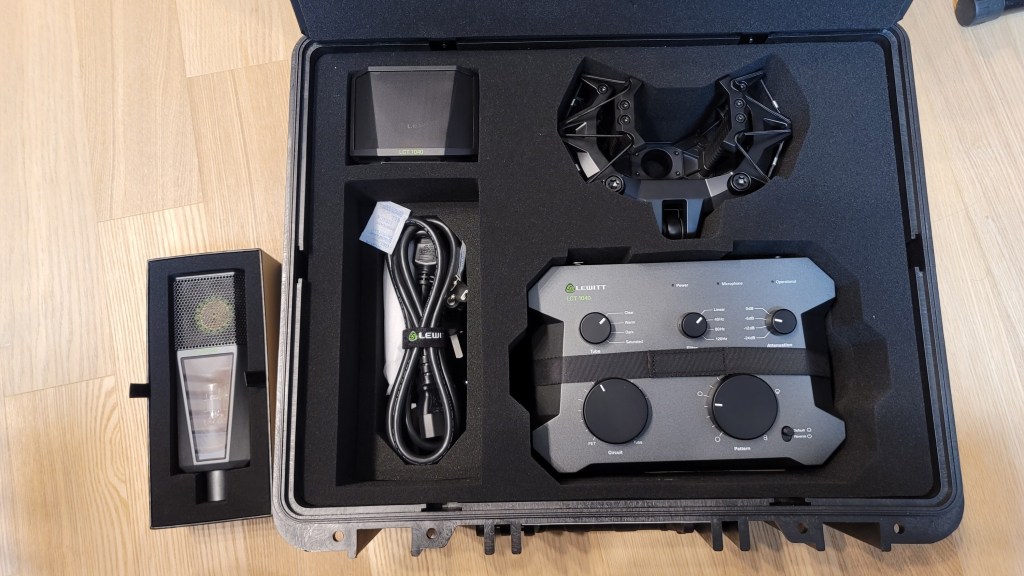
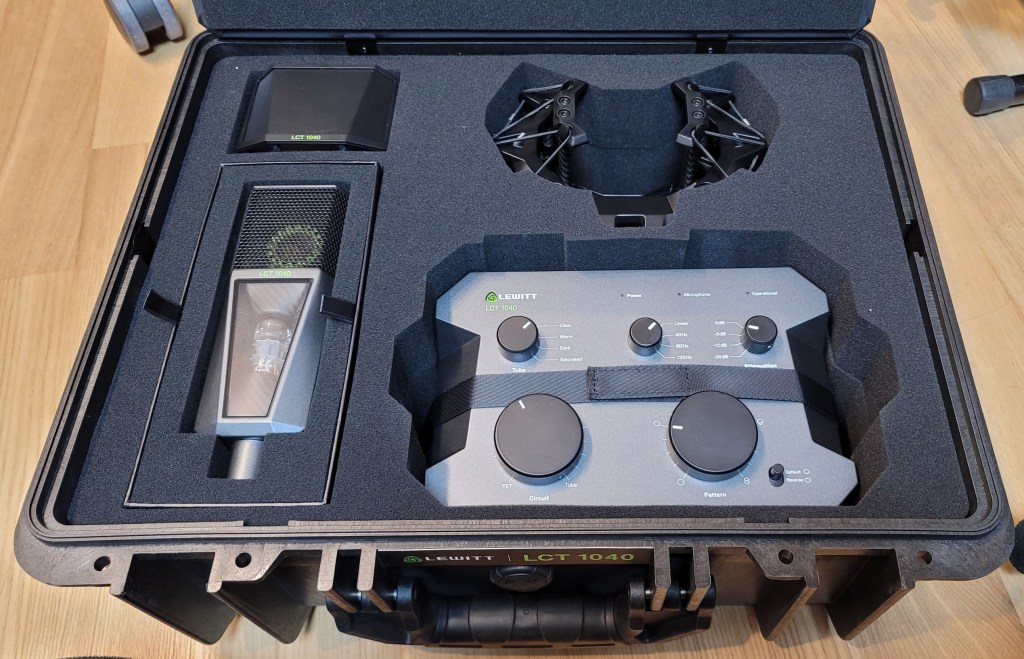
Inside the box, there were two pouches containing cables, manuals, and other documents. Below them were the microphone components.
The photo was taken immediately upon delivery, and you can see some handprints, probably because it was cold.
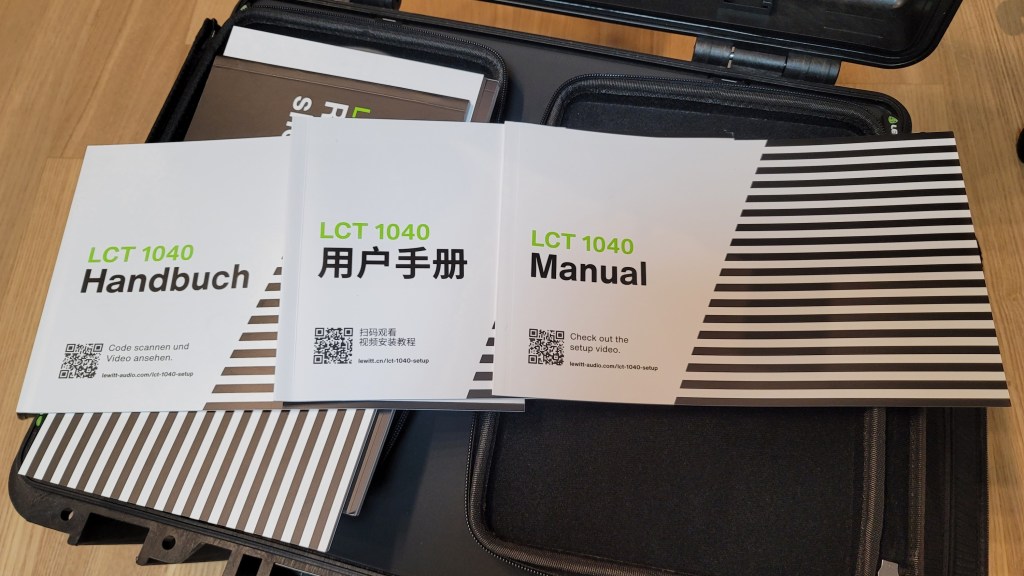
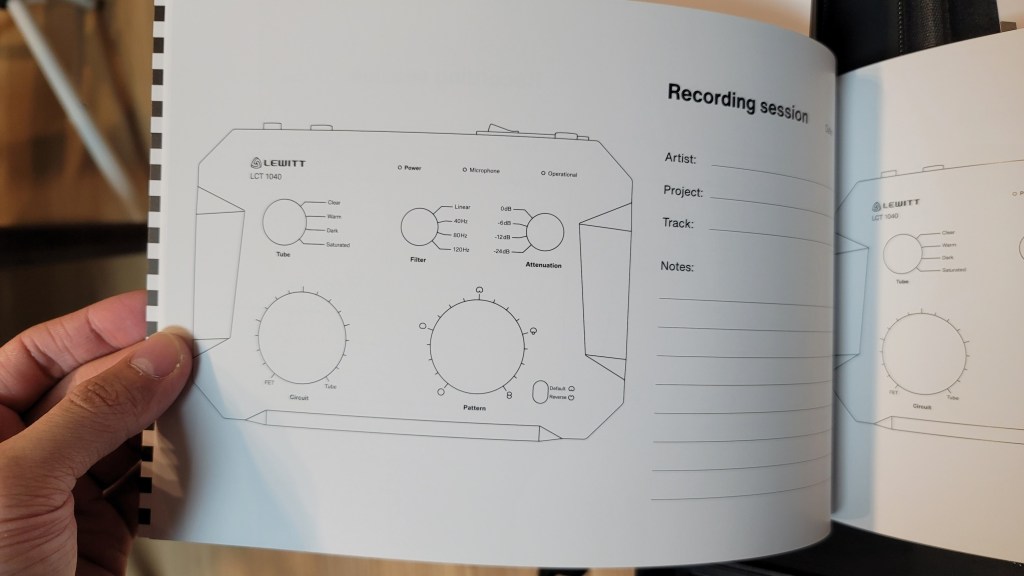
The pouches are attached magnetically and can be easily removed. The contents include manuals, a recall sheet, and a booklet detailing the development process of the LCT 1040.
They included the names of beta testers, and I was pleased to see my name included!
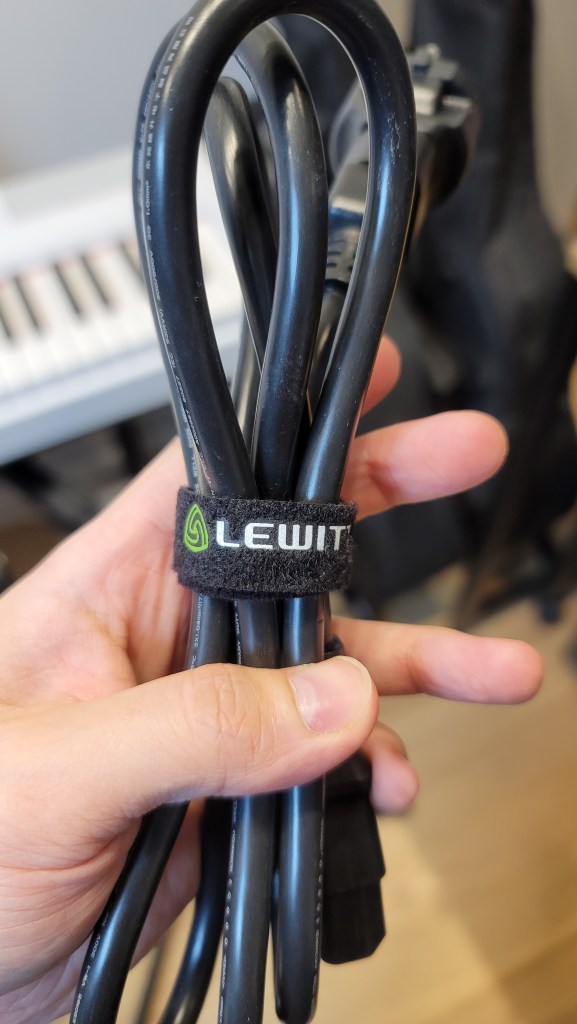
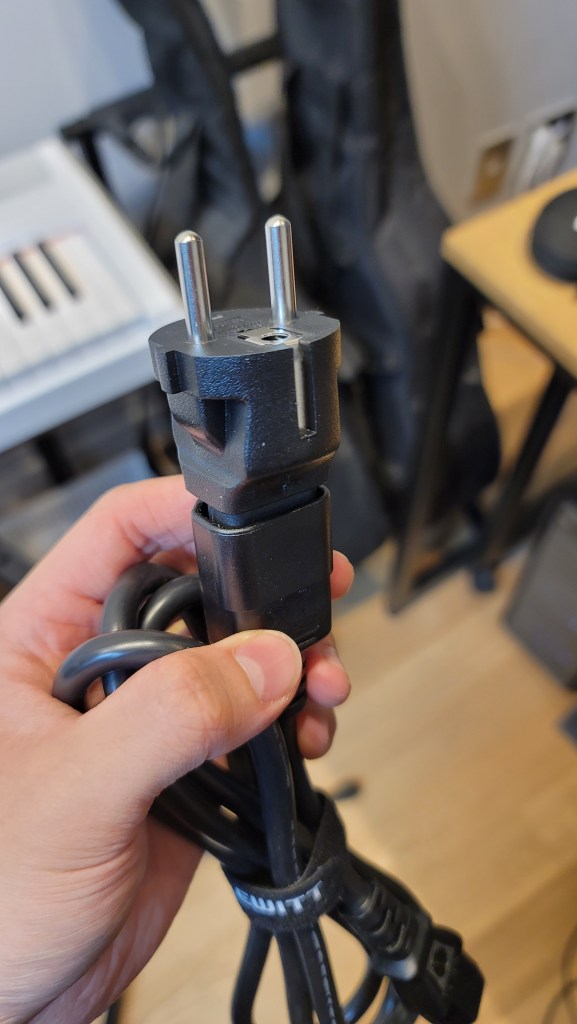
Underneath the microphone, there were power cables and adapters for different types of outlets. I found this modular system quite innovative.
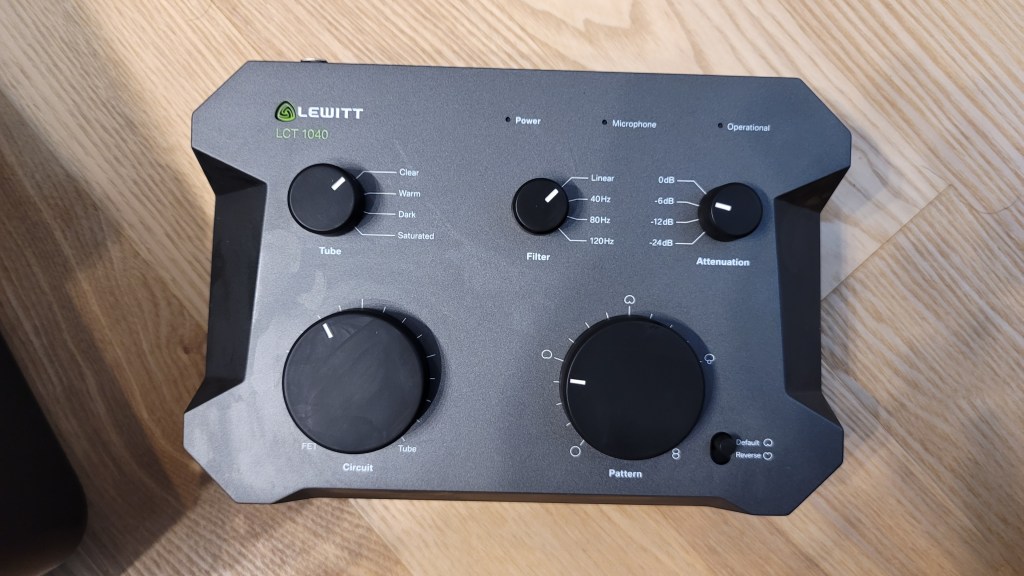
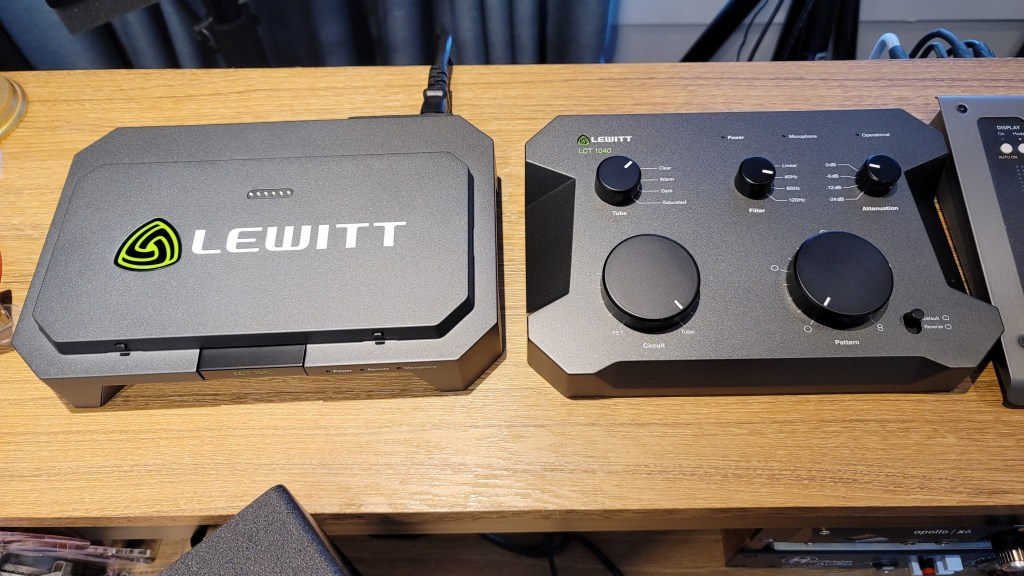
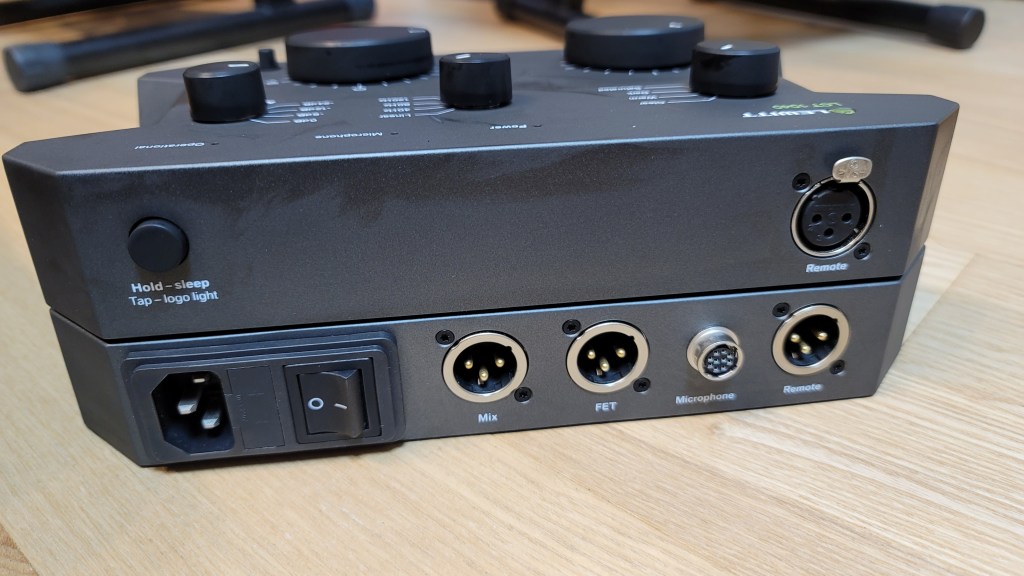
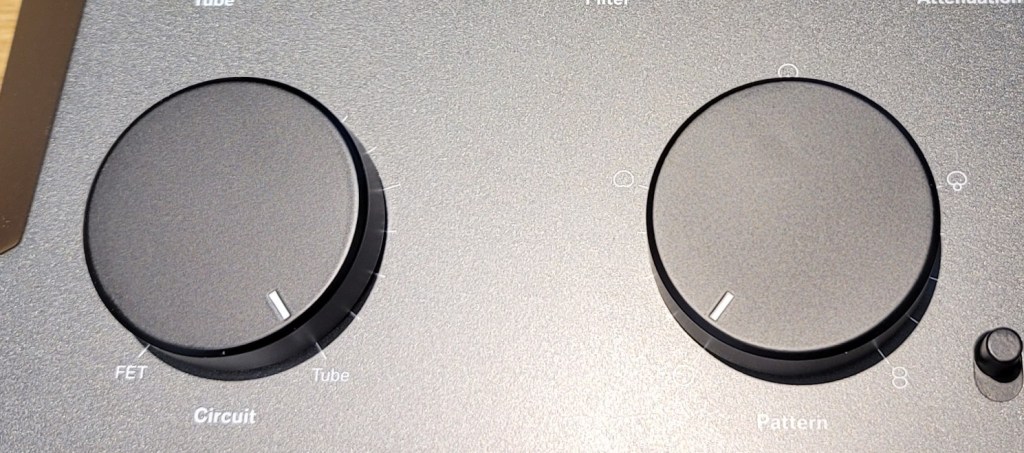
The control unit is entirely metal and feels hefty. The knobs are both linear and stepped, providing a smooth and convenient experience.
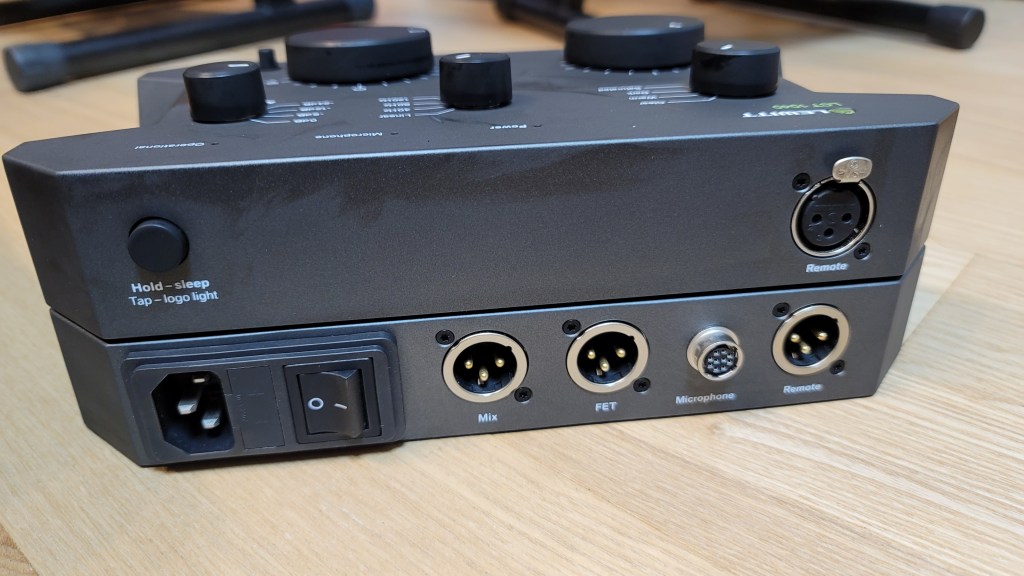
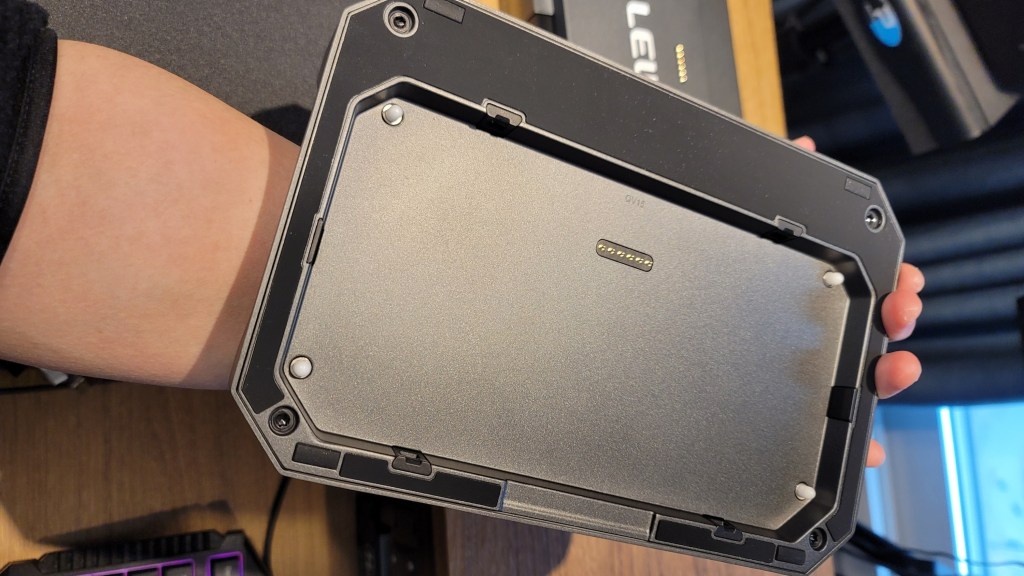
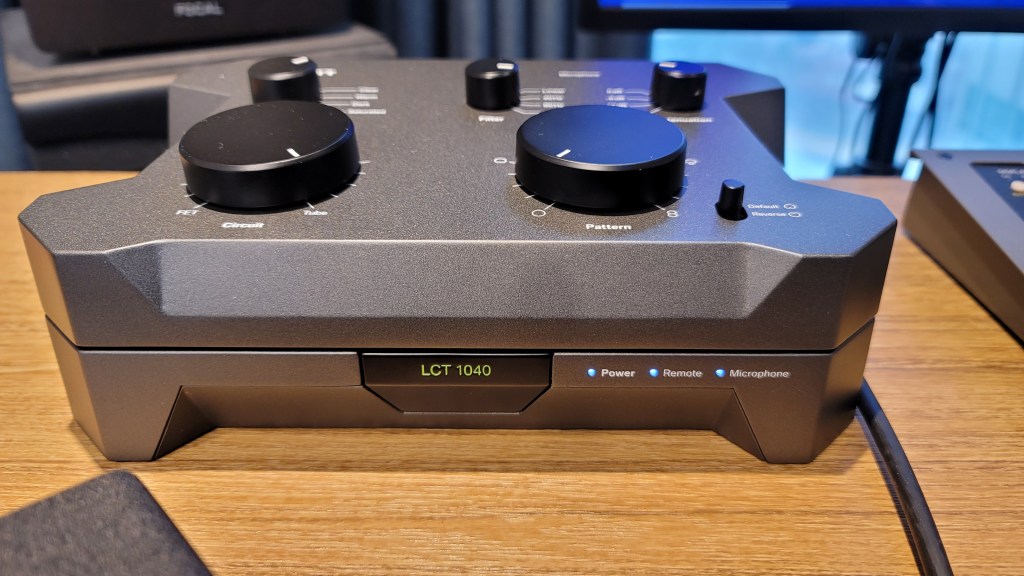
Pressing the “LCT 1040” label in the center allows for the remote to be detached. The remote can then be connected to the microphone using an XLR connector. This is a pretty innovative feature!
Once everything is connected, the lights turn on as shown in the photo below.
The Operational indicator blinks when adjusting the Attenuation (Pad) and Pattern settings, indicating a brief processing time. However, adjustments to Circuit, Tube, and Filter settings are immediate. There’s also a button for switching the front and back diaphragms.
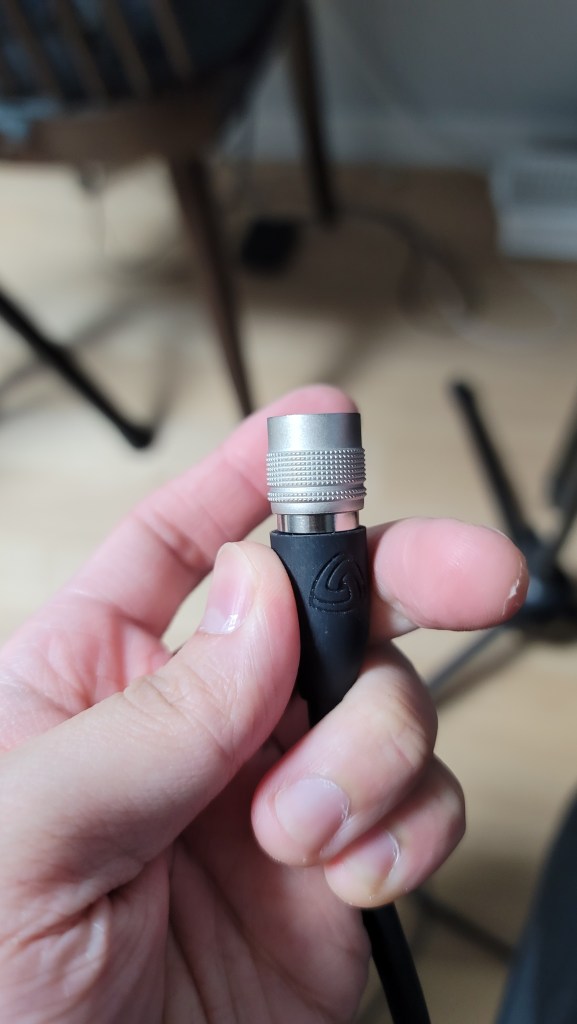
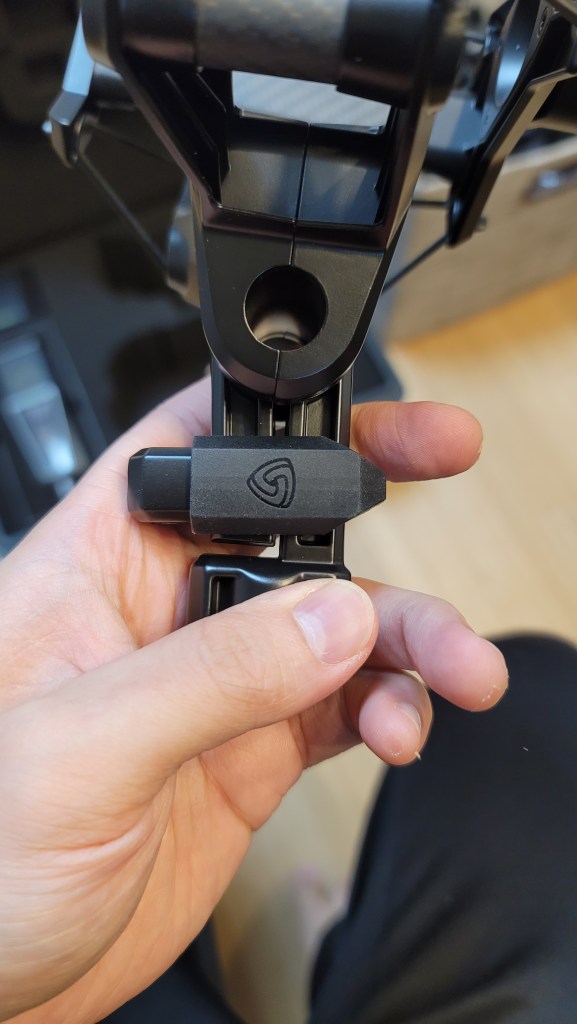
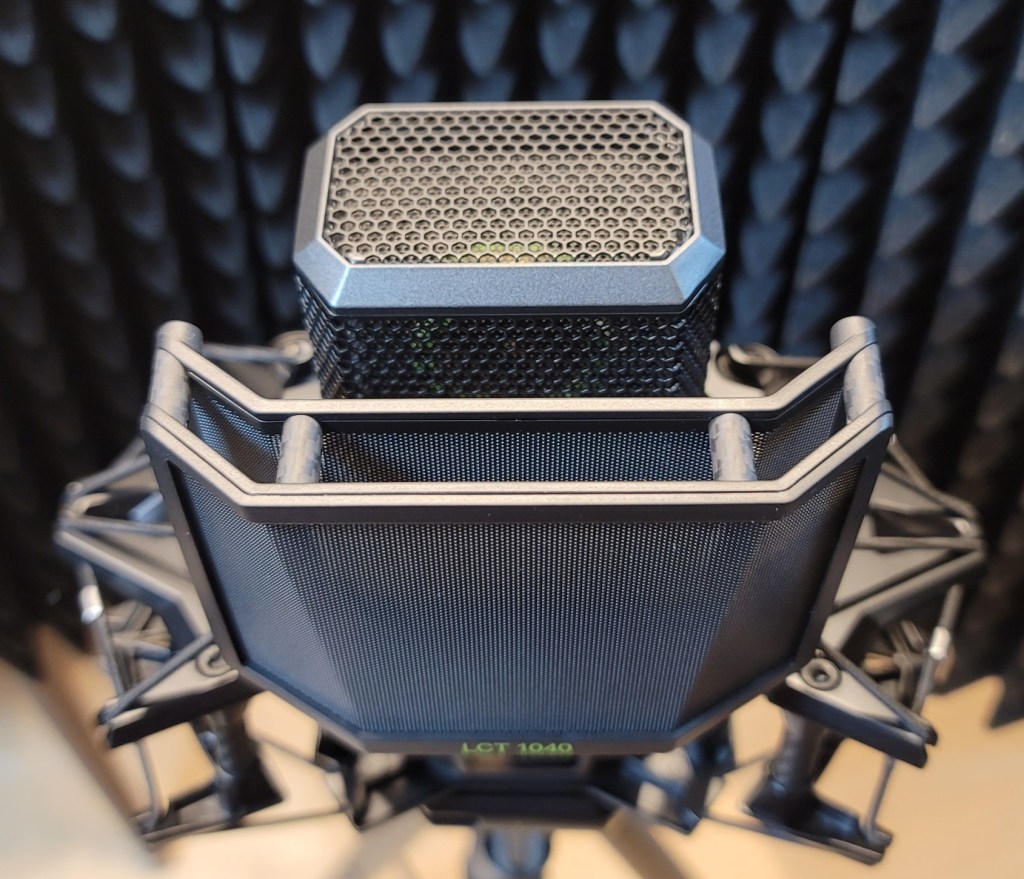
The microphone cable connector clicks securely into place when inserted correctly. The shock mount includes carbon material and features a unique, easy-to-use clamping mechanism.
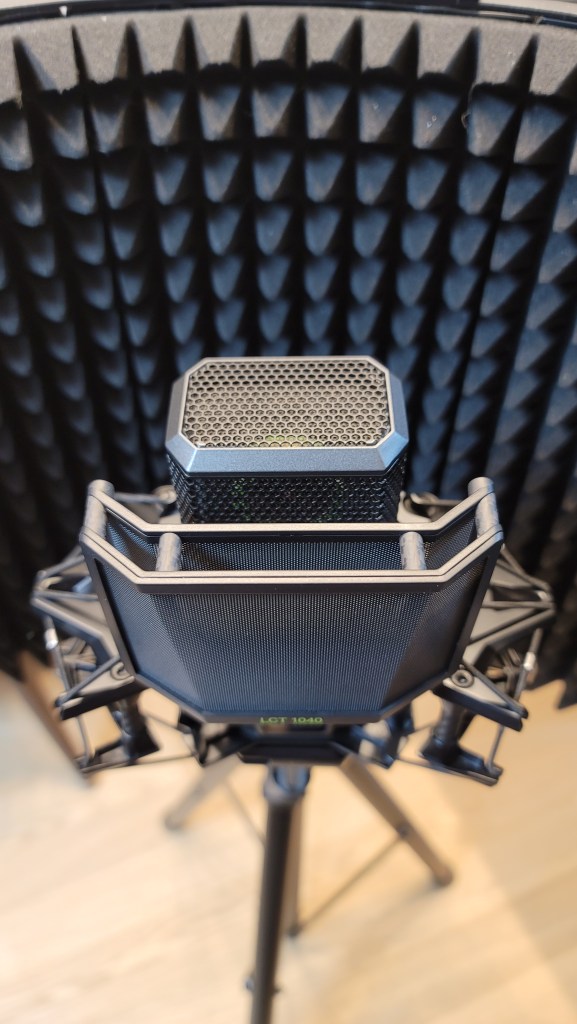
The pop filter and the microphone’s grill both have double layers, which shows attention to detail. The pop filter, also made of carbon material, attaches magnetically, making it easy to use.
The bottom clamp for mounting the microphone is simple and effective.
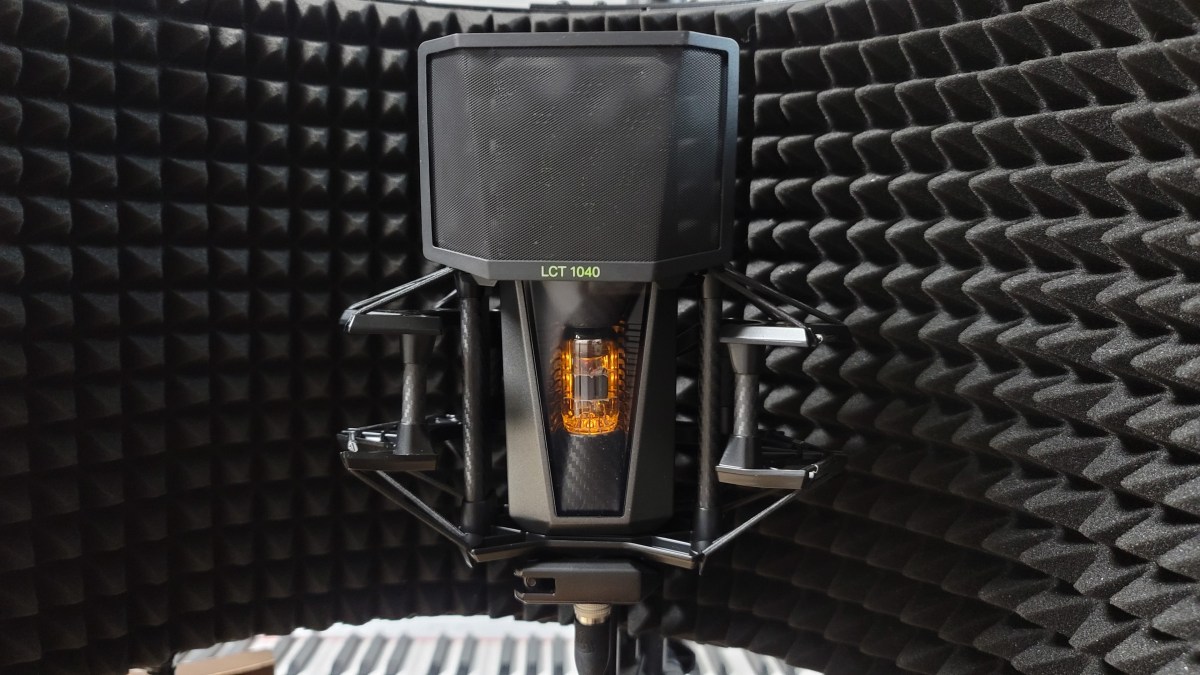
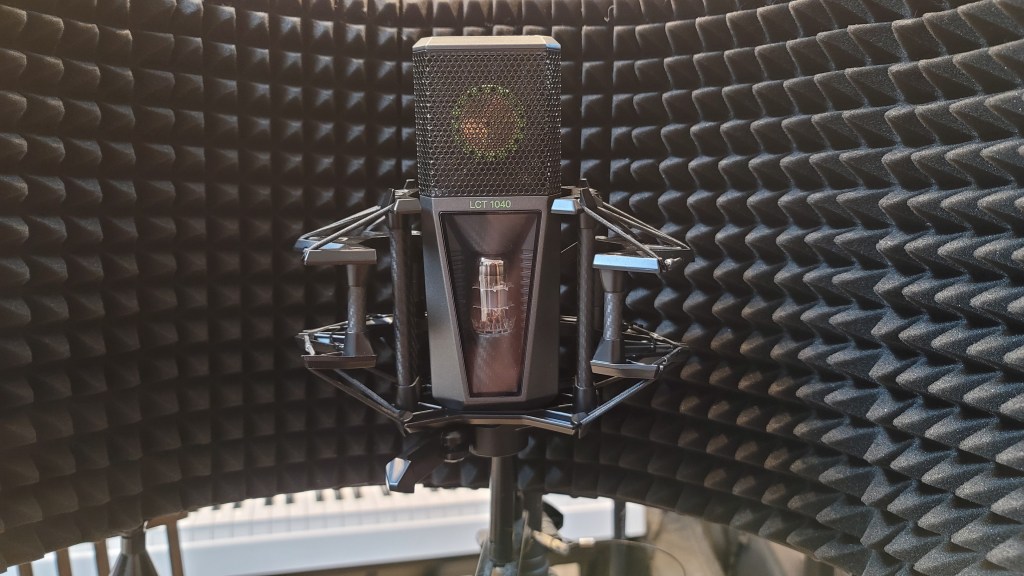
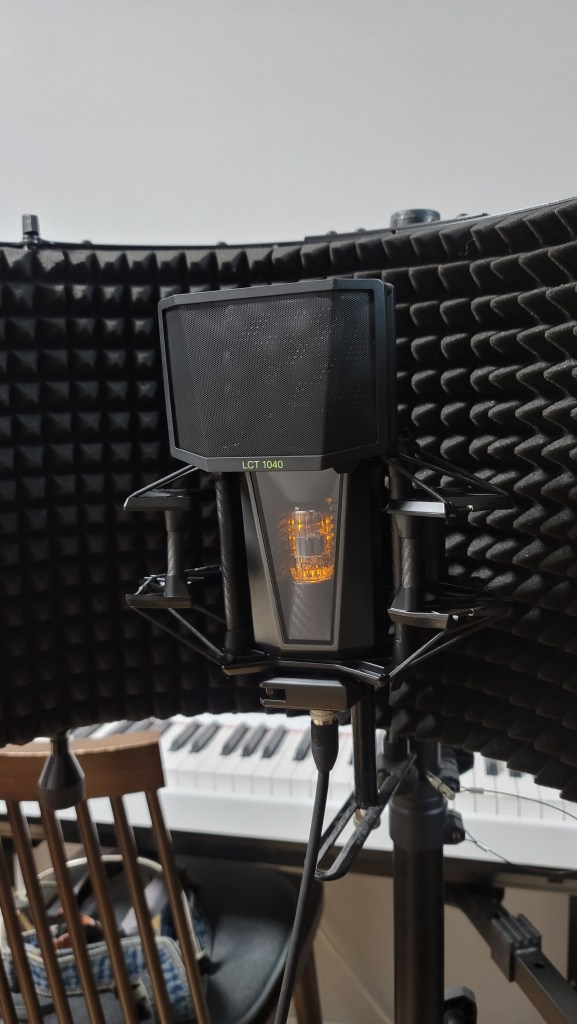
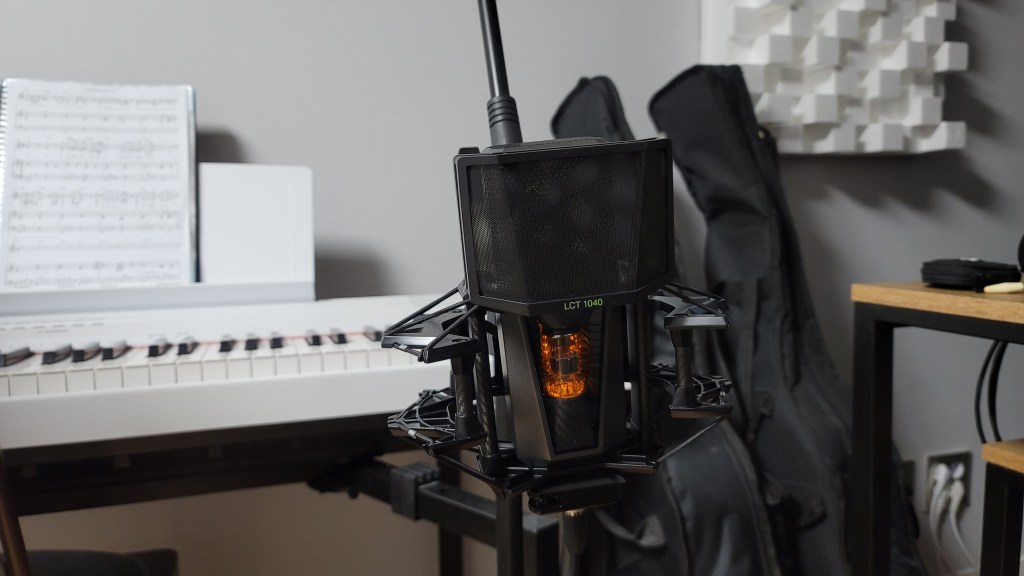
The microphone, when powered, looks like this. I think this gives you a good overview of its appearance. Now, let’s move on to the sound test.
Recording Test
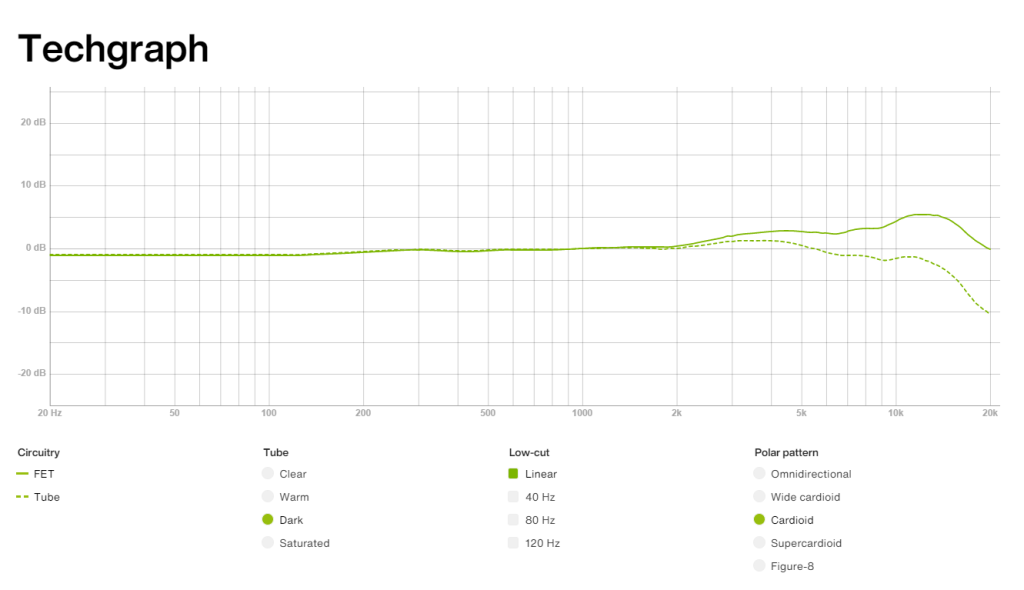
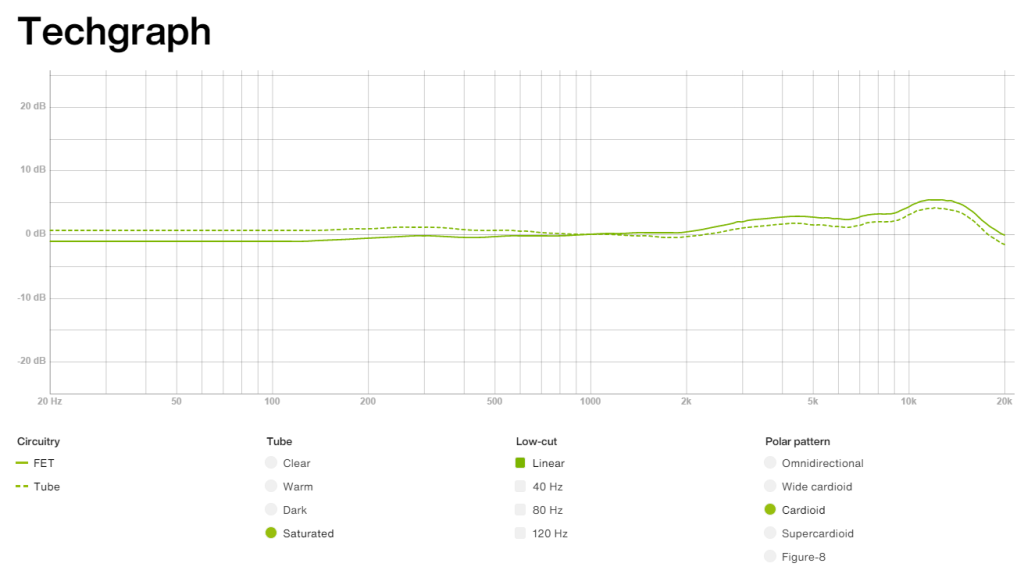
For the test, I recorded both vocals and guitar. For vocals, I used a reflection filter and recorded in Clear, Warm, Dark, and Saturated modes with Omnidirectional, Cardioid, and Figure-8 patterns, using three settings: FET, FET=5:5, and Tube.
(Note: FET 100% sounds consistent across Clear, Warm, Dark, and Saturated, so I grouped them under FET.)
Due to the number of recordings, I might have missed some distorted parts in the song. I hope you’ll understand. My voice was a bit worn out, too… 😢
I used a low cut at 80Hz and lightly reduced 148Hz and 179Hz where noted.
For the guitar, I couldn’t use a reflection filter, so I placed the mic in a standard holder. I recorded only in Cardioid, as Figure-8 and Omnidirectional were not necessary. I used a Guild D-150ce with new D’Addario XS Phosphor Bronze light gauge strings.
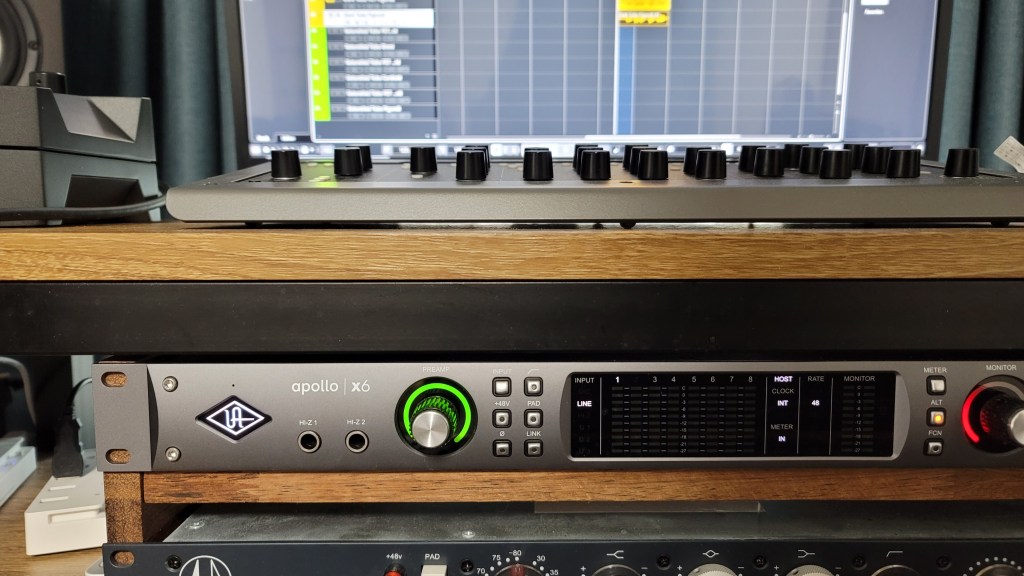
I applied a low cut at 80Hz and reduced the boominess at 138Hz and 179Hz for fingerstyle, while strumming did not require cuts. The recordings were captured directly into an Apollo x6 interface, with gain set around 53-55dB.
Impressions
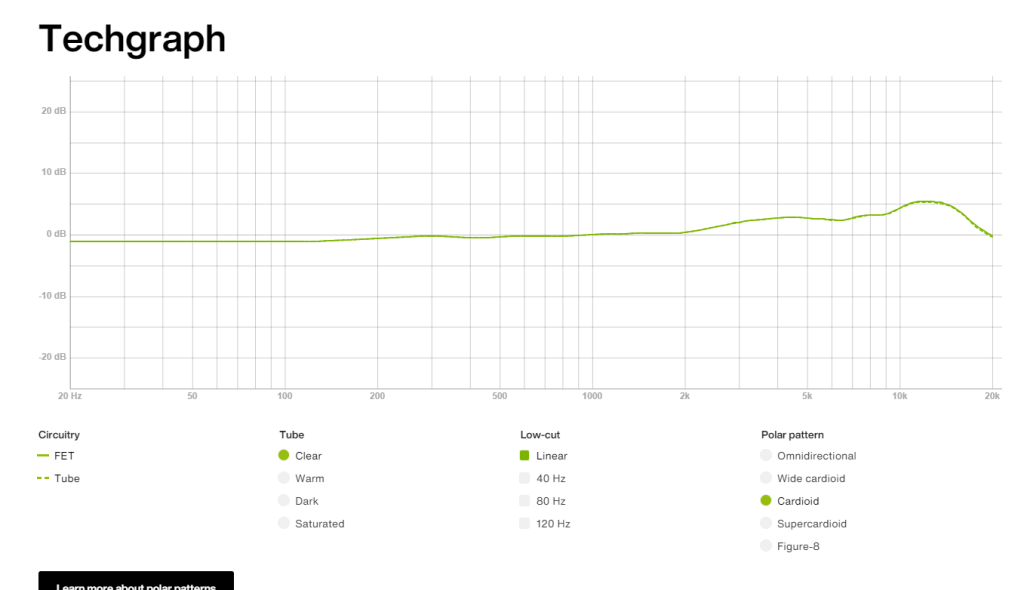
FET, Clear
The high frequencies are pleasantly clear. However, the low-mid range feels slightly lacking, making the FET sound somewhat thin and sharp. Still, both the FET and Tube modes produce the expected quality sound.
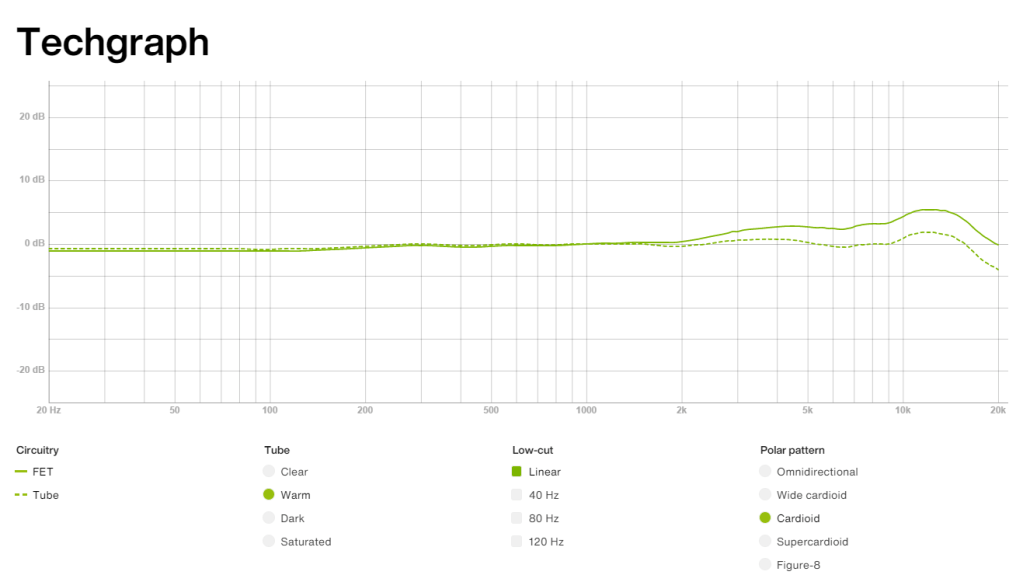
Warm
The highs are a bit subdued compared to Clear, but they still maintain a presence.
Dark
The highs feel significantly reduced, which might highlight the mids and make the sound somewhat nasal. This could be useful for creating a distant or lo-fi effect.
Saturated
This was my favorite among Warm, Dark, and Saturated. It retains high-frequency clarity while boosting the lows, providing a pleasing sound without much EQ.
The frequency response graphs matched my impressions, which was quite satisfying.
Additionally, the Mix and FET can be recorded separately, which could be handy for saving FET as a backup.
Pros
The detachable remote makes it versatile for studios of all sizes. The dual-layered grill and pop filter demonstrate careful design.
The knobs provide a satisfying tactile response, and the build quality is excellent. They even included a recall sheet, which can likely be requested in PDF form.
Cons
The unit is heavy, and there’s no volume control on the remote, which can be slightly inconvenient. However, this is common for tube microphones, so it’s hard to consider it a significant downside.
Conclusion
The sound quality and attention to detail are impressive, and the price seems justified. Although the absolute price is high, considering you effectively get five distinct tones—FET, Clear, Warm, Dark, Saturated—and can blend Tube with FET, it’s a compelling value.
Buying five high-quality microphones for the price of one LCT 1040 would be challenging. Given the rising cost of equipment, with AKG C414s nearing 2 million KRW, and considering the versatility and quality of this mic, I’d choose the LCT 1040 over a Neumann U87ai. It’s also an excellent option for those looking for a secondary mic.
While I haven’t used it long enough to comment on durability or long-term use, Sound & Music offers a 10-year warranty, which is reassuring.
I hope you enjoyed this review. See you in the next post!
I’m always open to reviewing hardware products! If you’d like me to review a product, please feel free to reach out at joe1346@naver.com.