Basics of Mixing – 13.3 Digital Cables and Connectors

Hi! This is Jooyoung Kim, mixing engineer and music producer. Today, we’ll talk about digital cables and connectors. This article is based on my book “Basics of Mixing“, published in South Korea.

Let’s start!


In the previous post, I categorized digital cables into the following formats:

  1. AES/EBU (AES3)
  2. ADAT
  3. S/PDIF
  4. MADI
  5. Ethernet-based formats (e.g., UltraNET, CobraNet, Dante)

Now, let’s take a closer look at each of these.


AES/EBU (Audio Engineering Society/European Broadcasting Union, AES3)

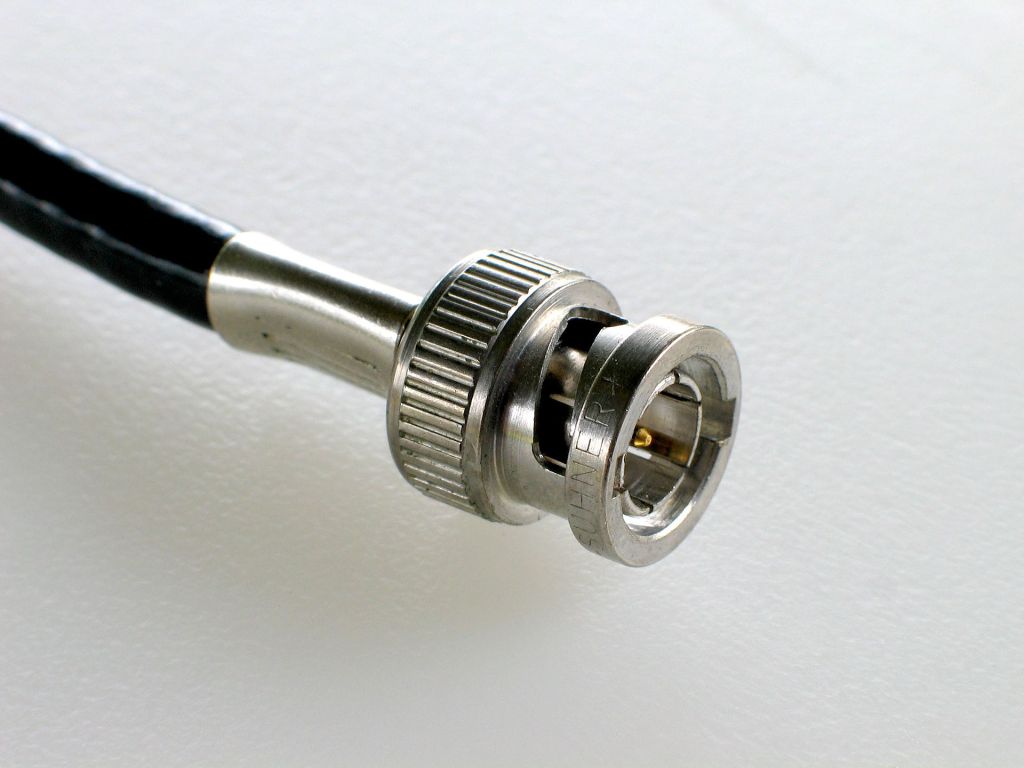
AES/EBU is a digital audio standard co-developed by the Audio Engineering Society (AES) and the European Broadcasting Union (EBU). It is also defined under the IEC 60958 standard.

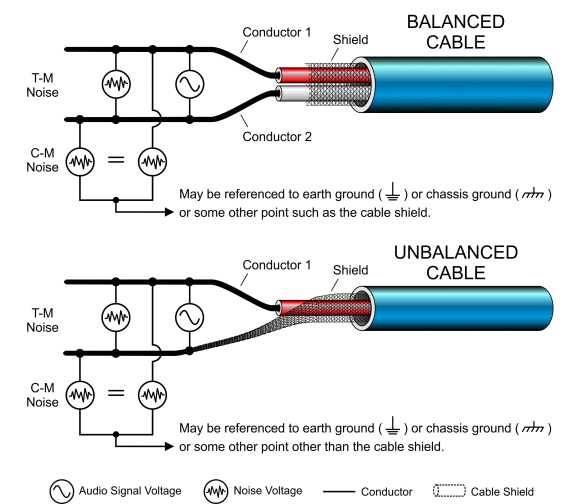
This format is compatible with S/PDIF and utilizes XLR and BNC coaxial connectors.

  • When using XLR connectors, a balanced cable with an impedance of 110 ohms is required.
  • When using BNC connectors, an unbalanced cable with an impedance of 75 ohms is used.

AES/EBU supports up to 24-bit audio with a maximum sampling rate of 192 kHz for 2-channel stereo.


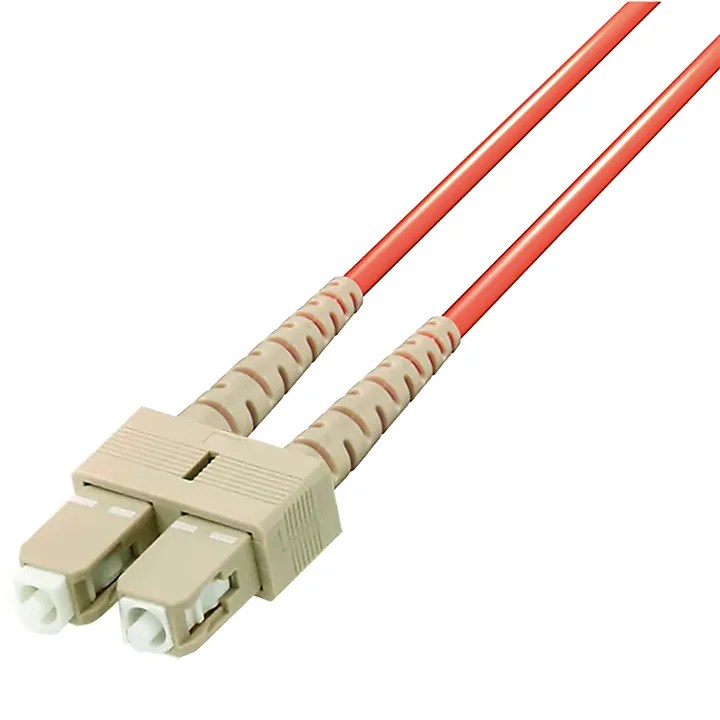
ADAT Lightpipe (Alesis Digital Audio Tape)

ADAT, short for Alesis Digital Audio Tape, was developed by Alesis to transfer digital signals.

This format uses optical fiber for signal transmission and connects via Toslink connectors.

It supports:

  • Up to 8 channels at 44.1 kHz or 48 kHz,
  • 4 channels at 88.2 kHz or 96 kHz,
  • 2 channels at 176.4 kHz or 192 kHz.

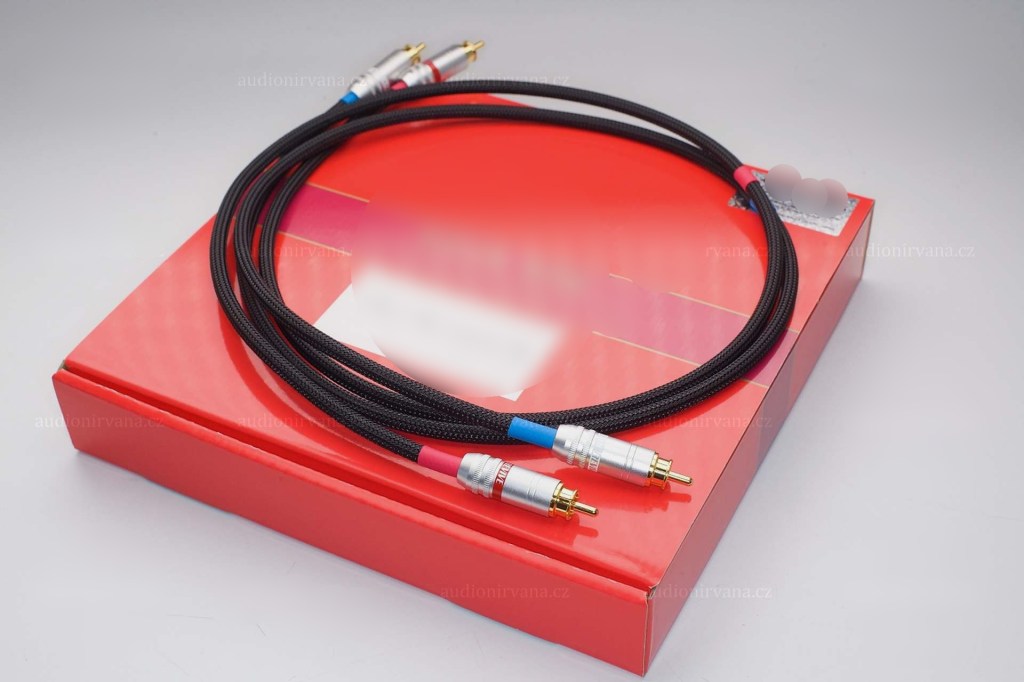
S/PDIF (Sony/Philips Digital Interconnect Format)

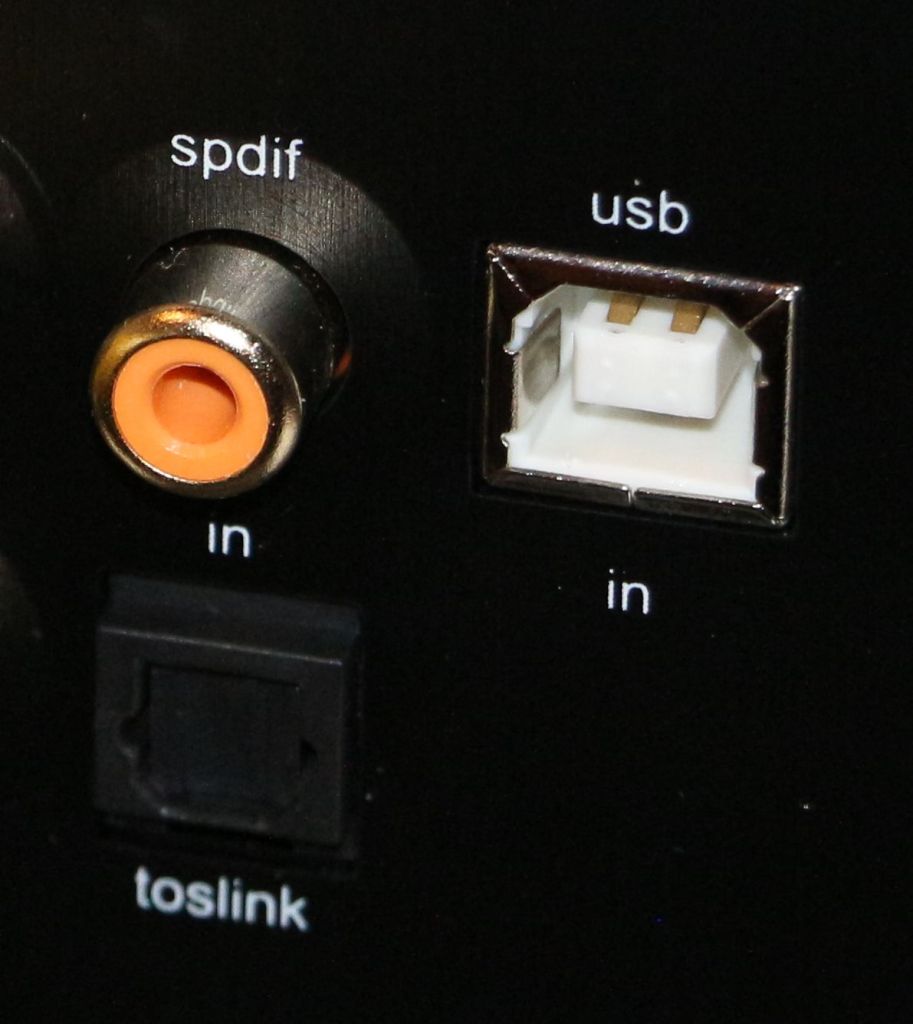
S/PDIF is also defined under the IEC 60958 standard and serves as the consumer version of AES/EBU, maintaining compatibility with it.

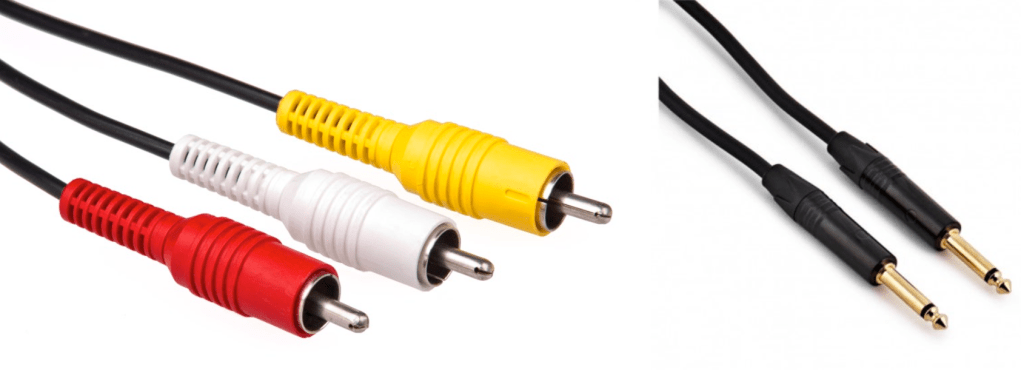
It uses RCA coaxial connectors and Toslink connectors.

  • With RCA connectors, an unbalanced cable with 75-ohm impedance is required.

S/PDIF supports a maximum of 24-bit audio at 192 kHz for up to 2 channels.


MADI (Multichannel Audio Digital Interface)

MADI is defined under the AES10 standard and uses coaxial cables (75 ohms) or optical fiber for transmission.

  • With coaxial cables, it supports distances of over 100 meters.
  • With optical fiber, it can reach up to 2 kilometers.

Typically, MADI can transmit:

  • 64 channels at 32 kHz–48 kHz with a bit depth of 24 bits per channel,
  • Higher sample rates (e.g., 96 kHz or 192 kHz) by combining multiple channels.

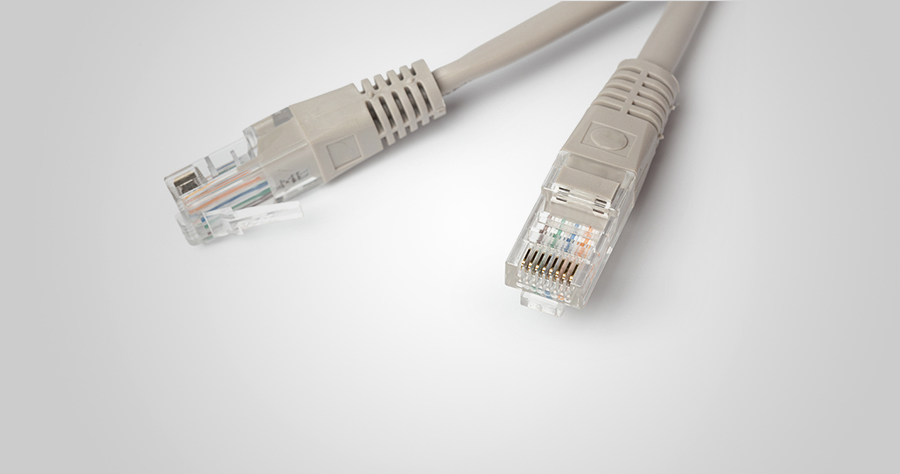
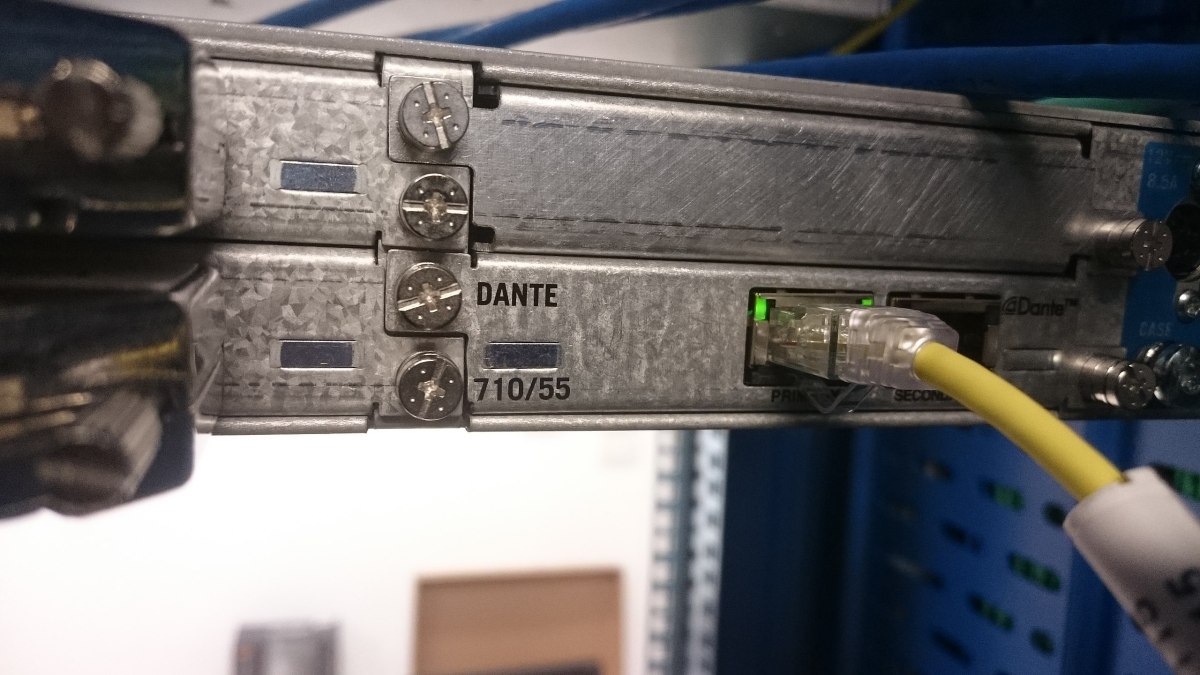
Ethernet-based Formats

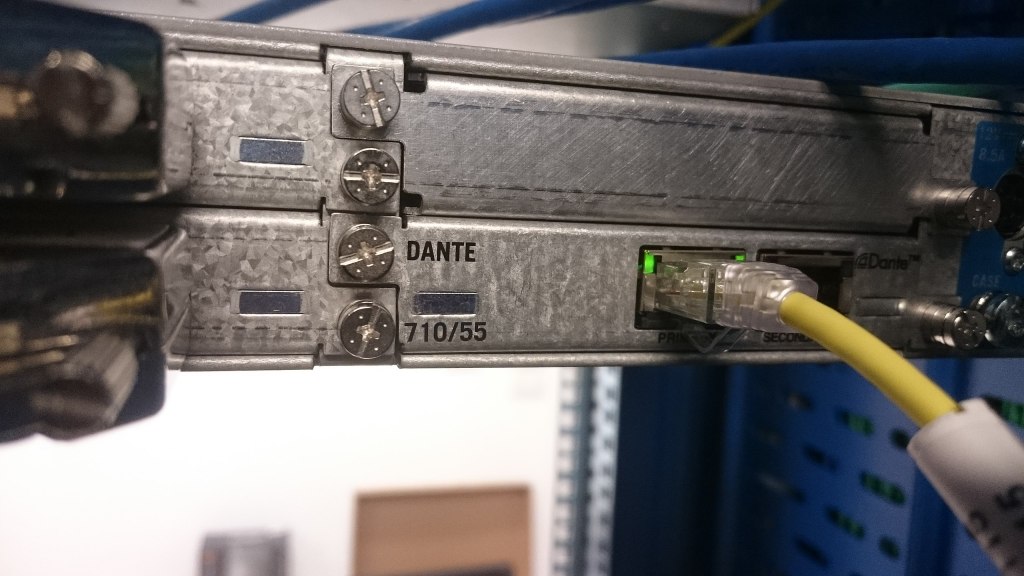
There are various standards that utilize Ethernet cables, with Dante being one of the most prominent.

  • Dante can transmit up to 1,024 channels at 192 kHz, with a maximum bit depth of 32 bits.

Due to its scalability and cost-efficiency, Ethernet-based formats are often used in large-scale studio setups.


That wraps up the basics of digital cables and connectors!

Nowadays, many people work with just an audio interface and a mic preamp, so it’s common for digital cable standards to be overlooked. However, understanding these formats is crucial when purchasing digital equipment.

Being aware of the available formats and connectors can save you from the frustration of buying incompatible equipment.

Remember: a little knowledge now can save a lot of headaches later!

See you in the next post! 😊

Basics of Mixing – 13.2 Types of Analog Cables and Connectors

Hello! This is mixing engineer and music producer Jooyoung Kim.

Last week, while I was writing my paper, I discovered logical structure and measurement errors. As a result, I had to export data several times and couldn’t post anything on the blog. However, the first article at 2025 is Basics of Mixing! This article is based on “Basics of Mixing“, published in South Korea.

Today, we’ll find out types of analog cable and connectors. Let’s dive in!


Types of Cables

Cables can be divided into two categories: Analog & Digital.

Analog:
1) Balanced
2) Unbalanced

Digital:
1) AES/EBU(AES3)
2) ADAT
3) S/PDIF
4) MADI
5) LAN(UltraNET, CobraNet, Dante..etc)

In this article, I’ll talk about analog cables and connectors.


Analog Balanced Cable & Unbalanced Cable

First, you have to know difference between balanced cable and unbalanced cable.

Generally balanced cable has 3 lines: Hot(+), Cold(-), Ground. The hot and cold lines carry identical signals but in opposite phases, which helps cancel out noise.

Unbalanced has 2 lines: Hot(+), Ground.

You can convert a balanced cable into an unbalanced stereo cable by assigning the hot and cold lines to the left and right channels, respectively.


Analog Connectors

Left: TRS, Right: XLR

Representable connector, for balanced cables, are TRS and XLR. You could see 3 parts for hot, cold, and ground.

Left: RCA, Right: TS

RCA and TS cable is the most used connector for unbalanced cable

AUX

Common consumers easily find this AUX connectors at headphones or earphones.

Left: Banana, Right: SpeakON

Banana and SpeakON connectors are also used at unbalanced cable, for passive speakers.

Left: DB 15, Right: DB25

If you purchase audio interface, sometimes you could find those connectors. Those connectors called D-Subs. DB25 connectors could connect analog balanced 8 channels. DB15 connectors are not used usually.

There is also a proprietary patchbay-specific standard called TT cable.

These guys are so small and expensive, so unless you’re working with an analog mixer, I think it’s better to just buy a TRS patch bay and use TRS.

Well, in fact, if it’s copper, you can use it as an analog cable. You can cut the power cable that you don’t use at home and use it as a balanced cable. I haven’t tried it, but you can probably cut the USB cable and use it.

In the studio I used to work at, we used to connect the talkback microphone via LAN port and LAN cable..!

There is no disagreement about digital, but there is a lot of talk about the difference in sound quality depending on the type of analog cable and connector. This depends greatly on the specific situation.

Guitarists will feel the difference in cables quite a bit when performing or playing together, but this is mostly due to the high impedance of the electric guitar and the impedance of the amplifier. When recording directly connected to a proper DI box or audio interface, you won’t be able to feel the difference. So, to compare properly, you should record by micing the connection to the amplifier.

For the same reason, you may feel it a little in the cable connected to the microphone preamp and the microphone.

However, it is actually meaningless for cables at line level. If you are connecting speakers or outboard, you don’t have to think about this. I also bought a slightly expensive Telefunken STMC cable and used it on the microphone, and… I thought… haha..

I should have bought several pizzas or hamburgers with that money.

There are many expensive cables like this for both pro audio and hi-fi. If you want peace of mind by buying them, then they are fine, but there are quite a few studies that show that they are not very meaningful in terms of measurements or audibility.

If you are an engineer, you will probably end up soldering it yourself because you don’t want to waste any extra wires or connectors. If you look inside, you will see that it is a very simple structure. Don’t hesitate to try it yourself—you’ll find that it’s simpler than it looks!

I will end it here for today. Then, I will see you again in the next article!

Basics of Mixing – 13.1 Outboard and Hardware

Hello! This is Jooyoung Kim, mixing engineer & music producer.

In this chapter, I’ll talk about audio outboards. The subchapters will be as follows:

  1. Cables & Connectors
  2. Patchbays
  3. Re-amp & Re-amping
  4. Output/Input Volumes & Recall Sheet for Outboards

This article is based at my book, released at South Korea, “Basics of Mixing“.

Before we find out cables & connectors, let’s talk about why engineers use outboards. How do you think about it?


First, The sound differs significantly by circuit, input/output transformers, and amplifiers(transistor of vacuum tubes). So, you could guess why recording studios have bunch of mic pre-amps.

How about compressors, EQs, or saturators? There are several types of effects in DAW or third party plugins. If you use it well, sound will make sense.

Nevertheless, achieving the same sound as hardware with a plugin often requires multiple processing steps. Or, the saturation of hardware made irreplaceable sounds.

Of course, engineers love the gears so much, that they sometimes stack them..haha

However, there are many drawbacks to using hardware.

  1. Like Fairchild Model 670, hardwares used with vacuum tube have big problem for usage. If one vacuum tube breaks down, each one must be searched for, and the time and cost required for maintenance is considerable(Fairchild Model 670 has 20 tubes..).
  2. The noise level must be carefully considered during the mixing stage. If you don’t think about it, you could end up with quite high noise during mastering process.
  3. Hardware need Real-Time printing. It takes times.
  4. Recalling settings is cumbersome and the sound may vary depending on the condition of the hardware.

Furthermore, outboards with vacuum tubes need to be warmed up for some time (about 20–30 minutes) due to the operating principles of the tubes.

By the way, the reason we go through all this trouble and use hardware is because it sounds good.

But, it doesn’t mean all hardwares are great. More expensive isn’t necessarily better, and DIY isn’t necessarily bad.

So, what does this mean for you?

I think if you could listen bad/good sounds, it’s the right time for purchase outboards.

This chapter is about how to connect and use hardware when that time comes. In the next article, I’ll delve into cables and connectors, starting with their types and best practices. Stay tuned!

Melda Production Analog Empire: Pads & Strings sales(~1/4, $9)

Hello! This is Jooyoung Kim, mixing engineer and music producer.

Today, I’ll introduce Analog Empire: Pads & Strings, virtual instruments by Melda Production.

I received this product as an NFR(Not for Resale) code from plugin boutique. If you purchase this virtual instrument through the link in this blog, I’ll earn a small commission, which helps support my work.

Let’s dive in!


First of all, some of you may be unfamiliar with the company Melda Production.

Melda Production creates a wide range of software, from virtual instruments to mixing and mastering plug-ins. You might think of it as similar to IK Multimedia. In particular, their free plug-ins are of such high quality that I always recommend them to my colleagues.

The only downside is the UI, but I believe it will improve over time.

Now, let’s see th Analog Empire.

Analog Empire: Pads & Strings runs on MSoundFactory, Melda Production’s virtual instrument engine. So if you want to use it, you have to download MSoundFactory and Analog Empire sound samples.

It’s easy to understand if you think MSoundFactory is Melda Production’s Kontakt.

After listening to the sounds in this video and trying out the presets, I think it works well for cinematic compositions and background music for dramas.

By slightly reducing the effects, it could also work well for pop music.

This product’s concept is simple. Mixing 2 different sounds with functions of sampler.

You can use various effects at FX tab.

Analog Empire is much cheaper than Native Instruments Play Series($49 per each VSTi) or Arturia Augmented Strings($9), with a similar concept.

If you purchase plug-ins at plugin Boutique in this month, you can get one of those plugins free(UAD Oxide Tape / Karanyi Sounds Vapor Keys / iZotope Nectar Elements / Pitch Innovations Rhythm Box).

$9 for pads and another free plugin? It’s really great deal.

See you in the next post! 😊