Hello! This is Jooyoung Kim, mixing engineer & music producer.
In this chapter, I’ll talk about audio outboards. The subchapters will be as follows:
- Cables & Connectors
- Patchbays
- Re-amp & Re-amping
- Output/Input Volumes & Recall Sheet for Outboards
This article is based at my book, released at South Korea, “Basics of Mixing“.
Before we find out cables & connectors, let’s talk about why engineers use outboards. How do you think about it?

First, The sound differs significantly by circuit, input/output transformers, and amplifiers(transistor of vacuum tubes). So, you could guess why recording studios have bunch of mic pre-amps.
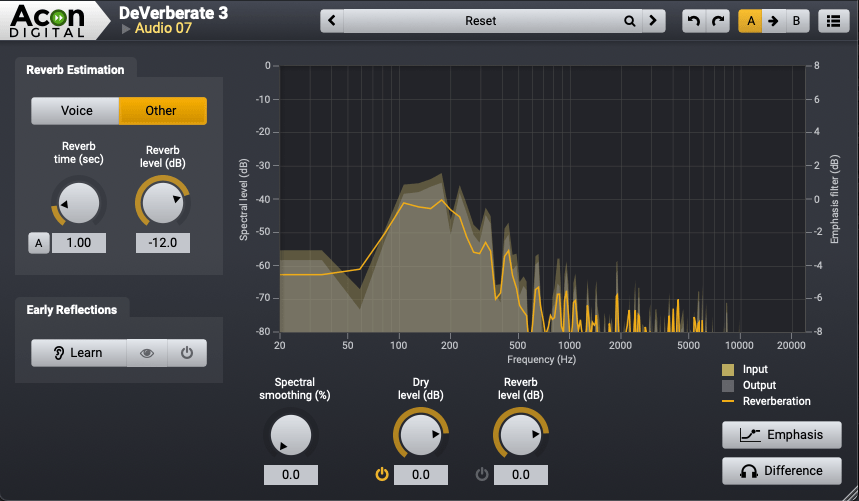
How about compressors, EQs, or saturators? There are several types of effects in DAW or third party plugins. If you use it well, sound will make sense.
Nevertheless, achieving the same sound as hardware with a plugin often requires multiple processing steps. Or, the saturation of hardware made irreplaceable sounds.
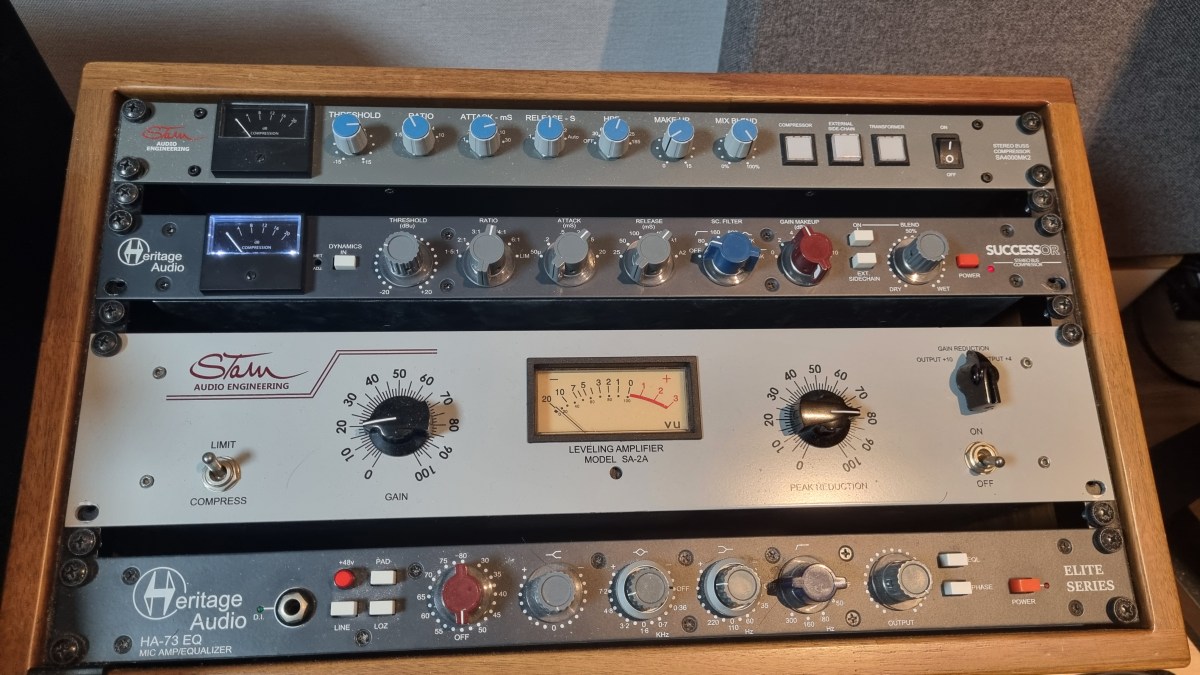
Of course, engineers love the gears so much, that they sometimes stack them..haha
However, there are many drawbacks to using hardware.
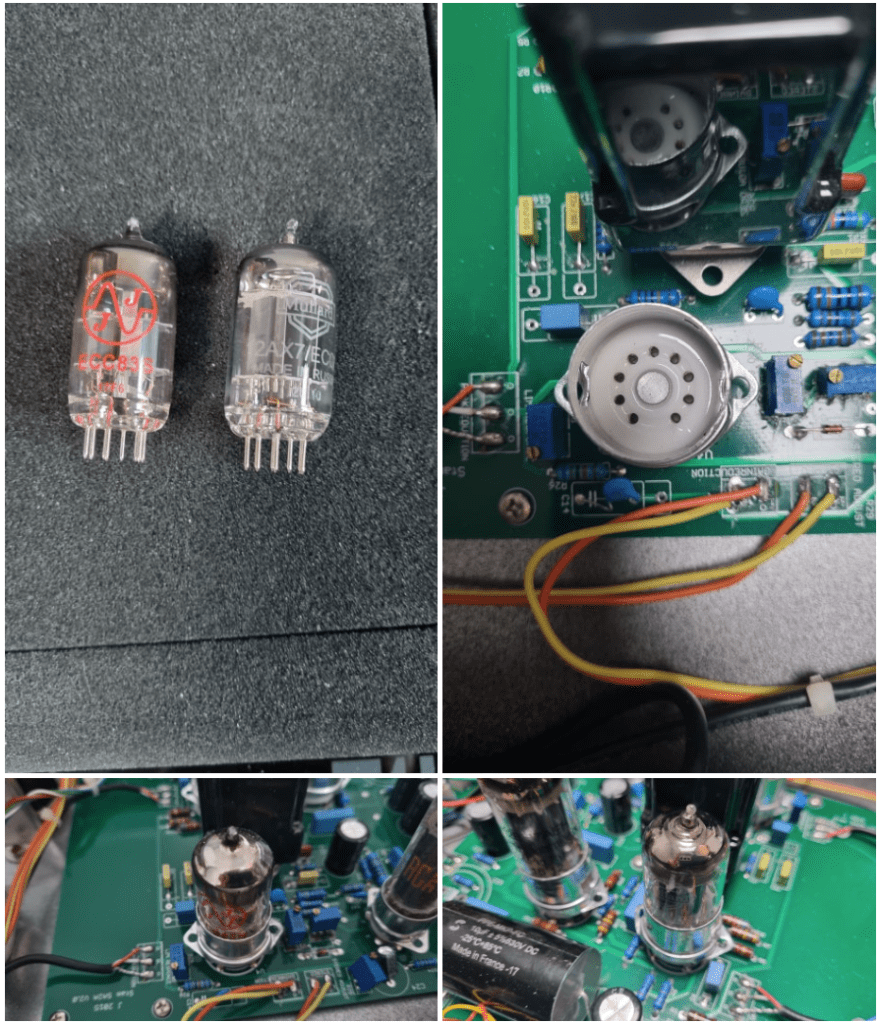
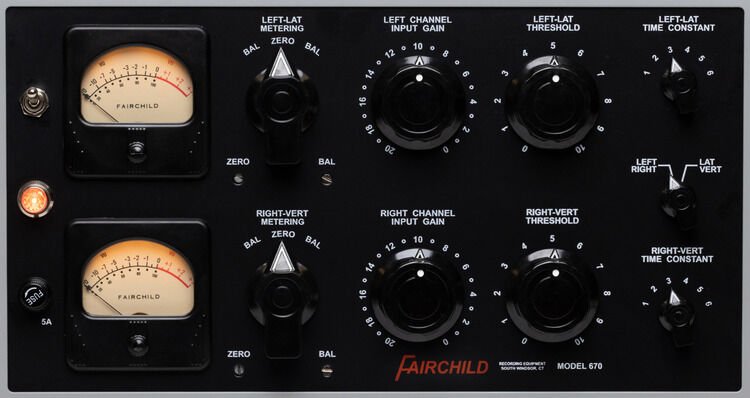
- Like Fairchild Model 670, hardwares used with vacuum tube have big problem for usage. If one vacuum tube breaks down, each one must be searched for, and the time and cost required for maintenance is considerable(Fairchild Model 670 has 20 tubes..).
- The noise level must be carefully considered during the mixing stage. If you don’t think about it, you could end up with quite high noise during mastering process.
- Hardware need Real-Time printing. It takes times.
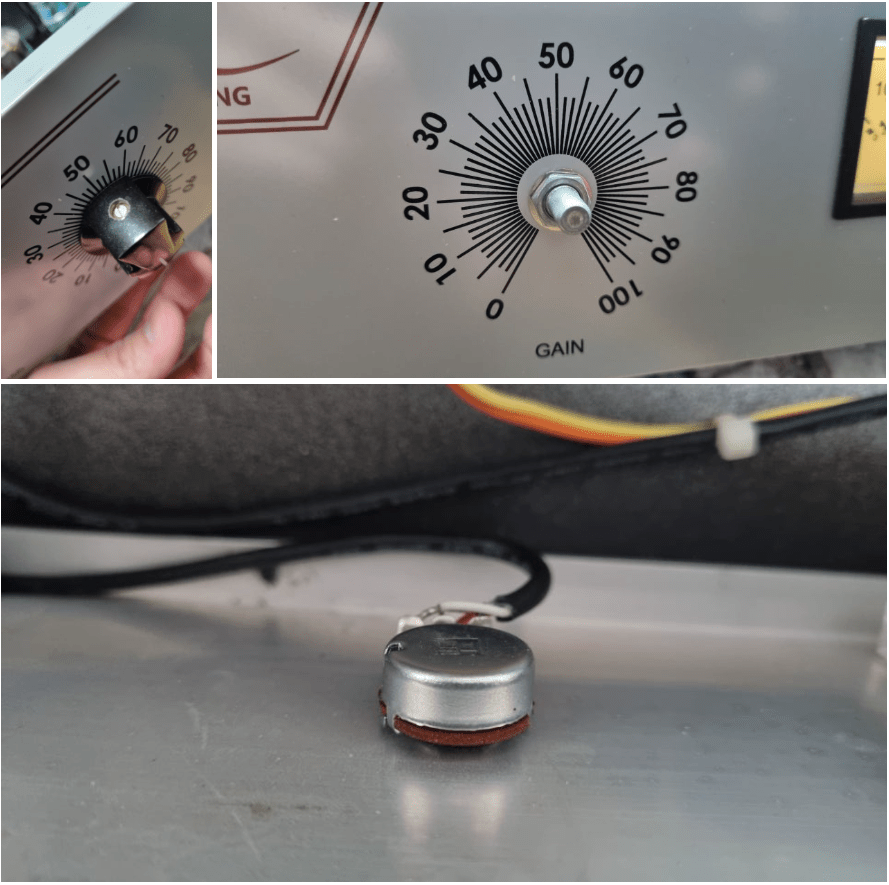
- Recalling settings is cumbersome and the sound may vary depending on the condition of the hardware.
Furthermore, outboards with vacuum tubes need to be warmed up for some time (about 20–30 minutes) due to the operating principles of the tubes.
By the way, the reason we go through all this trouble and use hardware is because it sounds good.
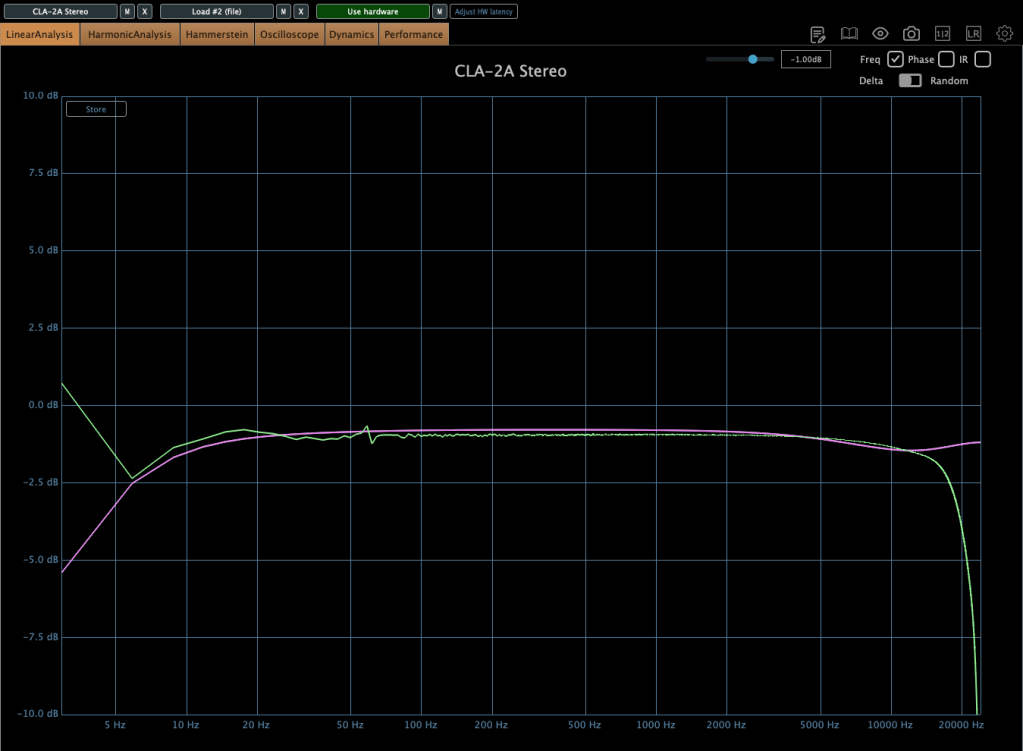
But, it doesn’t mean all hardwares are great. More expensive isn’t necessarily better, and DIY isn’t necessarily bad.
So, what does this mean for you?
I think if you could listen bad/good sounds, it’s the right time for purchase outboards.
This chapter is about how to connect and use hardware when that time comes. In the next article, I’ll delve into cables and connectors, starting with their types and best practices. Stay tuned!