Basics of Mixing – 3.2 Types and Organization of Tracks

Hello! I’m Jooyoung Kim, a mixing engineer and music producer.

In the previous post, we looked at the functions of DAWs along with analog consoles.

Today, I will revisit the types of tracks within a DAW and share some tips on how to organize them.

There are about seven types of tracks that can be classified in a DAW:

  1. Audio Track
  2. MIDI Track
  3. Instrument Track
  4. FX Track
  5. Group Track
  6. Aux Track
  7. Folder Track

Other tracks such as tempo, video, markers, etc., exist, but I’ll skip those as they are more intuitive. Let’s take a look at each type.
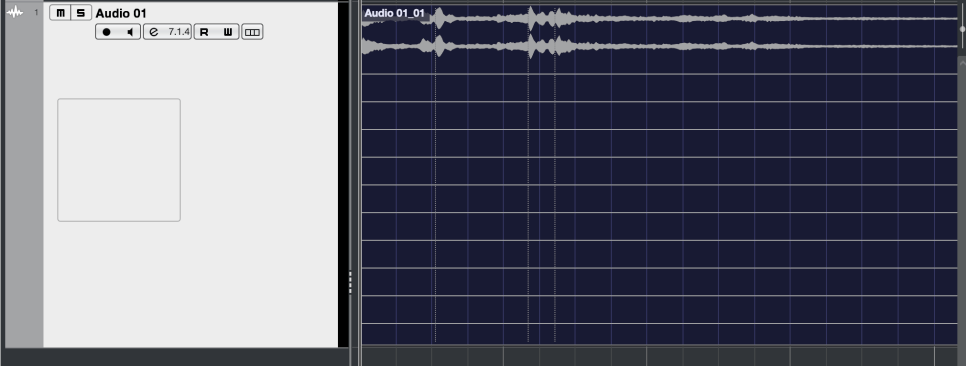
  • Audio Track

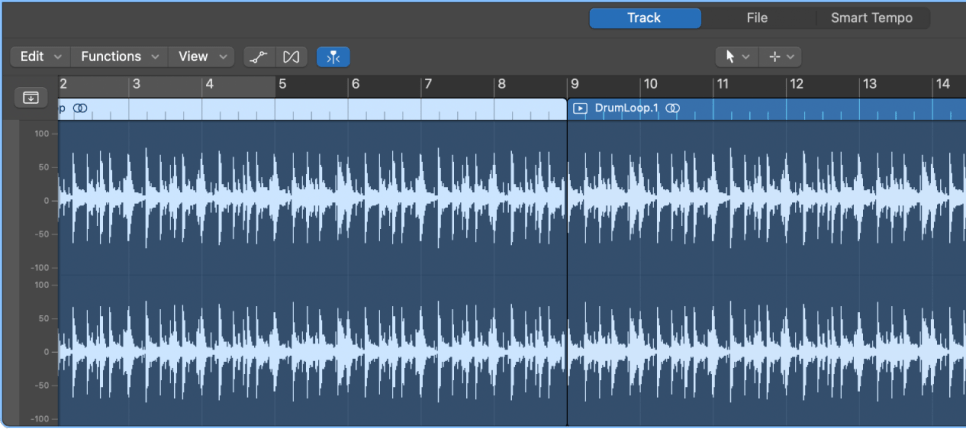
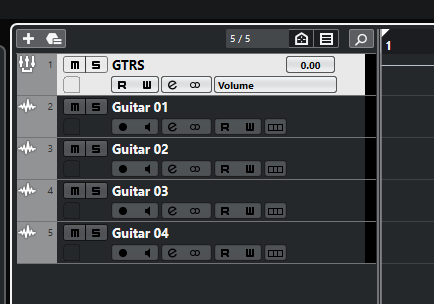
Audio tracks are used for audio. You can set them to mono, stereo, or even multichannel as shown in the photo below.

Since I’m only using a laptop with limited inputs, only 2 out of 13 channels are recorded.

You can record at the sample rate and bit depth you’ve set and import external audio samples into these tracks.

  • MIDI Track

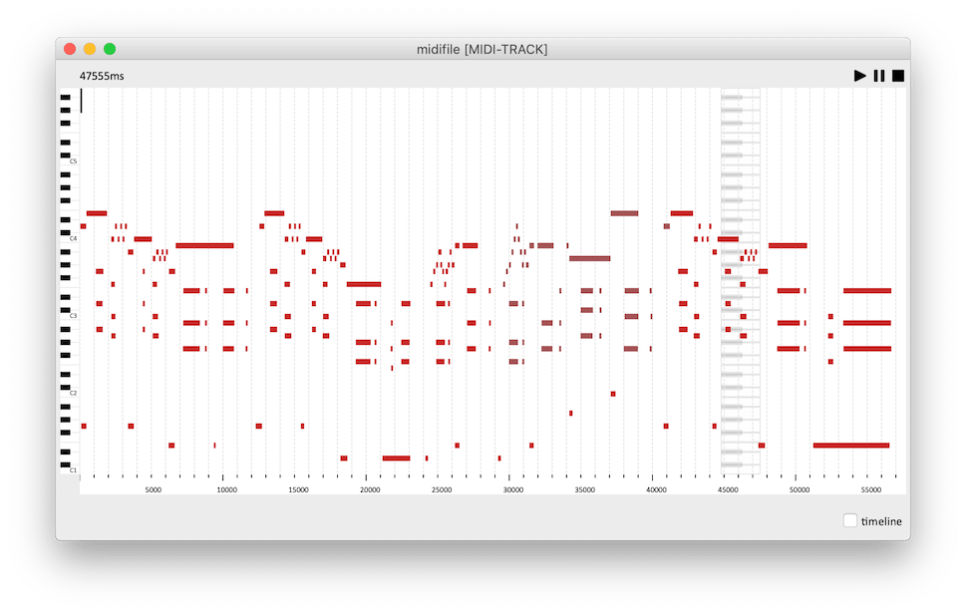
    MIDI tracks are a bit different from instrument tracks. They can record MIDI signals and send these signals externally.

    For those new to DAWs, this might seem unnecessary.

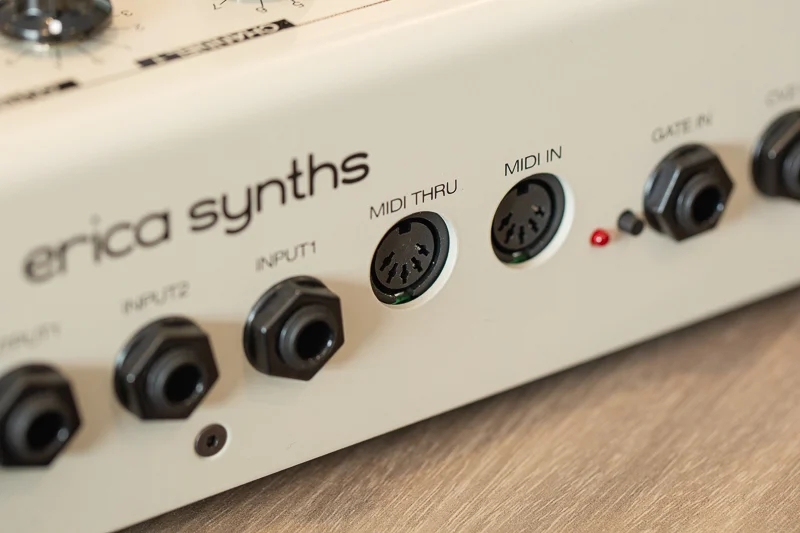
    These MIDI signals are primarily used with external synthesizers. The MIDI signals are received through the MIDI IN port on the synthesizer, which then plays according to the recorded signals.

    Synthesizers with keyboards can be played and recorded directly,

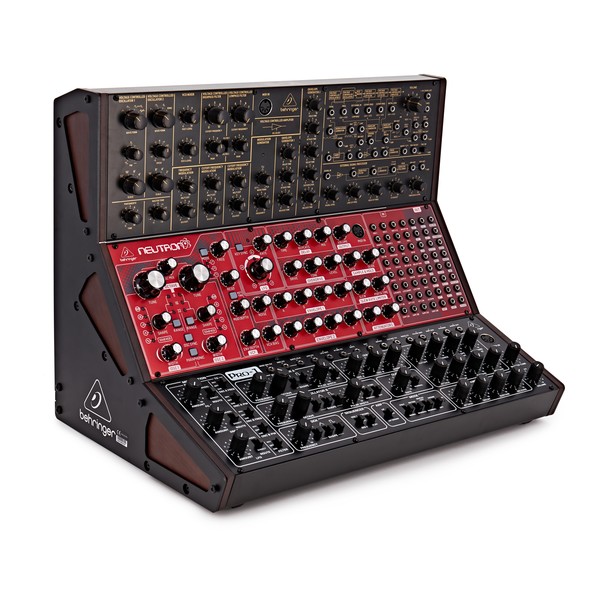
    but those without keyboards must be played via MIDI signals. Nowadays, MIDI signals can also be transmitted via USB instead of MIDI ports.

    • Instrument Track

      Instrument tracks are used to load virtual instruments and send MIDI signals to them. Like MIDI tracks, you can see the MIDI signals on the track, but they are played back directly.

      Each instrument has its own MIDI CC (Control Change) settings, so it’s important to familiarize yourself with the manual of the instrument you’re using.

      *MIDI CC

      MIDI CC is a transmission standard that allows you to control parameters on MIDI-supported instruments/devices.

      Each CC can be adjusted from 0 to 127. Commonly used CCs include:

      – 1: Modulation
      – 11: Expression
      – 64: Sustain Pedal
      – 66: Sostenuto Pedal
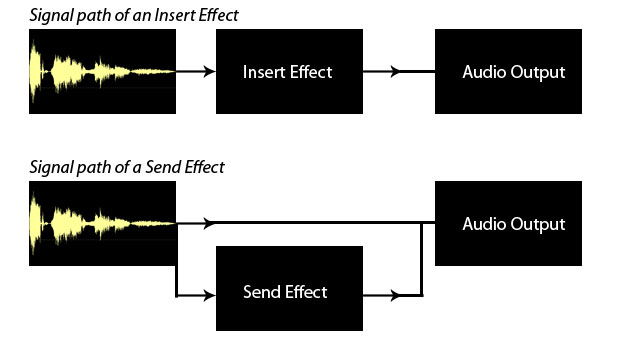
      • FX Track

      FX tracks receive signals sent from audio and instrument tracks. In DAWs like Pro Tools and Logic, these tracks don’t exist separately and are found only in Cubase among the DAWs I use.

      These tracks are used for parallel processing or adding reverb, delay, and other effects.

      • Group Track

      Group tracks bundle multiple tracks together, allowing you to process them collectively.
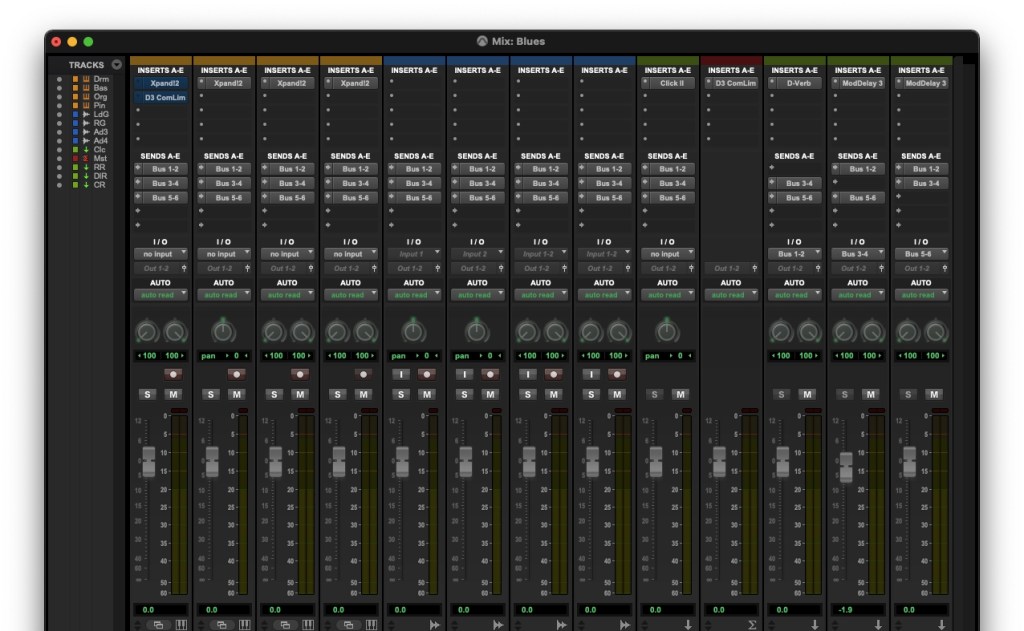
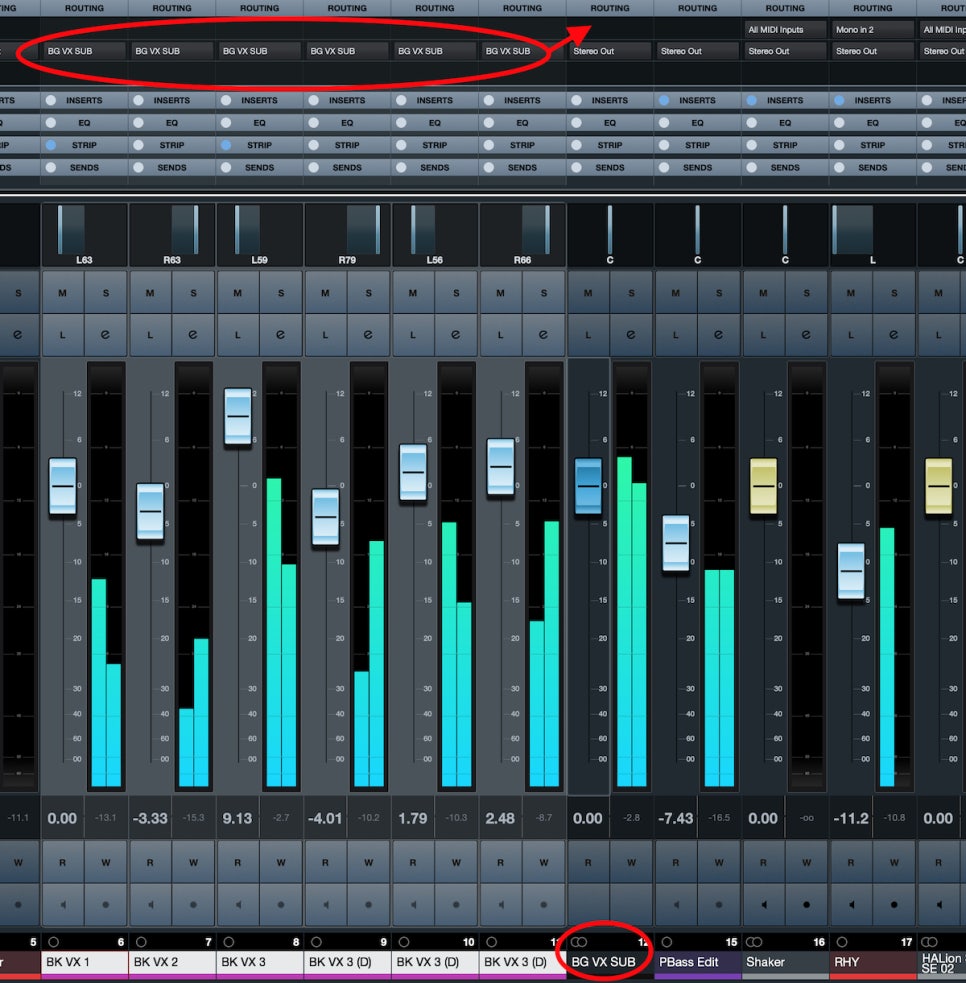
      • Aux Track

      Aux tracks are found in Logic and Pro Tools, used to create FX and group tracks.

      To use Aux tracks, you need to understand the concept of buses.

      * What is Bus?

      Black Ghost Audio

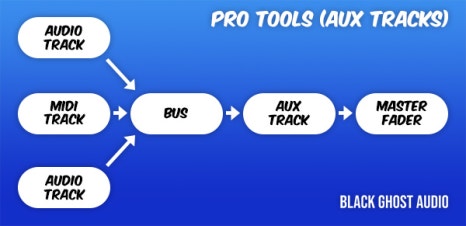
      As shown in a previous post, a bus is a ‘path’ that other tracks go through before reaching the Aux track via the ‘Send’ or Output designation.

      In Aux tracks, you need to specify the channel input to a specific bus for the signal to flow.

      Therefore, Aux tracks used via Send can function as FX tracks, and those used via Output can serve as group/stack tracks.

      This process is sometimes referred to as OOBus when grouping tracks.

      • Folder Track

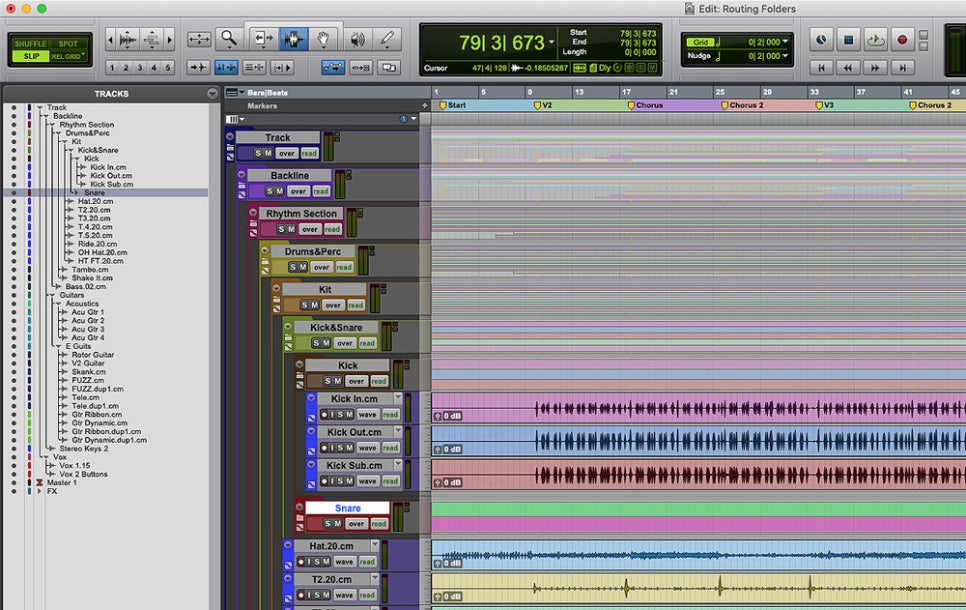
      Folder tracks are used solely for organizational purposes and do not affect routing. They can mute/solo entire sections or consolidate unnecessary tracks.

      • Organizing Tracks

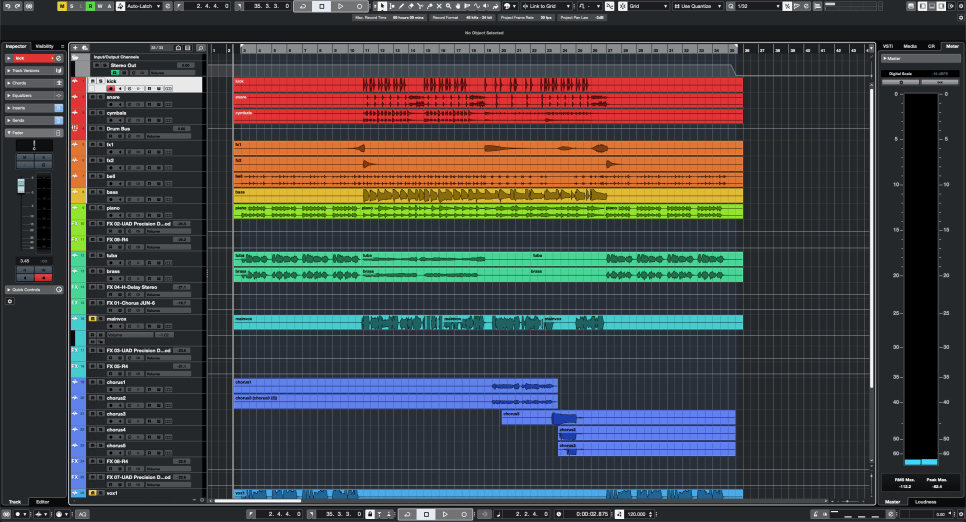
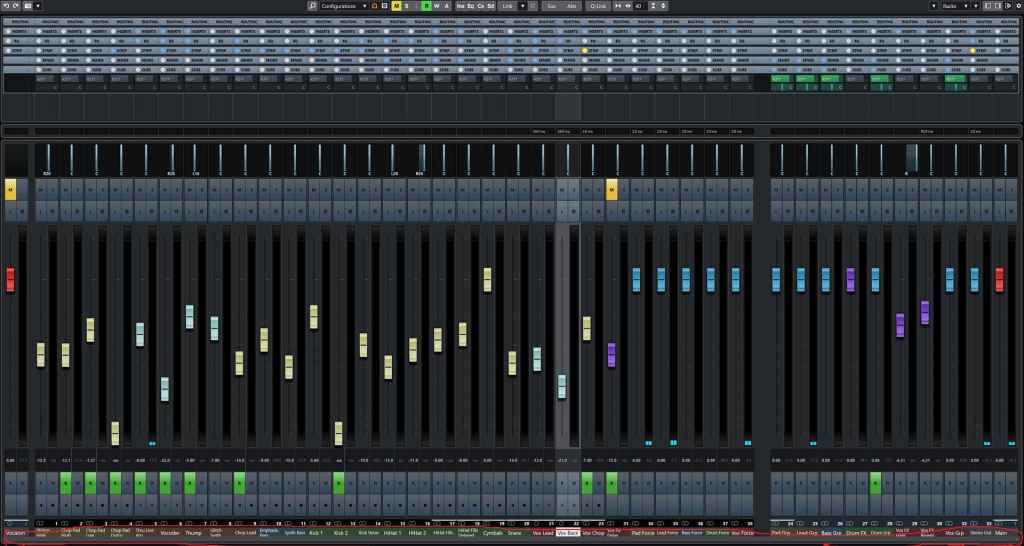
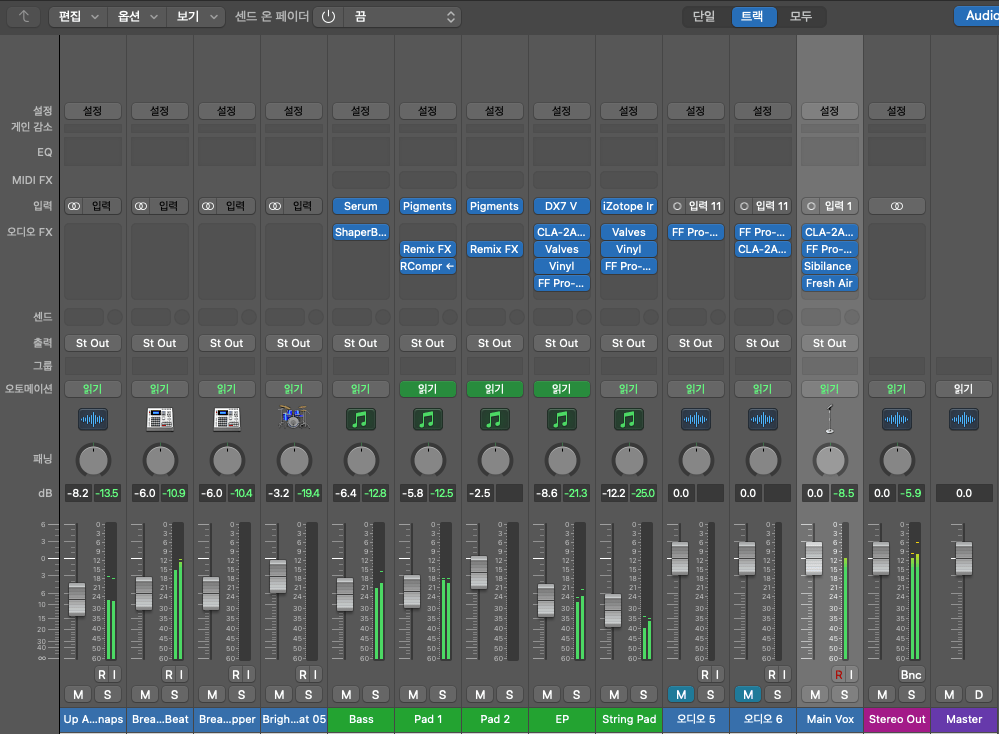
      Here’s a simple project I mixed.

      Organizing tracks can be done in any way, but I usually categorize them as follows:

      1. Drums and Percussion
      2. FX sources like risers and bells
      3. Bass
      4. Piano/Pad
      5. Other synthesizer instruments
      6. Acoustic/Electric Guitar
      7. Orchestral Instruments
      8. Vocals

      I tend to place lower frequencies at the top and higher frequencies at the bottom. Orchestral instruments are arranged in score order.

      FX tracks sent via Send are placed directly below the corresponding instrument/group track. I prefer designing and fine-tuning FX for each instrument individually, so this method works best for me.

      As you work on multiple projects, you’ll develop your own track organization method, tailored to your convenience.

      However, organizing tracks can significantly speed up your workflow, so having a consistent routine is beneficial.

      That’s all for today. See you in the next post!

      Basics of Mixing – 3.1 Console and DAW

      Hello! This is Jooyoung Kim, a mixing engineer and music producer.

      Today, I will finally talk about the functionalities.

      Shall we begin?

      In the days when all recording processes were done analog, mixing was performed using analog mixers and tape.

      Here is a video I found related to this topic. If you are interested in analog recording, you might find it interesting to watch.

      The transition from analog to digital began with the release of Digidesign’s (now AVID) Sound Tools.

      Sound Tools included a DAW program called Sound Designer, various chipsets, and devices that acted as audio interfaces, all designed exclusively for Mac.

      Later, this program evolved into Pro Tools, a representative DAW.

      Such systems, integrated with DAWs, show why Pro Tools has become the industry standard and why Macs are commonly used in studios today.

      As we moved from analog to digital, DAWs developed by incorporating analog functionalities into computers. Therefore, understanding the functions of an analog mixer can make it easier to approach mixing with a DAW.

      The DAW mixer window that you need to get familiar with if you’re into mixing

      The interface of the mixer window is also designed similarly to an analog mixer. Let’s take a closer look at a mixer.

      • Analog Mixer and Signal Flow

      I wanted to bring a larger one, but it was difficult to see clearly.

      Let’s start from the left.

      Each channel has a series of stages: Pre section with mic preamp and input gain, Insert section with compressor and EQ, Send/Return section for external effects, and Post section with panning and output gain.

      This configuration of a single channel is called a channel strip, and a mixer consists of multiple channel strips. The DAW mixer window is organized in a similar sequence.

      The signal usually flows from top to bottom, and this path is called the ‘signal flow.’ Each DAW has a different signal flow, so you need to learn the signal flow of your specific DAW.

      I usually prefer Cubase for mixing, but the current project is in Logic, so I brought the Logic mixer window. Here, you can see that each channel strip is quite similar to an analog mixer.

      Let’s check the Send section in the DAW mixer window and then return to the analog mixer.

      • Send Section

      The analog mixer I brought doesn’t specifically say Send but is labeled FX. This Send function allows you to send the signal from each channel strip to a separate Send channel to apply effects independently.

      Some might wonder why not just apply effects in the Insert section.

      In the past, studio reverb and delay units were large and expensive. Applying such effects to each channel individually was nearly impossible. Additionally, sending the sound separately through the Send section provided the advantage of processing it independently.

      This feature remains in modern DAWs.

      In mixing, the Send section is primarily used for applying delay, reverb, and sometimes modulation effects like phaser or chorus, as well as saturation effects like distortion.

      Next, we need to look at the group/send section and bus.

      • Group and Aux Channels, and Bus

      Group/Aux channels are mostly seen in large analog mixers. They are used to bundle similar instrument groups for collective control.

      In Cubase, the concept of a bus isn’t used, making it more intuitive. However, in Logic and Pro Tools, the bus concept can be a bit confusing.

      A bus is a signal path that combines audio signals from multiple tracks. This explanation might sound complex, but think of it as an additional step before the Aux track.

      In Logic and Pro Tools, the bus function is used to create groups or apply effects like reverb or delay through Send.

      • Master Channel

      All tracks ultimately converge at the master channel, which is usually the Stereo Out channel in standard mixing.

      It is crucial to ensure that the digital peak does not exceed 0dB in the master channel.

      Although the 32-bit float format prevents audio quality destruction even if peaking occurs, it’s good practice to manage digital peaks for industry standard compliance and effective communication.

      This should provide a basic understanding of the tracks and their functionalities.

      See you in the next post!

      Basics of Mixing – 2.5 Volume and Signal Level

      Hello! I’m Jooyoung Kim, a mixing engineer and music producer.

      Today, let’s talk about volume and signal levels.

      If you’re interested in sound, you’ve likely heard the term “Equal Loudness Contour.”

      This term refers to the fact that our ears perceive different frequencies at different volumes. The curves that connect sounds perceived as being of equal loudness are known as equal loudness contours.

      Looking at the graph, you can see that humans tend to hear less of the low and ultra-high frequencies and more of the high frequencies at the same volume level.

      (*Recently, the standard for Equal Loudness Contour was revised from ISO 226:2003 to ISO 226:2023.)

      This phenomenon occurs because our ears are shaped like a closed tube.

      A closed tube resonates at wavelengths that are at least one-fourth the length of the tube. The external auditory meatus (ear canal) is typically about 2.5 cm long, so it can resonate with sound waves that are around 10 cm in wavelength.

      Since the speed of sound is typically calculated at 340 m/s, we can determine that the resonant frequency is approximately 1700 Hz. Additionally, the resonances in the ossicles make the high frequencies more audible.

      Why is this important to know?

      The equal loudness contours show that as volume increases, the lows and highs sound more balanced. This is why music mixed at high sound pressure levels (SPL) can sound tinny or weak when played at lower volumes.

      So, what is an appropriate volume level for mixing? Generally, 80 dB SPL is used as a standard. Famous mastering engineer Bob Katz recommends using 83 dB SPL.

      (Here, dB SPL refers to the decibel unit used to express sound levels, such as airplane noise or inter-floor noise.)

      I found a video from Presonus that discusses how to set speaker volume. For those who work in home studios, 80 dB SPL might sound quite loud. Personally, I work around 75-70 dB SPL as 80 dB can be painful for my ears. Just make sure you’re not working with the volume too low.

      Now, let’s move on to basic signal levels.

      In audio, there are four main types of levels:

      1) Microphone Level / Instrument Level

      • These signals are very weak and need to be boosted to line level using a microphone preamp or DI box.

      2) Line Level

      • This is the level at which audio equipment typically communicates. It’s used in audio interfaces, mixers, hardware EQs, compressors, and other devices.

      3) Speaker Level

      • To play the signal through speakers, it needs to be amplified to speaker level. This requires a power amplifier. Active speakers have built-in power amplifiers, whereas passive speakers need an external power amplifier.

      4) Mixing Level

      • The levels dealt with during mixing are almost all line levels.

      Line level is usually divided into two categories: Pro Line Level and Consumer Line Level. Pro Line Level is based on +4 dBu, while Consumer Line Level is based on -10 dBV.

      • dBu is a unit based on 0.775 Vrms.
      • dBV is a unit based on 1 Vrms.

      (Brief Explanation of RMS : Since electrical signals are AC, simply averaging them would yield a value of zero. Therefore, the root mean square (RMS) is used to find the average.)

      When converting between these units, nominal level and peak level differ. Pro levels are higher, and consumer equipment typically has lower headroom, which can cause compatibility issues with pro equipment.

      However, modern high-fidelity equipment often has high signal levels, so it’s becoming less of a concern.

      That’s about all you need to know about signal levels.

      With this foundational knowledge, we’ve covered the basics needed for mixing. In the next article, we’ll look at DAW functions in detail.

      See you in the next post!

      Basics of Mixing – 2.4 Speaker Placement and Listening Techniques

      Hello, This is Jooyoung Kim, a mixing engineer and singer-songwriter.

      To mix effectively, you need to listen to sound accurately.

      What does it mean to listen to sound accurately? It can be a long discussion, but let’s focus on two main points:

      1. Minimize distortion (from the room, objects, speaker baffle, speaker unit limitations, etc.)
      2. Listen from the correct position.

      These two principles form the foundation.

      Generally, stereo speakers are arranged in an equilateral triangle. The angle marked as 30 degrees in the diagram above is called the Toe-In Angle. This angle can be adjusted slightly based on personal preference.

      Additionally, the tweeter, which reproduces high frequencies, should be positioned close to ear level. This is because high frequencies are more directional and may not be heard well if the tweeter is placed too high or too low. Various stands are used to achieve this positioning.

      However, recommended angles and placements can vary by manufacturer, so it’s best to start with the manual and then adjust as needed.

      When changing placements, it’s important to measure and identify where the issues are. With some training, you can listen to a track and identify boosted or cut frequencies, giving you an idea of where the problems lie. Measurement, however, makes it easier to pinpoint specific issues you might miss by ear.

      One of the simplest and free measurement programs is REW (Room EQ Wizard), which I introduced a long time ago.

      You can use an affordable USB microphone like the miniDSP UMIK-1 for easy measurement, or, if budget allows, a measurement microphone like the Earthworks M50.

      By measuring, you can understand various factors beyond just frequency response, such as phase, harmonic distortion, and reverberation time. This helps you identify and solve problems in your workspace.

      Doing all this ensures you hear the sound as accurately as possible, allowing you to understand what proper sound and mixing should be.

      So, you’ve set up your speakers correctly. How should you listen to the sound?

      Of course, you listen with your ears, but I’m not just saying that. I’m suggesting you listen to the sound in layers.

      In a typical 2-way speaker, the tweeter is on top, and the woofer is on the bottom, so high frequencies come from above and low frequencies from below. Consequently, low-frequency instruments seem to be positioned lower, and high-frequency instruments higher.

      If your listening distance and room support it, well-made hi-fi tallboy speakers can make mixing easier.

      That was about the vertical plane. Now, let’s talk about the front-to-back dimension.

      When someone whispers in your ear versus speaking from afar, there are noticeable differences:

      1. Whispering sounds clearer (more high frequencies, less reverb)
      2. Whispering sounds louder.

      These principles determine whether instrument images appear in the front or back. Panning also moves them left and right.

      If you’re not familiar with this concept, try closing your eyes and identifying where each instrument is located in a mix.

      Since stereo images vary with different speakers, it’s crucial to understand how your speakers reproduce images. Reference tracks are essential for this.

      For example, I always listen to Michael Jackson’s albums and the MTV live version of “Hotel California” when I switch speakers. Michael Jackson’s songs are well-mixed for their age, and the live version of “Hotel California” is superbly mixed except for the vocals.

      Let’s wrap it up for today. Creating the best acoustic environment in your room is essential for effective mixing.

      My environment isn’t perfect either, but I’m continuously improving it..!

      See you in the next post!