Hello everyone! This is Jooyoung Kim, an engineer and music producer.
Today, I’d like to share a simple guide on creating your own virtual instrument using Kontakt 6 (often just referred to as Kontakt).
While Kontakt 7 is the latest version, I haven’t upgraded to the newest Komplete bundle due to the lack of significant new libraries. Therefore, I’m using Komplete with Kontakt 6 for this tutorial. The process should be similar across versions, so I hope this will still be helpful.
Given Kontakt’s extensive features, I will not cover every detail here. For in-depth editing, I recommend checking the manual.
Let’s get started!
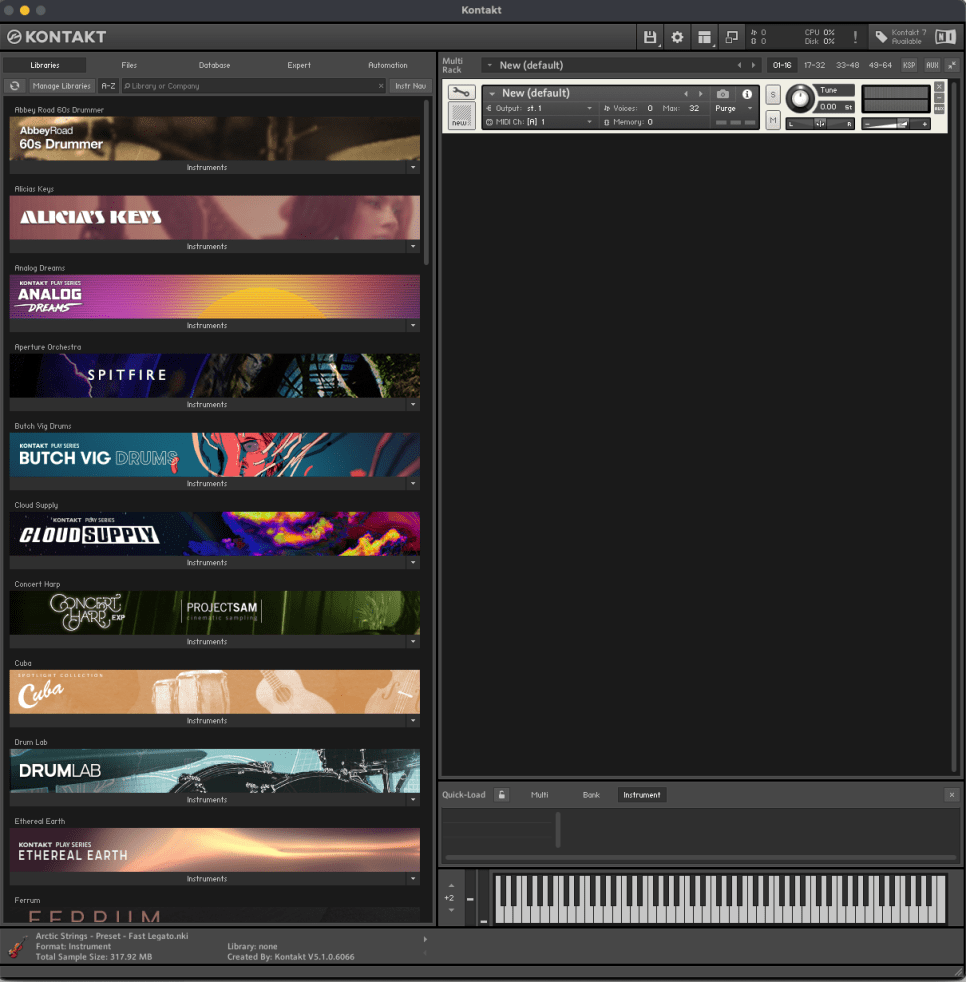
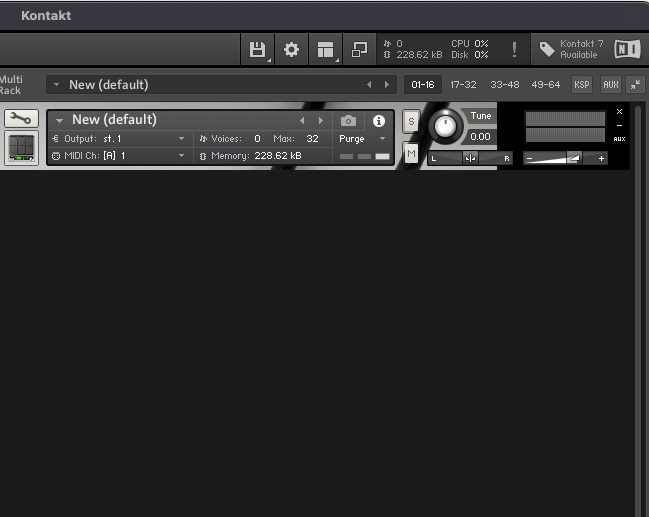
First, open Kontakt and double-click the empty space on the right to create a sampler. Click the wrench icon in the upper left corner to open the settings tab, as shown above. There are a lot of settings available!
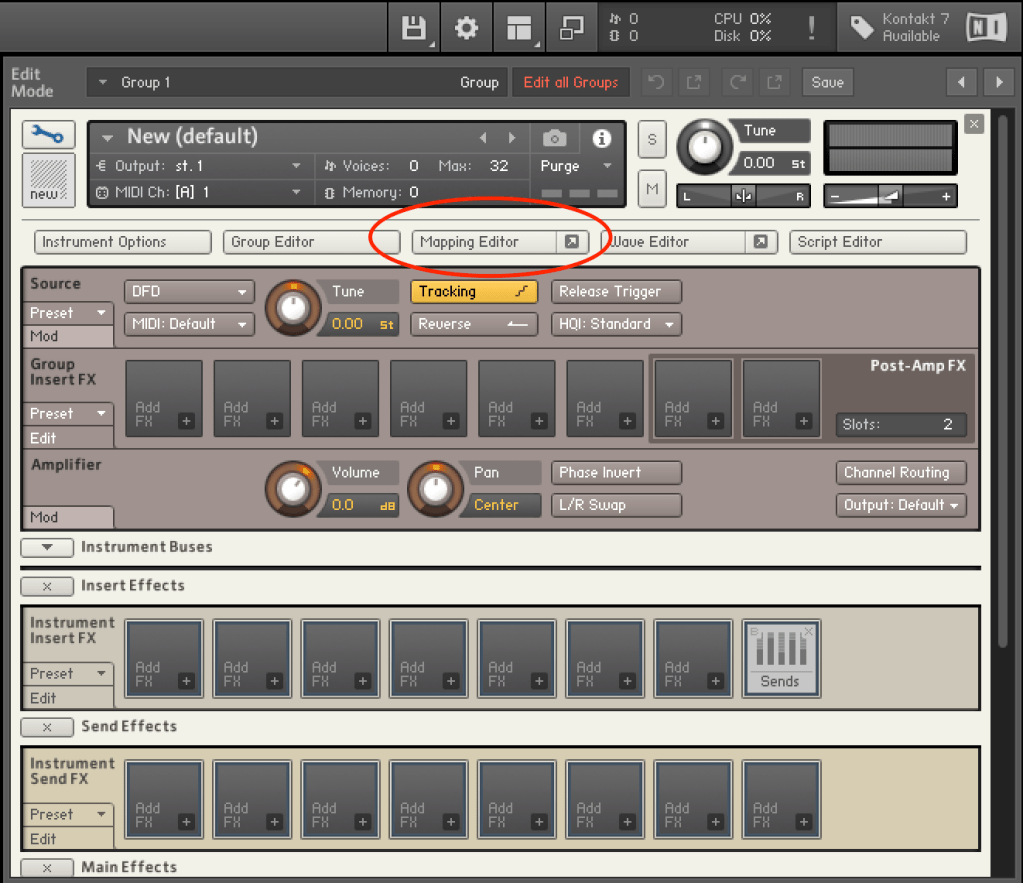
First, let’s open the Mapping Editor highlighted in the picture.
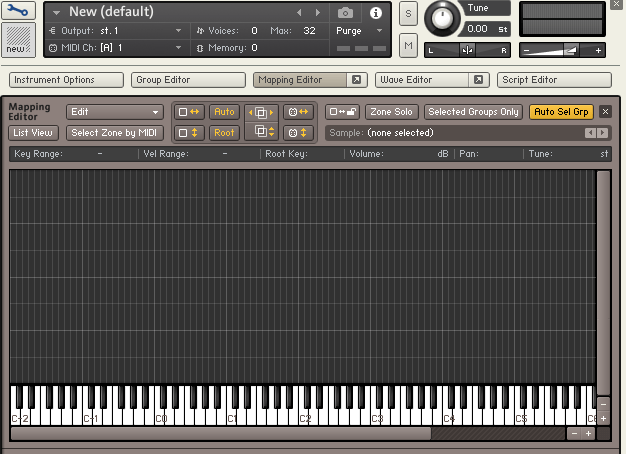
You’ll see a piano roll screen along with a grid that looks like an Excel spreadsheet. The horizontal axis represents pitch, and the vertical axis represents velocity. Load your desired sample onto this grid.
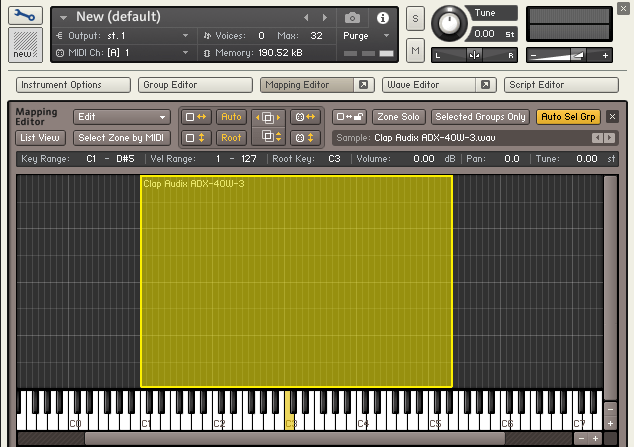
The grid and the piano roll will be colored like this. Pressing the colored keys on the piano roll will play the original sample, while pressing other keys will change the pitch.
You can adjust the highlighted areas with your mouse.
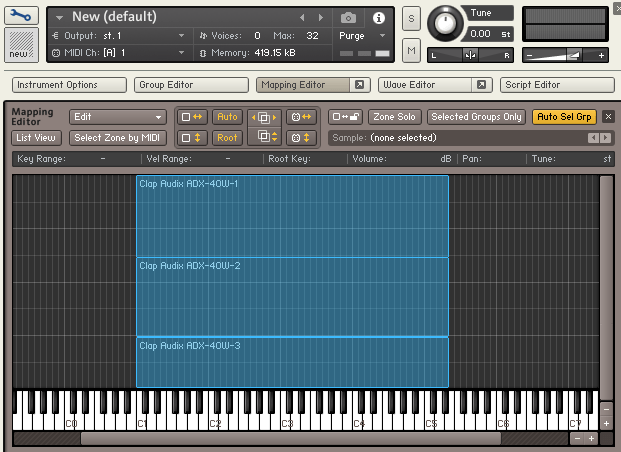
By properly adjusting the areas, you can set different samples to play depending on the velocity when you press a key, as shown above.
Similarly, you can click and drag the colored areas on the piano roll to adjust the pitch range.
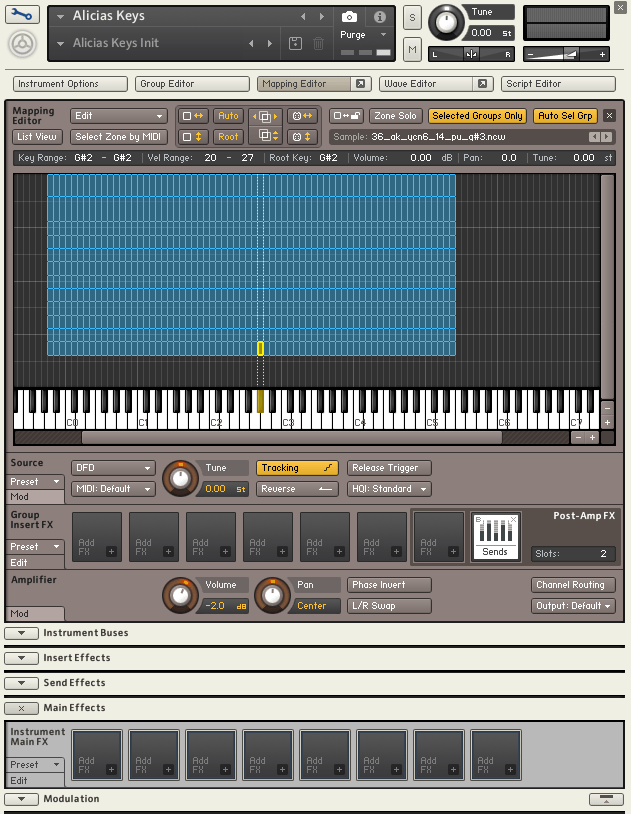
For example, if you open the settings for Alicia’s Keys, a commonly used instrument, and examine the mapping, you’ll see 12 velocity layers for each key. Instruments created with Kontakt often have such detailed velocity mappings. The more sophisticated the instrument, the fuller the mapping editor will be.
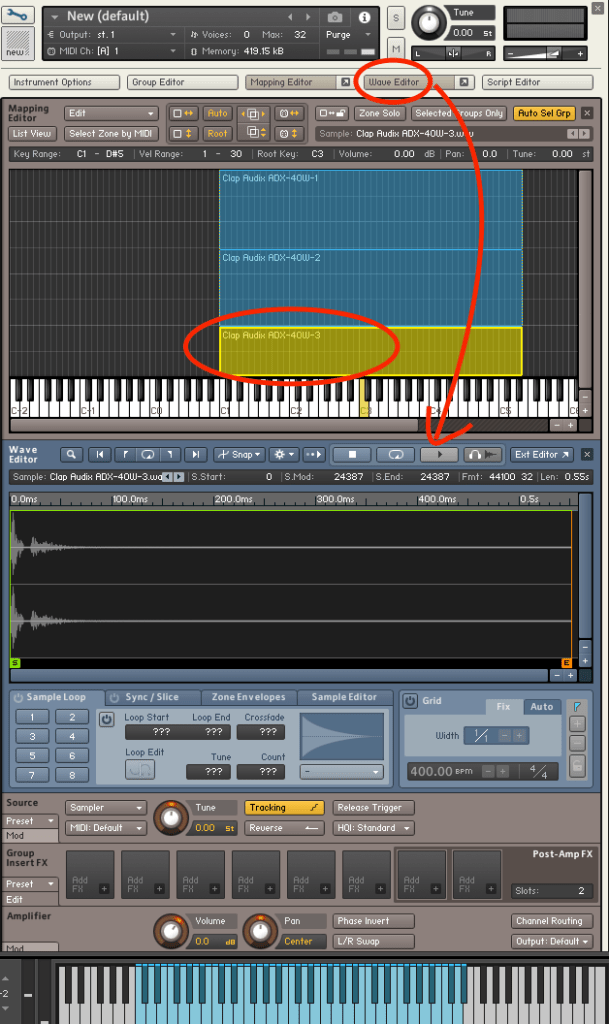
After completing the mapping, you can use the Wave Editor to fine-tune the samples to your liking.

You can loop the sample or perform various other edits.
The parameters are similar to those of general samplers, so if you’re familiar with samplers, you should find it easy to use.
If you’re new to samplers, exploring Kontakt can help you understand the structure of virtual instruments created with it, which can be useful when purchasing such instruments.

After some basic editing, the sound of your virtual instrument is complete. Finally, select Instrument Options and add a wallpaper with a TGA or PNG file (the manual suggests a width of 633 pixels).
This gives you a virtual instrument with a polished look. But what if you want adjustable parameters like other Kontakt instruments?
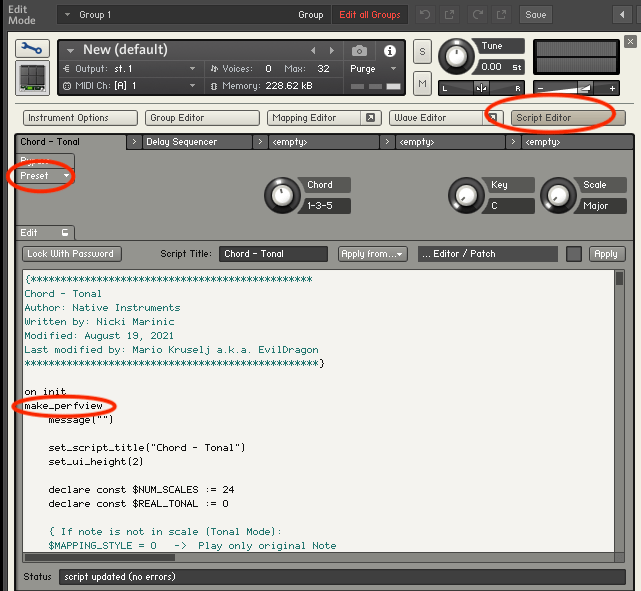
You need to use the Script Editor to add those features.
If you don’t want to dive too deep, you can simply select a factory preset from the side and add the “make_perfview” command between the “on init” and “end on” lines.

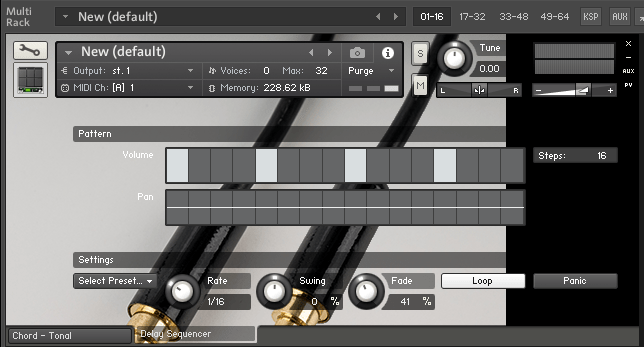
This will display the factory preset script in the main window, known as the performance view. To create a more customized performance view, you’ll need to learn scripting from various forums.
https://community.native-instruments.com/categories/scripting-workshop
For those who want to explore further, NI has a community that’s worth checking out.
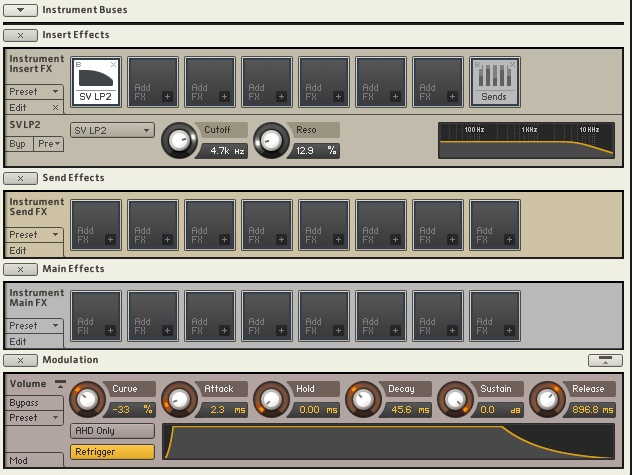
Other settings like Effects, Envelopes, and Buses are similar to those in other samplers or track settings, so I won’t explain them in detail here.
It may seem challenging at first, but once you understand it, you’ll be able to use other Kontakt-based virtual instruments more flexibly. If you’re into music production, it’s definitely worth studying.
I hope this post is helpful for those dealing with virtual instruments.
See you in the next post!
