Hello, this is Jooyoung Kim, an engineer and music producer.
Today, we will discuss the different types of compressors based on their operating principles.
Before we begin, it’s important to note that most compressors we talk about today are named after the specific components used as attenuators in each type. These components give each type its unique characteristics, so understanding these classifications is essential.
Shall we get started?
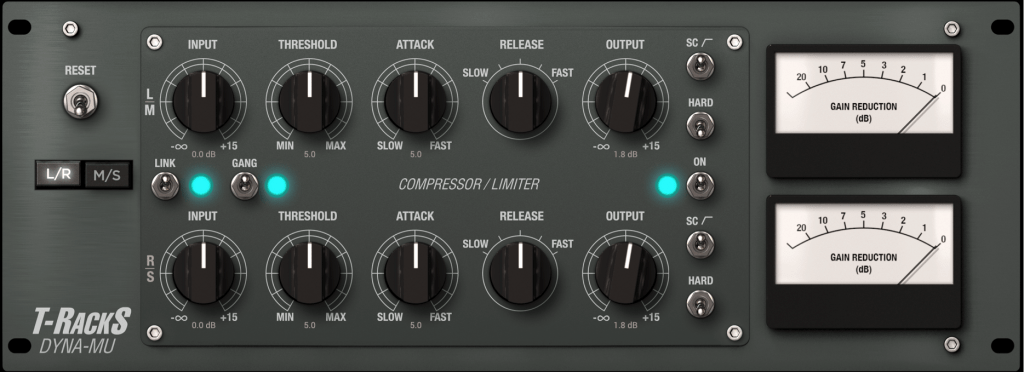
1) Variable-Mu (Vari-Mu)
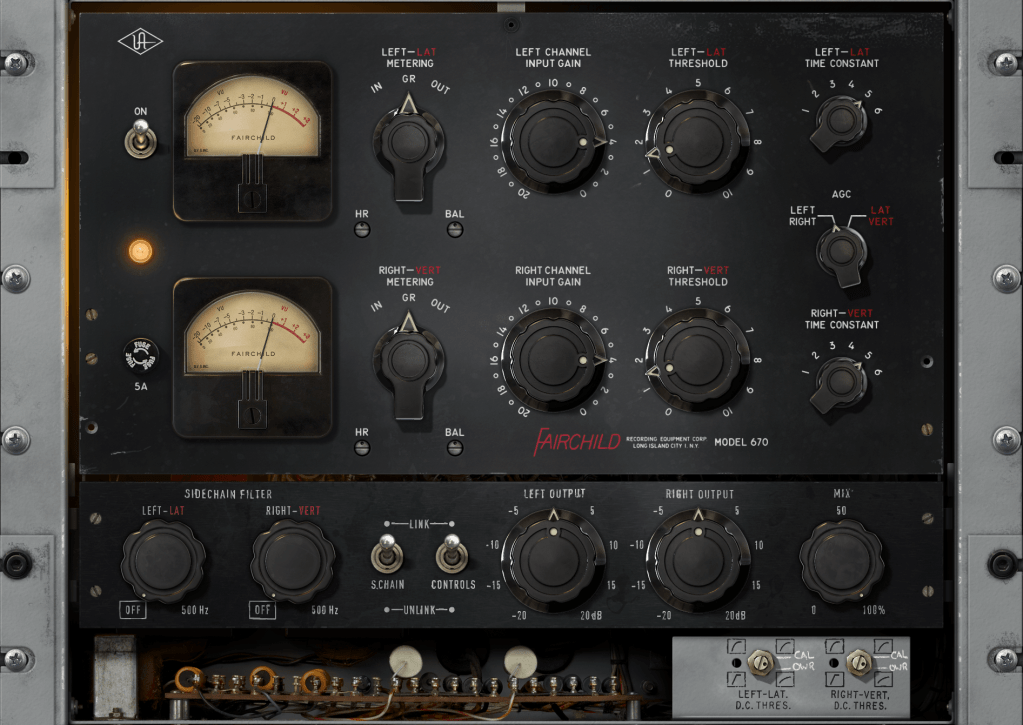
Vari-Mu compressors use vacuum tubes as attenuators. (Note that just because a compressor has vacuum tubes doesn’t automatically make it a Vari-Mu compressor.)
“Variable” means adjustable, and “Mu” (μ) stands for gain. So, Variable-Mu essentially means variable gain.
This might sound confusing, but essentially, as the input signal increases, the current to the vacuum tube’s grid decreases, thus varying the output level and creating adjustable gain.

Vari-Mu compressors have a non-fixed ratio and typically feature a soft knee. They also impart significant coloration to the sound due to the nature of vacuum tubes.
Famous examples include the Fairchild 670, Manley Variable Mu, and Chandler Limited RS124. These were predominantly used in the early days of compressors.
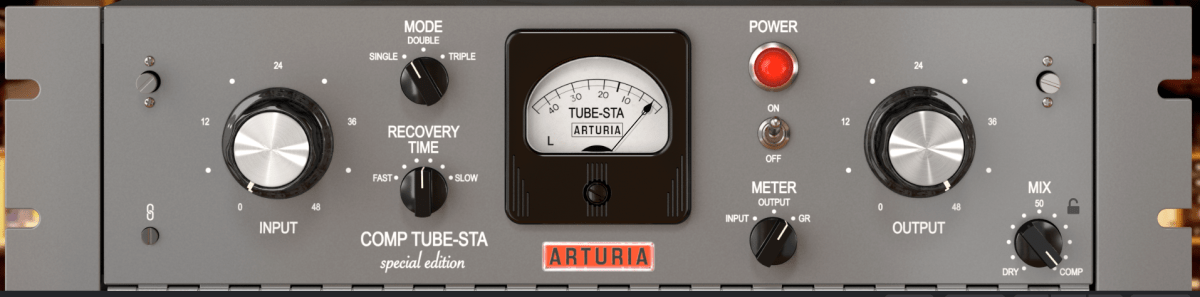
2) Optical (Opto)
Opto compressors use an optical isolator (photo transistor) as the attenuator. The intensity of the light changes according to the input signal, which in turn adjusts the compression. The release time varies significantly depending on the amount of compression.
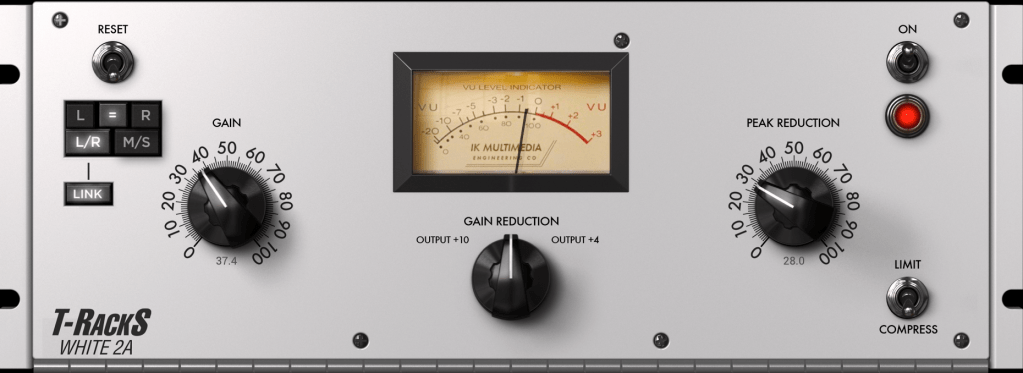
A well-known Opto compressor is the LA-2A, which was also called a 2-step compressor due to the significant difference in reduction levels around -3dB. This characteristic makes it popular for vocal sources.
Both vacuum tubes and transistors can be used for gain control in Opto compressors. For instance, the LA-2A uses vacuum tubes, while the LA-3A replaced these with transistors.
The Tube-Tech CL1B is another common Opto compressor found in studios.
3) Solid State

Solid State compressors use transistors or diodes as the attenuators. When transistors first became available, they replaced vacuum tubes due to their lower power consumption and smaller size.
The UA 1176 is a prime example and remains one of the most famous Solid State compressors. It is known for its very fast attack and release times. The Blue Stripe version of the 1176 is especially noted for its strong coloration, making it a favorite for drum sources.
4) Diode Bridge
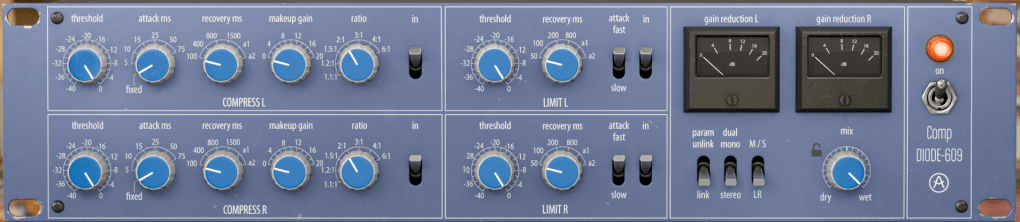
Diode Bridge compressors use a diode bridge circuit for signal attenuation. These became popular in the 1960s for their faster response compared to typical Opto compressors and lower distortion compared to many FET designs.
Notable examples include the Neve 33609, 2254, Chandler Limited Germanium, and EMI TG12345.
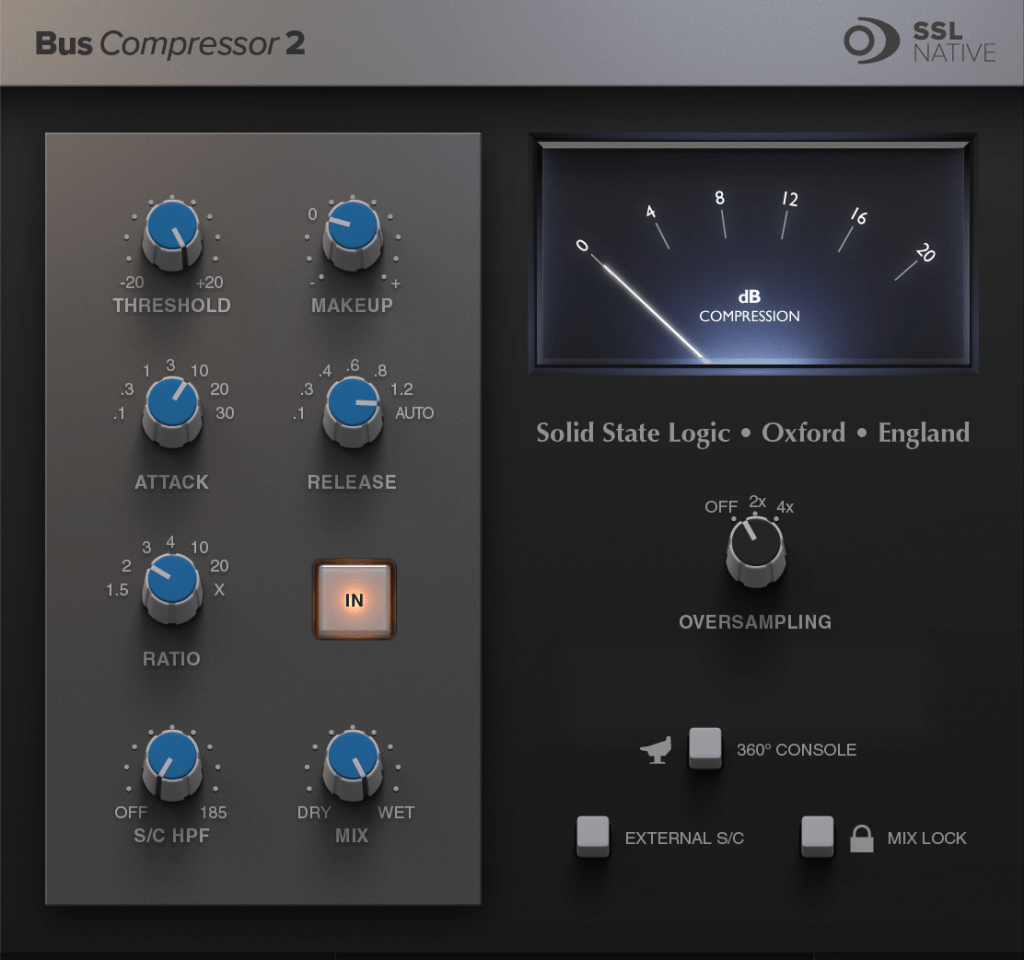
5) VCA (Voltage Controlled Amplifier)

VCA compressors use a Voltage Controlled Amplifier as the attenuator. A VCA adjusts the amplification based on the input signal’s voltage, allowing precise control over the input signal level. VCA designs typically have low distortion and less coloration compared to Vari-Mu, Opto, and Solid State compressors.
The dbx 160 is a representative VCA compressor, along with the Amek 9098 Compressor Limiter, SSL G Compressor, API 2500, Vertigo VSC-3, and Shadow Hills Mastering Compressor (excluding the Opto section).
6) PWM (Pulse Width Modulation)
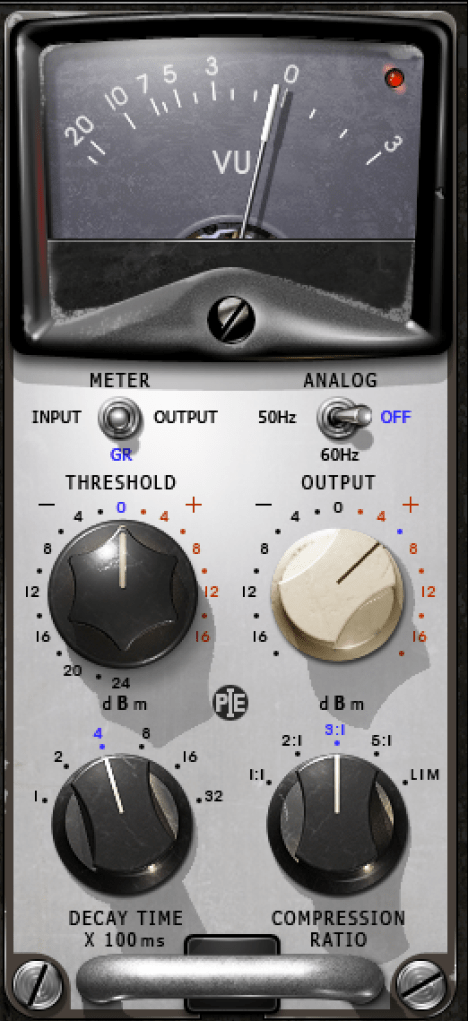
PWM compressors use pulse width modulation to control signal strength. They can turn on and off in less than 1 nanosecond, making them extremely responsive with even less distortion than VCA compressors.
Famous PWM compressors include the Crane Song STC-8 and the Pye 4060 and 5060.
7) Digital
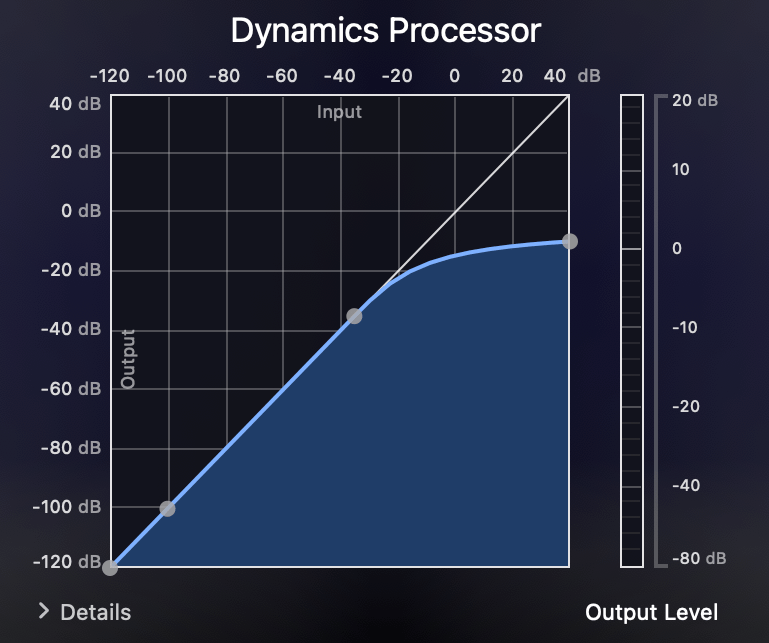
Digital compressors are not replicas of analog compressors but are designed to detect the signal level in real-time and apply compression based on the set threshold and ratio.
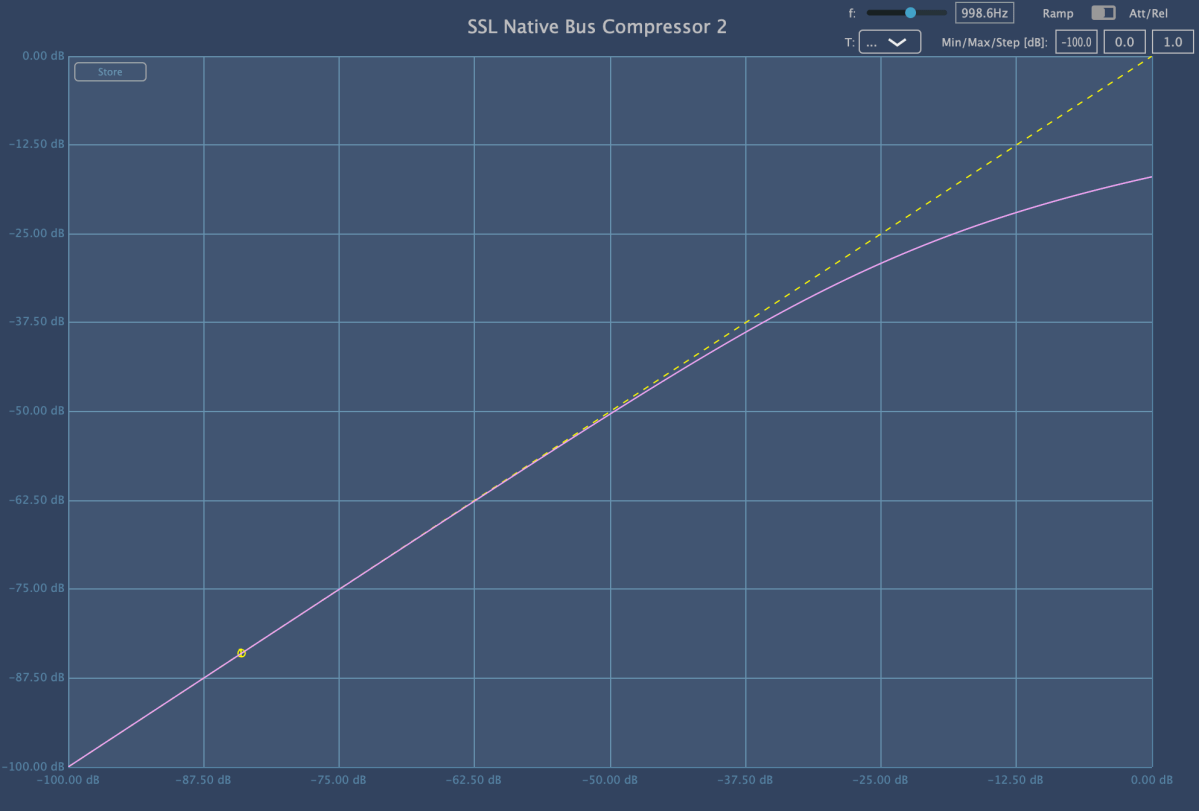
Digital compressors may introduce harmonic distortion due to nonlinear responses and aliasing, although many modern plugins mitigate aliasing with oversampling.
Despite potential distortion, digital compressors typically have less coloration and are cleaner than analog counterparts. Most basic DAW compressor plugins fall into this category.
Conclusion
Nowadays, most compressors used are plugins. Even if they replicate the same vintage hardware, their characteristics can differ, making memorizing all these details unnecessary.
When purchasing or using a compressor for the first time, it’s helpful to understand its operating principle to get a rough idea of its characteristics.
Also, remember that digital replicas may still suffer from aliasing issues. The only way to completely avoid this is by using the actual hardware.
That’s it for today. See you in the next post!