Advanced Synthesizers & Gear (1) – Harald Bode, Robert Moog, Don Buchla, and Dieter Doepfer

Hello! This is Jooyoung Kim, an audio engineer and music producer. Today, I’ll begin a new article series, Advanced Synthesizers & Gear.

In this series, we’ll talk about the history of modular synthesizers and the equipment. Also, we’ll figure out why famous synthesizers became so popular and how they work.

Before we focus on these topics, we need to know about the history of synths and how electricity can be turned into sound.

Let’s dive in!


Harald Bode
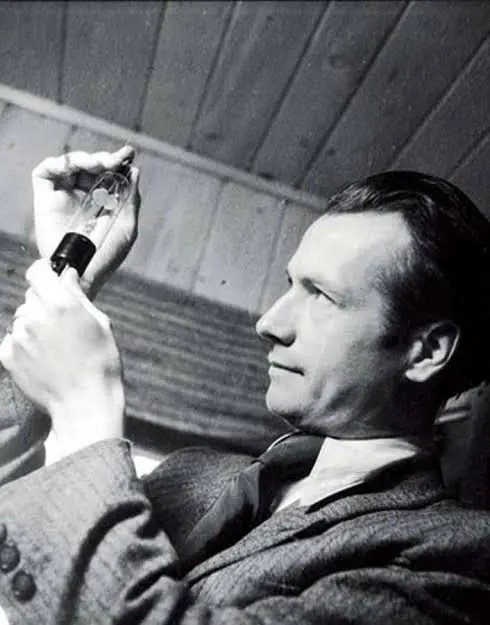
Harald bode, a German engineer and physicist(as a physics major myself, I feel a deep sense of kinship with Harald Bode), was a pioneer of the synthesizer.

He started a recording business, but soon ran into a major obstacle: the grand piano. At the time, recording technology was in its infancy compared to today, making it incredibly difficult to capture the true depth of the instrument.
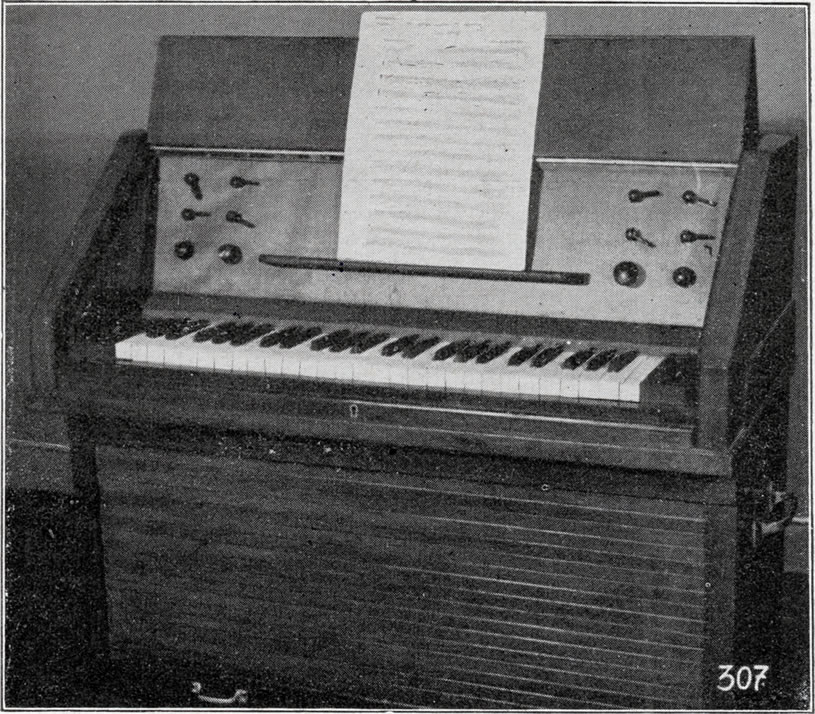
Driven by this limitation, his inner physicist took over. Instead of trying to perfect the replication of acoustic instruments, he envisioned a completely new path—creating musical sounds 100% out of electronics using vacuum tubes. Guided by the physical principle that human voice timbres (Klangfarben) change based on the intensity of overtones, he laid the very foundation of modern synthesis by designing a system where parameters could be shaped with half-rotary knobs.

For those interested in exploring his technical blueprints and concepts firsthand, please look for his seminal 1961 publications: ‘European Electronic Music Instrument Design’ in the Journal of the Audio Engineering Society, and ‘Sound Synthesizer Creates New Musical Effects’ in Electronics magazine. Also you can see the bode’s equipment in eContact.

His groundbreaking concept of using voltage control to adjust parameters quickly spread through the pioneer community, deeply inspiring the figures who would go on to invent the world’s most iconic synthesizers: Robert Moog and Don Buchla.


Robert Moog
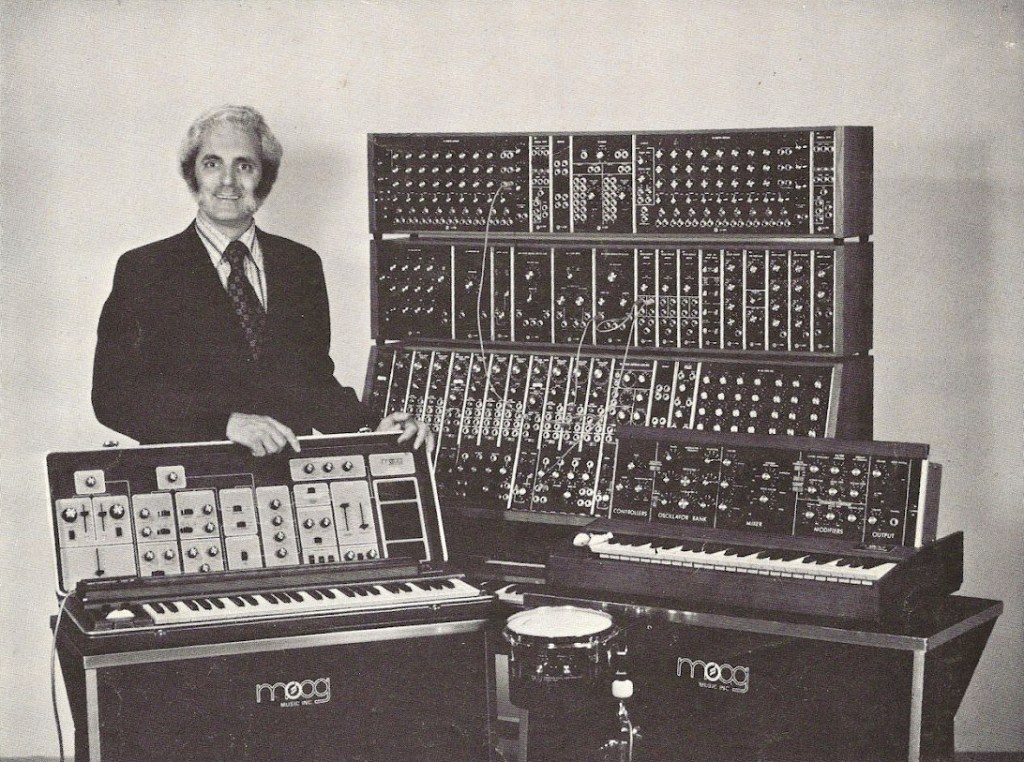
Robert Moog also majored in Physics during his undergraduate years, earning his Bachelor of Science from Queens College in 1955 before completing a PhD in Engineering Physics at Cornell University. With this background, Moog approached electronic music through a technological lens very similar to Harald Bode’s.

In the fall of 1960, at the Audio Engineering Society (AES) convention in New York, Moog attended Harald Bode’s presentation of his modular ‘Audio System Synthesizer’. At this convention, Bode demonstrated the concept of using voltage control to manipulate audio parameters within a modular architecture.

Following this exposure to Bode’s design, Moog set out to develop a compact, practical synthesizer for musicians, contrasting with the room-sized systems of the era like the RCA Mark II. While previous instruments relied on hundreds of vacuum tubes, Moog utilized newly available silicon transistors, leveraging the exponential relationship between input voltage and output current.
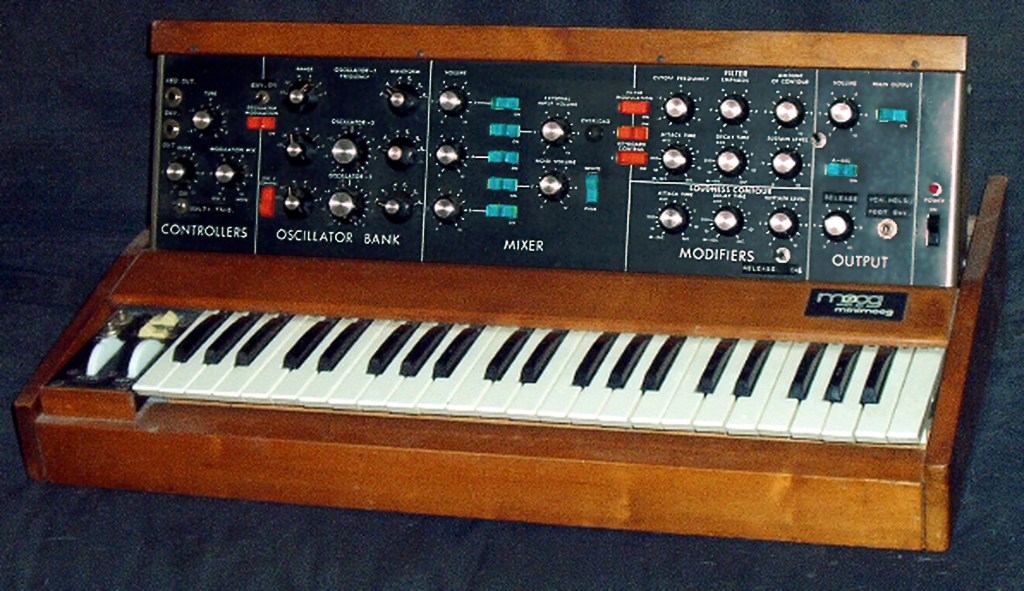
Moog Minimoog

This application of transistor physics led to his principal innovation in 1964: the Voltage-Controlled Oscillator (VCO). While Bode established the foundational concept of altering parameters via voltage, Moog engineered the precise circuitry that mapped input voltage to specific musical intervals. Through this hardware, Moog standardized fundamental synthesizer concepts, including modularity, envelope generation, and the pitch wheel.

Moog viewed his role primarily as a toolmaker for artists rather than a corporate businessman, choosing not to patent core innovations like modularity or voltage control.


Don Buchla
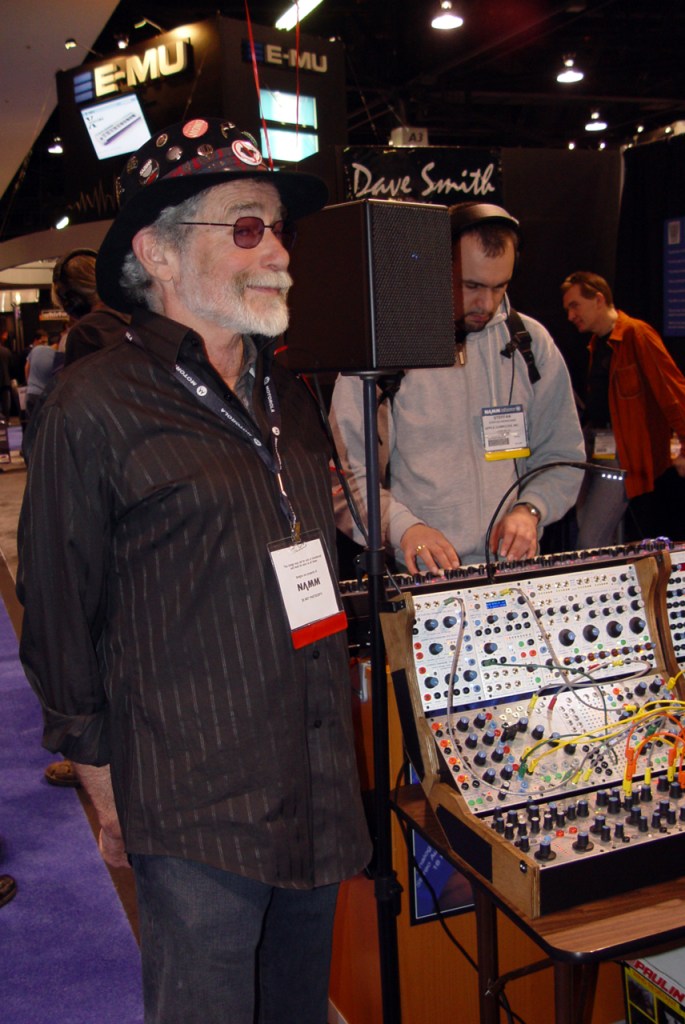
Interestingly, the application of physics to modular synthesis was not confined to Harald Bode and Robert Moog. Donald Buchla, another pioneer who co-invented the voltage-controlled modular synthesizer independently during the early 1960s, also graduated as a physics major from the University of California, Berkeley, in 1959.

In 1962, Buchla formed his company, Buchla and Associates, in Berkeley. He was commissioned by composers Morton Subotnick and Ramon Sender of the San Francisco Tape Music Center to create an electronic instrument tailored for live performance. Guided by this request, Buchla began designing his first modules in 1963.
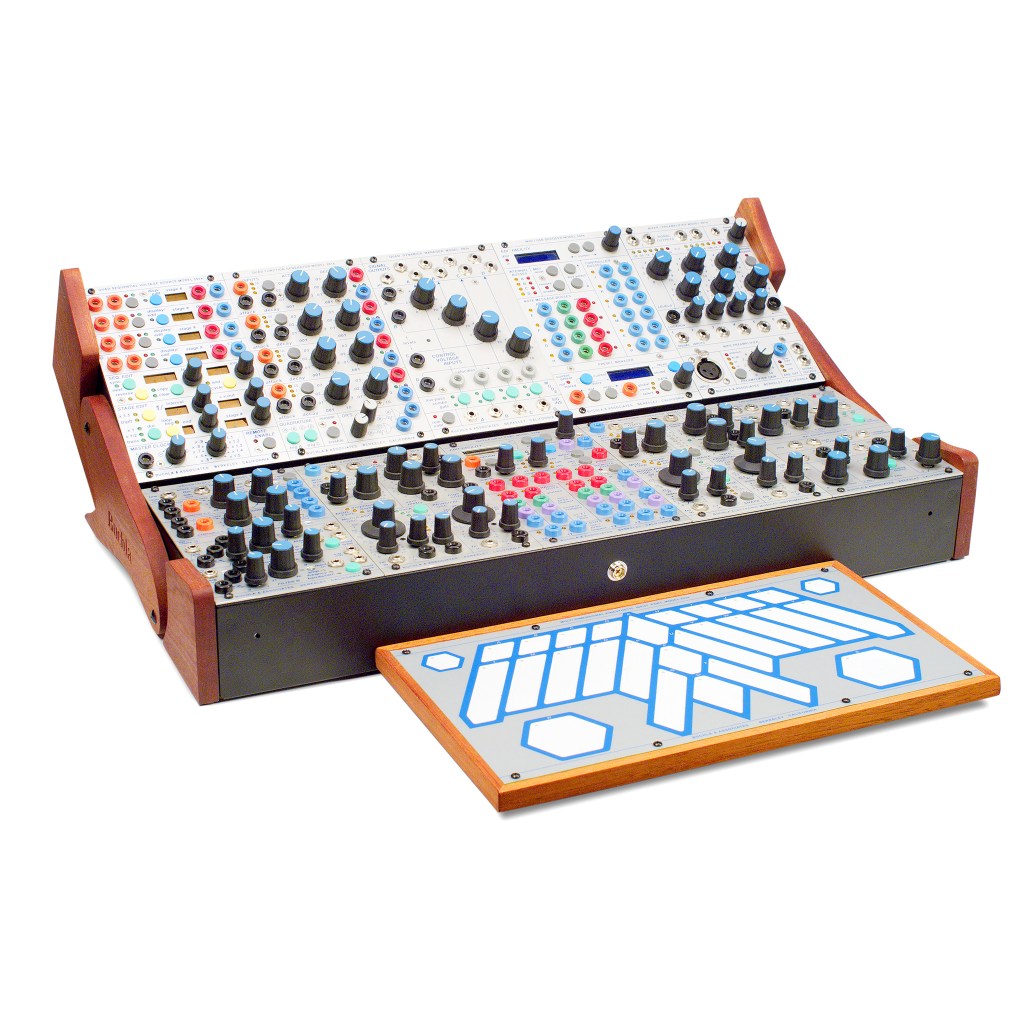
Buchla Skylab

While Robert Moog was developing his system on the East Coast, Buchla was working independently on the West Coast. In 1965, utilizing a grant from the Rockefeller Foundation, he assembled these modules into the Buchla Modular Electronic Music System (later known as the Series 100), which entered commercial production in 1966.

Like Moog, Buchla utilized voltage control as the core mechanism to alter audio parameters. However, his approach to user interfaces and musical philosophy differed significantly. While Moog standardized the traditional piano-style keyboard to make the instrument accessible to conventional musicians, Buchla deliberately rejected the keyboard, viewing it as a limitation carried over from acoustic history. Instead, he pioneered alternative control interfaces, such as touch-sensitive plates that allowed for non-traditional, expressive manipulation of voltage.


Because these two distinct styles of synthesizers were developed independently based on the geographical regions where their creators worked, Moog’s system became known as the East Coast style, while Buchla’s was termed the West Coast style.


Doepfer

The historical lineage of physics-driven modular synthesis culminated in the late 20th century with the establishment of the Eurorack standard. Developed in 1995 by Dieter Doepfer, the founder of Doepfer Musikelektronik, Eurorack solved a critical fragmentation problem in the modular synthesizer market. Like Bode, Moog, and Buchla before him, Doepfer formally studied physics, beginning his academic training at Munich in 1972.
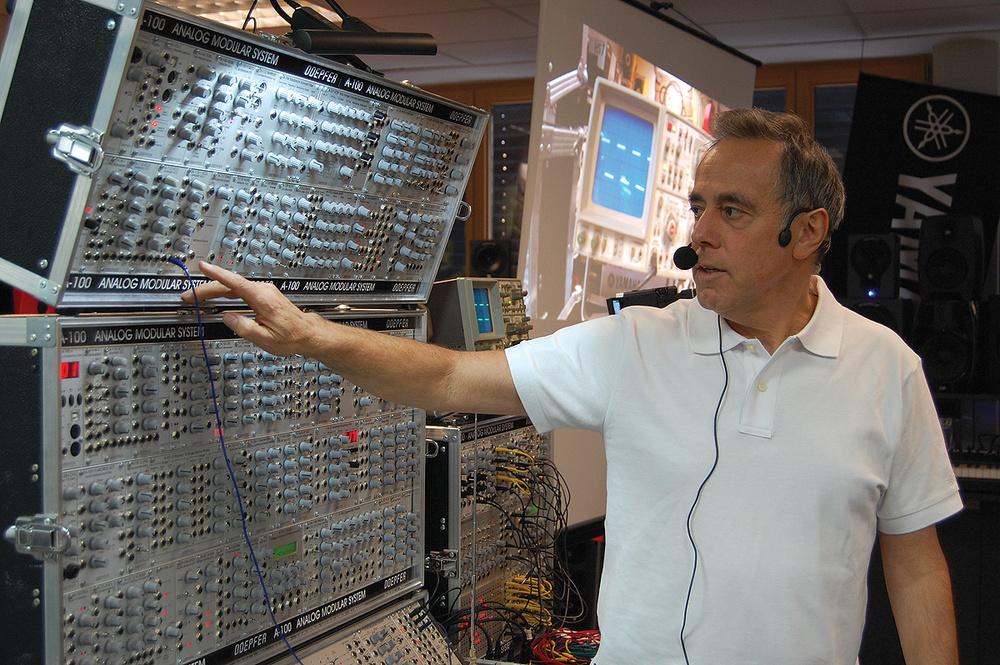
Doepfer’s entry into hardware development was directly influenced by his background in physics. While completing his mandatory community service in the ophthalmology department of a Munich hospital, Doepfer utilized the department’s dedicated electronics laboratory—originally built for laser eye surgery research—to quietly develop his earliest synthesizer circuits. This research resulted in his first complete system, the Polyphonic Module System (PMS), released as a DIY kit.

Throughout the 1980s, Doepfer continued to expand his technical expertise. He integrated specialized integrated circuits (ICs) from Curtis Electronic Music Specialties (CEM) to build highly efficient analog systems, and later adapted to the digital transition by developing 8-bit sampler cards and MIDI master keyboards. However, the commercial market shifted during the 1990s; a resurgence of interest in analog synthesis led to the unexpected success of his MS-404 monophonic synthesizer in 1994, which prompted high demand for expanded modular options.

To address this demand systematically, Doepfer introduced the A-100 system in 1995, establishing the Eurorack format. Prior to this, systems by Moog or Buchla used incompatible dimensions and electrical standards. Doepfer unified the ecosystem by introducing open, standardized physical and electrical specifications:
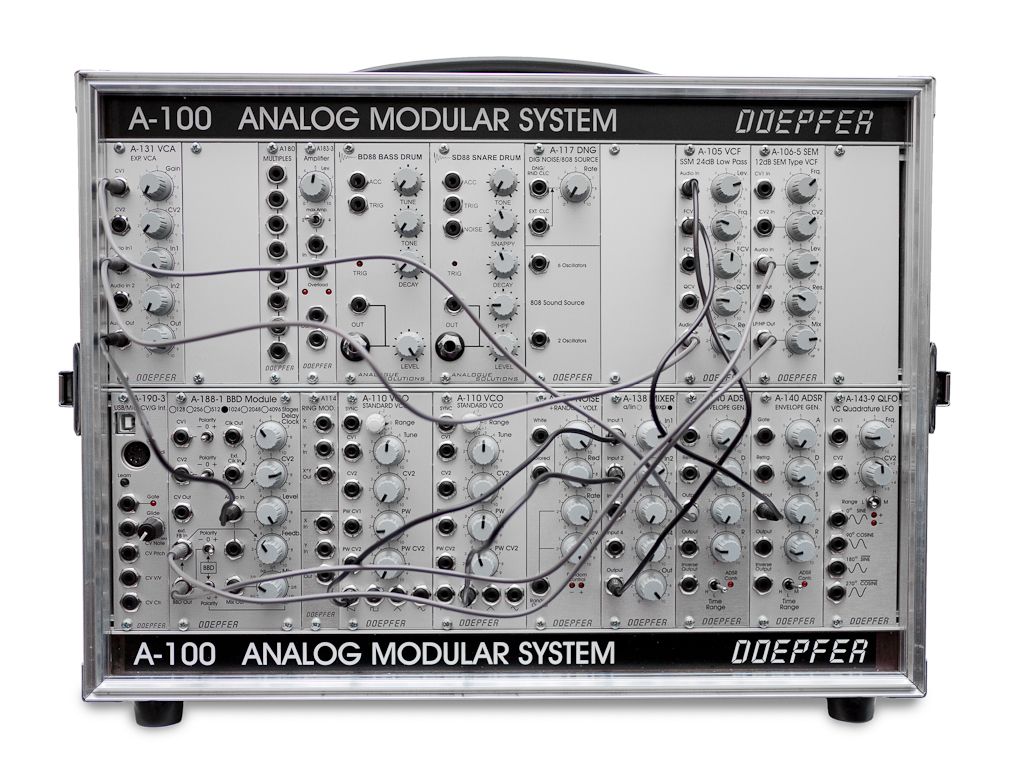
  • Physical Dimensions: Height was set using the sub-rack unit standard at 3U (approx. 128.5 mm), and width was measured in HP (Horizontal Pitch), where 1 HP equals 0.2 inches (5.08 mm).
  • Electrical Connectivity: Power was distributed via standardized ribbon cables supplying ±12V DC.
  • Signal Interface: Control Voltages (CV) were routed using compact 3.5mm mini-jacks rather than the bulky 1/4-inch or banana jacks of earlier decades.

By keeping this format open, Doepfer created a universal framework that allowed third-party manufacturers and boutique designers to build compatible components. His designs even attracted pioneers of the genre; Florian Schneider of Kraftwerk collaborated with Doepfer to modify hardware for speech synthesis triggering, a relationship that later influenced the development of the MAQ 16/3 MIDI analog sequencer.

Through these modular standards, Eurorack transformed synthesis from a market of isolated, proprietary hardware into a decentralized, global ecosystem.

Furthermore, because this standard has become so widespread, even non-Eurorack standalone hardware instruments often feature compatible 3.5mm patching connectors. Thanks to this universal connectivity, users can cross-connect entirely different, independent synthesizers to act as interlinked sub-components—such as routing one synthesizer’s output to serve purely as an oscillator, bypassing into another instrument’s filter, or patching through separate external units for saturation and effects.

I will explain the technical details and creative mechanics of these Eurorack modular synthesizers in a later post.

See you then!
Three Body Technology Tape Vibe Intro Sales (Until Jun 5)

Hello! This is Jooyoung Kim an audio engineer and music producer.

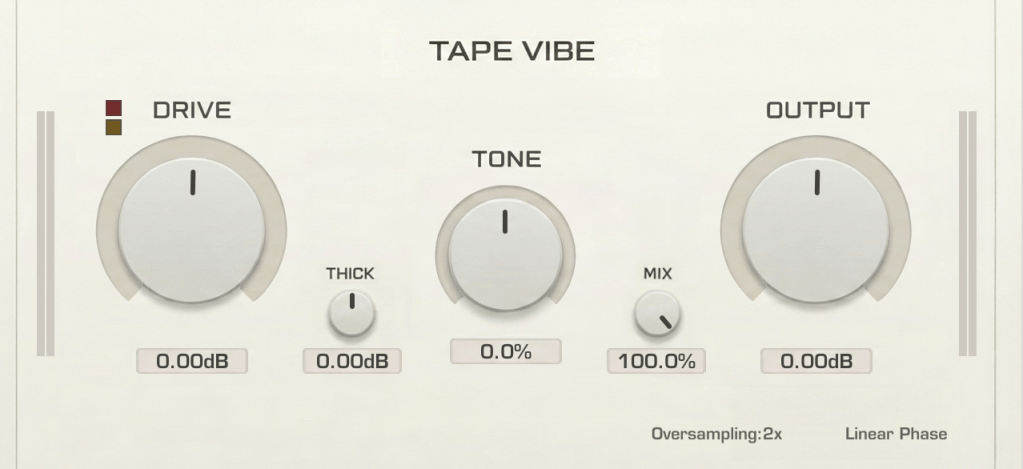
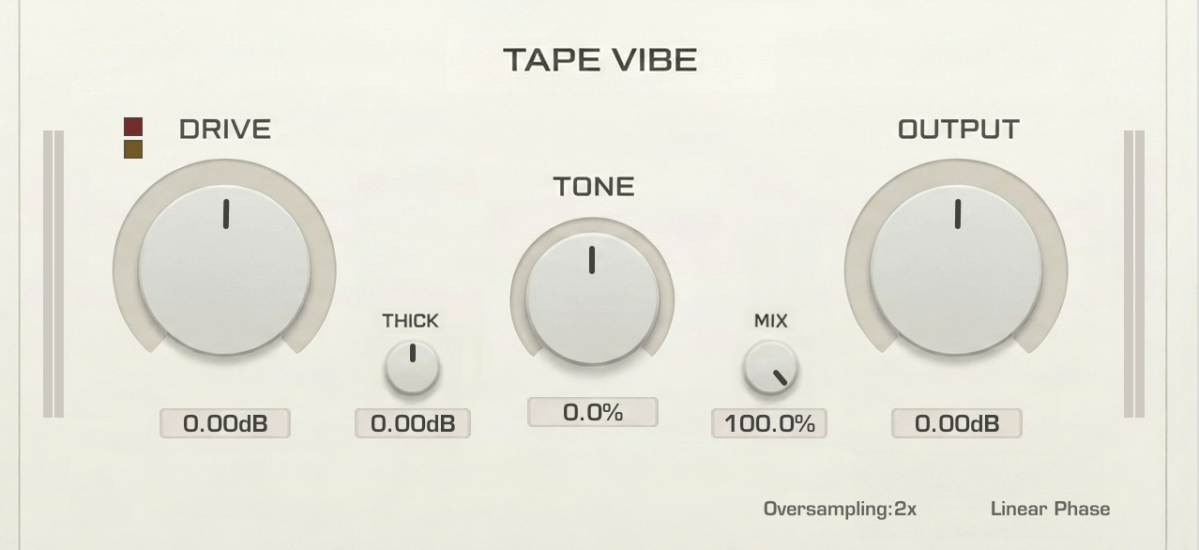
Today, I’m introducing a new plugin called Tape Vibe by Three-Body Technology.

This plugin was provided as an NFR (Not For Resale) copy by Plugin Boutique. If you purchase it through the links below, I’ll receive a small commission which helps support my blog.

Let’s start!


As you may know, Three-Body Technology is the renowned developer behind the Kirchhoff-EQ. That plugin was a total sensation when it was released, and I believe its success became the driving force behind the company’s growth.

Now, they offer quite a wide variety of plugins, such as the Future MB. Tape Vibe is another great addition to their growing lineup.

The concept of this plugin is simple.

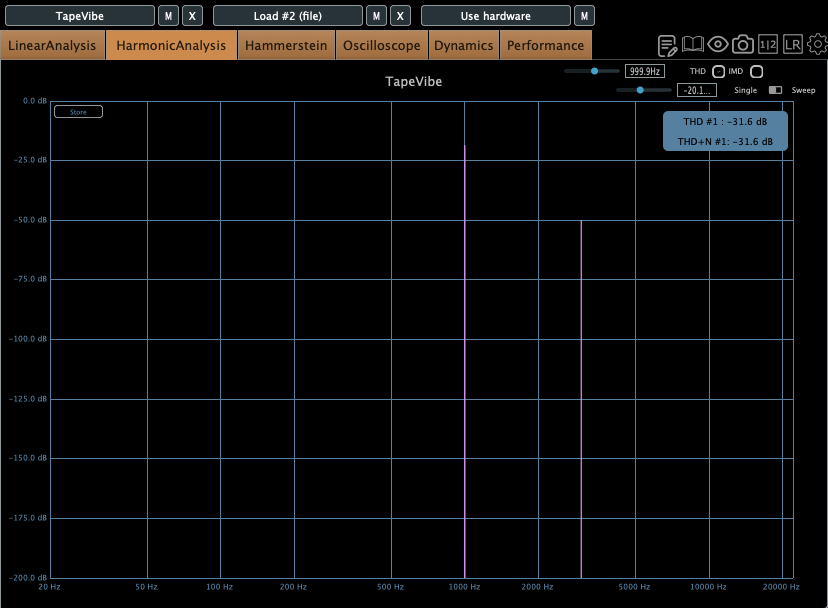
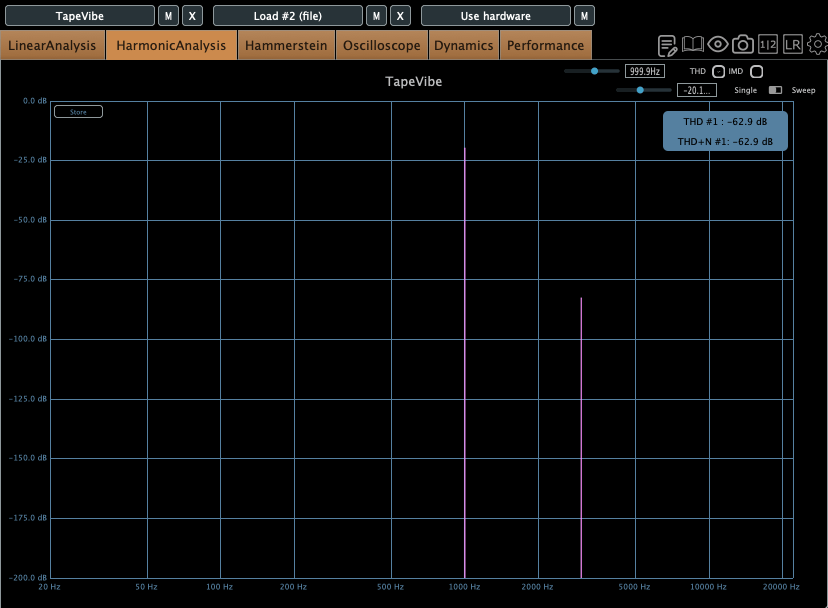
First, I noticed only third harmonics appearing in the analyzer. I suspect it takes inspiration from the SPL Machine Head. I actually wrote a review for that a few months ago, so if you’re interested, please check the link below.

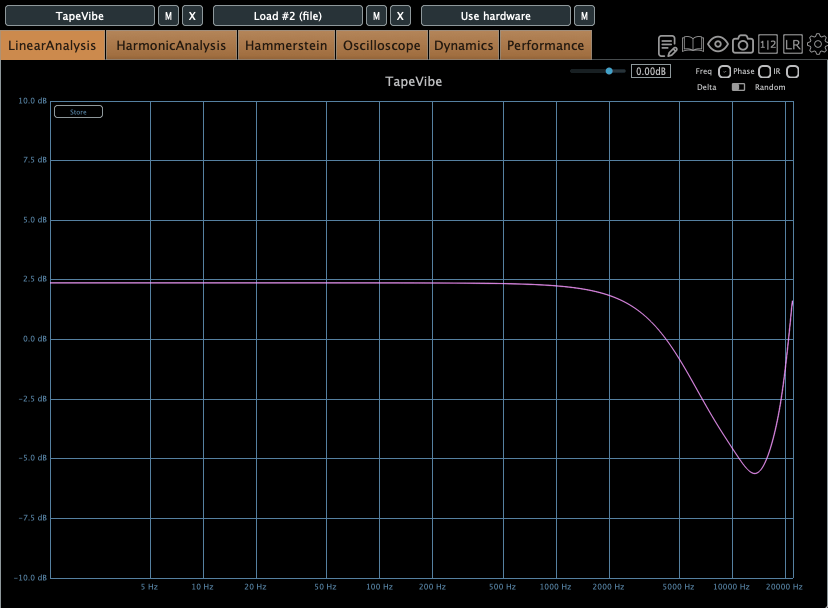
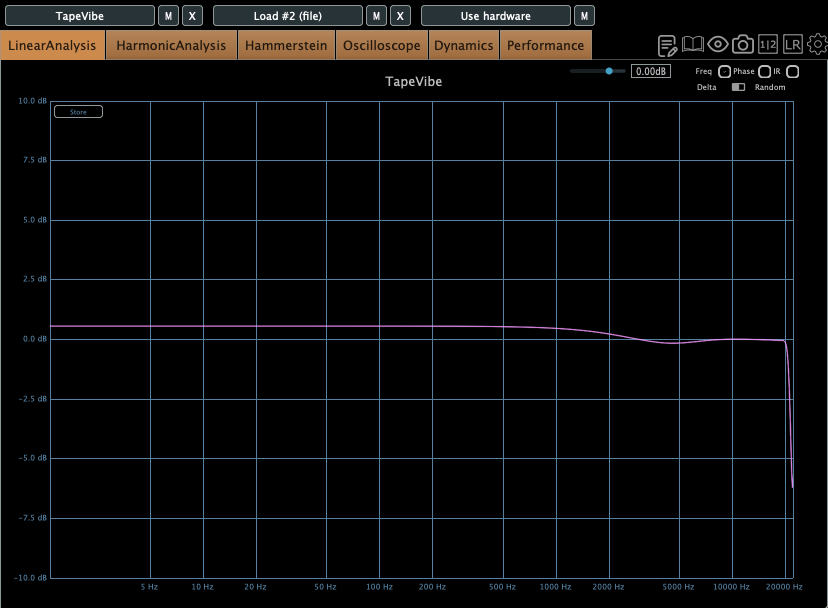
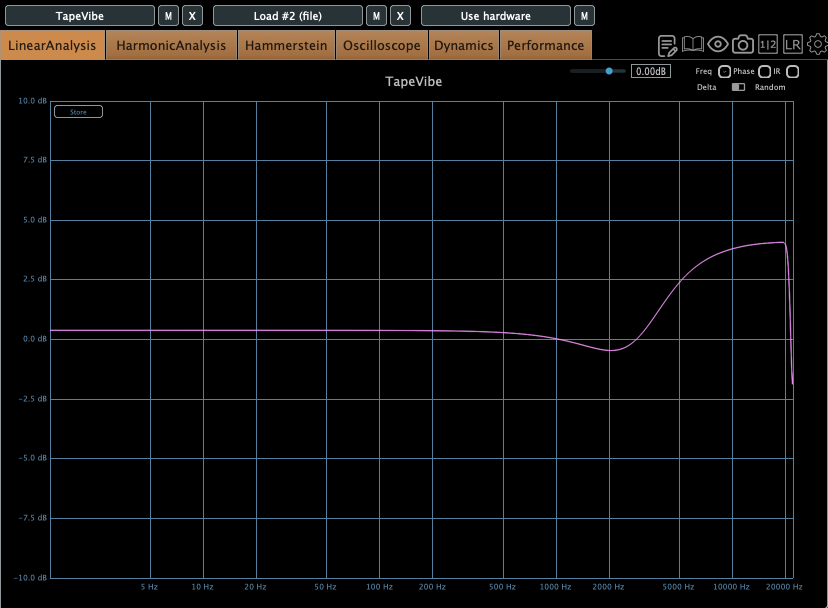
However, the way it works is fundamentally different. First, in the frequency domain, increasing the drive results in a noticeable high-frequency roll-off. Additionally, the Thick knob boosts the low frequencies, as shown in the image below.

It features an internal Auto Gain, so you don’t have to compensate for the volume much as you crank the drive.

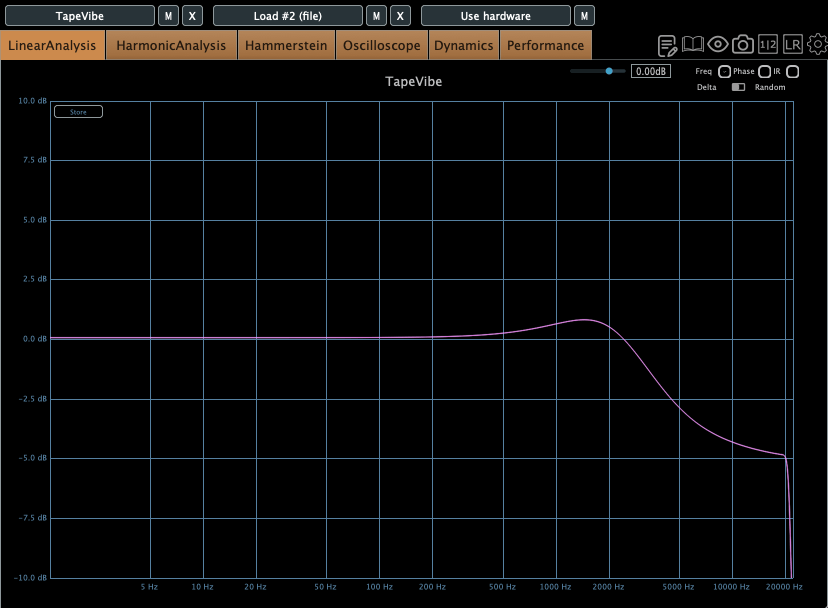
We can use Tone knob to adjust the high frequencies.

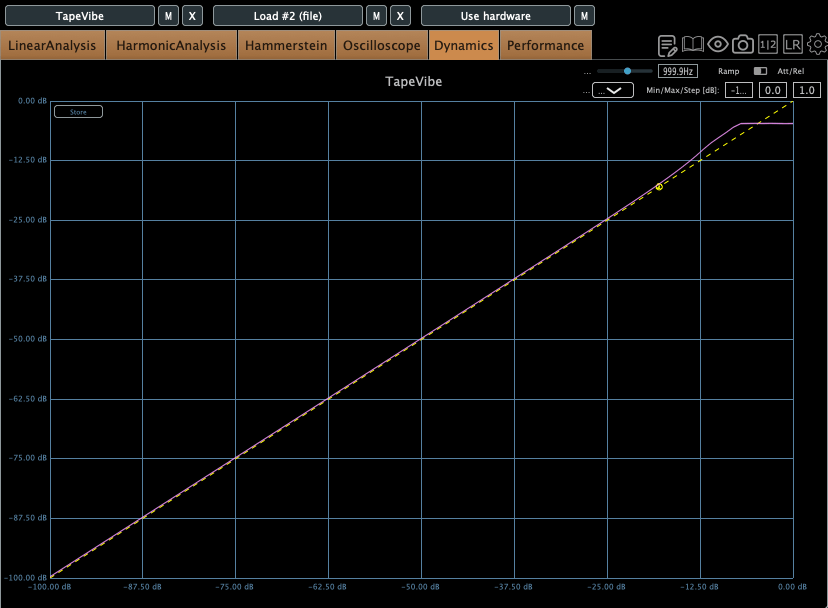
However, it doesn’t exhibit typical tape compression characteristics. Instead, we can observe brick-wall limiting when pushed with high drive values. An interesting quirk of this plugin is that the output level seems to rise once the signal amplitude exceeds -20dBFS.

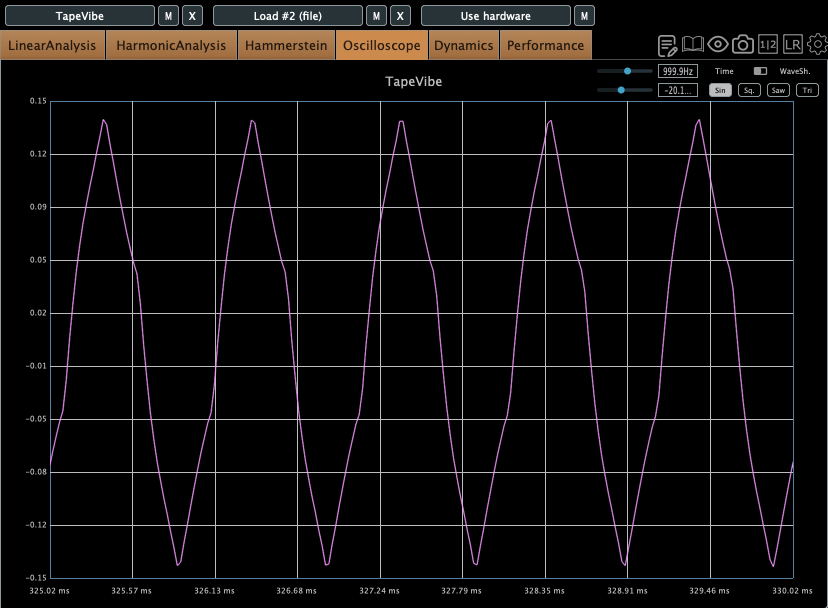
On an oscilloscope, you can see how the heavy saturation completely reshapes the waveform, resulting in a highly distorted signal.

While the saturation adds great body, higher drive settings tend to dull the top end quite a bit. The key is to dial in a moderate drive and then use the Tone control to restore clarity. This creates a really pleasing harmonic saturation that sits perfectly in the mix.


In conclusion, Tape Vibe is a straightforward and easy-to-use saturation tool. It may not be a perfect tape emulation, but it’s great for adding analog weight with minimal effort. If you need a simple way to add some vibe to your tracks, it’s worth a look.

See you in the next post!

Noise(소음) Single

Hello! I’m Jooyoung Kim, a mixing engineer and music producer. In this post, I’ll be sharing the process behind my single album released in 2021. Although the timeline might feel a bit off since I wrote this a while ago, I hope you enjoy reading about the journey.

The inspiration for the song began near a construction site close to my home.

From the year before last to last year, there was continuous construction right next to my house, which was extremely noisy. Towards the end of the construction, they seemed to be in a hurry, working even in the early mornings and sometimes on weekends, which was incredibly stressful. At the same time, I was dealing with some personal family issues that made things even more suffocating.

So, I pre-wrote the lyrics to express my desire to escape this situation. I started composing the song more concretely from February this year.

I wanted the lyrics to be fairly simple but impactful, so I aimed to incorporate rock elements. I also thought using unconventional industrial percussion could effectively convey the feeling of noise.

Thus, I used a snare drum with significant reverb and a strong attack, along with various metal percussion sounds and tubular bells used in orchestras.

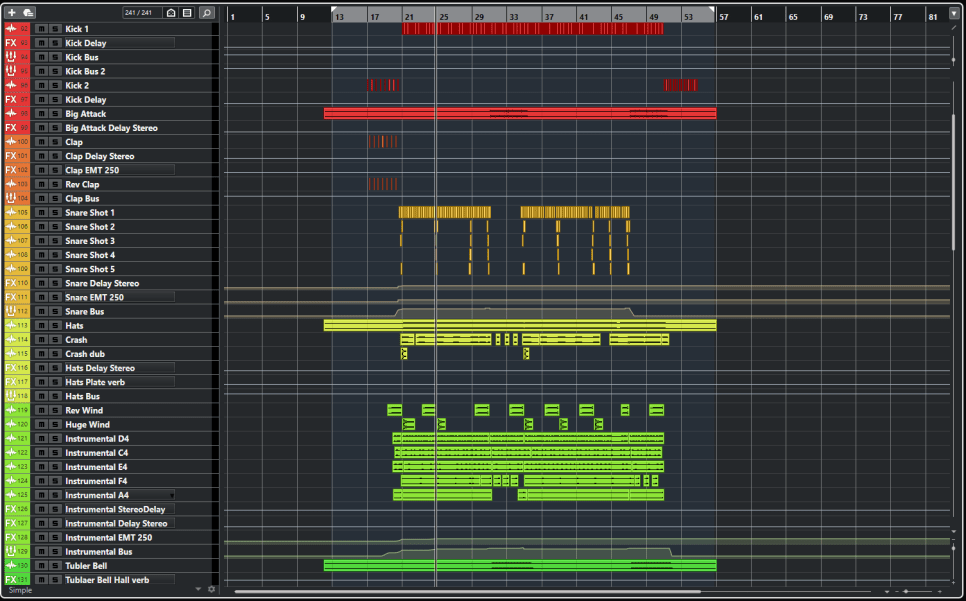
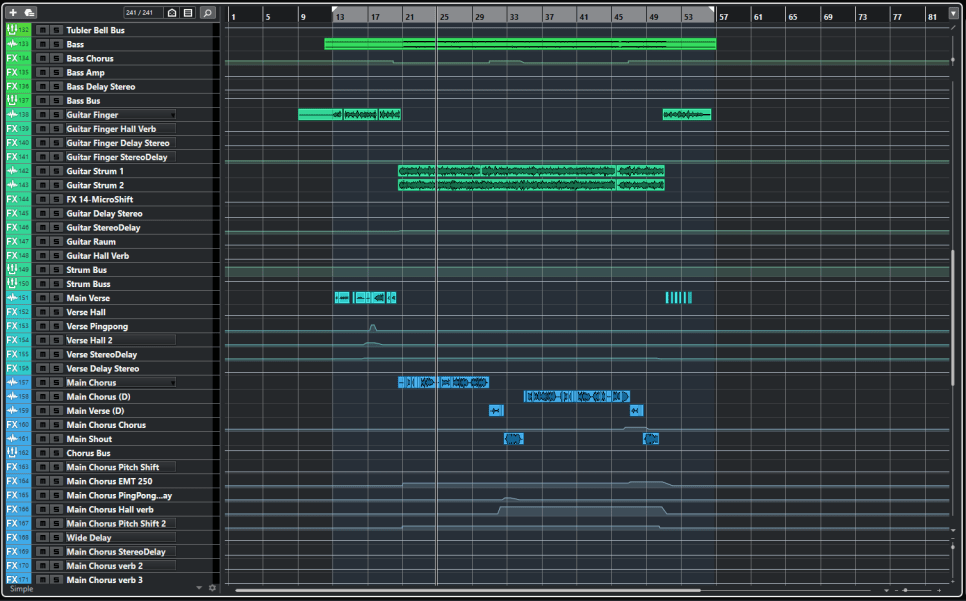
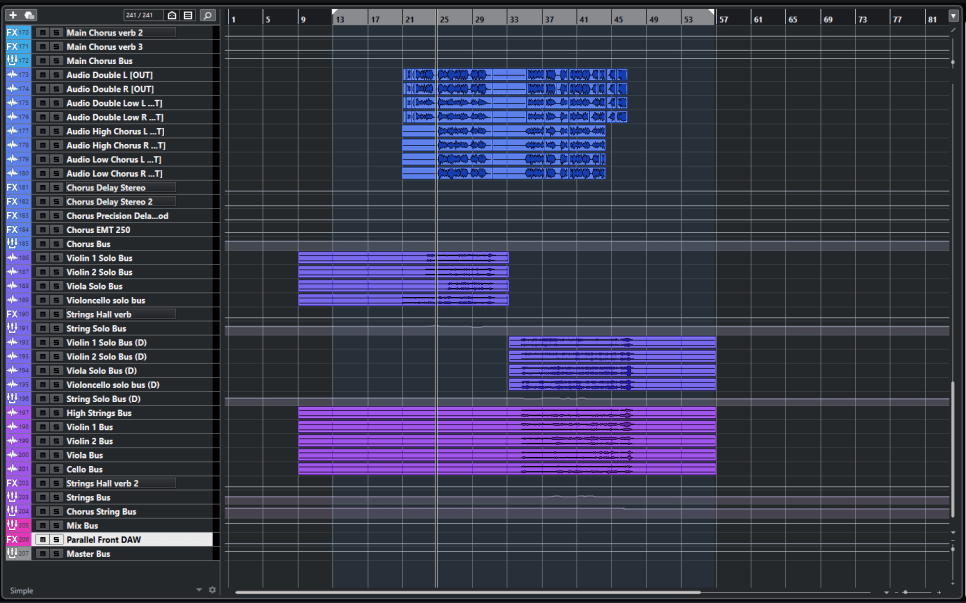
When I reopened the project file, I noticed I had used over 100 tracks for the mix (with 46 tracks for the instruments).

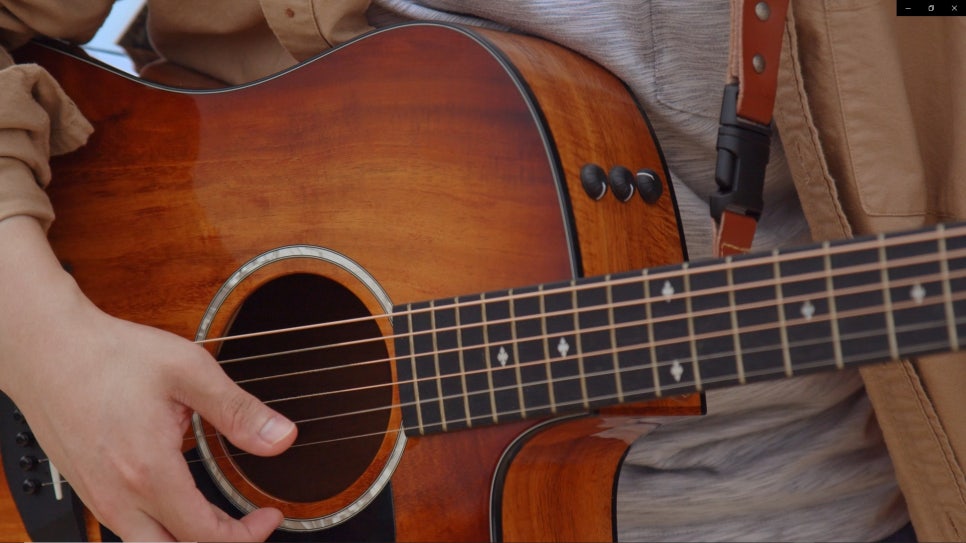
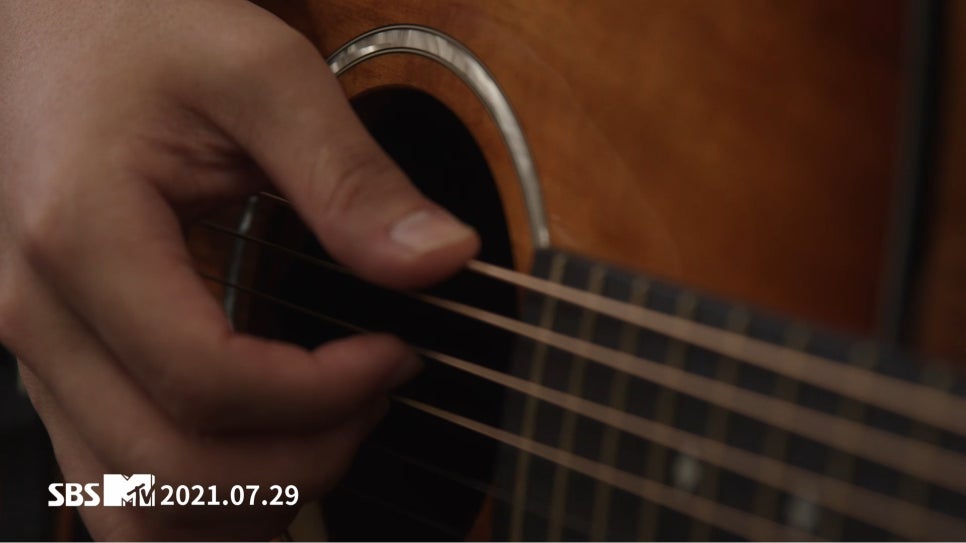
For the vocals, I used a Peluso P87 microphone, and for the guitar, a Peluso CEMC6. Both were recorded through the HA-73EQ.

Additionally, I recorded the guitars using different Nashville tunings for the left and right channels.

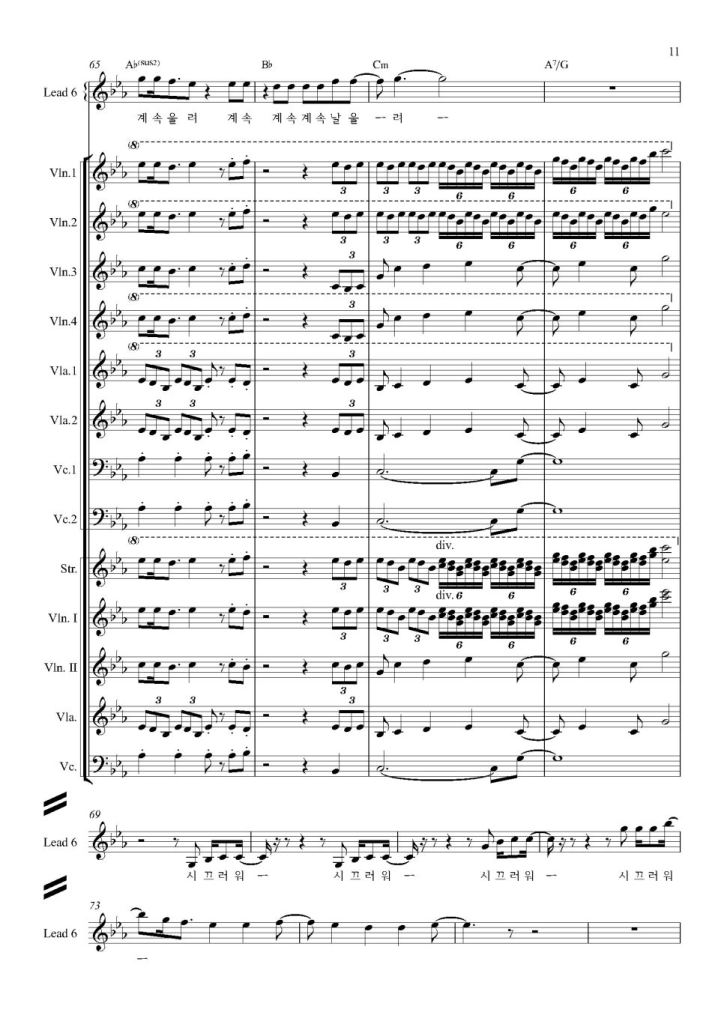
Apart from the percussion, I paid special attention to the strings. I arranged the parts separately using sheet music and included them through BBCSO.

Looking at some of the sheet music, you can see there are quite a few notes.. ^^;;

Orchestrating these instruments took as long as mixing them. Once I get more familiar with it, I’ll be able to work faster, but for now, I put a lot of intent into each part.

Another critical part I focused on was the beginning and end guitar sections. I tried to enhance the groove and rhythm through bass movement, and I hope it came across as intended.

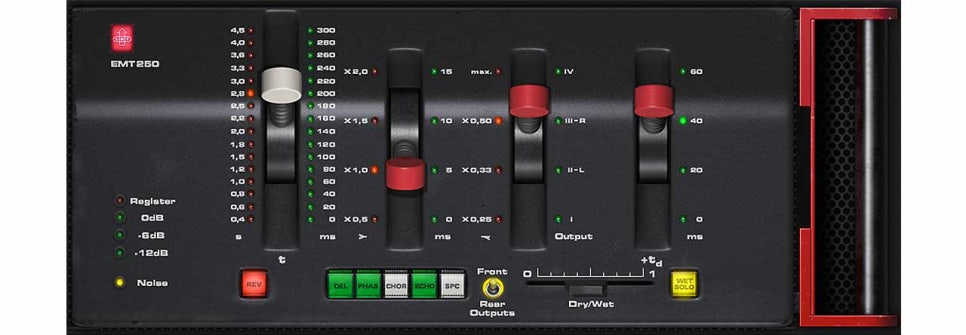
In terms of mixing, the EMT250 I purchased at the time played a significant role. Its broad and expansive reverb matched the song perfectly.

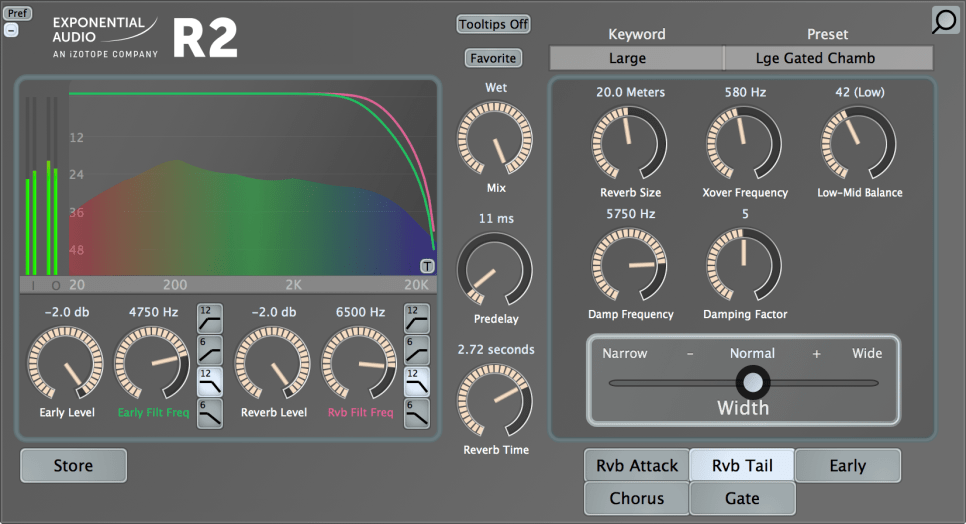
I got the R2 at a very reasonable price, yet its natural reverb exceeded its cost. So, I used it for the overall hall reverb.

Explaining every detail of the mix would take too long.. Another unique aspect of this mix was adding parallel saturation and heavy compression at the final mix stage to make the sound a bit noisier.

Other than that, there wasn’t any notable processing. The pitch and rhythm tuning, along with the volume automation, took the most time. Aligning the string tracks with the timing and articulation was a painstaking process, revisited countless times.

Thus, after completing all the composing, arranging, recording, and mixing, I sent the track to a mastering studio.

I’m always curious about how different places produce sound, and I wanted to visit the studio to check the sound directly if possible. So, I booked a session at 821 Sound Studio but had to conduct it online due to COVID-19.

On the mastering day, the engineer sent me the files, and I was immediately impressed by how well the sound was captured, so I gave my approval right away.

I had been focusing on the higher frequencies and missed some details in the lower range, but the engineer brought out the groove in the low end perfectly, which was very satisfying.

(The engineer provided two versions: one with more aggressive processing and another balanced version. The aggressive one brought out the groove I intended.)

My track is listed in the discography on the lower left side of the 821 Sound website.

Examining the waveform later, I was surprised by how dynamic it remained despite looking heavily compressed. It reaffirmed the importance of mastering engineers.

I had to wait for about three weeks for the appointment and felt bad about not being able to visit the studio. The engineer kindly invited me to visit once the COVID-19 situation improved, and I promised to do so when possible.

I also worked on the music video simultaneously. I collaborated with PD Kilsangmun, who operates as a one-man team.

We had a Zoom meeting before the shoot to discuss the direction, color, and feel of the music video.

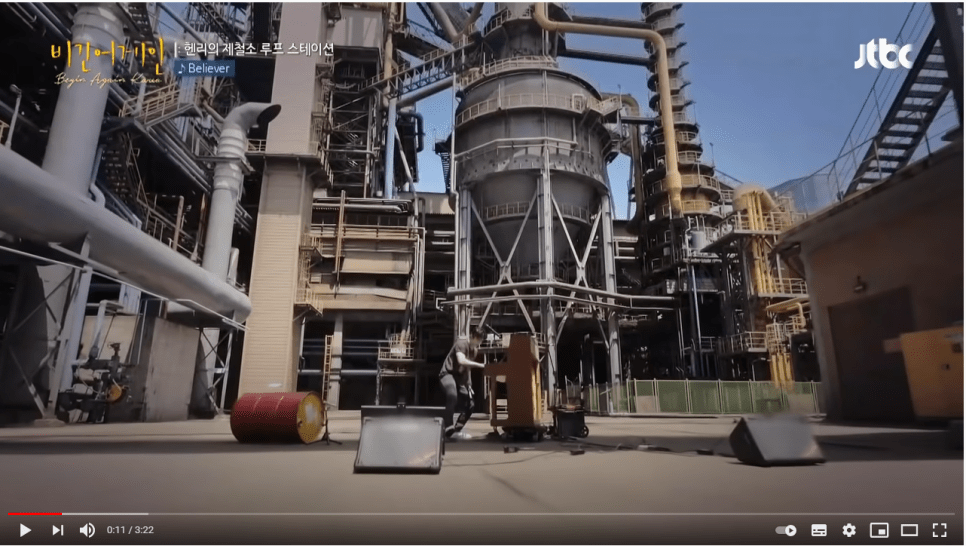
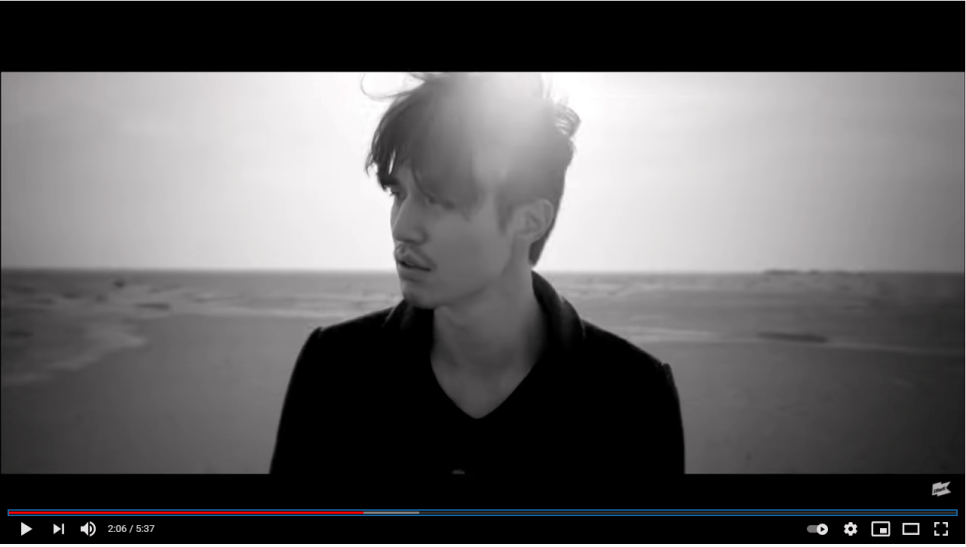
I wanted to shoot in a setting similar to the backgrounds in Rain’s “Gang” music video and Henry’s loop station scenes from JTBC’s “Begin Again.” I also wanted the color tones similar to Kim Dong-ryul’s “Lonely Voyage” and Replay by Wonder K.

The PD had a different interpretation of “noise,” viewing it as the overwhelming information in the world and wanting to depict an escape from it.

After exchanging ideas, the PD sent a plot. Unlike my previous music videos, the PD handled the entire story this time.

The initial plan was to film people overwhelmed by information like noise in a 3D effect, but we decided to go with a more traditional music video approach if that proved too challenging.

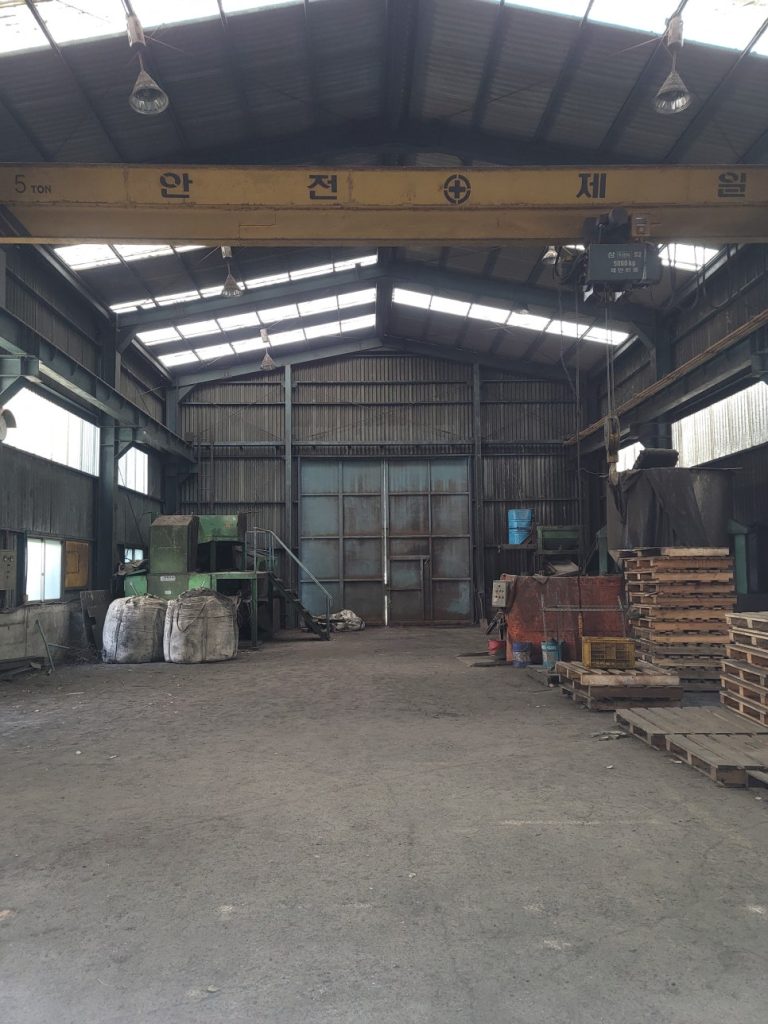
We chose an abandoned factory in Pohang for its low cost and nearby sea for additional shooting locations.

A few days before the shoot, I realized we hadn’t discussed costumes. Since I didn’t have the budget to buy new outfits, I used my own clothes.

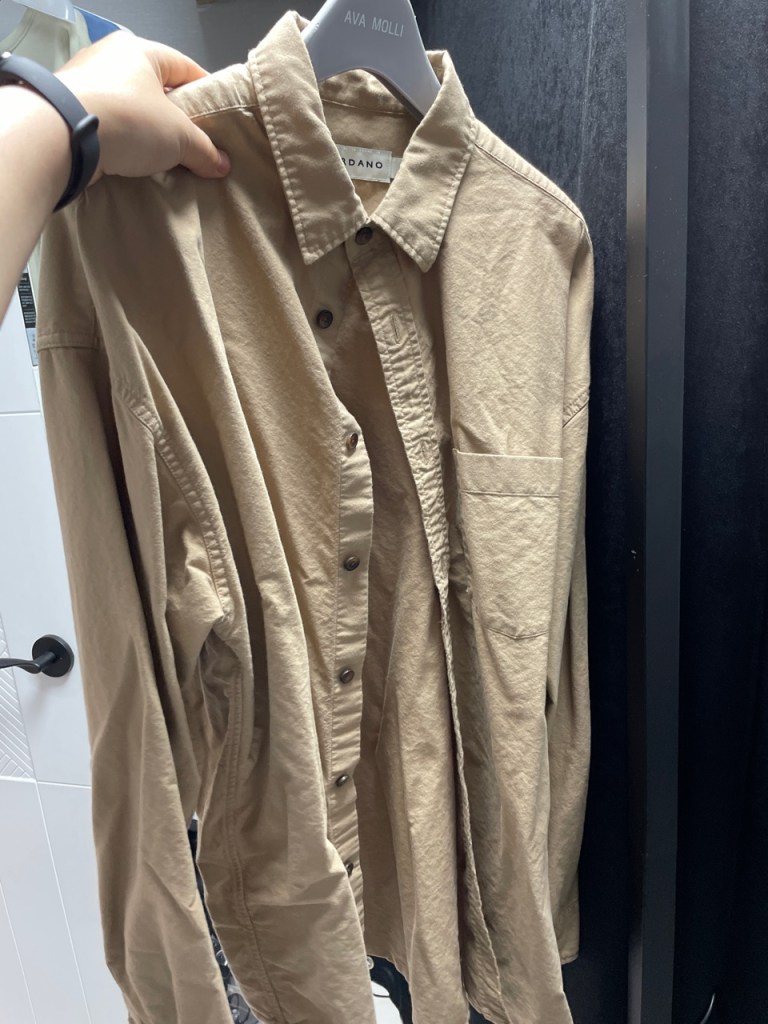
The PD wanted a work uniform or khaki pants look, but I mostly had semi-formal or denim styles. So, we decided on a white t-shirt and blue jeans, with the PD providing an additional shirt.

We scheduled the shoot for Sunday, July 18th. As the PD works solo, he drove us to the location (I felt bad since I have a dormant license..).

We started early at 5 AM and arrived at the beach in Pohang around 10 AM. We began with the beach scenes as it would be difficult to shoot after sunset.

The sky seemed ready for rain, and the forecast predicted rain in the afternoon.

We shot the beach scenes, including multiple takes of running scenes from various angles. The PD ran alongside me, both of us sweating but with some relief from the breeze.

After about two hours of shooting until noon, we debated whether to eat. Both of us tend to feel unwell if we eat on important days, so we skipped lunch as well.

Instead, we had some snacks and rested at a cafe before heading to the abandoned factory.

The factory was dusty, with lots of dust kicked up during drone shots.. ^^;;

Eventually, my clothes were soaked, and shooting became difficult. I had a spare white t-shirt, so I switched between the two.

Despite the physical toll, it felt liberating once everything was done. As we hadn’t eaten all day, I offered to treat the PD to anything he wanted on the way back. However, most places at the rest stop were closed except for a few restaurants.

Feeling sorry, I promised to buy him a drink once the music video was out, but COVID-19 has made meeting up difficult.

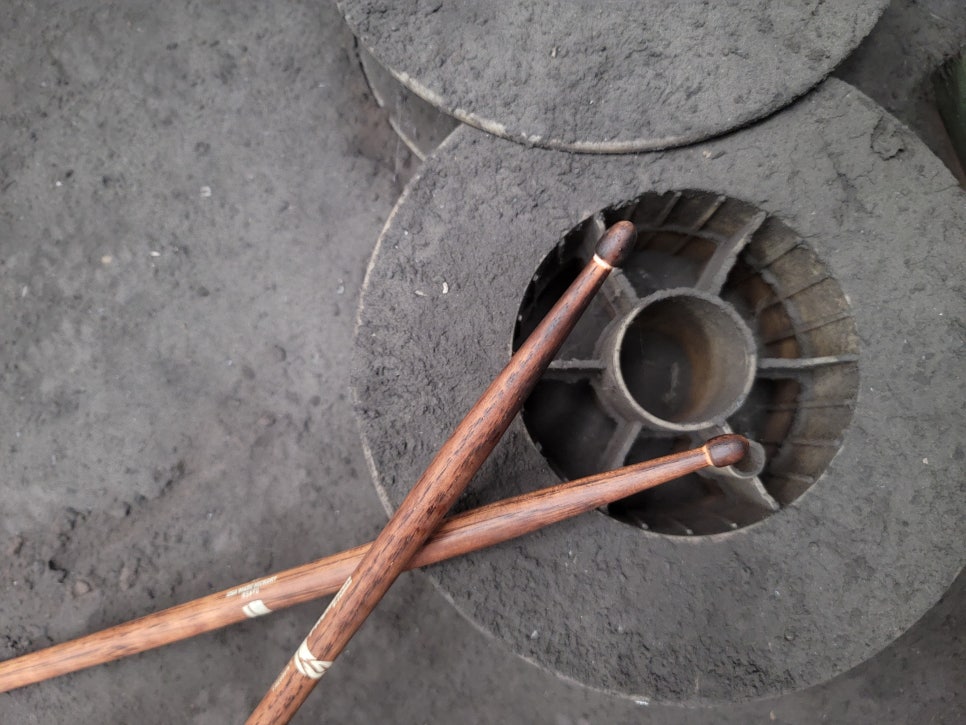
We also took photos for the album cover at the factory. Ironically, the first photo we took turned out to be the best, which I edited for the album cover.

The PD drove us back, and we returned around midnight.

Two weeks later, on July 27th, the editing was complete. We decided to go with the second option without the 3D effects as the PD found it challenging.

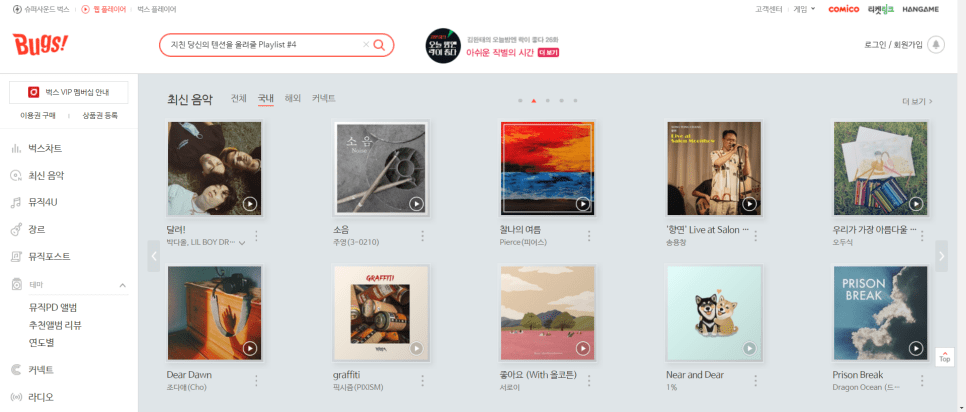
This time, it seemed more niche, and it didn’t get featured prominently elsewhere, but thankfully Bugs featured it on their main page.

That’s the end of this song’s production diary. I couldn’t write in great detail as time has faded some memories, but I hope you found it interesting! 🙂

I’ll see you in the next post~!