Hello! I’m Jooyoung Kim, an audio engineer and singer-songwriter.
Today, I want to dive into the topic of vinyl saturation. Let’s get started!
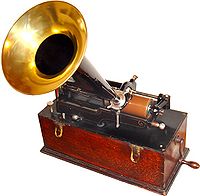
The history of the LP (vinyl) began with Edison’s invention of the phonograph. In its earliest form, audio was recorded and played back on cylindrical records.

After the phonograph, vinyl records in disk format emerged as a new storage medium. Edison initially resisted the disk format, as the playback speed varied from the outer to inner edge, affecting the sound quality. Instead, he continued to advocate for the cylindrical format.
However, vinyl disks became the standard due to their better storage capabilities, cost-efficiency, and convenience—qualities the market prioritized over audio fidelity. In retrospect, the sound quality differences weren’t that significant.
Vinyl records come in various sizes based on rpm (revolutions per minute), with the 12-inch disk being the most common.
Vinyl’s sound characteristics are primarily defined by two key elements:
- Stereo limitations and lower frequency cutoff
- High-frequency roll-off
1) Stereo Limitations and Low-End Cutoff

Stereo imaging in the low end results in rapid vertical movement of the groove, causing the cartridge to move intensely. To avoid tracking errors, bass was typically kept in mono. Similarly, very low frequencies can cause excessive lateral movement in the groove, so bass roll-off was often applied during production.
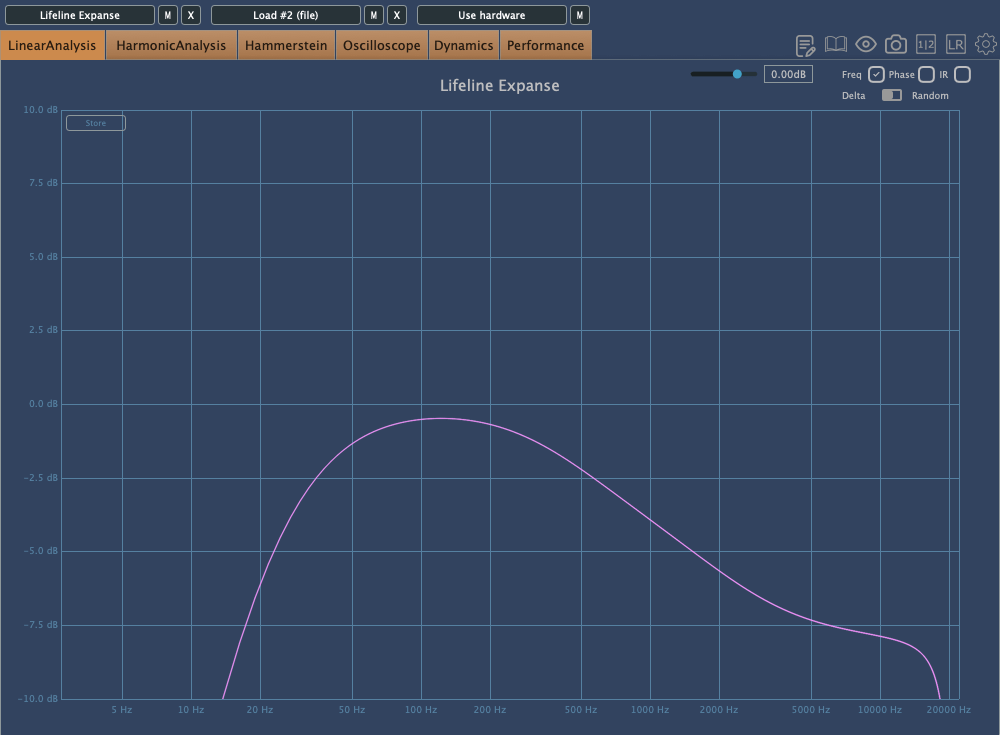
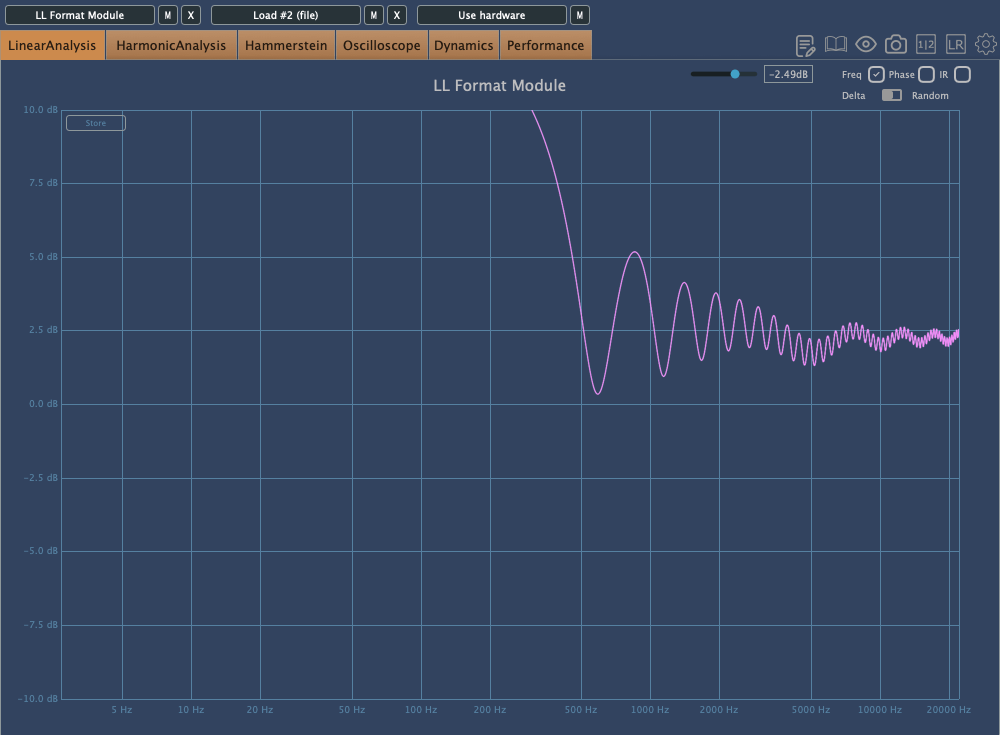
2) High-Frequency Roll-Off
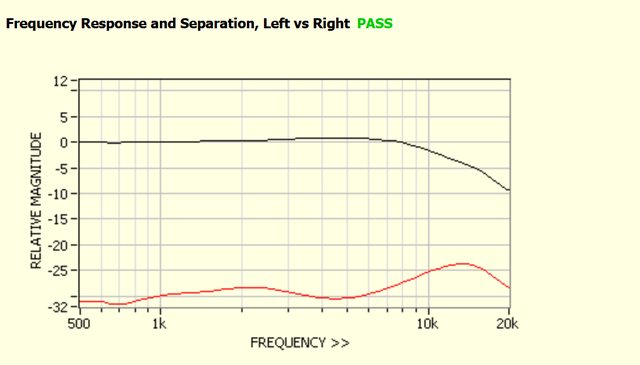
Excessive high frequencies can cause the cartridge to vibrate at short intervals, leading to overheating and potential noise and distortion. As a result, high-frequency roll-off was applied during production. Due to cartridge limitations, ultra-high frequencies (15kHz and above, depending on the cartridge) are also naturally rolled off.
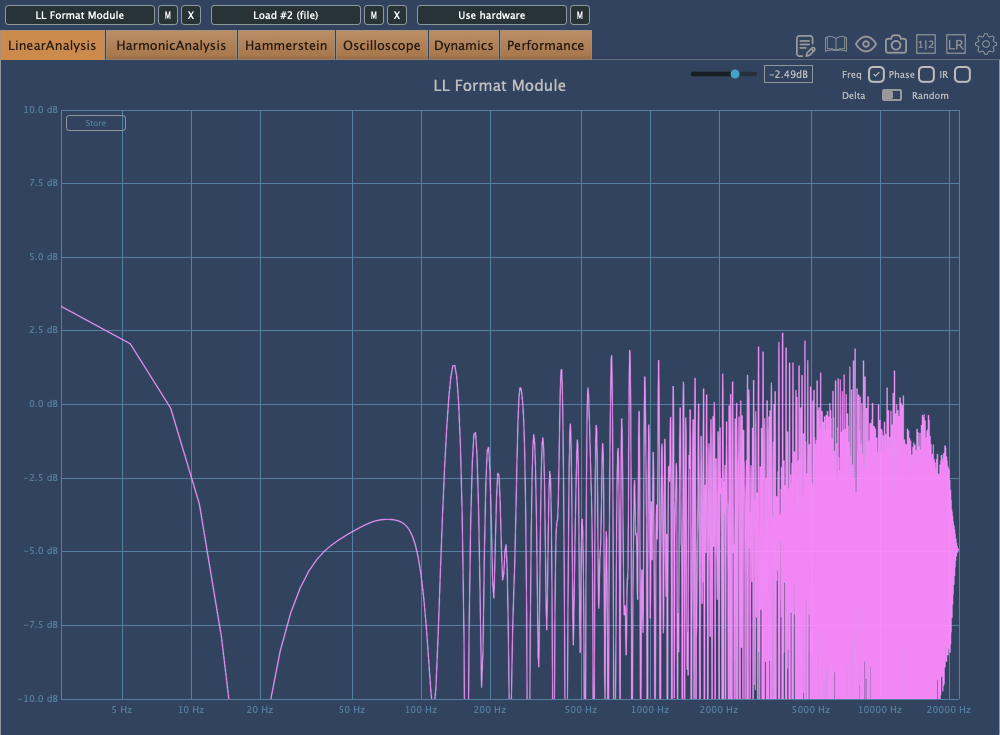
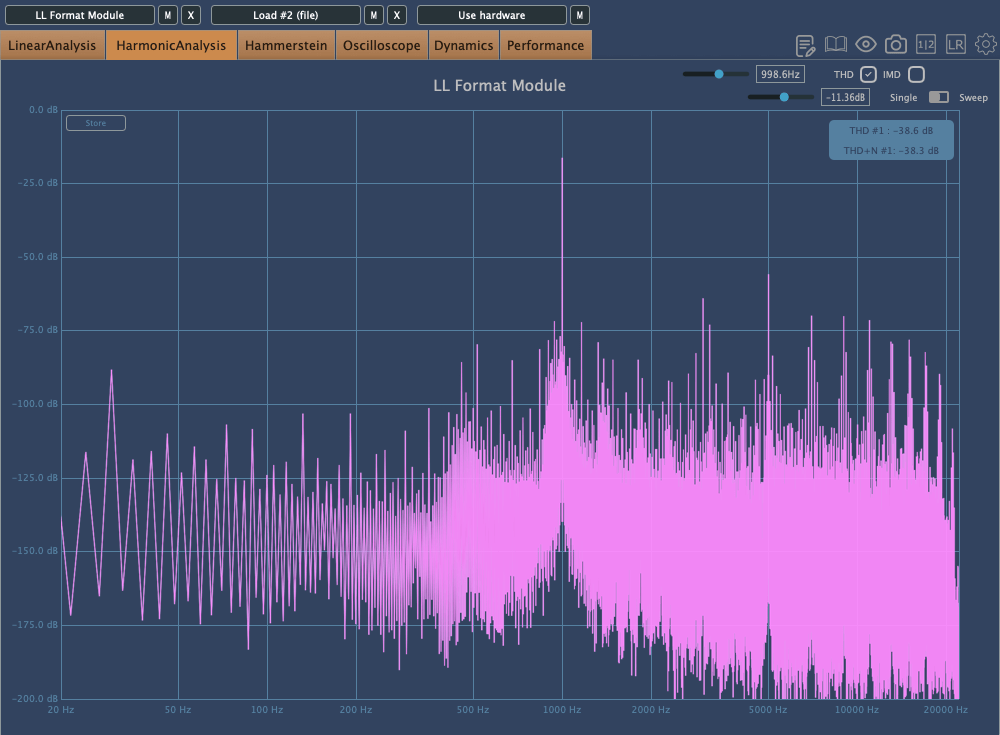
Other characteristics include noise caused by dust in the grooves, wow and flutter from inconsistent turntable speeds, and crosstalk between channels due to the physical reading of the sound. Harmonic distortion can also be introduced due to the nonlinear interaction between the needle and groove.
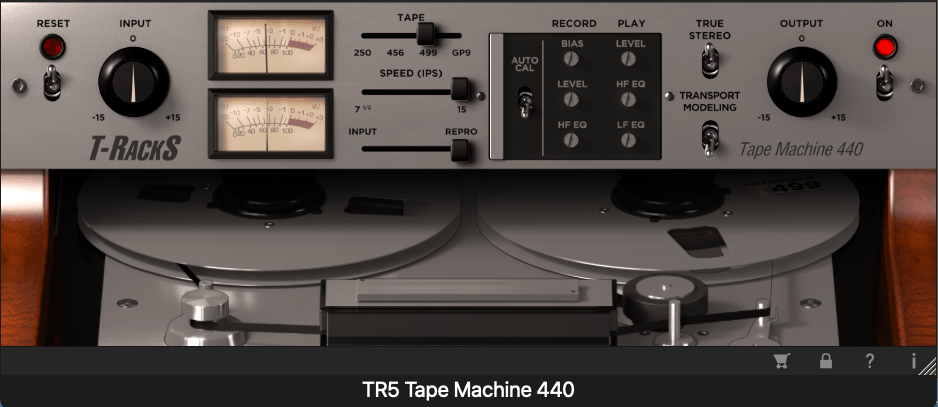
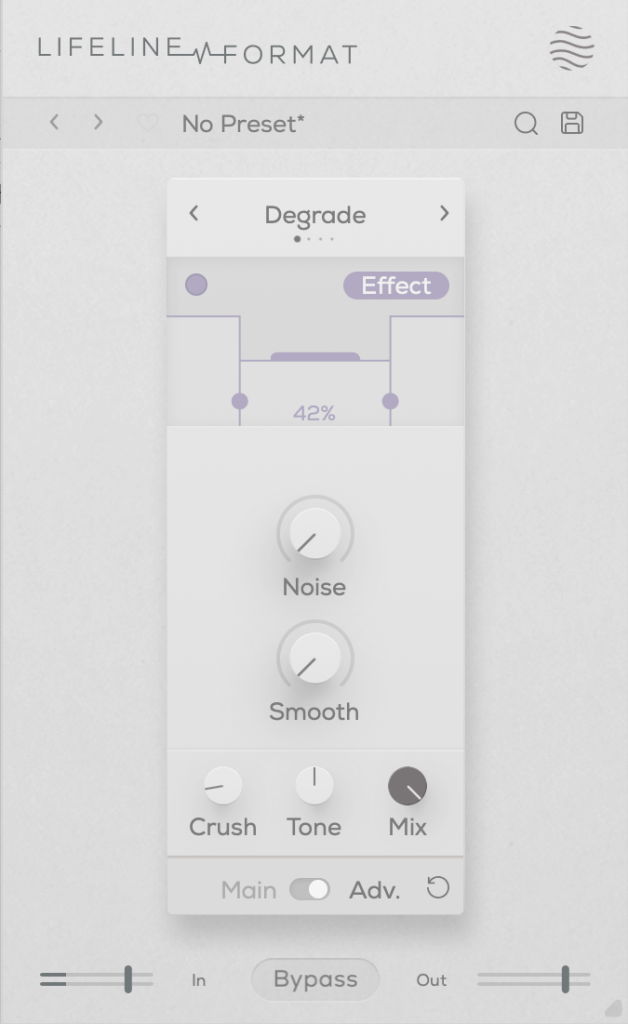
All these factors together create vinyl’s unique saturation. Today, there are vinyl emulation plugins designed to reproduce these characteristics.
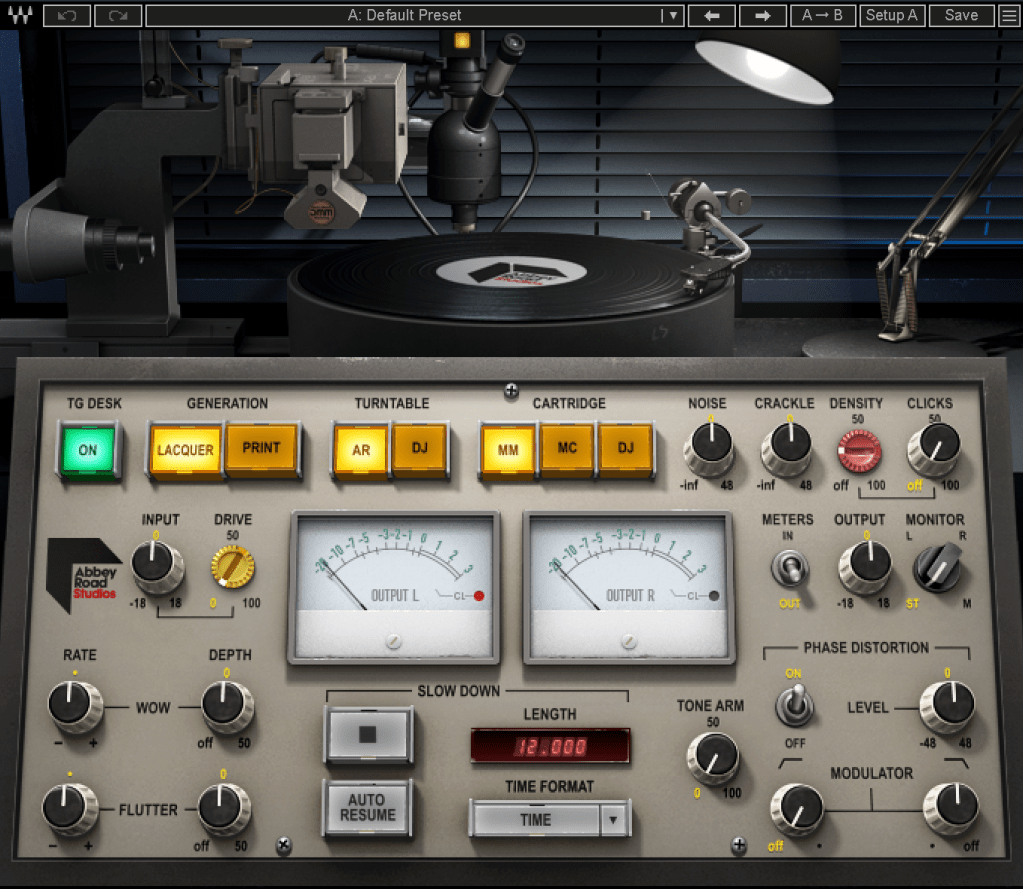
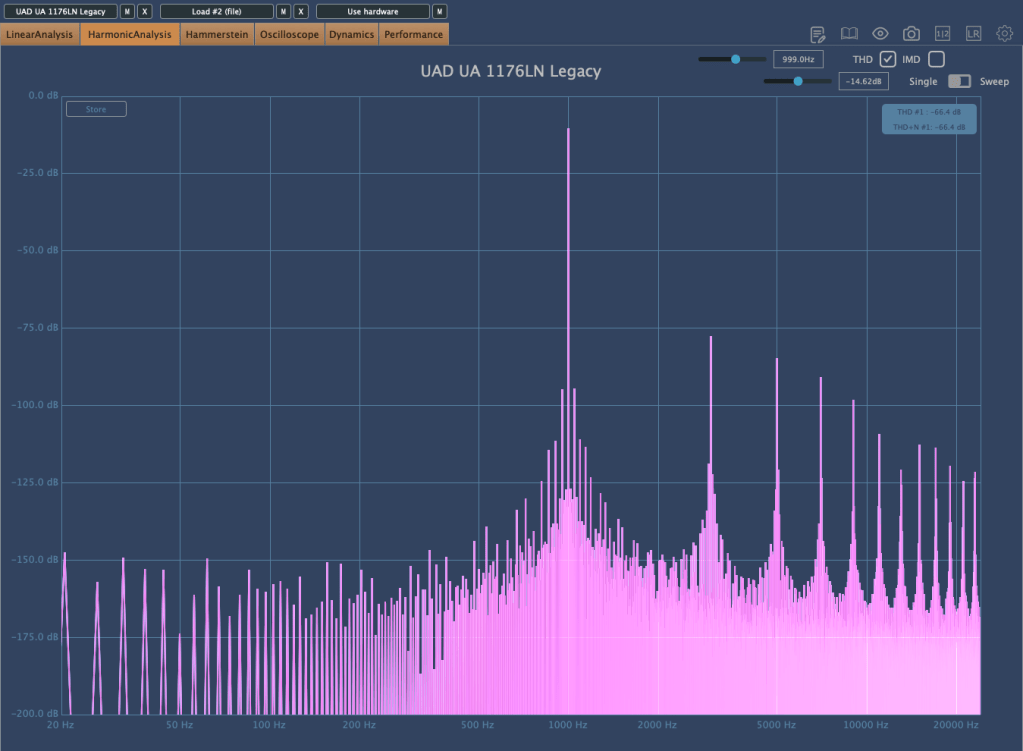
The Abbey Road Vinyl plugin by WAVES is a notable example. Taking a closer look…
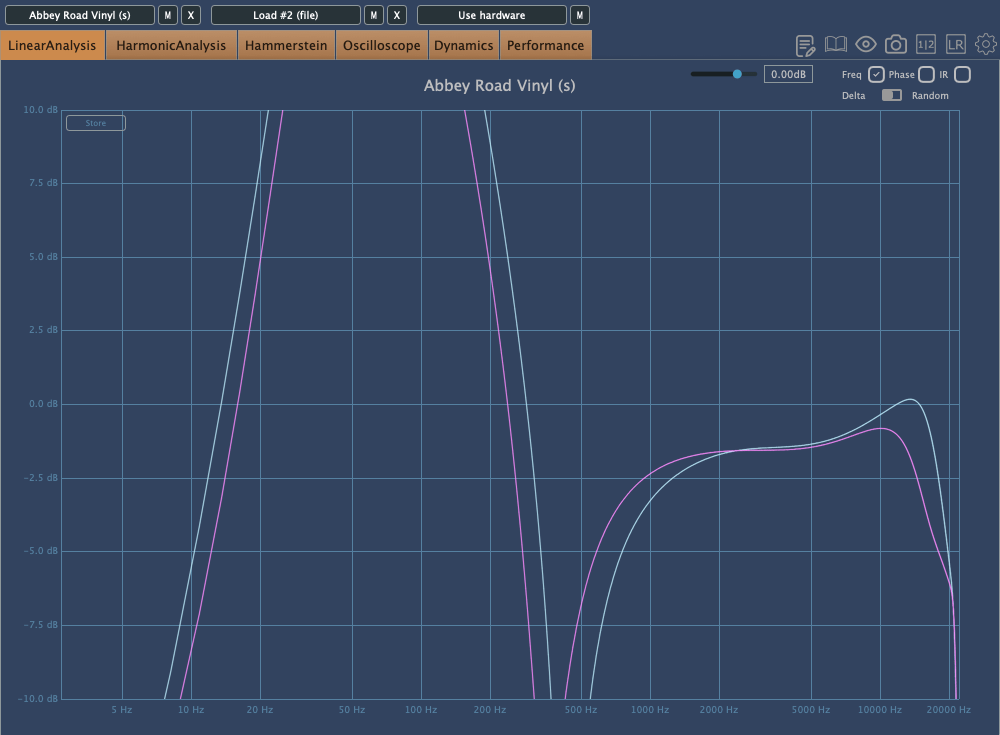
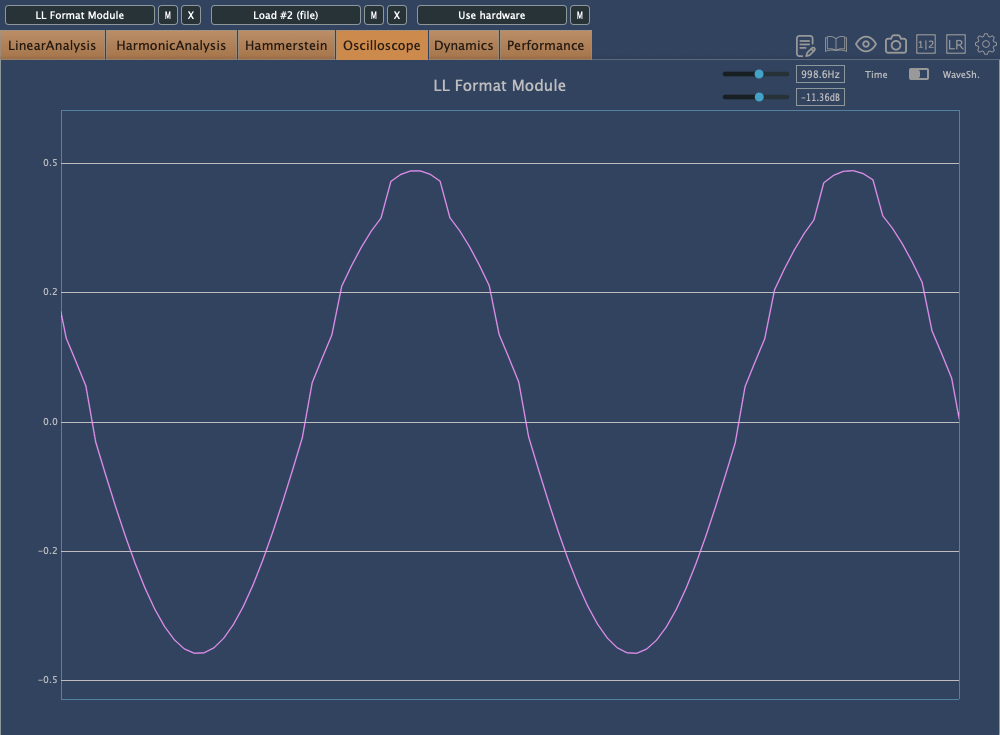
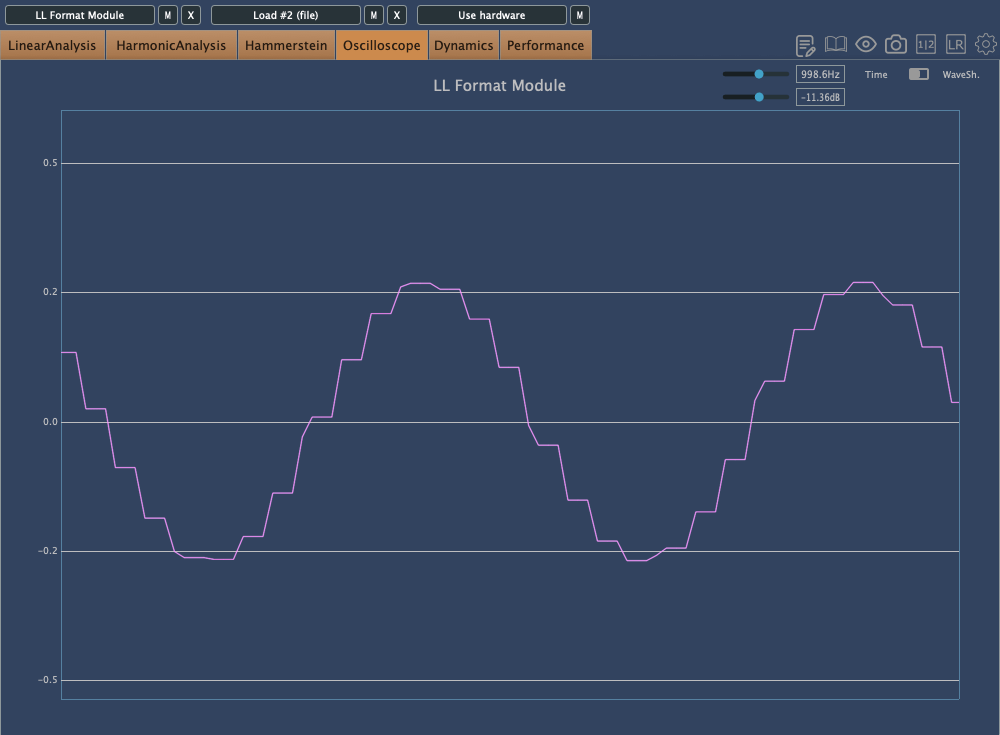
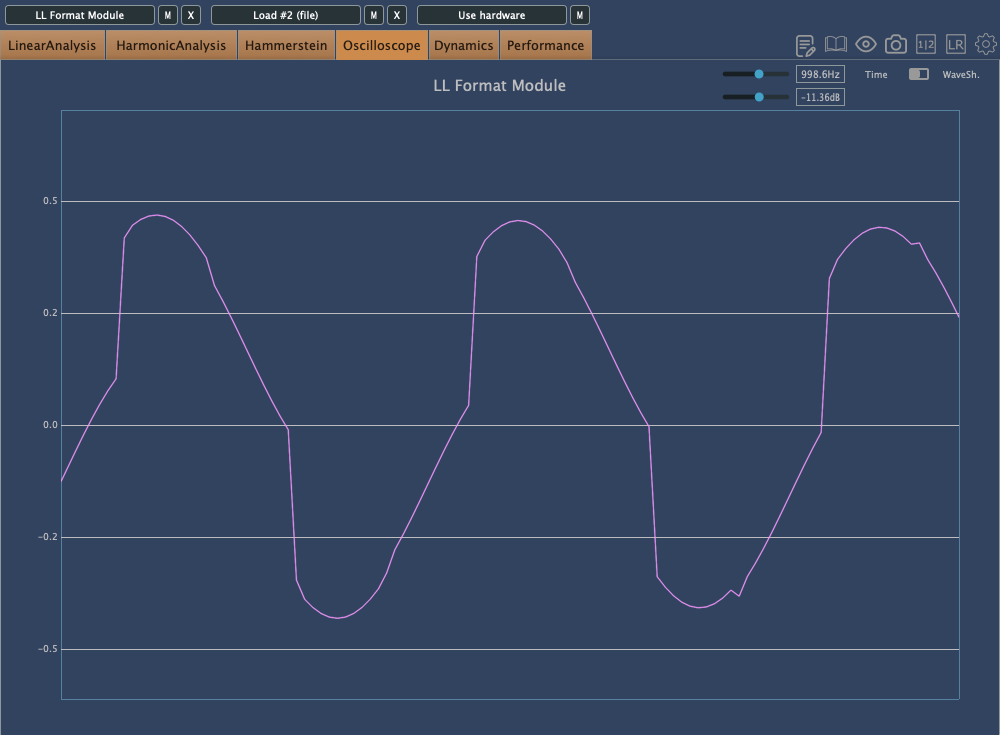
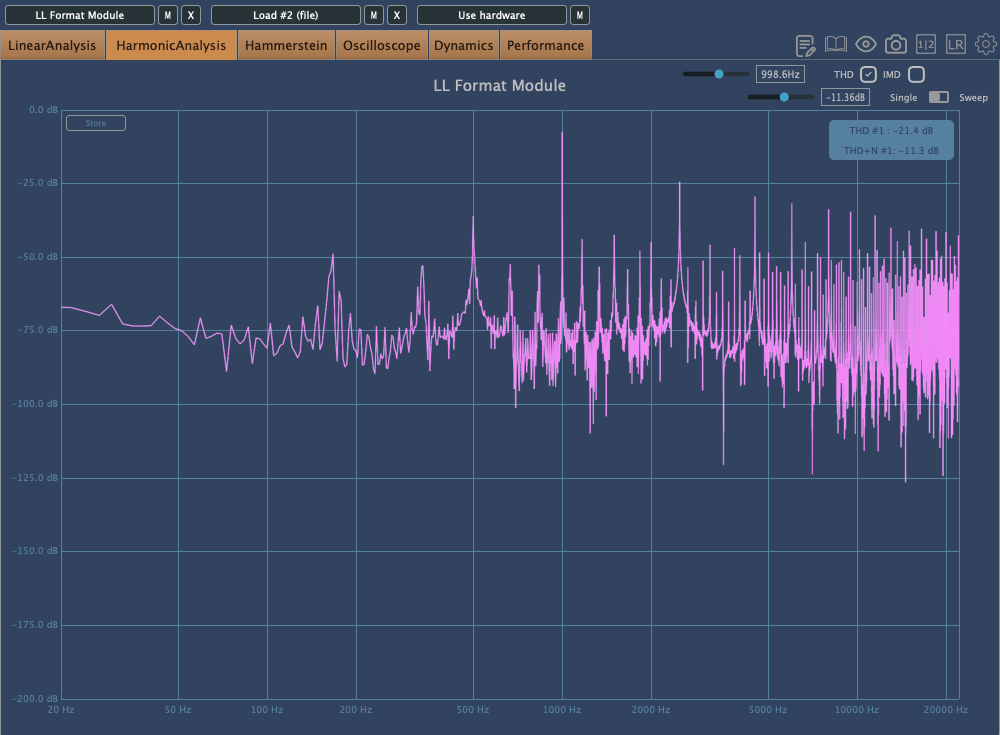
As expected, it adds quite a bit of distortion.
Each turntable and cartridge setup yields unique sonic characteristics.
As I always say, if you like the sound a vinyl plugin adds to your mix, that’s all that matters! But as an audio professional, it’s essential to understand the background behind these effects. This knowledge helps when approaching retro-style mixing requests without getting lost in the process.
Maybe I went on a bit too long here… Haha.
I’ll wrap up for today. See you in the next post!