Basics of Mixing – 13.2 Types of Analog Cables and Connectors

Hello! This is mixing engineer and music producer Jooyoung Kim.

Last week, while I was writing my paper, I discovered logical structure and measurement errors. As a result, I had to export data several times and couldn’t post anything on the blog. However, the first article at 2025 is Basics of Mixing! This article is based on “Basics of Mixing“, published in South Korea.

Today, we’ll find out types of analog cable and connectors. Let’s dive in!


Types of Cables

Cables can be divided into two categories: Analog & Digital.

Analog:
1) Balanced
2) Unbalanced

Digital:
1) AES/EBU(AES3)
2) ADAT
3) S/PDIF
4) MADI
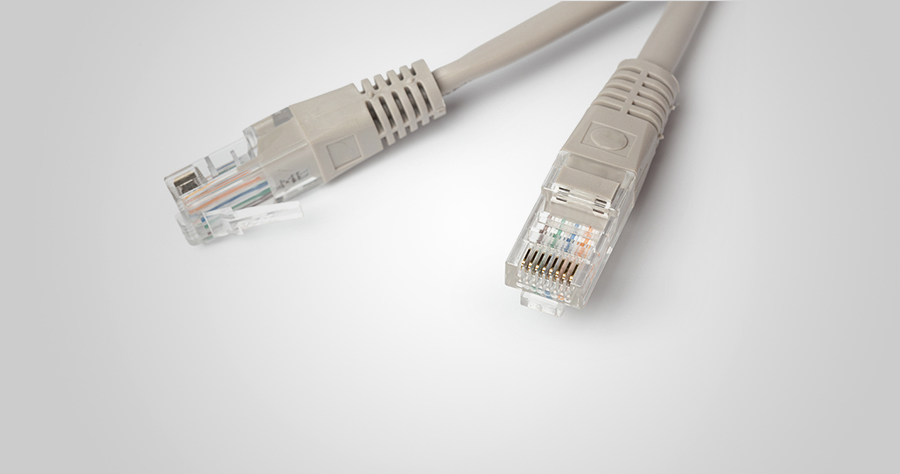
5) LAN(UltraNET, CobraNet, Dante..etc)

In this article, I’ll talk about analog cables and connectors.


Analog Balanced Cable & Unbalanced Cable

First, you have to know difference between balanced cable and unbalanced cable.

Generally balanced cable has 3 lines: Hot(+), Cold(-), Ground. The hot and cold lines carry identical signals but in opposite phases, which helps cancel out noise.

Unbalanced has 2 lines: Hot(+), Ground.

You can convert a balanced cable into an unbalanced stereo cable by assigning the hot and cold lines to the left and right channels, respectively.


Analog Connectors

Left: TRS, Right: XLR

Representable connector, for balanced cables, are TRS and XLR. You could see 3 parts for hot, cold, and ground.

Left: RCA, Right: TS

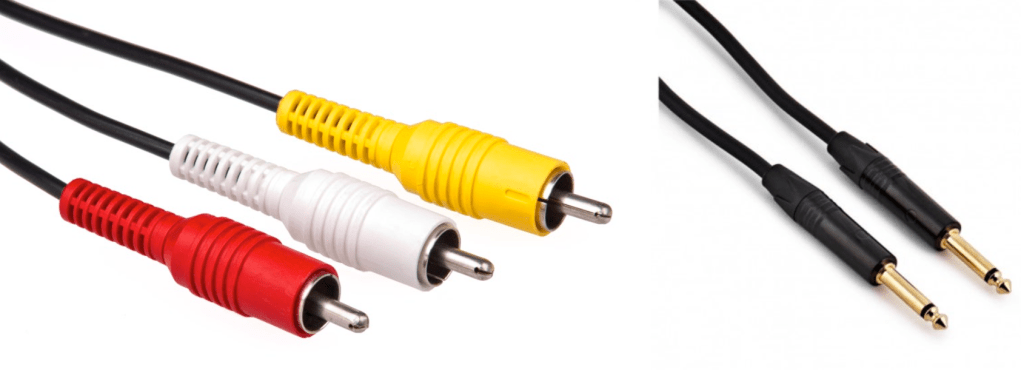
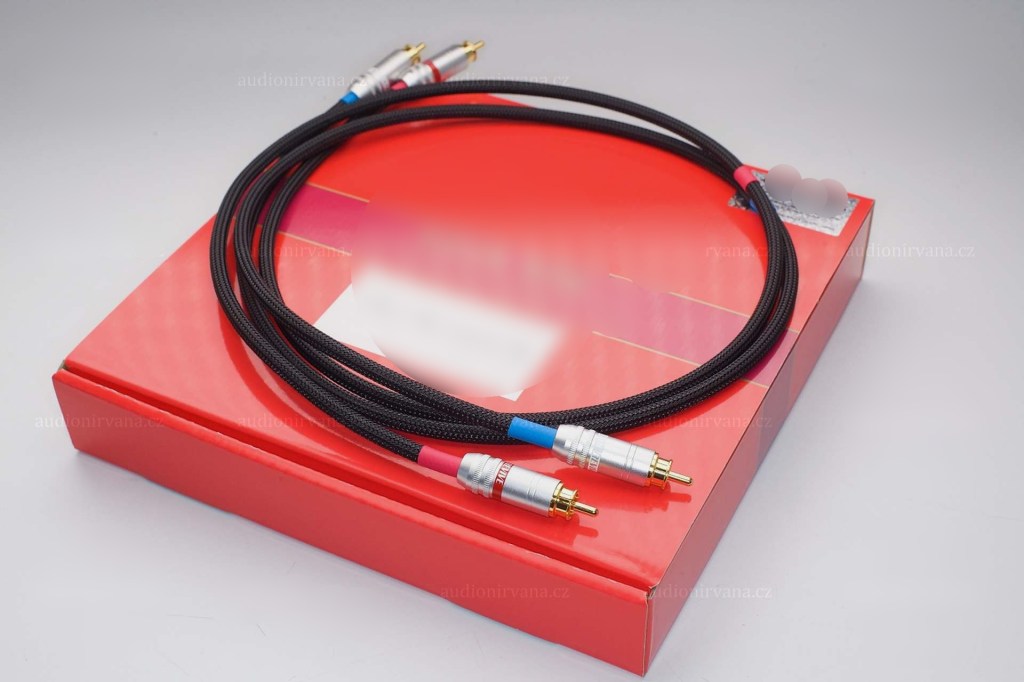
RCA and TS cable is the most used connector for unbalanced cable

AUX

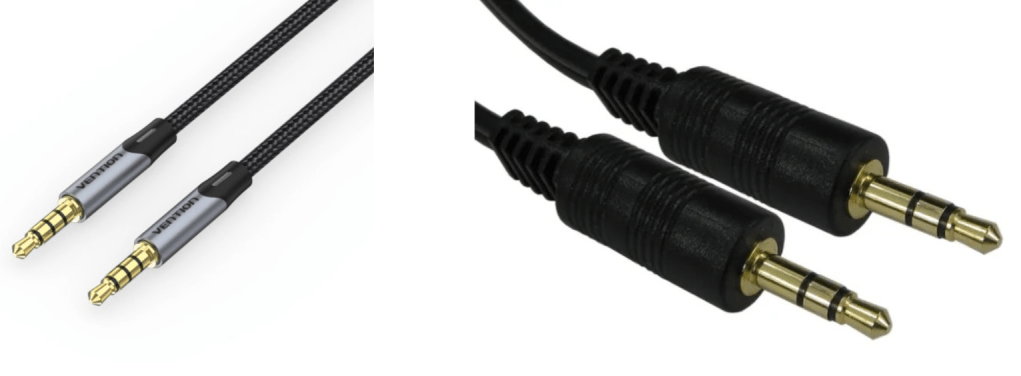
Common consumers easily find this AUX connectors at headphones or earphones.

Left: Banana, Right: SpeakON

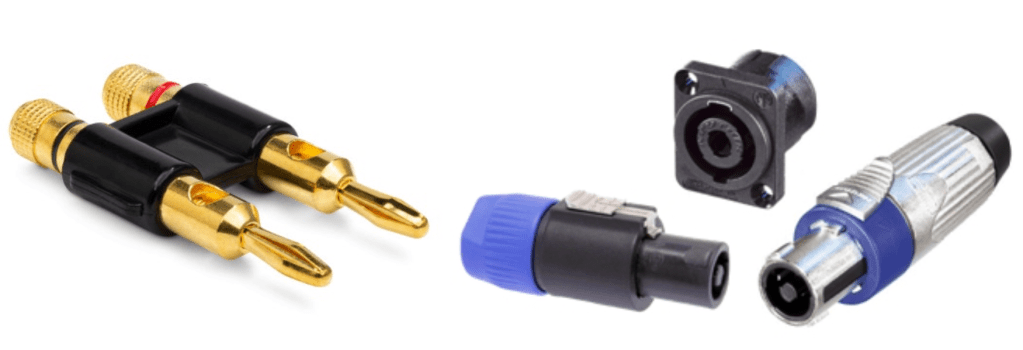
Banana and SpeakON connectors are also used at unbalanced cable, for passive speakers.

Left: DB 15, Right: DB25

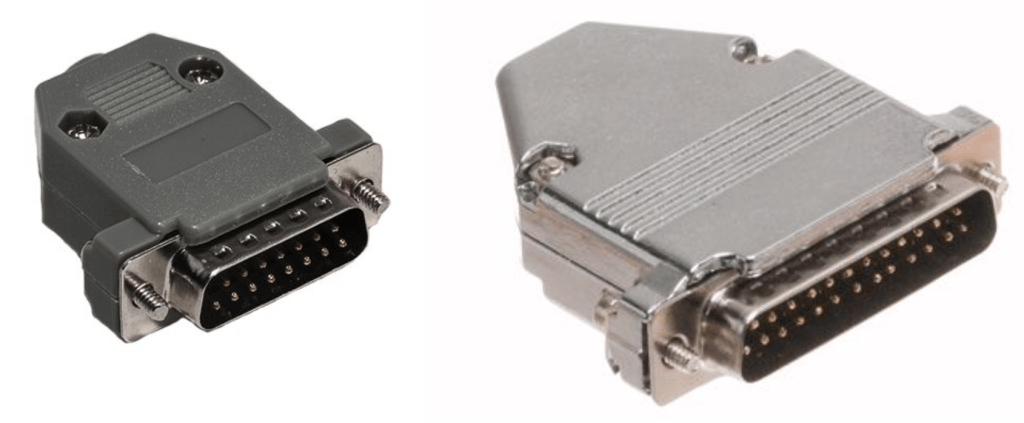
If you purchase audio interface, sometimes you could find those connectors. Those connectors called D-Subs. DB25 connectors could connect analog balanced 8 channels. DB15 connectors are not used usually.

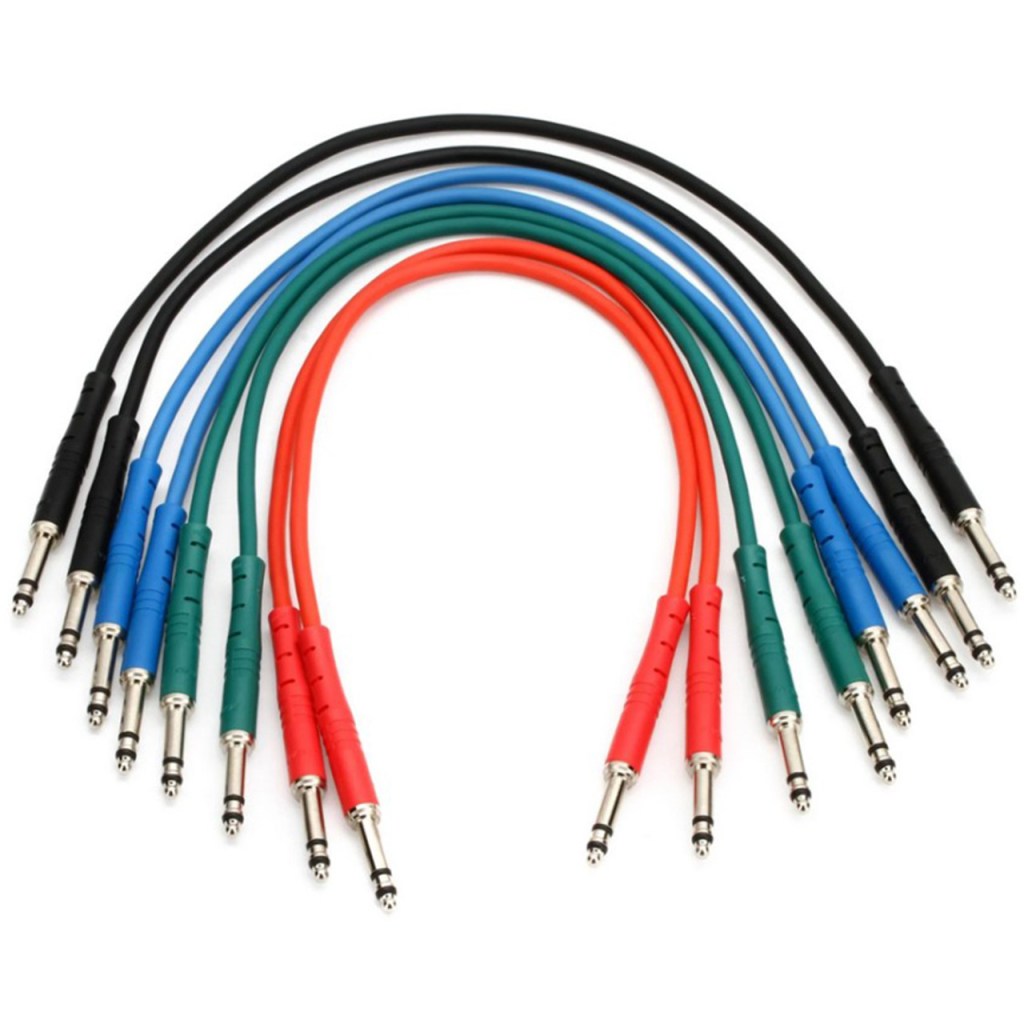
There is also a proprietary patchbay-specific standard called TT cable.

These guys are so small and expensive, so unless you’re working with an analog mixer, I think it’s better to just buy a TRS patch bay and use TRS.

Well, in fact, if it’s copper, you can use it as an analog cable. You can cut the power cable that you don’t use at home and use it as a balanced cable. I haven’t tried it, but you can probably cut the USB cable and use it.

In the studio I used to work at, we used to connect the talkback microphone via LAN port and LAN cable..!

There is no disagreement about digital, but there is a lot of talk about the difference in sound quality depending on the type of analog cable and connector. This depends greatly on the specific situation.

Guitarists will feel the difference in cables quite a bit when performing or playing together, but this is mostly due to the high impedance of the electric guitar and the impedance of the amplifier. When recording directly connected to a proper DI box or audio interface, you won’t be able to feel the difference. So, to compare properly, you should record by micing the connection to the amplifier.

For the same reason, you may feel it a little in the cable connected to the microphone preamp and the microphone.

However, it is actually meaningless for cables at line level. If you are connecting speakers or outboard, you don’t have to think about this. I also bought a slightly expensive Telefunken STMC cable and used it on the microphone, and… I thought… haha..

I should have bought several pizzas or hamburgers with that money.

There are many expensive cables like this for both pro audio and hi-fi. If you want peace of mind by buying them, then they are fine, but there are quite a few studies that show that they are not very meaningful in terms of measurements or audibility.

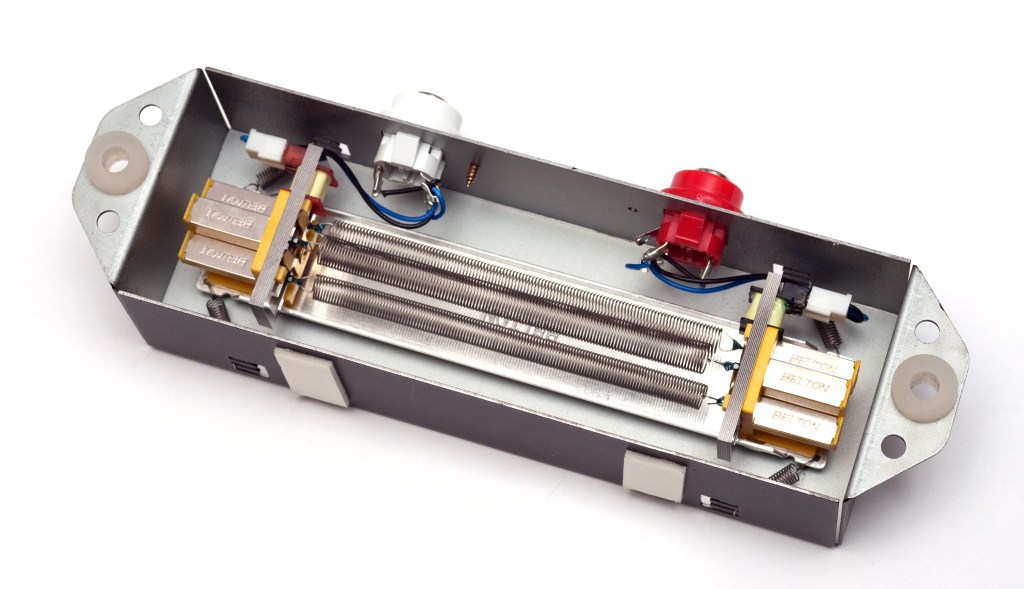
If you are an engineer, you will probably end up soldering it yourself because you don’t want to waste any extra wires or connectors. If you look inside, you will see that it is a very simple structure. Don’t hesitate to try it yourself—you’ll find that it’s simpler than it looks!

I will end it here for today. Then, I will see you again in the next article!

Basics of Mixing – 8.2 The History and Types of Reverb

Hello, this is Jooyoung Kim, music producer and audio engineer. Today, I’ll be discussing the history and various types of reverb.

Shall we dive in?

Valiere, Jean-Christophe & Palazzo-Bertholon, Benedicte & Polack, Jean-Dominique & Carvalho, Pauline. (2013). Acoustic Pots in Ancient and Medieval Buildings: Literary Analysis of Ancient Texts and Comparison with Recent Observations in French Churches. Acta Acustica united with Acustica. 99. 10.3813/AAA.918590.

The image above is from a paper on “Acoustic Pots” found in ancient and medieval architecture. These pots were embedded in walls to function as a type of Helmholtz Resonator.

That might sound too technical, but a Helmholtz resonator is essentially a device that reduces specific frequencies. Modern-day applications include using this concept in car design, though that’s a more recent development.

In ancient times, the Aztecs built temples like Kukulkan Temple, which used echo to create fascinating sounds.

The Greeks also designed spaces with excellent acoustic properties, enabling sound to be heard clearly from specific spots.

Back then, without microphones, these architectural advances allowed sound to be projected effectively, and this often included reverb.

Moving to the Modern Era

In the modern era, Bill Putnam, the founder of Urei, which later became Universal Audio, was the first to experiment with reverb. He used it in the song “Peg o’ My Heart” by the Harmonicats.

For this track, they recorded instruments, played the sound in a studio bathroom, and re-recorded it to capture the reverb. If you’ve ever sung in the shower, you’ll know exactly the kind of reverb I’m talking about! This was the earliest form of what we now call an echo chamber.

Echo Chamber (Chamber Reverb)

Inspired by this, studios started building dedicated rooms for reverb, known as echo chambers.

The image above shows one of the echo chambers at the famous Abbey Road Studio. For those familiar with plugins, this might ring a bell.

Waves created a plugin called Abbey Road Chambers, which is based on impulse responses (IR) from these very rooms. Notice the tile walls—similar to bathroom tiles—used to reflect sound. The process involves playing sound through speakers and capturing it with microphones.

By the way, the classic speakers you see in that plugin are B&W 800D speakers. The 800 series is a dream for many, though the price is quite steep, even second-hand. Hopefully, I’ll own a pair of 801D4s someday…

Anyway, there are plenty of plugins that emulate these echo chambers. While the sound quality is great, the cost of building these rooms is astronomical.

Imagine dedicating an entire room just for reverb—it’s quite an investment! Unless, of course, money is no object…

Plate Reverb

Plate reverb was developed as a more cost-effective alternative to the echo chamber.

This type of reverb works by vibrating a metal plate, with microphones attached to capture the sound. The tone varies depending on the type of metal used, giving plate reverb its distinctive sound.

While these units could weigh up to 250kg and were still quite expensive, they were far more affordable than building a dedicated reverb room.

Digital Reverb

To reduce the size and cost further, digital reverb was invented. The image above shows the first commercial digital reverb, the EMT 250.

Spring Reverb

Spring reverb was originally developed for use in Hammond organs to create reverb effects.

The technology was later licensed to Fender, leading to the inclusion of spring reverb in Fender guitar amps. Its function is similar to plate reverb, and because it’s been embedded in guitar amps for so long, it has a familiar and pleasant sound when used with guitars.

Shimmer Reverb

Shimmer reverb adds pitch modulation to the reverb, producing a characteristic shimmering effect. It’s perfect for when you want that lush, expansive sound.

Hall, Studio, and Other Reverbs (Convolution Reverb)

Reverbs like hall or room reverb are actually quite tricky to classify. These reverbs are generated using an impulse response (IR) of real spaces through a process called convolution.

Let me briefly explain what an impulse is: it’s a very short, high-amplitude signal. Mathematically, it’s known as a Dirac delta function, where:

  • if x = 0, y = ∞
  • if x ≠ 0, y = 0
  • and its integral from -∞ to ∞ equals 1.

This impulse can be used to measure the frequency response of speakers. When measuring a space, we use a signal known as a sine sweep, which is recorded and mathematically transformed through deconvolution to generate the impulse response.

While this might sound complicated, you can think of it as recording a sine sweep in WAV format and using it to create a reverb through calculation.

With IR reverbs, you can also use other sounds like snare hits or kick drum samples as IR files to create unique effects.

Logic has its Space Designer plugin for this,

Cubase uses Reverence,

and Pro Tools has Space.

In the end, the reverbs we use on our computers can be divided into two types: algorithmic reverb and convolution reverb.

Conclusion

That covers the history and types of reverb. I may have gone off on a tangent at times, but if some of it was too complex, don’t worry! You don’t need to fully understand every detail—music is all about what sounds good, after all.

On a different note, I finally received permission from Universal Audio to use some photos for my book. I’ll post an update when the book is ready!

See you in the next post!

Basics of Mixing – 6.3 Types of Compressors

Hello, this is Jooyoung Kim, an engineer and music producer.

Today, we will discuss the different types of compressors based on their operating principles.

Before we begin, it’s important to note that most compressors we talk about today are named after the specific components used as attenuators in each type. These components give each type its unique characteristics, so understanding these classifications is essential.

Shall we get started?

1) Variable-Mu (Vari-Mu)

Vari-Mu compressors use vacuum tubes as attenuators. (Note that just because a compressor has vacuum tubes doesn’t automatically make it a Vari-Mu compressor.)

“Variable” means adjustable, and “Mu” (μ) stands for gain. So, Variable-Mu essentially means variable gain.

This might sound confusing, but essentially, as the input signal increases, the current to the vacuum tube’s grid decreases, thus varying the output level and creating adjustable gain.

Vari-Mu compressors have a non-fixed ratio and typically feature a soft knee. They also impart significant coloration to the sound due to the nature of vacuum tubes.

Famous examples include the Fairchild 670, Manley Variable Mu, and Chandler Limited RS124. These were predominantly used in the early days of compressors.

2) Optical (Opto)

Opto compressors use an optical isolator (photo transistor) as the attenuator. The intensity of the light changes according to the input signal, which in turn adjusts the compression. The release time varies significantly depending on the amount of compression.

A well-known Opto compressor is the LA-2A, which was also called a 2-step compressor due to the significant difference in reduction levels around -3dB. This characteristic makes it popular for vocal sources.

Both vacuum tubes and transistors can be used for gain control in Opto compressors. For instance, the LA-2A uses vacuum tubes, while the LA-3A replaced these with transistors.

The Tube-Tech CL1B is another common Opto compressor found in studios.

3) Solid State

Solid State compressors use transistors or diodes as the attenuators. When transistors first became available, they replaced vacuum tubes due to their lower power consumption and smaller size.

The UA 1176 is a prime example and remains one of the most famous Solid State compressors. It is known for its very fast attack and release times. The Blue Stripe version of the 1176 is especially noted for its strong coloration, making it a favorite for drum sources.

4) Diode Bridge

Diode Bridge compressors use a diode bridge circuit for signal attenuation. These became popular in the 1960s for their faster response compared to typical Opto compressors and lower distortion compared to many FET designs.

Notable examples include the Neve 33609, 2254, Chandler Limited Germanium, and EMI TG12345.

5) VCA (Voltage Controlled Amplifier)

VCA compressors use a Voltage Controlled Amplifier as the attenuator. A VCA adjusts the amplification based on the input signal’s voltage, allowing precise control over the input signal level. VCA designs typically have low distortion and less coloration compared to Vari-Mu, Opto, and Solid State compressors.

The dbx 160 is a representative VCA compressor, along with the Amek 9098 Compressor Limiter, SSL G Compressor, API 2500, Vertigo VSC-3, and Shadow Hills Mastering Compressor (excluding the Opto section).

6) PWM (Pulse Width Modulation)

PWM compressors use pulse width modulation to control signal strength. They can turn on and off in less than 1 nanosecond, making them extremely responsive with even less distortion than VCA compressors.

Famous PWM compressors include the Crane Song STC-8 and the Pye 4060 and 5060.

7) Digital

Digital compressors are not replicas of analog compressors but are designed to detect the signal level in real-time and apply compression based on the set threshold and ratio.

Digital compressors may introduce harmonic distortion due to nonlinear responses and aliasing, although many modern plugins mitigate aliasing with oversampling.

Despite potential distortion, digital compressors typically have less coloration and are cleaner than analog counterparts. Most basic DAW compressor plugins fall into this category.

Conclusion

Nowadays, most compressors used are plugins. Even if they replicate the same vintage hardware, their characteristics can differ, making memorizing all these details unnecessary.

When purchasing or using a compressor for the first time, it’s helpful to understand its operating principle to get a rough idea of its characteristics.

Also, remember that digital replicas may still suffer from aliasing issues. The only way to completely avoid this is by using the actual hardware.

That’s it for today. See you in the next post!