Hey there! I’m Jooyoung Kim, a mixing engineer and music producer.
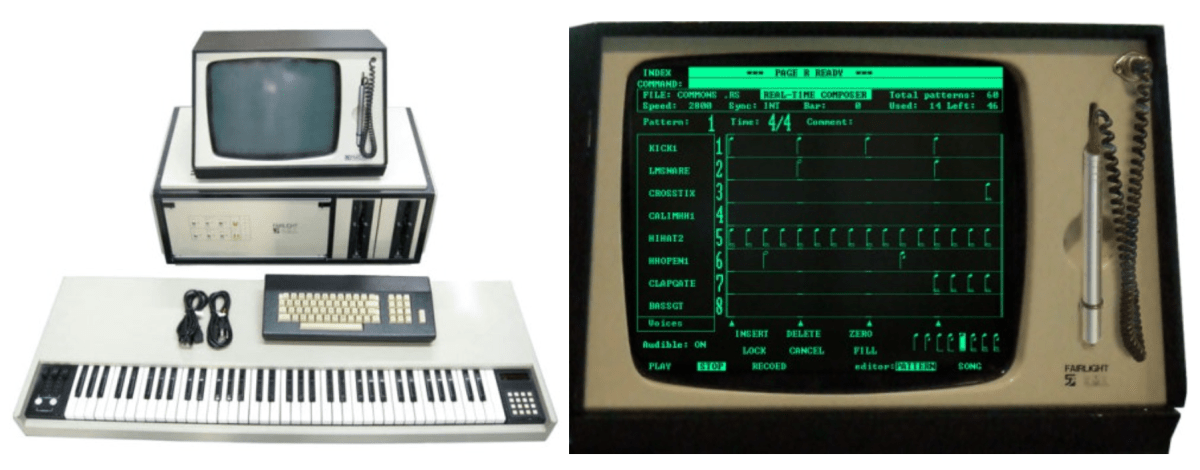
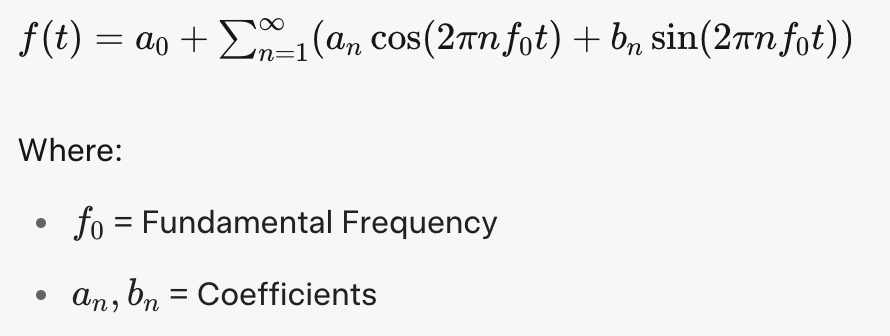
I finally submitted a new paper yesterday after about a month and a half of work. It’s a pretty straightforward paper, but building the program took forever… ugh. It’s a tool for measuring crosstalk, THD, and stuff like that. I’ve released it on my GitHub [Link], but I’ll write a detailed post about the program later.
Also, the paper wasn’t that critical, but I’ve been so busy running around for listening experiments that I totally neglected this blog. I’ll get back to writing posts diligently until I find my next topic!
Today, I want to talk about summer plugin and virtual instrument sales. I probably should’ve done this earlier, but since these sales usually happen between June and July, I think we’re still good… right? Haha.
If you purchase through the links below via Plugin Boutique [Link], I get a small commission, which really helps me keep things going. So, let’s dive in!
1) IK Multimedia
Total VI MAX

You’ve probably heard of this one! I previously introduced Total Studio 4 Max , but Total VI MAX is the version that includes only virtual instruments.
Right now, it seems they’re focusing on virtual instrument sales. I’m guessing come July, they’ll shift to mixing/mastering effect plugins. Personally, I think IK Multimedia offers the best bang for your buck, so for beginners, I’d say just grab Total Studio when it’s on sale without overthinking it.
2) Universal Audio
UAD Summer Mixtape Bundle
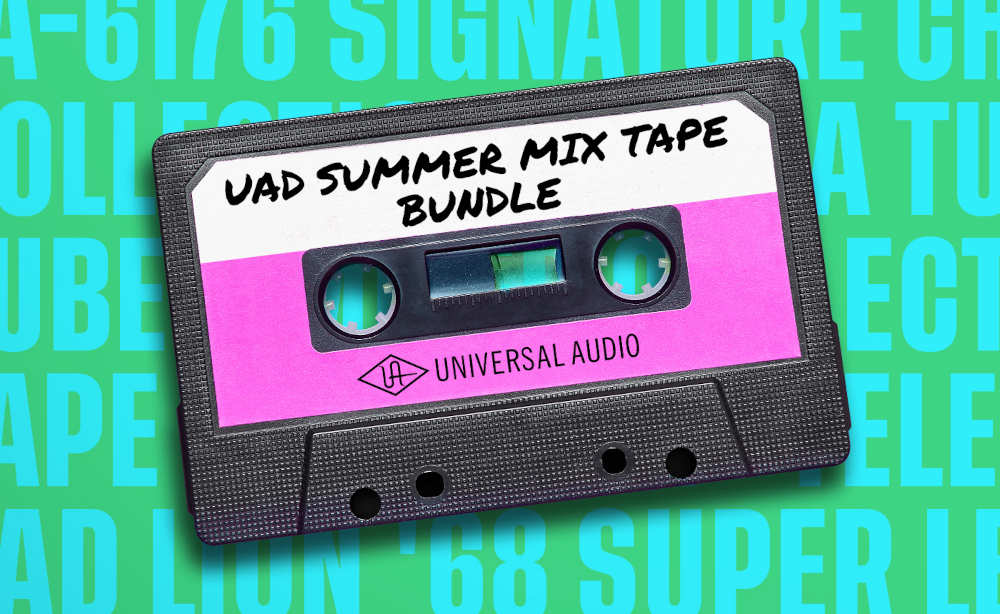
Since the UADx (Native) versions came out, Universal Audio plugins have become super affordable. The Summer Mixtape Bundle, at about $100 for 10 plugins, is a fantastic deal for first-time buyers.
My recommended plugins:
- Teletronix LA-2A Tube Compressor
- UA 1176 Classic FET Compressor
- Fairchild Tube Limiter Collection
- Teletronix LA-3A Audio Leveler
- Pultec Passive EQ Collection
- Lexicon 224 Digital Reverb
These six are solid picks, and you can choose the rest based on your taste.
That said, after years of working with audio and music, I’ve noticed UAD plugins tend to have pretty aggressive saturation. They’re not like, “Wow, UAD is the best!!” for me, haha. Still, they add a punchy vibe to flat recordings or budget mics, so they’re great when used in the right context.
UAD Analog Classics Pro Bundle
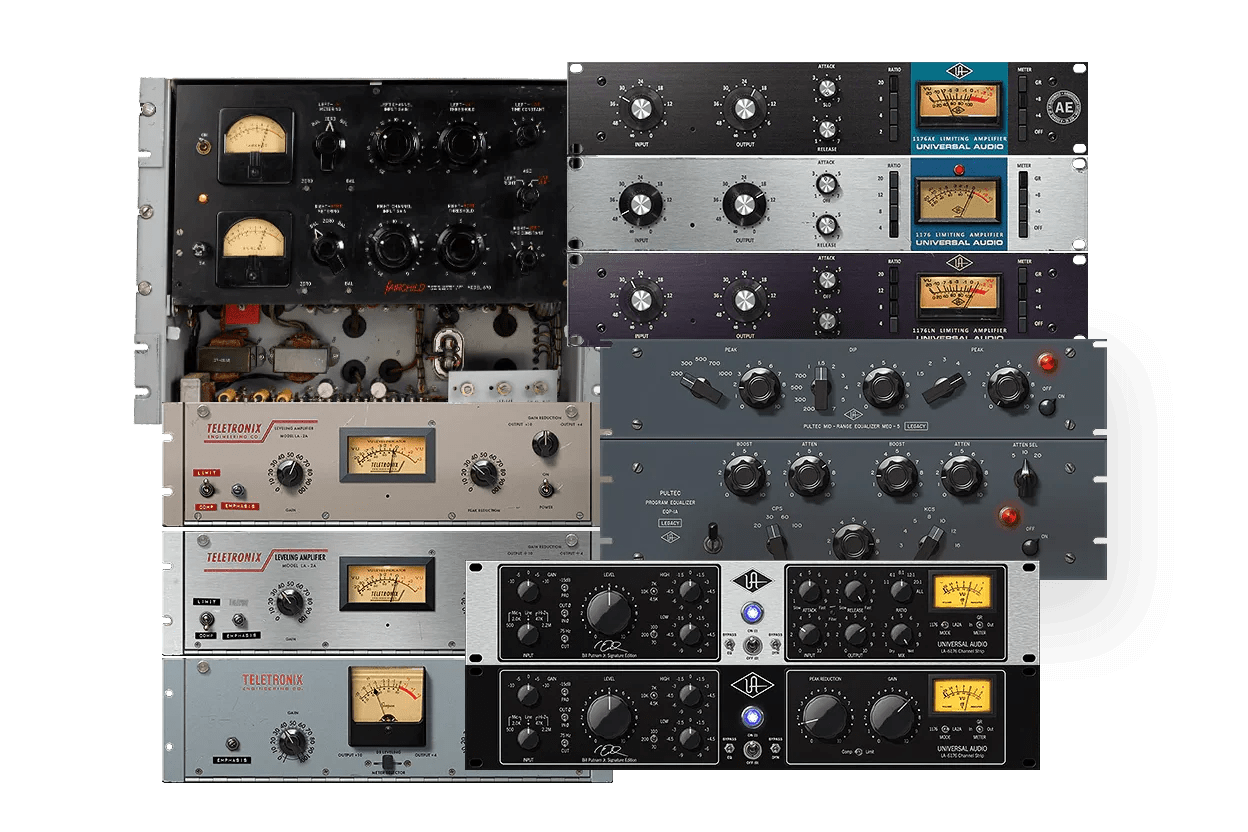
If you want even better value, the UAD Analog Classics Pro Bundle is the way to go. The LA-2A and 1176 series get used in projects all the time, so they’re super reliable.
3) Waves
Horizon
Waves isn’t quite the value king anymore with IK Multimedia’s crazy sales, but if you want something lightweight and industry-standard, Waves is still the go-to. You’ll likely find the best deal at EveryPlugin .
Waves’ update plan gets a lot of flak (I’m not a fan either). Switching from Intel to Mac Silicon cost me like $200, which was annoying, haha. That said, newer Mac OS updates don’t seem to cause major issues with older Waves plugin versions.
Horizon is the best value, and if you feel it’s not enough, grabbing the SSL 4000 Collection or API Collection should cover you. Waves’ SSL compressor is really well-made.
4) Eventide Audio
ShimmerVerb
Blackhole

If you’re into ambient music, Eventide Audio’s ShimmerVerb and Blackhole are pretty much must-haves. They’re great for creating expansive vibes and are consistent bestsellers, so grabbing them during a sale like this is a smart move.
5) Mastering The Mix
EQ Excellence Bundle
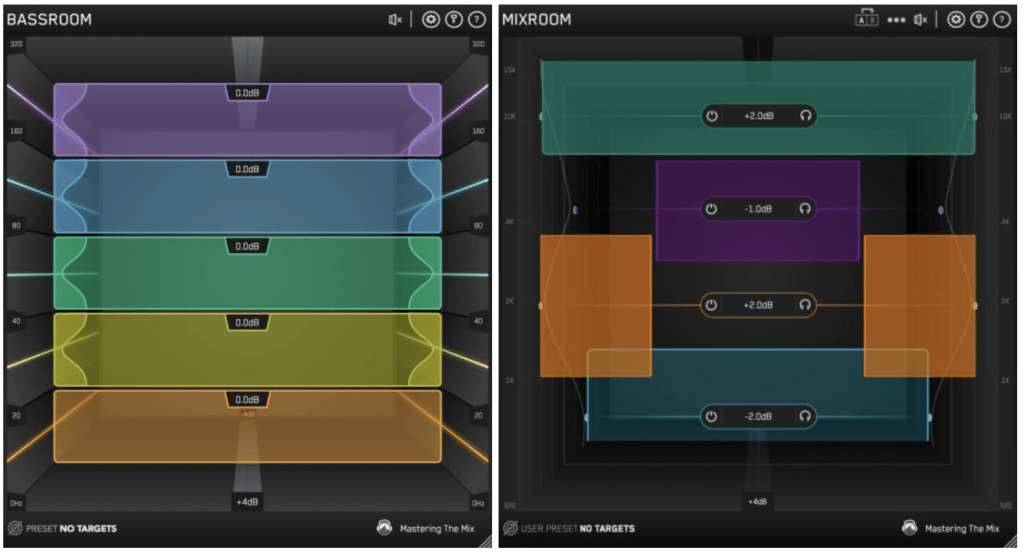
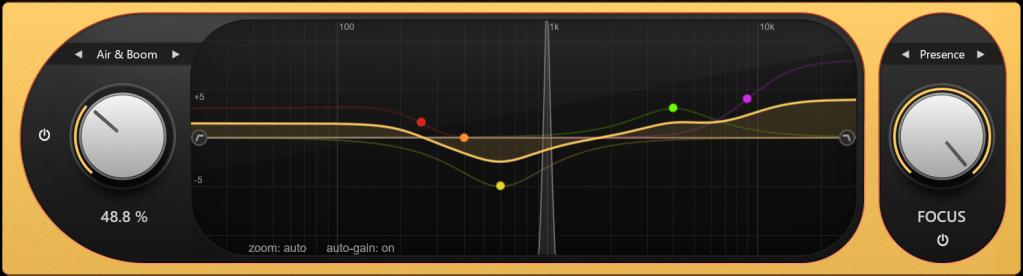
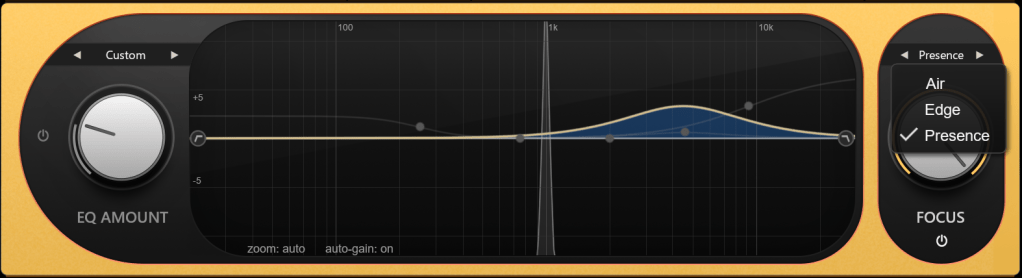
Mastering The Mix makes some really solid plugins, and I especially recommend their EQ series. Plugins like Bassroom and Mixroom visually show how frequencies pop out or sit back based on loudness, which makes tweaking super intuitive.
6) Native Instruments
Oops, this one’s got just one day left! I should’ve posted this sooner… sorry! Personally, I think getting the Standard version of Komplete is enough. Ultimate or Collector’s Editions feel a bit overkill, haha. You’ll barely use half the stuff in Standard as it is.
7) Synchro Arts
Revoice Pro 5

VocAlign 6 Pro

Synchro Arts’ VocAlign Pro and Revoice Pro are pretty awesome. I reviewed them last Black Friday,
and they’re still on a 50% sale. If you don’t have a tuning program, I’d recommend Revoice Pro over Antares Auto-Tune or Celemony Melodyne.
8) BFD
BFD 3.5
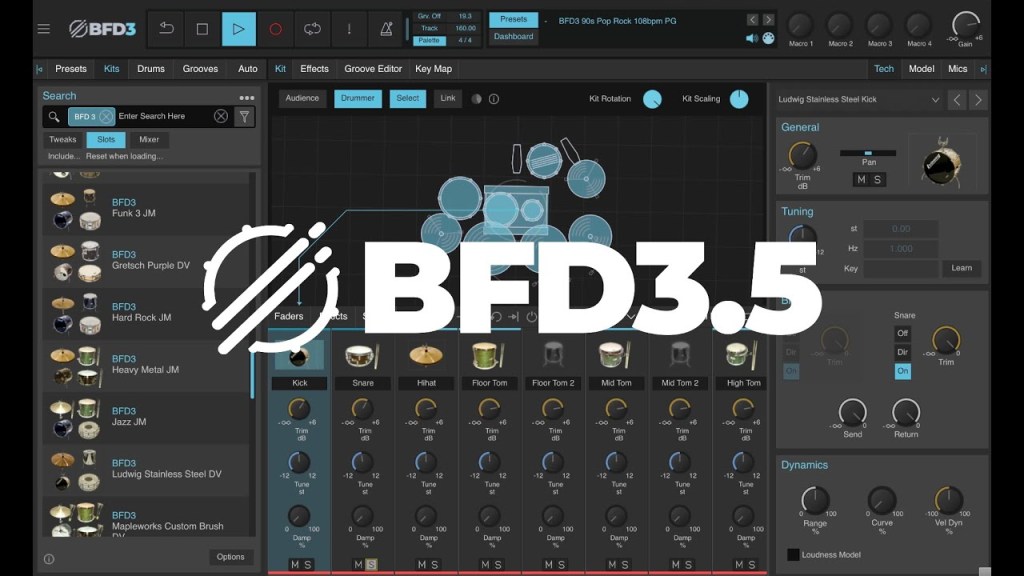
BFD London Sessions
BFD’s expansion packs are on a crazy 70% sale right now—never seen a discount like this! Grab BFD 3.5 and the London Sessions kit, and you’re set for most genres. If you need more, snare add-ons or jazz kits are great options.
There’s probably more coming in July, but these are the standout sales right now. Some of these end today, so if you’re thinking about buying, act fast!
I’ve got a ton of topics in mind, so I’m not sure what the next post will be, but I’ll see you there!