Hi! This is Jooyoung Kim, mixing engineer & music producer.
Before, we talked about hardware. Today, I’ll begin by introducing mastering. This article is based on my book, Basics of Mixing, published in South Korea.
Let’s dive in!
What is Mastering?
Why do we master audio?
The loudness of mixed music is too low
So gain more volume for the mixed music, maintaining the instruments’ balance
Of course, mastering involves many aspects. You can easily understand mastering with the two sentences above.
Simply put, mastering is the final step in music production. It can also be described as packaging the mixed music. The package does not change after mastering.
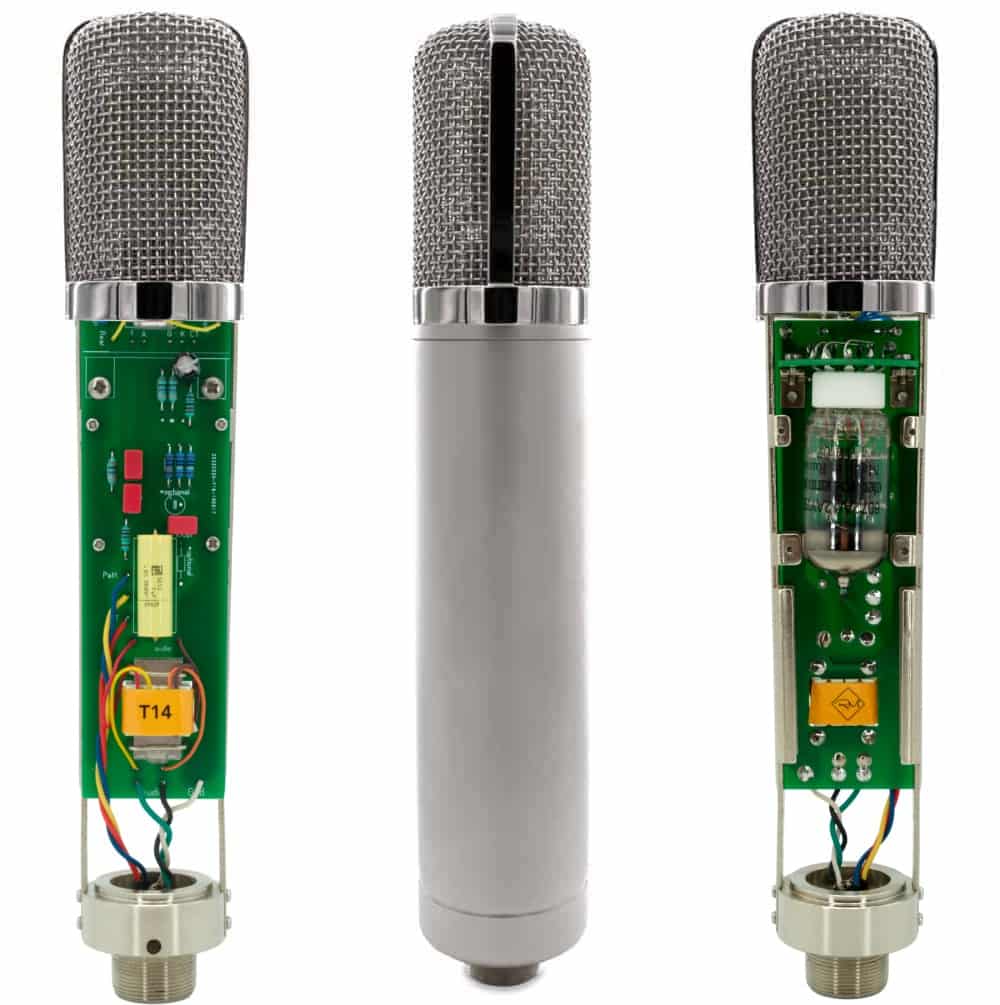
Room acoustics are the most important factor in building a mastering studio. Also, great quality ADC(Analog-Digital Converter)/DAC(Digital-Analog Converter), speakers and hardware are necessary too.
Building a mixing studio is also expensive. However, in mixing studio, audio hardwares take quite large volumes-they make room acoustics worse.
A desk with hardware may look good and fancy, but it takes up a lot of space. This can lead to comb-filtering effects. Removing the desk is a great solution, but as you know, it’s easier said than done..
One more thing, a mixing engineer listens to a song too many times, making it hard for them to recognize problems. Therefore, when you need to master a song or an album, I recommend hiring a mastering engineer.
Nevertheless a mixing engineer should provide a louder monitor file to clients than the mixed file. Due to budget constraints, mixing engineers sometimes have to master their own files.
In this chapter, for those situations, I’ll talk about the process and concepts about mastering.
Hello! This is mixing engineer and music producer Jooyoung Kim.
Last week, while I was writing my paper, I discovered logical structure and measurement errors. As a result, I had to export data several times and couldn’t post anything on the blog. However, the first article at 2025 is Basics of Mixing! This article is based on “Basics of Mixing“, published in South Korea.
Today, we’ll find out types of analog cable and connectors. Let’s dive in!
Types of Cables
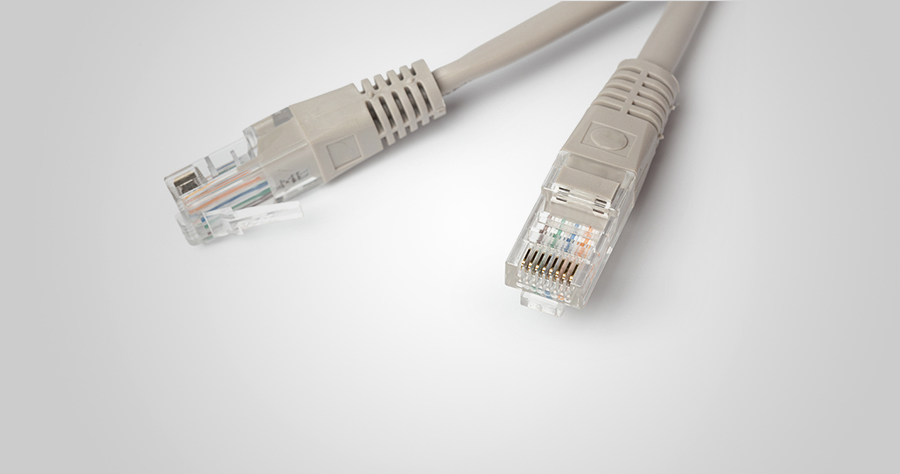
Cables can be divided into two categories: Analog & Digital.
In this article, I’ll talk about analog cables and connectors.
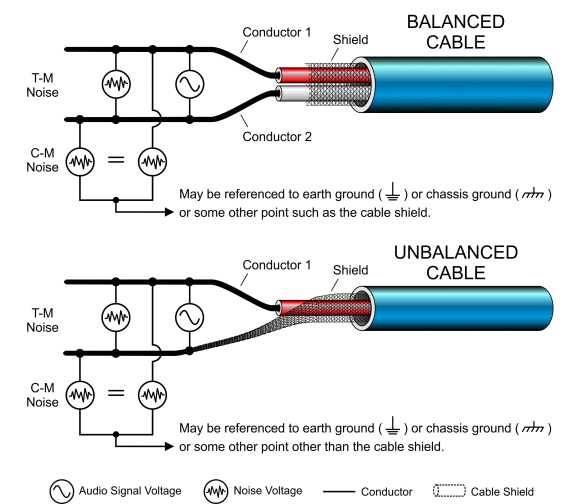
Analog Balanced Cable & Unbalanced Cable
First, you have to know difference between balanced cable and unbalanced cable.
Generally balanced cable has 3 lines: Hot(+), Cold(-), Ground. The hot and cold lines carry identical signals but in opposite phases, which helps cancel out noise.
Unbalanced has 2 lines: Hot(+), Ground.
You can convert a balanced cable into an unbalanced stereo cable by assigning the hot and cold lines to the left and right channels, respectively.
Analog Connectors
Left: TRS, Right: XLR
Representable connector, for balanced cables, are TRS and XLR. You could see 3 parts for hot, cold, and ground.
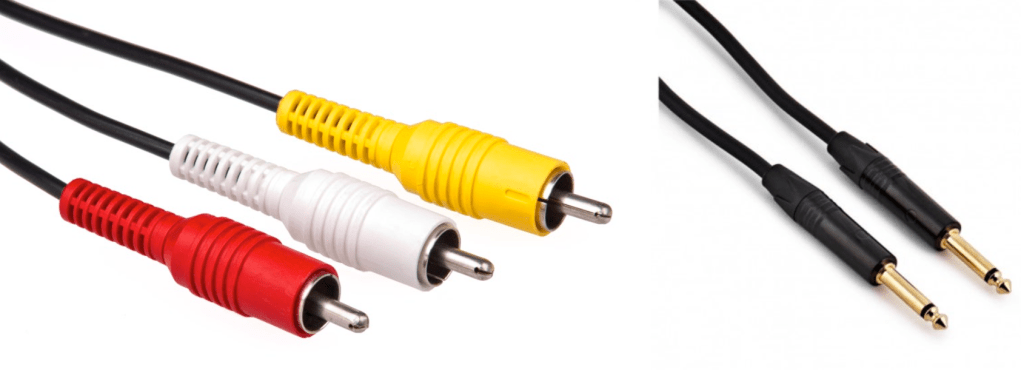
Left: RCA, Right: TS
RCA and TS cable is the most used connector for unbalanced cable
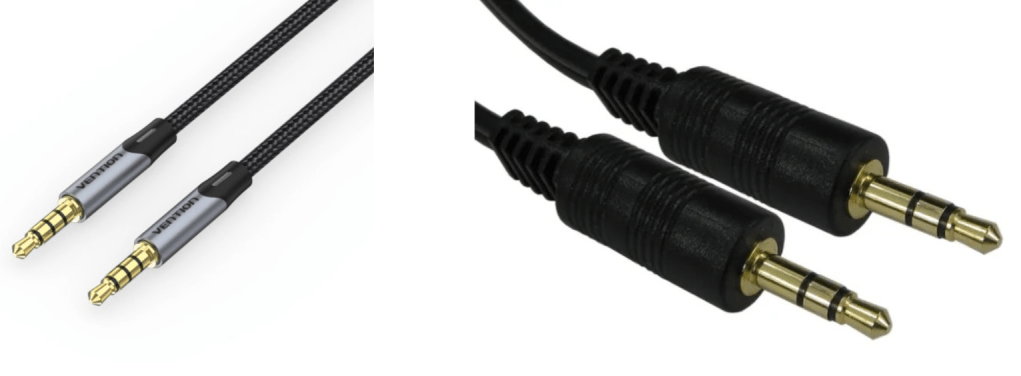
AUX
Common consumers easily find this AUX connectors at headphones or earphones.
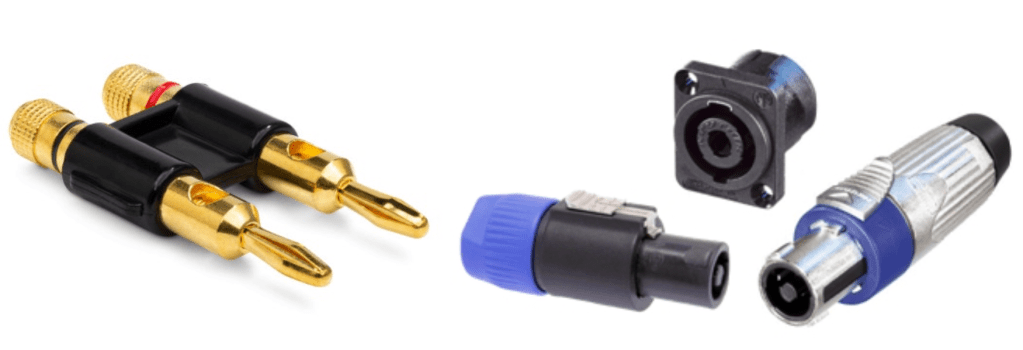
Left: Banana, Right: SpeakON
Banana and SpeakON connectors are also used at unbalanced cable, for passive speakers.
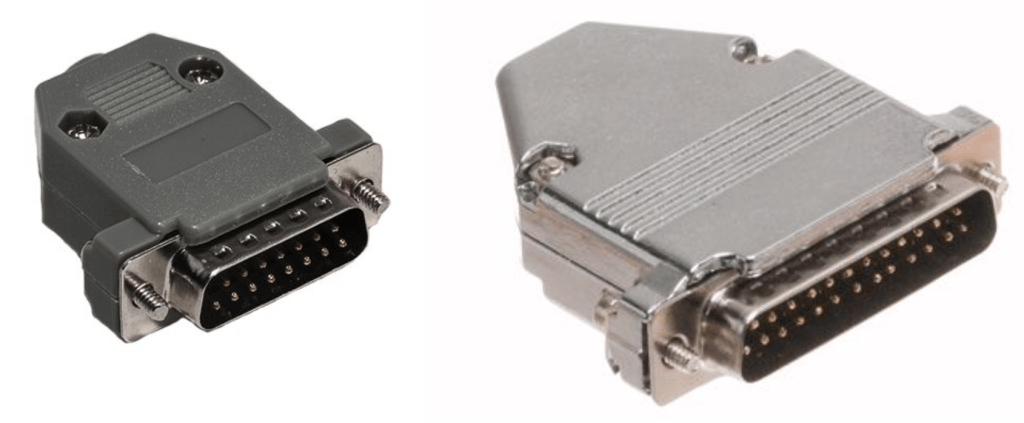
Left: DB 15, Right: DB25
If you purchase audio interface, sometimes you could find those connectors. Those connectors called D-Subs. DB25 connectors could connect analog balanced 8 channels. DB15 connectors are not used usually.
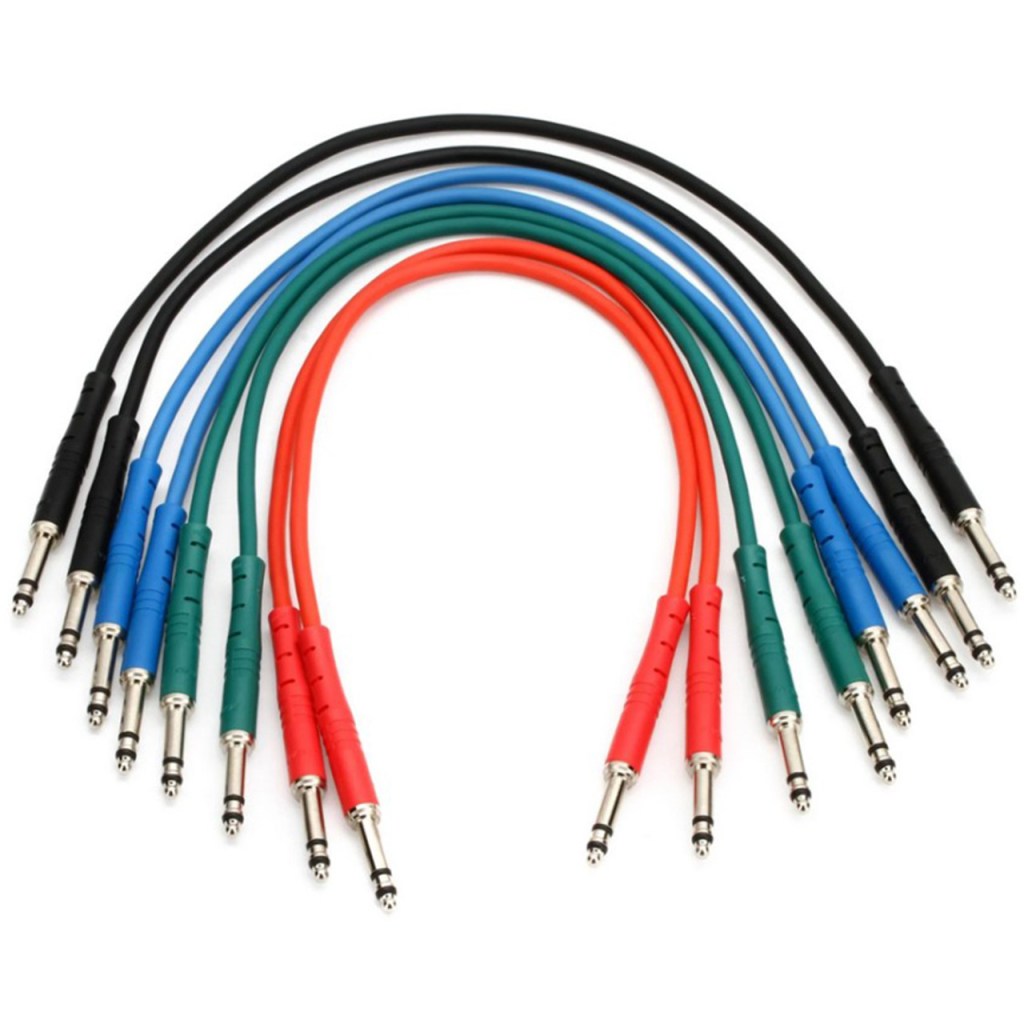
There is also a proprietary patchbay-specific standard called TT cable.
These guys are so small and expensive, so unless you’re working with an analog mixer, I think it’s better to just buy a TRS patch bay and use TRS.
Well, in fact, if it’s copper, you can use it as an analog cable. You can cut the power cable that you don’t use at home and use it as a balanced cable. I haven’t tried it, but you can probably cut the USB cable and use it.
In the studio I used to work at, we used to connect the talkback microphone via LAN port and LAN cable..!
There is no disagreement about digital, but there is a lot of talk about the difference in sound quality depending on the type of analog cable and connector. This depends greatly on the specific situation.
Guitarists will feel the difference in cables quite a bit when performing or playing together, but this is mostly due to the high impedance of the electric guitar and the impedance of the amplifier. When recording directly connected to a proper DI box or audio interface, you won’t be able to feel the difference. So, to compare properly, you should record by micing the connection to the amplifier.
For the same reason, you may feel it a little in the cable connected to the microphone preamp and the microphone.
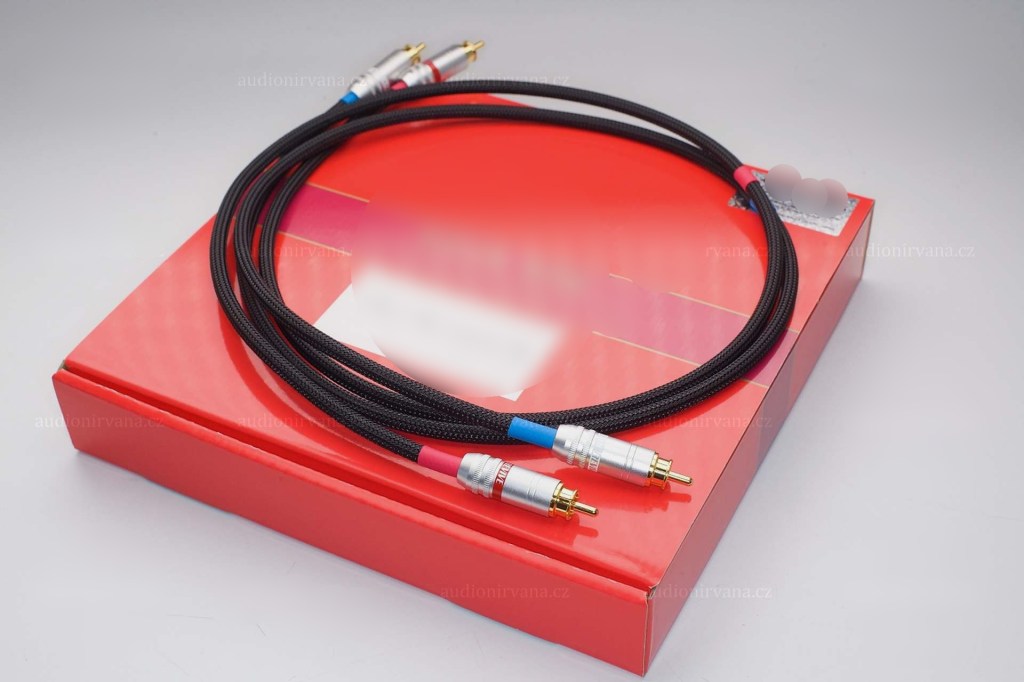
However, it is actually meaningless for cables at line level. If you are connecting speakers or outboard, you don’t have to think about this. I also bought a slightly expensive Telefunken STMC cable and used it on the microphone, and… I thought… haha..
I should have bought several pizzas or hamburgers with that money.
There are many expensive cables like this for both pro audio and hi-fi. If you want peace of mind by buying them, then they are fine, but there are quite a few studies that show that they are not very meaningful in terms of measurements or audibility.
If you are an engineer, you will probably end up soldering it yourself because you don’t want to waste any extra wires or connectors. If you look inside, you will see that it is a very simple structure. Don’t hesitate to try it yourself—you’ll find that it’s simpler than it looks!
I will end it here for today. Then, I will see you again in the next article!
Hello! This is Jooyoung Kim, mixing engineer & music producer.
In this chapter, I’ll talk about audio outboards. The subchapters will be as follows:
Cables & Connectors
Patchbays
Re-amp & Re-amping
Output/Input Volumes & Recall Sheet for Outboards
This article is based at my book, released at South Korea, “Basics of Mixing“.
Before we find out cables & connectors, let’s talk about why engineers use outboards. How do you think about it?
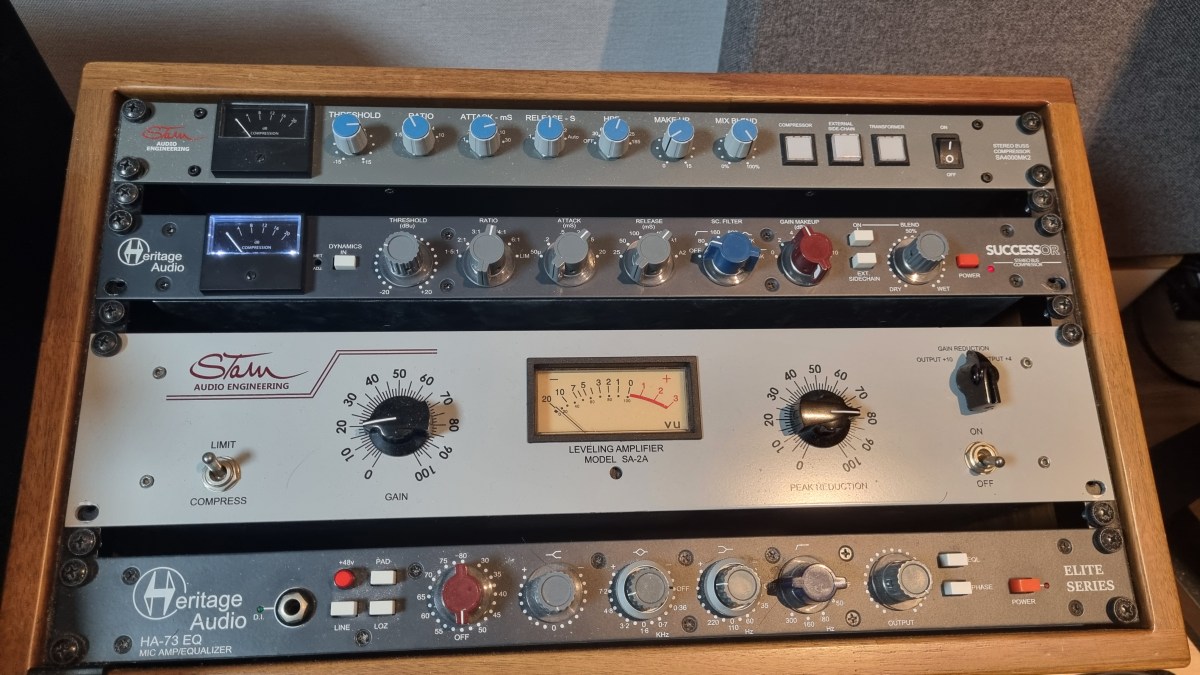
First, The sound differs significantly by circuit, input/output transformers, and amplifiers(transistor of vacuum tubes). So, you could guess why recording studios have bunch of mic pre-amps.
How about compressors, EQs, or saturators? There are several types of effects in DAW or third party plugins. If you use it well, sound will make sense.
Nevertheless, achieving the same sound as hardware with a plugin often requires multiple processing steps. Or, the saturation of hardware made irreplaceable sounds.
Of course, engineers love the gears so much, that they sometimes stack them..haha
However, there are many drawbacks to using hardware.
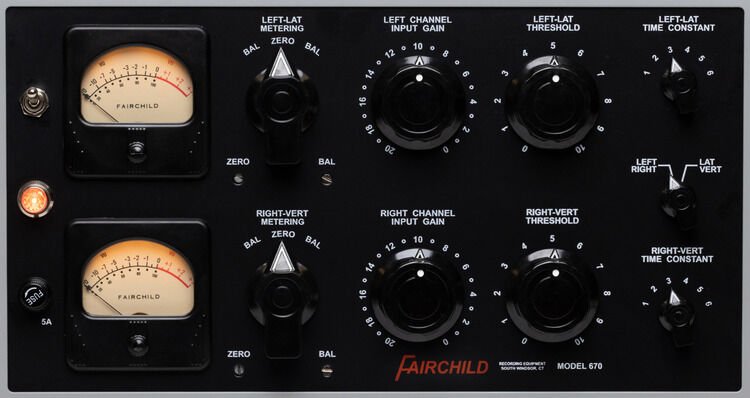
Like Fairchild Model 670, hardwares used with vacuum tube have big problem for usage. If one vacuum tube breaks down, each one must be searched for, and the time and cost required for maintenance is considerable(Fairchild Model 670 has 20 tubes..).
The noise level must be carefully considered during the mixing stage. If you don’t think about it, you could end up with quite high noise during mastering process.
Hardware need Real-Time printing. It takes times.
Recalling settings is cumbersome and the sound may vary depending on the condition of the hardware.
Furthermore, outboards with vacuum tubes need to be warmed up for some time (about 20–30 minutes) due to the operating principles of the tubes.
By the way, the reason we go through all this trouble and use hardware is because it sounds good.
But, it doesn’t mean all hardwares are great. More expensive isn’t necessarily better, and DIY isn’t necessarily bad.
So, what does this mean for you?
I think if you could listen bad/good sounds, it’s the right time for purchase outboards.
This chapter is about how to connect and use hardware when that time comes. In the next article, I’ll delve into cables and connectors, starting with their types and best practices. Stay tuned!
Hello! This is Jooyoung Kim, a mixing engineer and music producer.
Today, I’d like to say about the problem of recording source and how to solve. This article is based on my book “Basics of Mixing” released at South Korea.
Let’s dive in!
1) Noise Floor
If you use analog hardware, electricity causes certain noise across all frequency range. We call this “Noise Floor”.
So if you recording with microphone pre-amplifier or use outboards, you have to recognize and keep in mind it. Although you can’t hear the noise in mixing step, but it could make problem in mastering step .
This matter could be fixed with plug-ins like iZotope’s RX bundles(Spectral De-Noise). But when the source processed, you will hear High Frequency & Low Frequency loss. So I don’t use it often until have no choice.
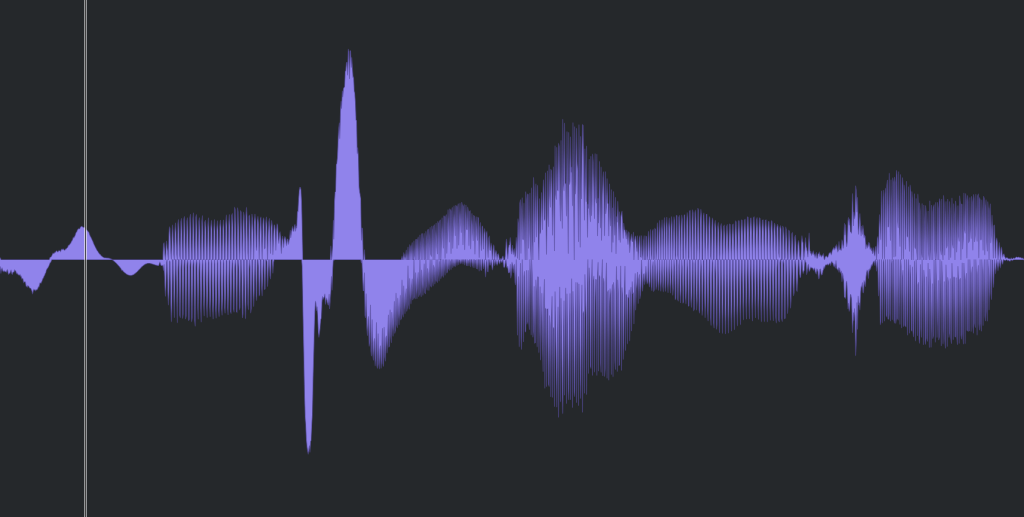
2) Popping Noise
Popping Noise, A.K.A pop noise, is caused by popping sound. If you look closely upper picture, could understand it’s usually belong low frequency. So it could solved with low cut(high pass) filter.
However when you record voice, use pop filter is best method to prevent popping noise.
3) Sibilance
Sibilance is hissing sound when you pronounce like “S”. This high frequency sound can be perceived as louder than other frequencies due to the equal loudness contour.
You able to use De-Esser plug-ins or EQ to solve this problems. Another method involves cutting the sibilant peaks and adjusting the gain of the affected clip.
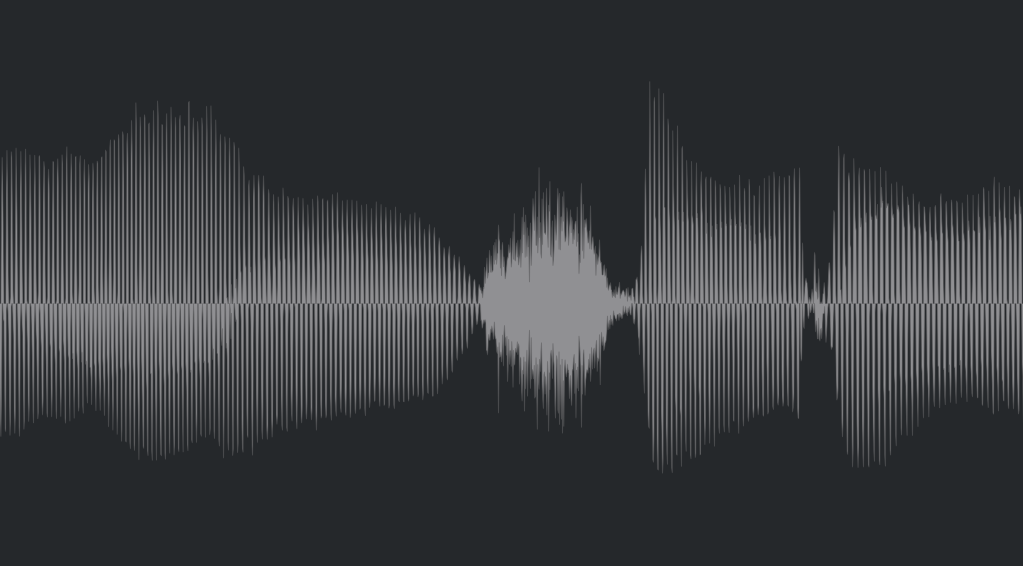
4) Click Noise
When you check the records, you could find click sounds frequently. In vocal records, lips make those noise. Drawing waves with pencil tools will solve this problem.
There have another way, use De-Click plug-ins. However I don’t like this method. It makes high frequency loss.
5) Clipped Noise, Distortion
If the recording is distorted like this from the beginning, the best solution is simply to re-record it.
You might want to ask the client to double-check their export/bounce to see if the distortion originated there.
If the recording is distorted and re-recording is impossible, you can try to fix it with plugins like De-Clip, although you’ll have to sacrifice some audio quality.
6) Ambience
In the past, there was no way to fix recorded ambience. However, nowadays, there are many plugins that remove reverb and ambience from companies like Waves, UAD, and Izotope, so it’s not as big of a problem anymore..
7) Ambience
You can consider most other issues beyond these as unresolvable. If noise is caused by electrical issues and is consistently present, you can address it by dealing with the noise floor. However, if it appears intermittently, it’s impossible to fix.
Similarly, if a problem occurs consistently, there’s a good chance it can be fixed. But things like construction noise from nearby or the ticking of a clock are difficult to remove.
In this post, we discussed various problems with recorded audio and how to solve them.
The next chapter was originally going to be about groove and sidechaining. However, This is one of the key topics in my book, so I’ve decided not to cover it on the blog.. I don’t want to give away all the content for free and be unfair to those who purchase the book. I hope you understand.
From the next post onwards, I’ll be talking about outboard gear.