Takamine D5D NAT Guitar Review

Hello! I’m Jooyoung Kim, a mixing engineer and music producer.

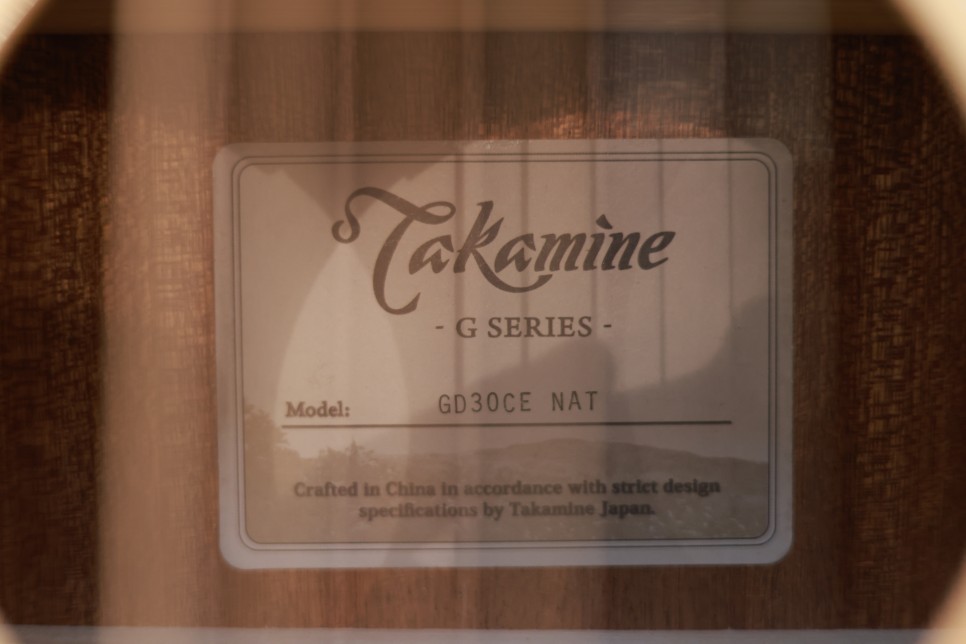
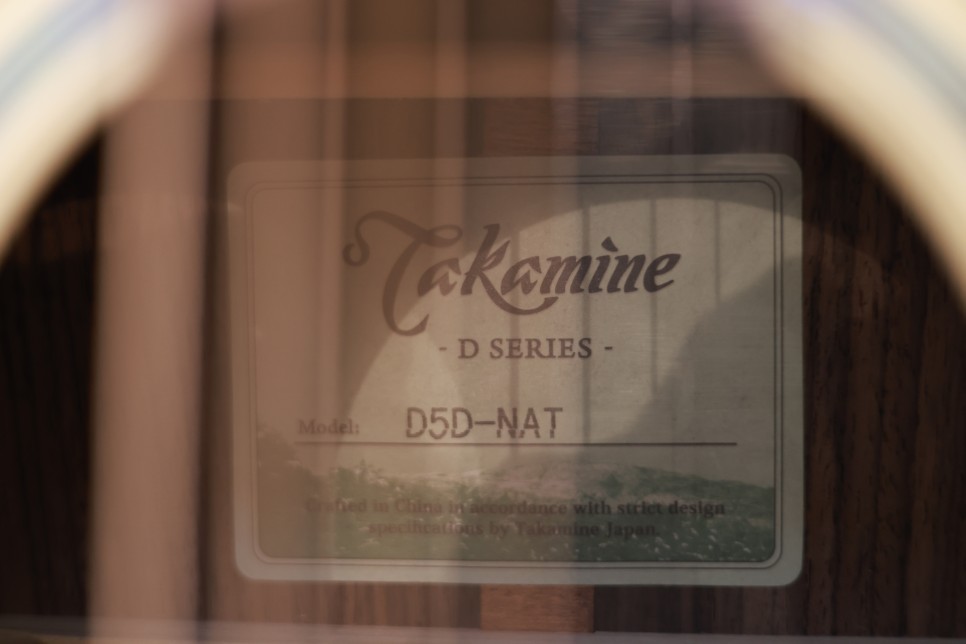
The D series is Takamine’s entry-level lineup, structured as D-series, G-series, and Pro-series.The D-series is numbered from 1 to 5, with models 1 to 3 featuring laminated tops and models 4 and 5 having solid spruce tops. The D4 comes with a mahogany back and sides, while the D5 features rosewood back and sides.Let’s dive into the details!

  • Appearance

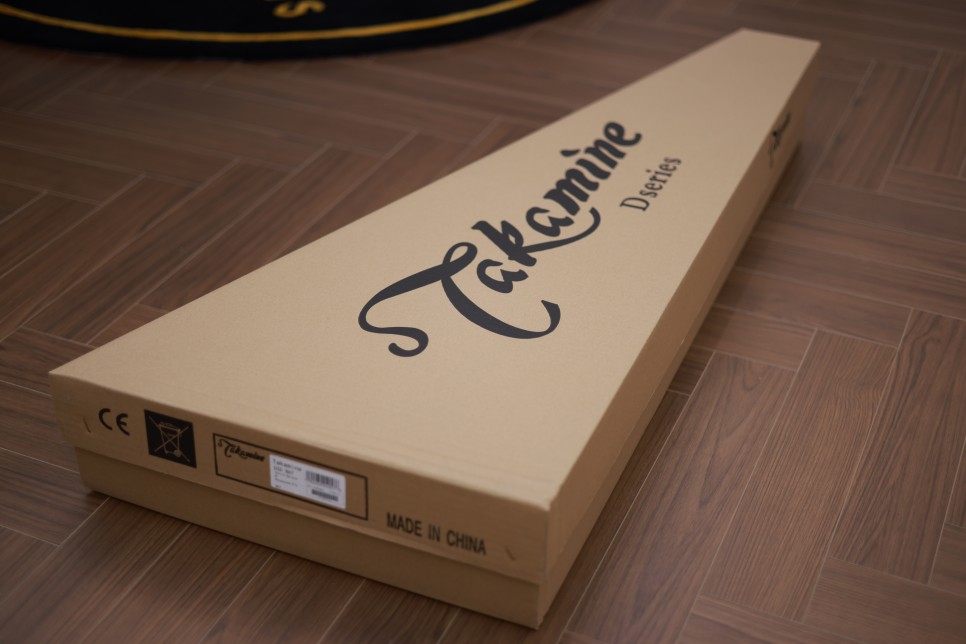
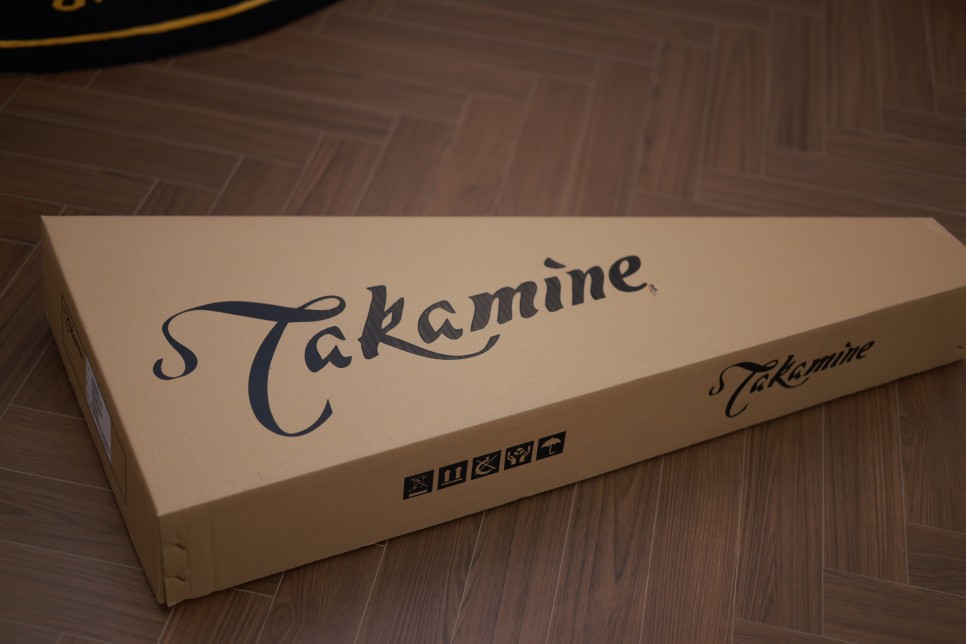
The packaging is slightly different this time, prominently displaying the D-series label.

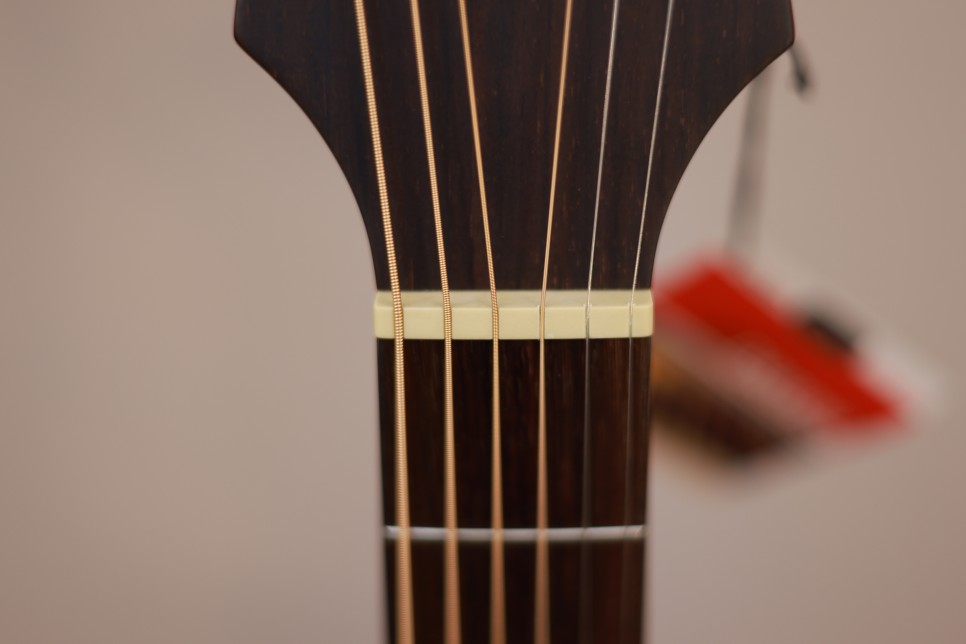
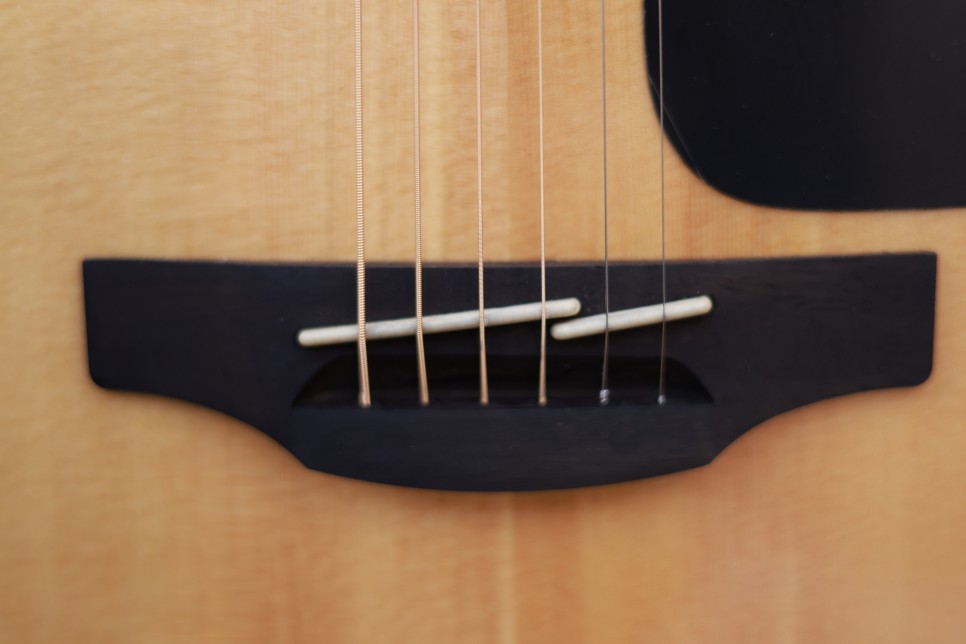
This model has bridge pins. The nut, saddle, and pins are all plastic.

The guitar comes strung with discontinued D’Addario EXP strings. It seems that while individual packs are sold out, bulk packs are still available.

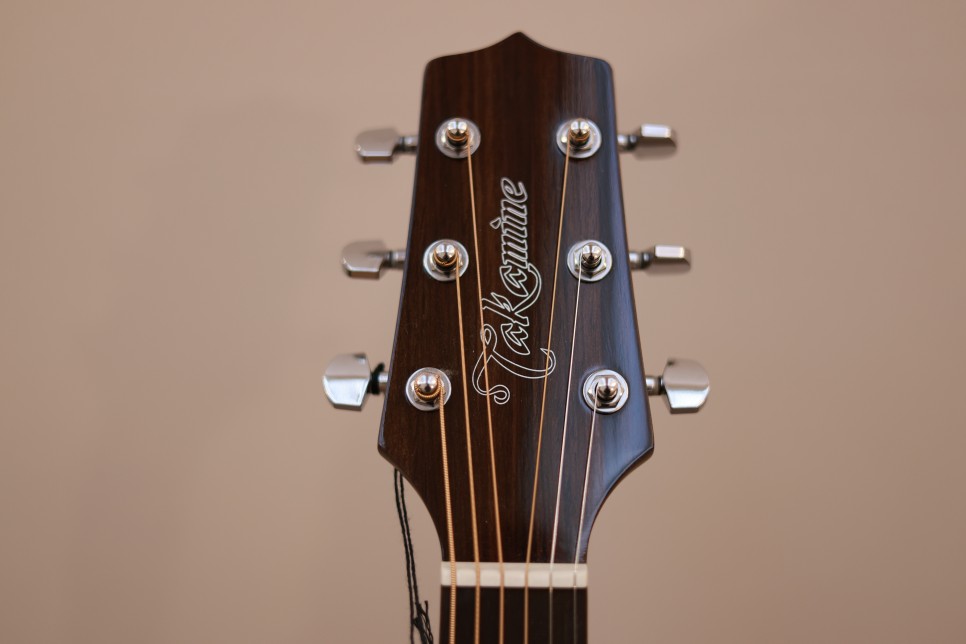
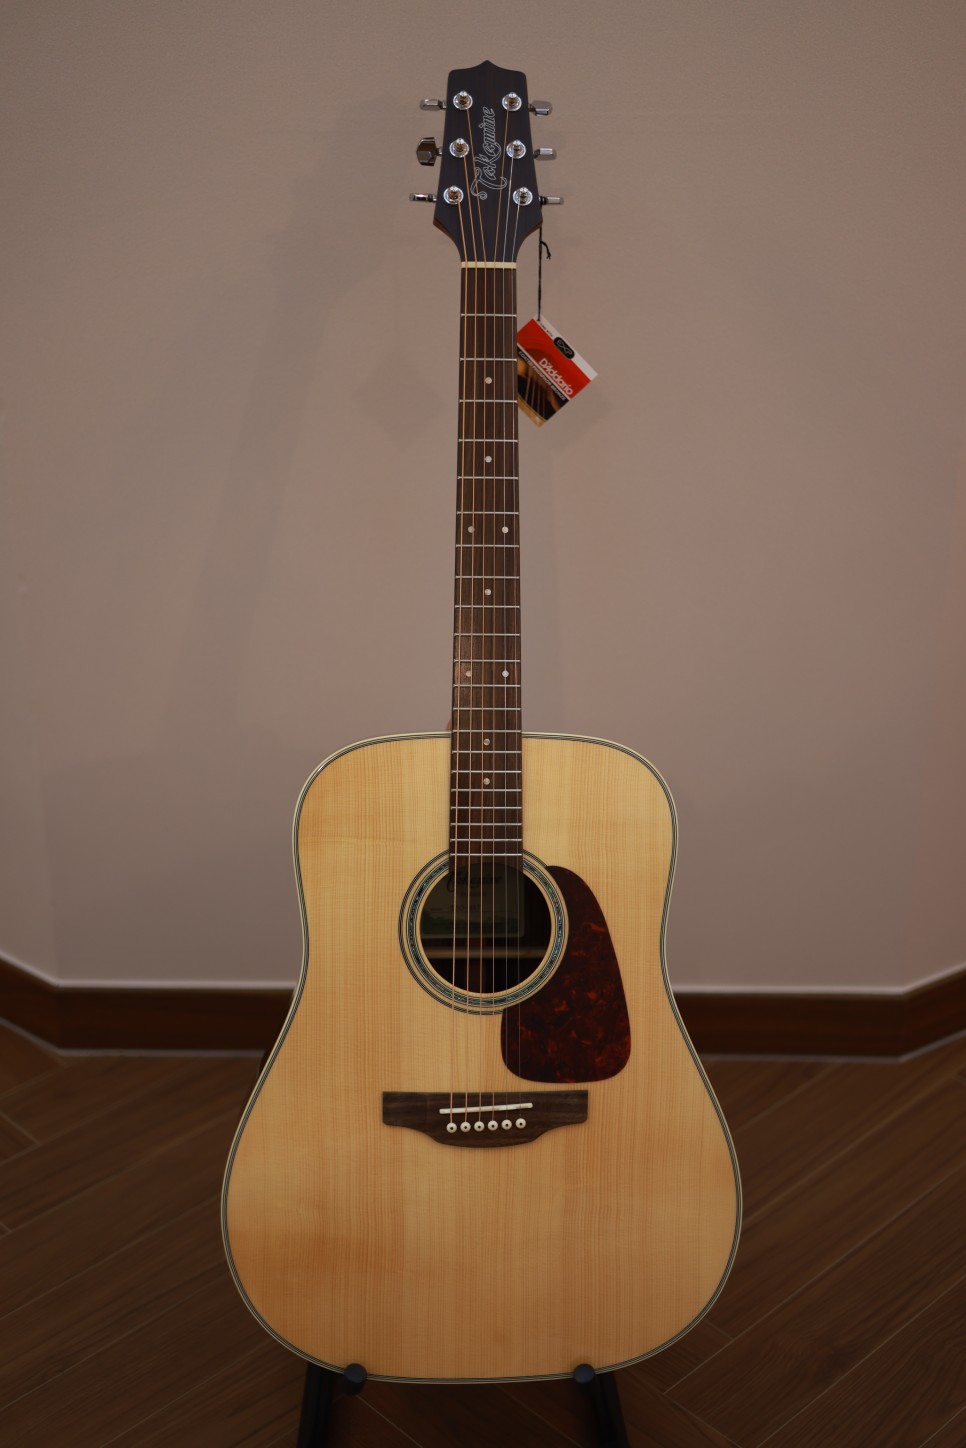
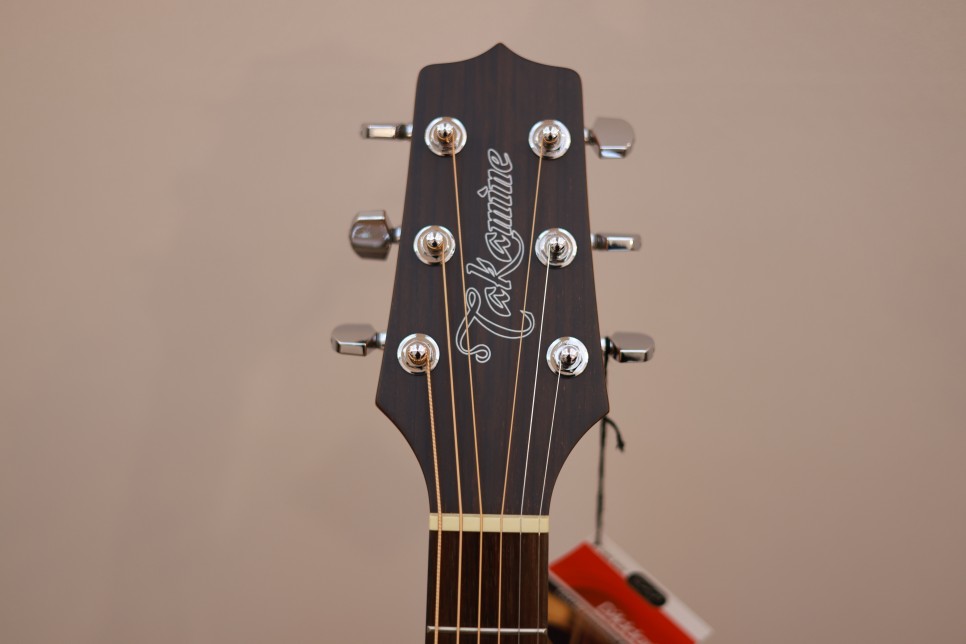
The neck has a matte finish, and the binding is a slightly yellowish plastic.

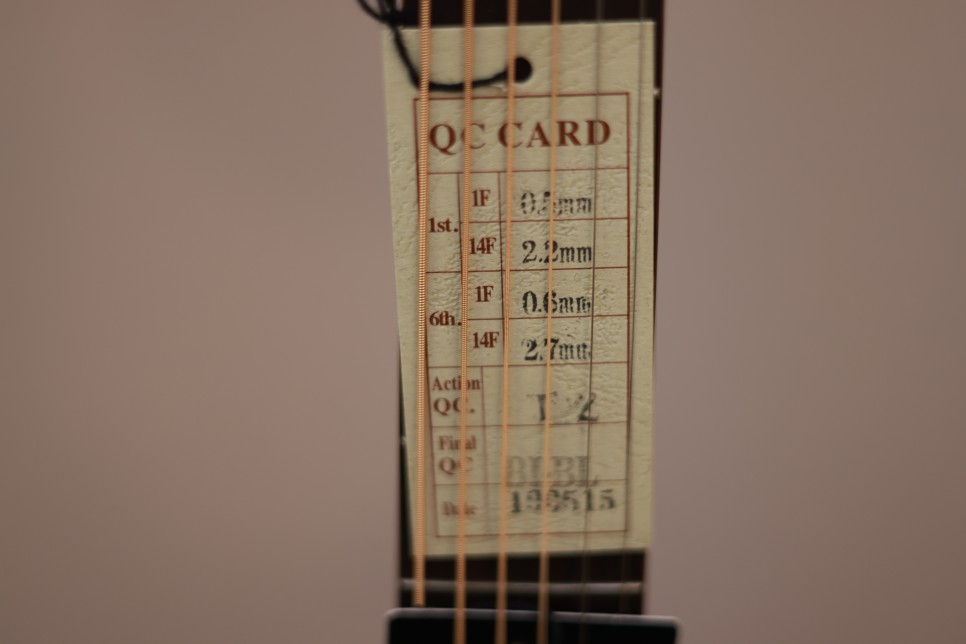
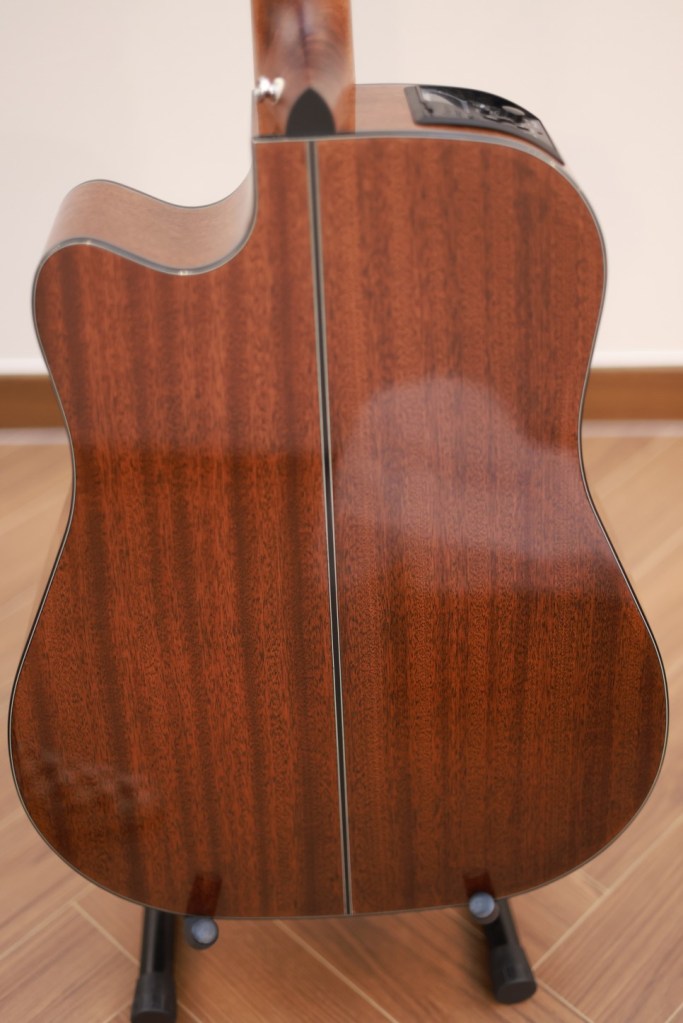
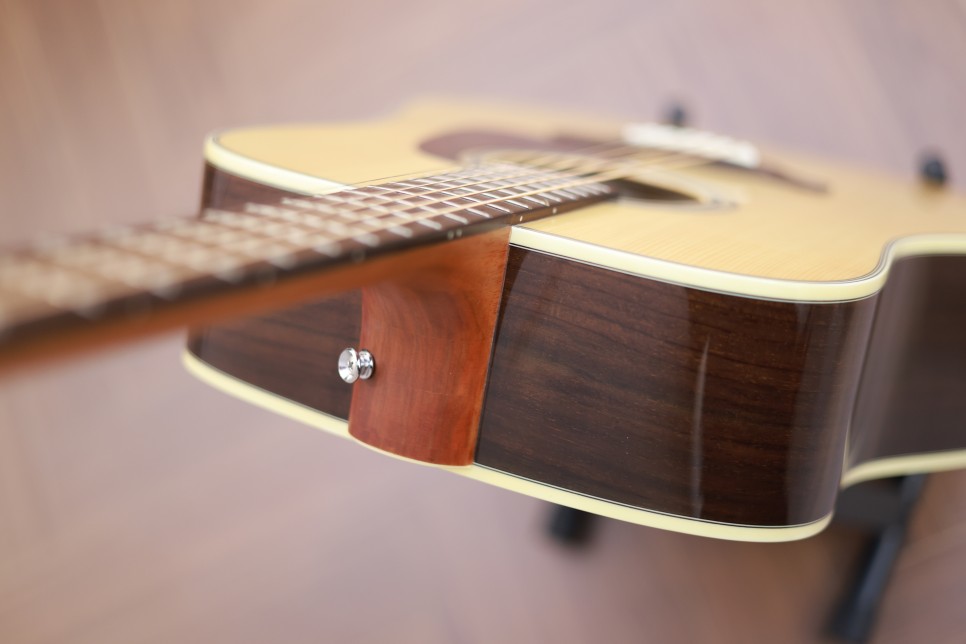
As an entry-level model, the wood grain isn’t perfectly uniform, but it’s challenging to find a foreign brand with these specs at this price point.

  • Specifications
  1. Solid spruce top
  2. Rosewood back and sides
  3. Rosewood fingerboard
  4. Plastic saddle and nut
  5. Plastic pins
  6. 42.5mm nut width
  • Sounds

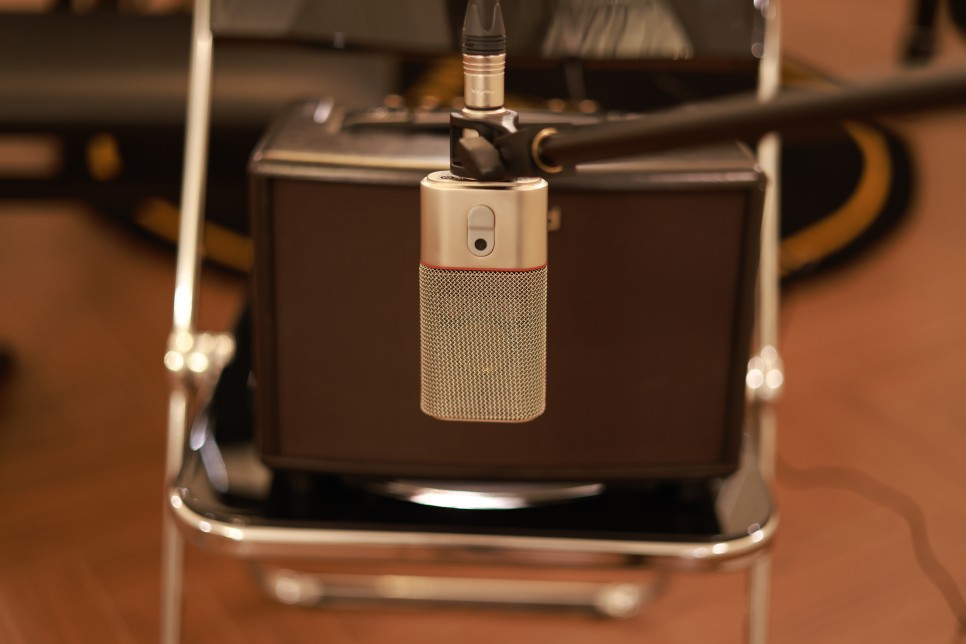
I received this guitar on the same day as my last review, so the setup is identical. The recording was done using an Audient id14 mk2 and an Austrian Audio oc818 in stereo. No reverb or delay was added; only the volume was adjusted.

A quick disclaimer: I haven’t played guitar in a while, so my playing might not be the best. Please focus on the sound quality.

For the best experience, increase the video quality on YouTube to avoid losing high frequencies.

1) Strumming

2) Fingerpicking (There’s some noise, so please turn up the volume.)

  • Overall Impression

The sound is loud and robust, but the price does reflect in the quality. Compared to the G30 series, the D5D’s sound feels a bit more scattered, possibly due to the plastic nut and saddle. Changing the strings might help achieve a more mellow tone.

This guitar might be ideal for country music where a more open, airy sound is preferred. While the D5D has solid specs, the sound quality doesn’t quite match the G30CE models, which are exceptionally well-made for their category.

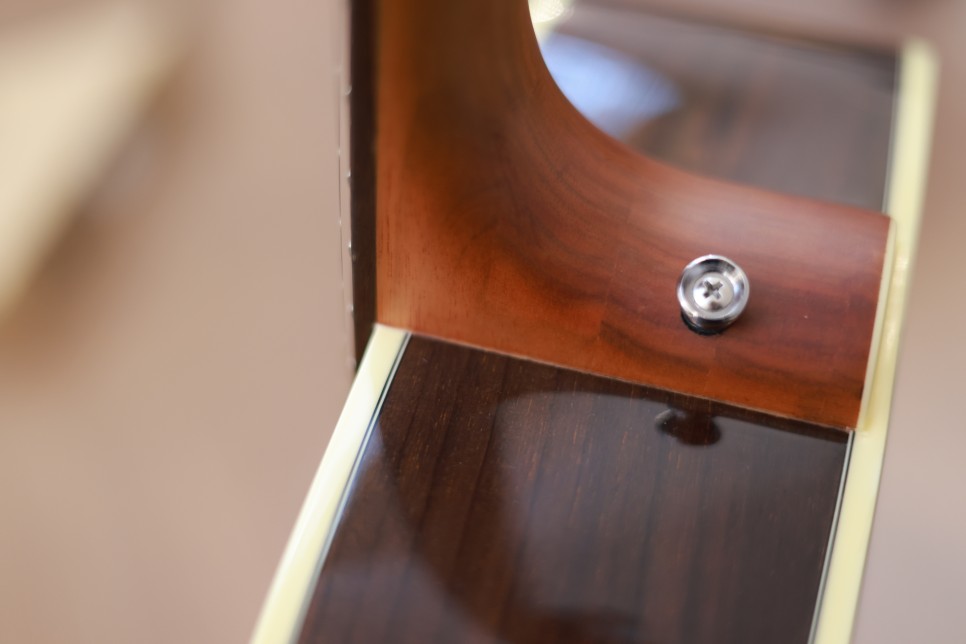
Like the other models, the neck tends to lift slightly. Some adjustments to the truss rod, saddle, and nut might be necessary upon receiving the guitar.

Priced at 495,000 KRW(about 360$), it is approximately 170,000 KRW cheaper than the 30 series, which is a noticeable difference.

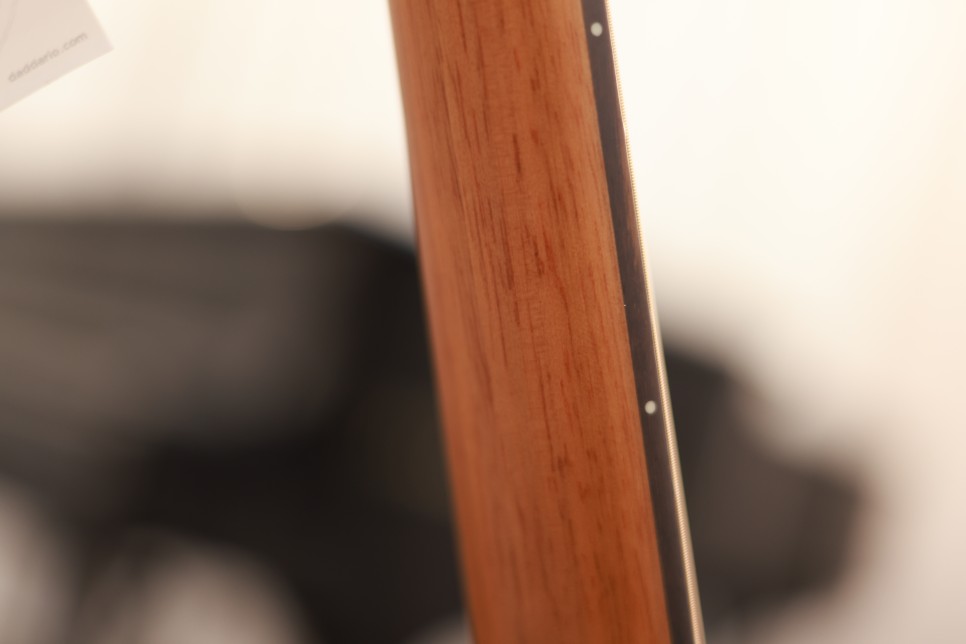
The neck is slightly thicker than the G series, which I personally prefer. My main guitar has a neck width of 45mm, so I like a bit of heft. However, everyone has their preferences, so it’s best to try a guitar in person and use that as a reference.

Generally, Taylor guitars are known for their slim necks. The G series has a neck similar to Taylor’s 100 and 200 series, while the D series is slightly thicker.

Basics of Mixing – 3.2 Types and Organization of Tracks

Hello! I’m Jooyoung Kim, a mixing engineer and music producer.

In the previous post, we looked at the functions of DAWs along with analog consoles.

Today, I will revisit the types of tracks within a DAW and share some tips on how to organize them.

There are about seven types of tracks that can be classified in a DAW:

  1. Audio Track
  2. MIDI Track
  3. Instrument Track
  4. FX Track
  5. Group Track
  6. Aux Track
  7. Folder Track

Other tracks such as tempo, video, markers, etc., exist, but I’ll skip those as they are more intuitive. Let’s take a look at each type.

  • Audio Track

Audio tracks are used for audio. You can set them to mono, stereo, or even multichannel as shown in the photo below.

Since I’m only using a laptop with limited inputs, only 2 out of 13 channels are recorded.

You can record at the sample rate and bit depth you’ve set and import external audio samples into these tracks.

  • MIDI Track

    MIDI tracks are a bit different from instrument tracks. They can record MIDI signals and send these signals externally.

    For those new to DAWs, this might seem unnecessary.

    These MIDI signals are primarily used with external synthesizers. The MIDI signals are received through the MIDI IN port on the synthesizer, which then plays according to the recorded signals.

    Synthesizers with keyboards can be played and recorded directly,

    but those without keyboards must be played via MIDI signals. Nowadays, MIDI signals can also be transmitted via USB instead of MIDI ports.

    • Instrument Track

      Instrument tracks are used to load virtual instruments and send MIDI signals to them. Like MIDI tracks, you can see the MIDI signals on the track, but they are played back directly.

      Each instrument has its own MIDI CC (Control Change) settings, so it’s important to familiarize yourself with the manual of the instrument you’re using.

      *MIDI CC

      MIDI CC is a transmission standard that allows you to control parameters on MIDI-supported instruments/devices.

      Each CC can be adjusted from 0 to 127. Commonly used CCs include:

      – 1: Modulation
      – 11: Expression
      – 64: Sustain Pedal
      – 66: Sostenuto Pedal

      • FX Track

      FX tracks receive signals sent from audio and instrument tracks. In DAWs like Pro Tools and Logic, these tracks don’t exist separately and are found only in Cubase among the DAWs I use.

      These tracks are used for parallel processing or adding reverb, delay, and other effects.

      • Group Track

      Group tracks bundle multiple tracks together, allowing you to process them collectively.

      • Aux Track

      Aux tracks are found in Logic and Pro Tools, used to create FX and group tracks.

      To use Aux tracks, you need to understand the concept of buses.

      * What is Bus?

      Black Ghost Audio

      As shown in a previous post, a bus is a ‘path’ that other tracks go through before reaching the Aux track via the ‘Send’ or Output designation.

      In Aux tracks, you need to specify the channel input to a specific bus for the signal to flow.

      Therefore, Aux tracks used via Send can function as FX tracks, and those used via Output can serve as group/stack tracks.

      This process is sometimes referred to as OOBus when grouping tracks.

      • Folder Track

      Folder tracks are used solely for organizational purposes and do not affect routing. They can mute/solo entire sections or consolidate unnecessary tracks.

      • Organizing Tracks

      Here’s a simple project I mixed.

      Organizing tracks can be done in any way, but I usually categorize them as follows:

      1. Drums and Percussion
      2. FX sources like risers and bells
      3. Bass
      4. Piano/Pad
      5. Other synthesizer instruments
      6. Acoustic/Electric Guitar
      7. Orchestral Instruments
      8. Vocals

      I tend to place lower frequencies at the top and higher frequencies at the bottom. Orchestral instruments are arranged in score order.

      FX tracks sent via Send are placed directly below the corresponding instrument/group track. I prefer designing and fine-tuning FX for each instrument individually, so this method works best for me.

      As you work on multiple projects, you’ll develop your own track organization method, tailored to your convenience.

      However, organizing tracks can significantly speed up your workflow, so having a consistent routine is beneficial.

      That’s all for today. See you in the next post!

      Basics of Mixing – 3.1 Console and DAW

      Hello! This is Jooyoung Kim, a mixing engineer and music producer.

      Today, I will finally talk about the functionalities.

      Shall we begin?

      In the days when all recording processes were done analog, mixing was performed using analog mixers and tape.

      Here is a video I found related to this topic. If you are interested in analog recording, you might find it interesting to watch.

      The transition from analog to digital began with the release of Digidesign’s (now AVID) Sound Tools.

      Sound Tools included a DAW program called Sound Designer, various chipsets, and devices that acted as audio interfaces, all designed exclusively for Mac.

      Later, this program evolved into Pro Tools, a representative DAW.

      Such systems, integrated with DAWs, show why Pro Tools has become the industry standard and why Macs are commonly used in studios today.

      As we moved from analog to digital, DAWs developed by incorporating analog functionalities into computers. Therefore, understanding the functions of an analog mixer can make it easier to approach mixing with a DAW.

      The DAW mixer window that you need to get familiar with if you’re into mixing

      The interface of the mixer window is also designed similarly to an analog mixer. Let’s take a closer look at a mixer.

      • Analog Mixer and Signal Flow

      I wanted to bring a larger one, but it was difficult to see clearly.

      Let’s start from the left.

      Each channel has a series of stages: Pre section with mic preamp and input gain, Insert section with compressor and EQ, Send/Return section for external effects, and Post section with panning and output gain.

      This configuration of a single channel is called a channel strip, and a mixer consists of multiple channel strips. The DAW mixer window is organized in a similar sequence.

      The signal usually flows from top to bottom, and this path is called the ‘signal flow.’ Each DAW has a different signal flow, so you need to learn the signal flow of your specific DAW.

      I usually prefer Cubase for mixing, but the current project is in Logic, so I brought the Logic mixer window. Here, you can see that each channel strip is quite similar to an analog mixer.

      Let’s check the Send section in the DAW mixer window and then return to the analog mixer.

      • Send Section

      The analog mixer I brought doesn’t specifically say Send but is labeled FX. This Send function allows you to send the signal from each channel strip to a separate Send channel to apply effects independently.

      Some might wonder why not just apply effects in the Insert section.

      In the past, studio reverb and delay units were large and expensive. Applying such effects to each channel individually was nearly impossible. Additionally, sending the sound separately through the Send section provided the advantage of processing it independently.

      This feature remains in modern DAWs.

      In mixing, the Send section is primarily used for applying delay, reverb, and sometimes modulation effects like phaser or chorus, as well as saturation effects like distortion.

      Next, we need to look at the group/send section and bus.

      • Group and Aux Channels, and Bus

      Group/Aux channels are mostly seen in large analog mixers. They are used to bundle similar instrument groups for collective control.

      In Cubase, the concept of a bus isn’t used, making it more intuitive. However, in Logic and Pro Tools, the bus concept can be a bit confusing.

      A bus is a signal path that combines audio signals from multiple tracks. This explanation might sound complex, but think of it as an additional step before the Aux track.

      In Logic and Pro Tools, the bus function is used to create groups or apply effects like reverb or delay through Send.

      • Master Channel

      All tracks ultimately converge at the master channel, which is usually the Stereo Out channel in standard mixing.

      It is crucial to ensure that the digital peak does not exceed 0dB in the master channel.

      Although the 32-bit float format prevents audio quality destruction even if peaking occurs, it’s good practice to manage digital peaks for industry standard compliance and effective communication.

      This should provide a basic understanding of the tracks and their functionalities.

      See you in the next post!

      Takamine GD30CE NAT Guitar Review

      Hello! This is mixing engineer and music producer, Jooyoung Kim~

      Finally, I am writing a review for a Takamine guitar!

      Previously, I asked the Takamine headquarters about the guitar specifications since they weren’t clearly listed, but I haven’t received a reply yet. So, I’ll post the review first and update it later when I get a response.

      Today, I’ll be reviewing the Takamine GD30CE NAT guitar.

      Let’s get started!

      • Appearance

      Here is the packaging box, which was smaller than I expected. Inside is the GD30CE NAT guitar reviewing today. The packaging itself is quite standard.

      Included are a truss rod adjustment wrench and a QC card indicating it passed inspection in 2019. This makes it a slightly older model. The QC card shows a date from 2019, meaning this guitar is a bit aged.

      The preamp has a built-in tuner, making it convenient as you don’t need an external tuner. My first guitar had a built-in tuner, and it was incredibly convenient for tuning.

      Takamine’s signature split saddle is designed for precise intonation. A notable difference between the older and newer versions of the GD30CE is the bridge. The newer versions use bridge pins to secure the strings, while the older versions allow you to attach the strings directly to the bridge without pins.

      Bridge Differences

      • Pinless Bridge:
        1. The vibration is directly transferred to the bridge and guitar, enhancing resonance.
        2. However, if you don’t have a habit of loosening the strings after playing, the bridge can easily lift.
      • Pinned Bridge:
        1. The strings are secured differently.
        2. Just like the pinless bridge, if you don’t loosen the strings after playing, the bridge can lift and the neck can warp.

      Make it a habit to loosen your strings after playing or consider tuning half a step down as an alternative.

      I forgot to take a picture of the neck, but the back of the neck has a matte finish, making it easier to grip the fretboard.

      • Specifications

      The GD30CE features a dreadnought body with a cutaway and is equipped with the TP-4TD preamp, making it a solid-top guitar. The remaining specifications are:

      1. Solid Spruce Top
      2. Mahogany Back and Sides
      3. Synthetic Bone Nut and Saddle
      4. Nut Width: 42.8mm
      5. Ovangkol Fingerboard

      I inquired about the bridge material with the headquarters but haven’t received a reply yet. I will update this information once I get a response.

      • Sound

      I recorded the sound using the following setup:

      • MacBook Pro 2015
      • Audient ID14 (borrowed from a friend)
      • OC818 Microphone for stereo recording

      No reverb or delay effects were applied. I only adjusted the volume slightly and set the limiter to not exceed 1dB at peak level.

      Before listening to the sound, I must admit that I haven’t played the guitar for a long time, so my playing skills are rusty. Please focus on the sound rather than the playing.

      Sound Samples

      1. Strumming

      2. Fingerpicking (Apologies for the noise; please listen at a higher volume)

      3. Amp Strumming (Using Roland AC33 amp, recorded with OC818 in mono)

      4. Amp Strumming + Preamp EQ Adjustment

      • Personal Overall Impression

      The GD30CE NAT has decent finish quality, sound, pickups, and neck feel. It’s a well-rounded guitar with no significant flaws. It would make a great second guitar. (Although if I get another guitar, it would actually be my fourth one…!)

      Out of the guitars I recently demoed, this one impressed me the most, which is why I decided to write about it first.

      Pros
      • Good finish quality
      • Decent sound
      • Convenient preamp
      • Comfortable neck feel
      • Affordable price: 600$
      Cons
      1. Slightly aged model as indicated by the QC date.
      2. Most necks might need adjustment via the truss rod.

      Despite these two cons, it’s a great guitar if you can overlook them. It’s a solid choice for those who don’t like Yamaha’s high tones, offering a similar position to the Yamaha LL6 but with a different tonal character.

      I hope this review helps, and I look forward to sharing more reviews in the future!