Record Before Modifying the Stam Audio SA-2A

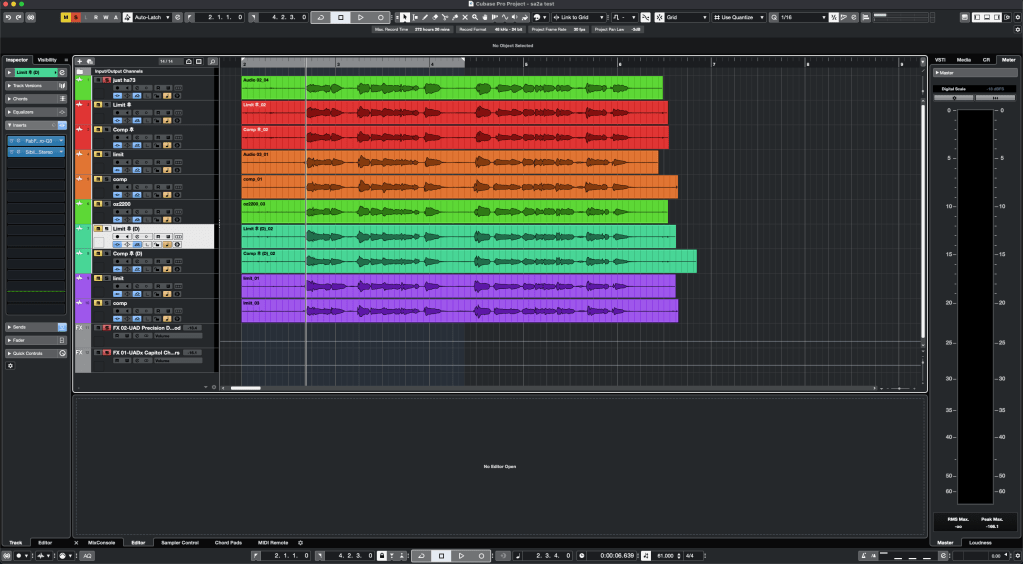
Hello, this is Jooyoung Kim, mixing engineer and music producer.
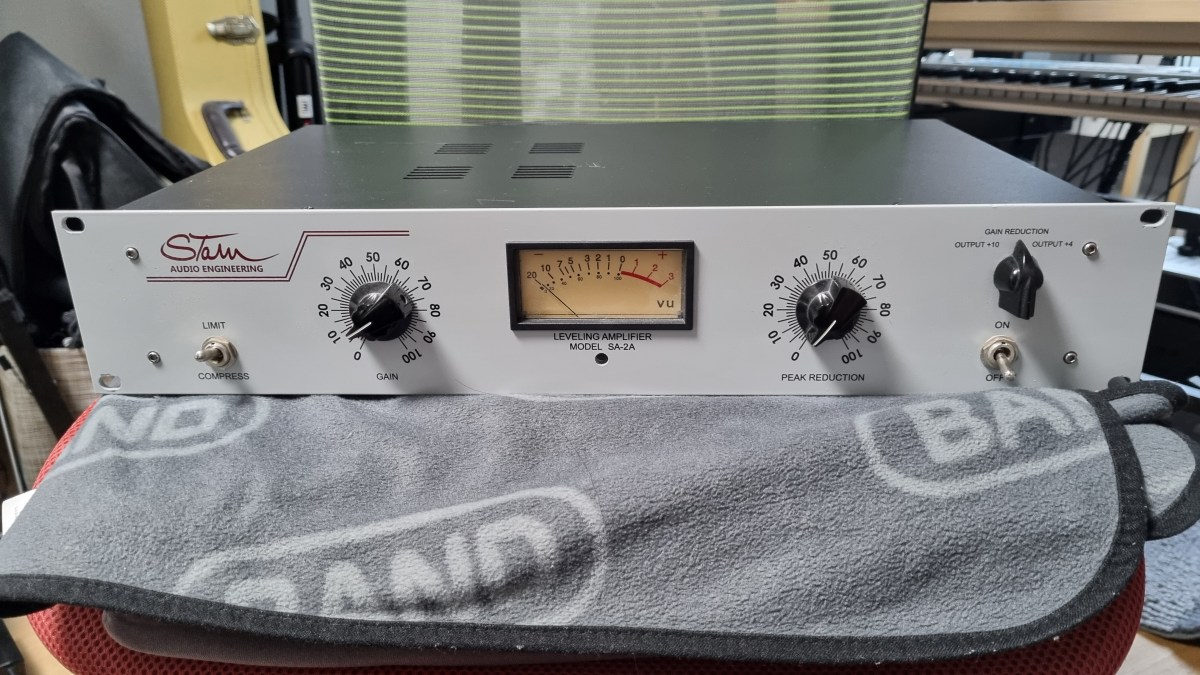
Until a few days ago, I was planning to sell my Stam Audio SA-2A second-hand and purchase a product from a Japanese brand.

However, it didn’t sell easily, and with the sudden rise in the Japanese yen… So, I decided to modify the unit myself instead of selling it.


Identifying the Problems

Here are the issues I identified with the SA-2A:
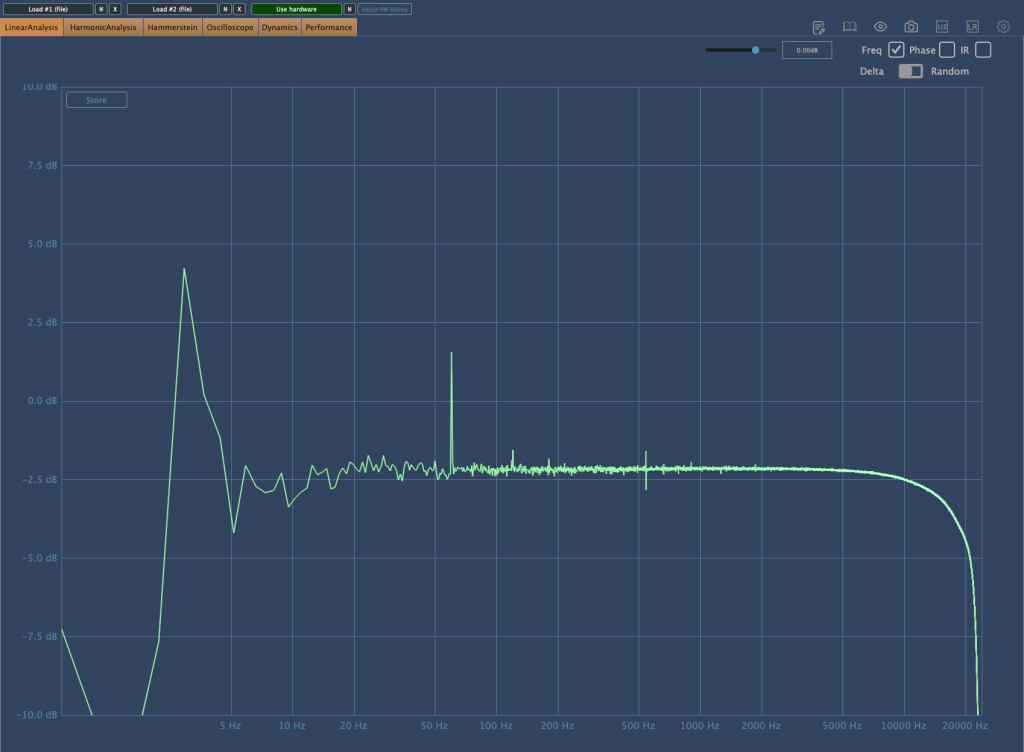
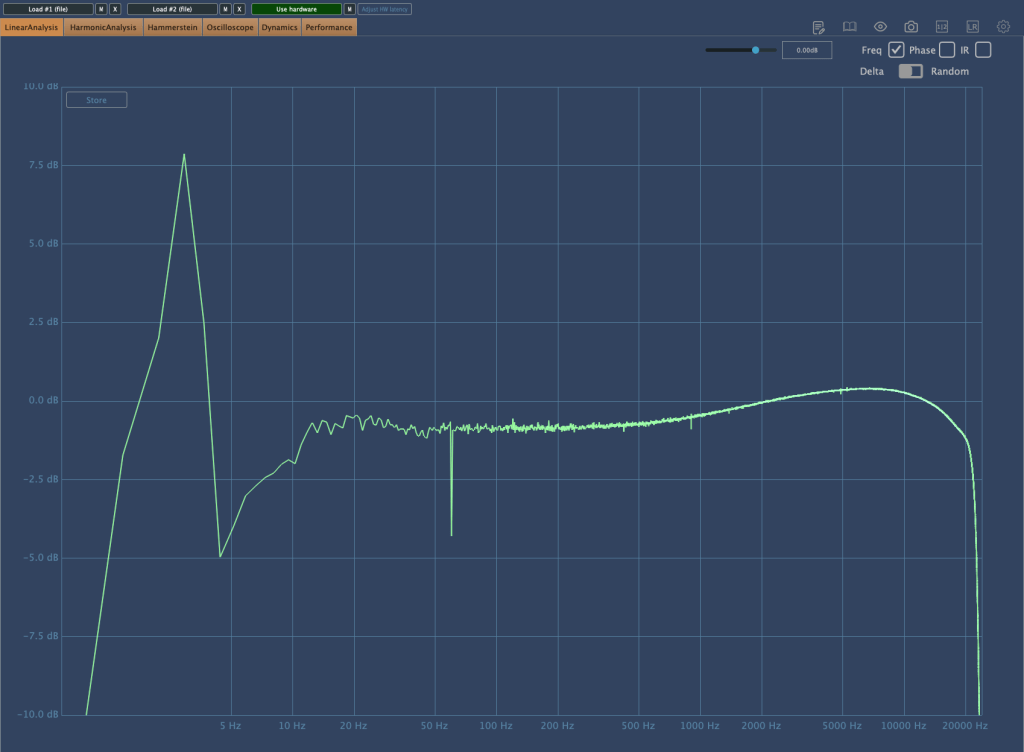
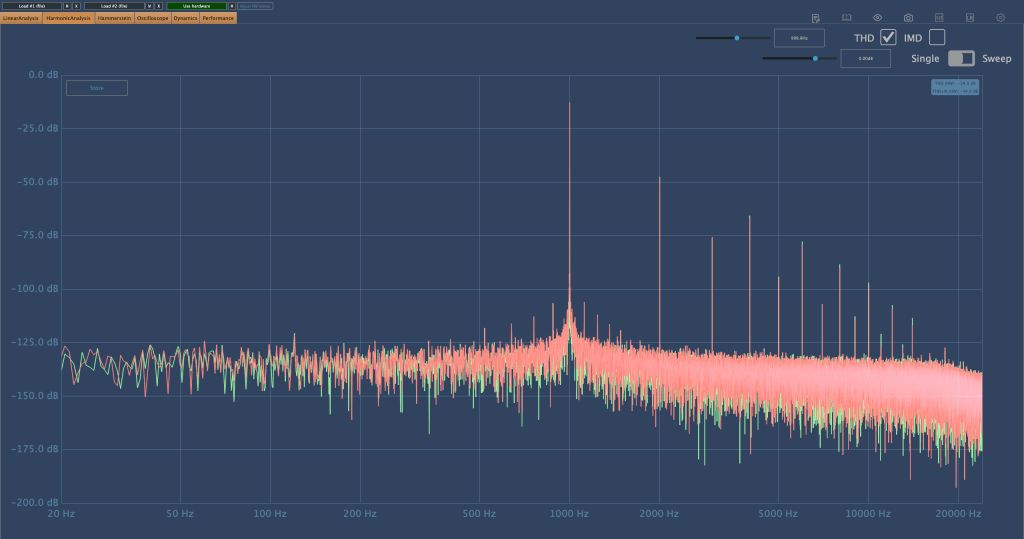
  1. Dissatisfying Sound
    • Excessive saturation and dull highs give the audio a muffled feel.
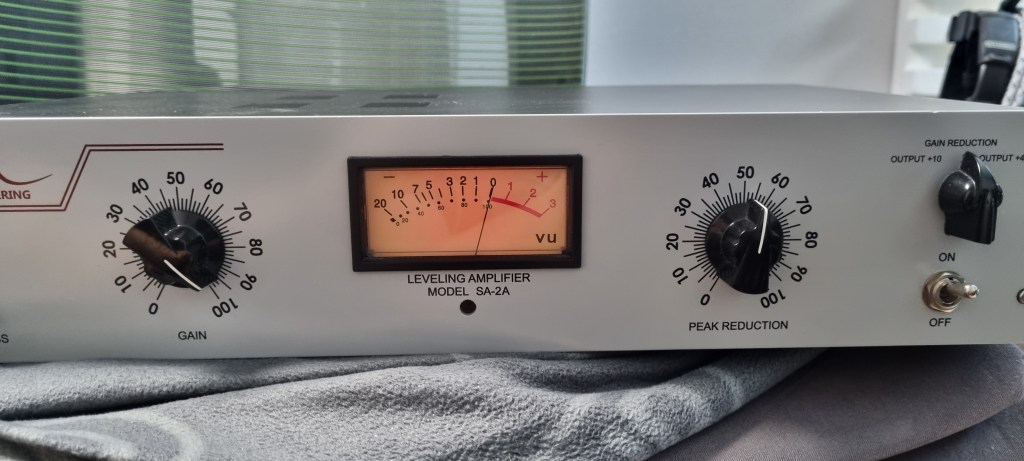
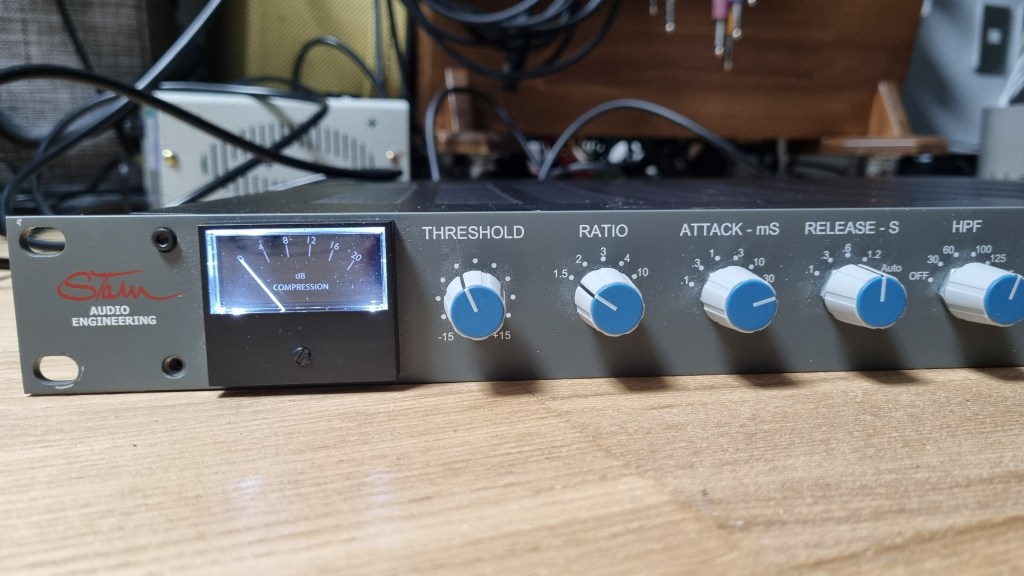
  2. Gain Parameter Adjustment
    • The output volume only matches the original level when the Gain knob is significantly reduced.
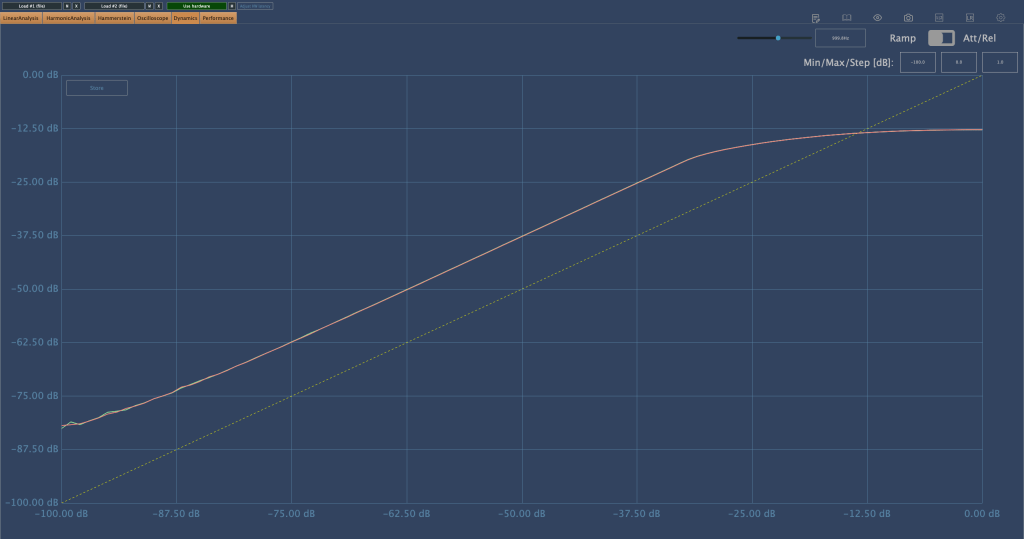
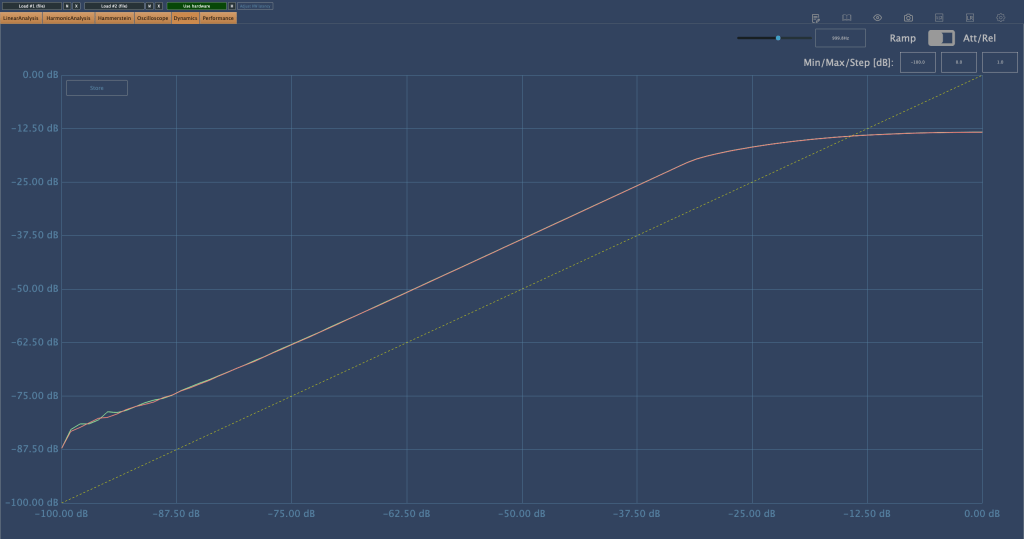
  3. Peak Reduction Sensitivity
    • Compression only activates when the Peak Reduction is turned up considerably.
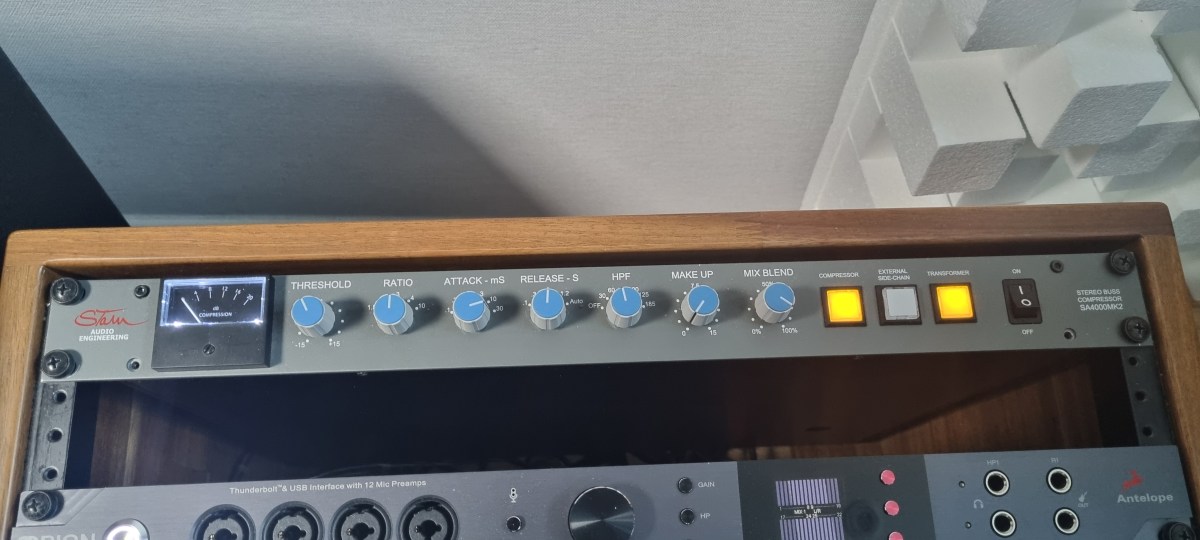
  4. Limit and Compress Switch
    • The switch works in reverse.

Initial Steps in Modification

Addressing Problems #2 and #3

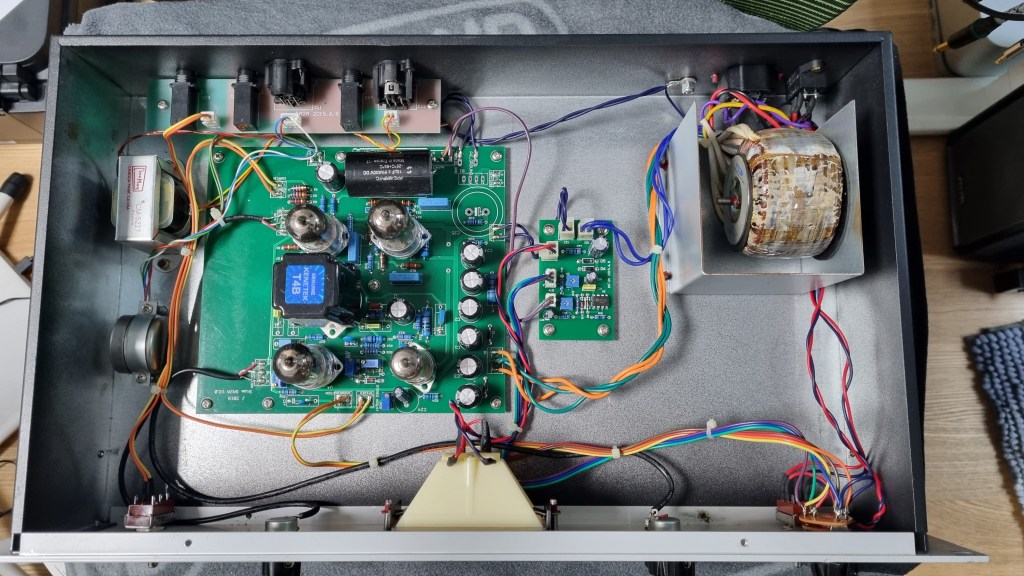
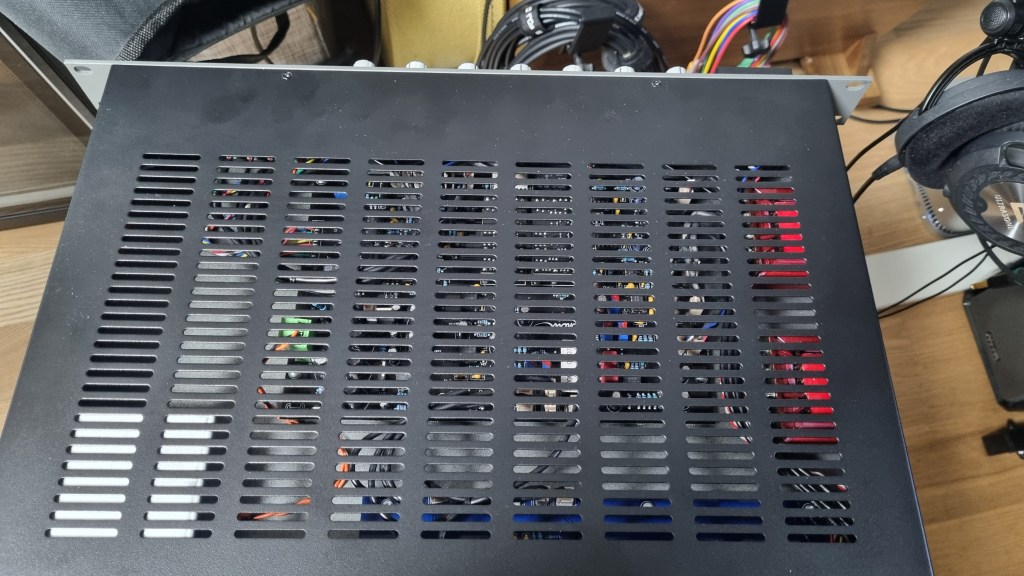
  • Inside the unit, I found a variable resistor labeled A100K.
    • This logarithmic resistor seemed unresponsive at lower ranges.
    • However, since we perceive audio in dB, it made sense to use a logarithmic curve for the Gain control.
  • I decided to replace:
    • Peak Reduction with a B100K (linear) resistor (ideally A200K, but it was unavailable).
    • Gain with a lower resistance A50K resistor.

I placed the order for these parts and will replace them soon.
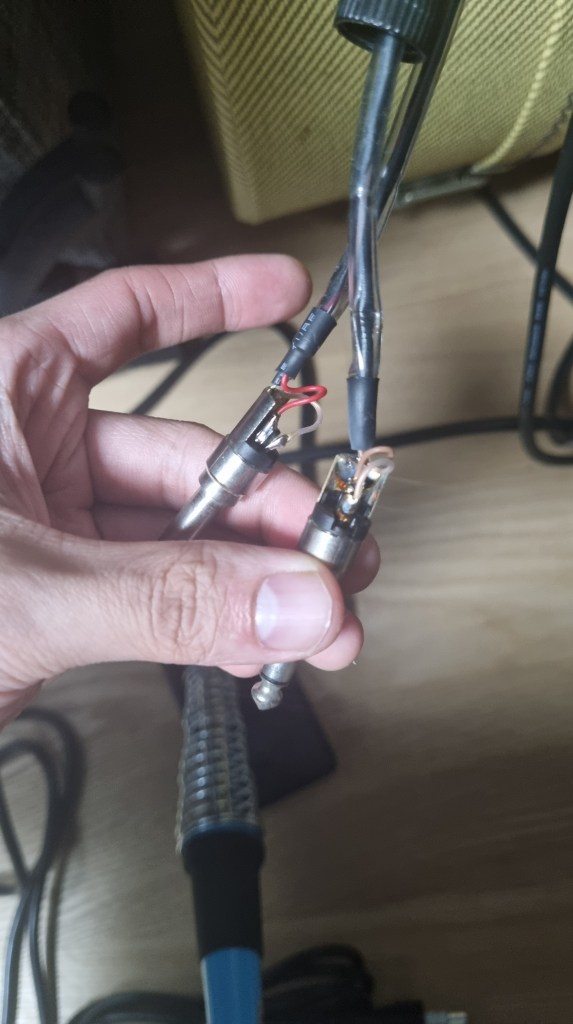

Fixing Problem #4

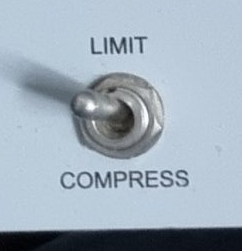
  • The Limit/Compress switch was simple to resolve—just unscrewed it and rotated it half a turn.

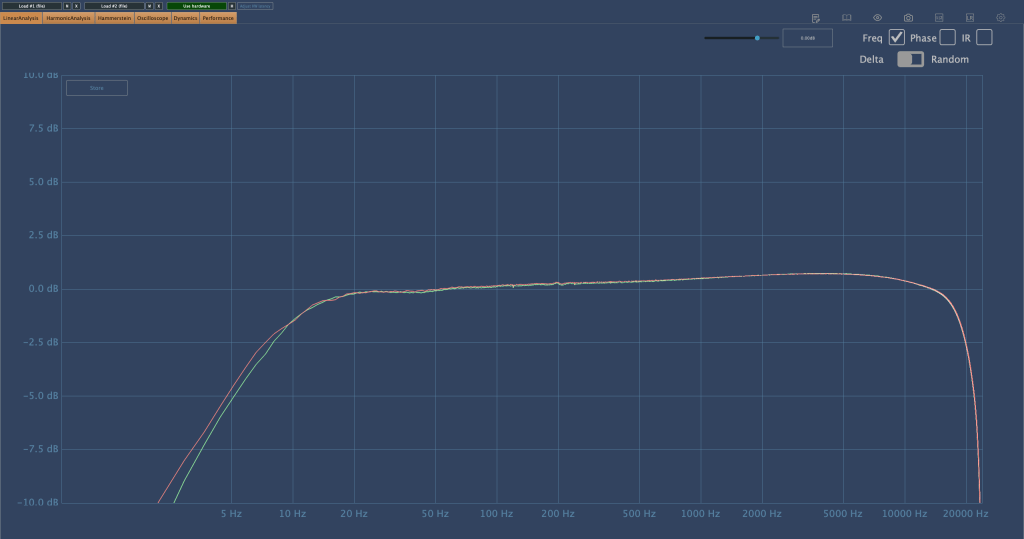
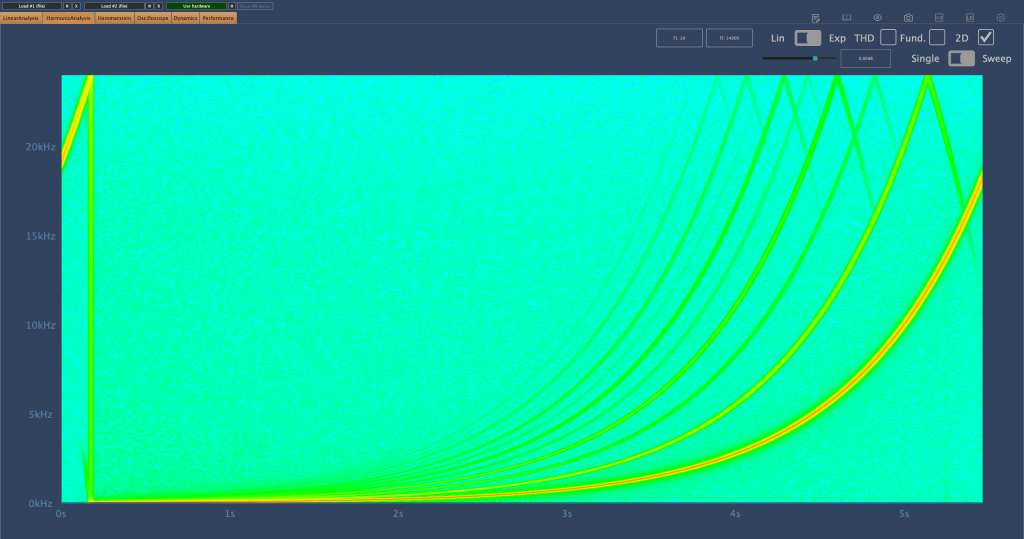
Investigating Sound Quality Issues

The core problem remained the sound quality. After extensive research:

  • I contacted Stam Audio for the circuit diagrams.
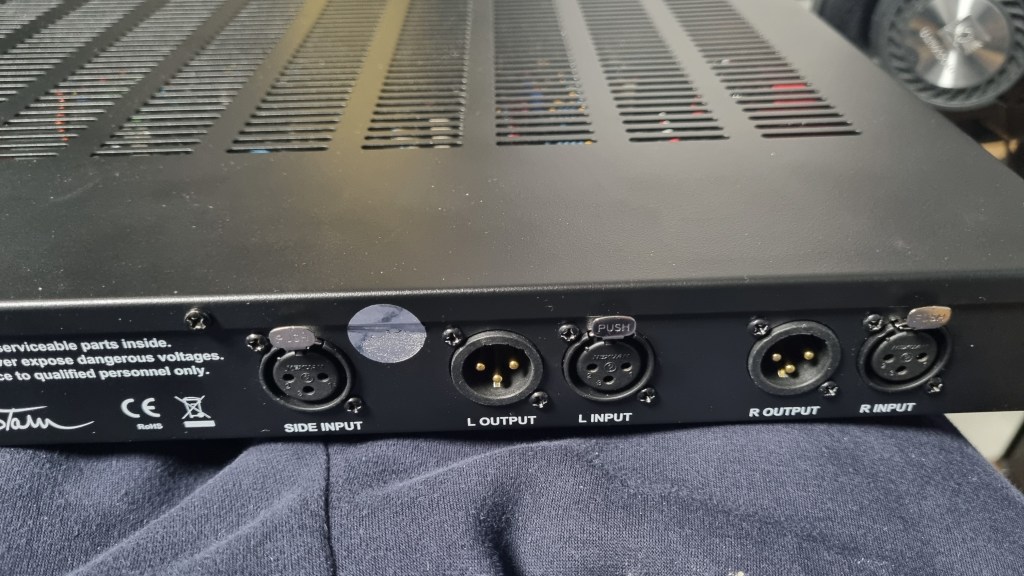
  • I emailed Cinemag, the transformer manufacturer, to get specifications for the input/output transformers:
    • Input: Cinemag CM-5722, winding ratio 1:5.
    • Output: Cinemag CM-2570, winding ratio (18:2):1 = 9:1.

While considering transformer replacements (e.g., Sowter), I found several insights:

  1. Cinemag’s CM-5722 input transformer is already highly rated and doesn’t need replacement.
  2. Discussions on Gear Space suggested that tubes or the T4 cell impact the sound more than transformers.
  3. A post from 2016 or 2017 on Gear Space mentioned that replacing a single input tube can significantly improve sound.
  4. A YouTube video comparing various 12AX7 tubes on a Marshall amp highlighted sound differences between tube brands.

From this, I concluded that the JJ Electronics 12AX7 (ECC83) used in the V1 position is likely the main culprit behind the sound I dislike.

Based on the video, the JJ Electronics tube produced a tone that immediately felt off to me.


Planned Tube Replacements

I decided to replace:

  • V1 Tube: JJ Electronics ECC83 with Mullard 12AX7, a sound I much prefer.
  • V4 Tube: JJ Electronics ECC83 with another Mullard 12AX7 for consistency.

However, due to unexpected expenses this month (e.g., AES membership fees, domestic conference fees, paper review fees, and repairs for another compressor), I’ll postpone the tube replacement until next month.


Side Discovery: DIY Compressors

While researching, I stumbled across a site selling DIY cases and PCBs.

https://collectivecases.com/

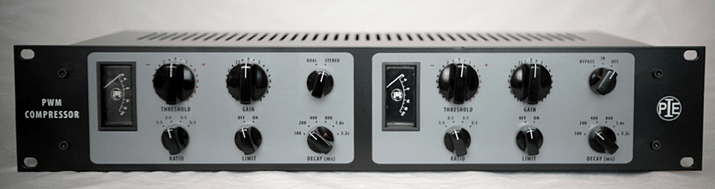
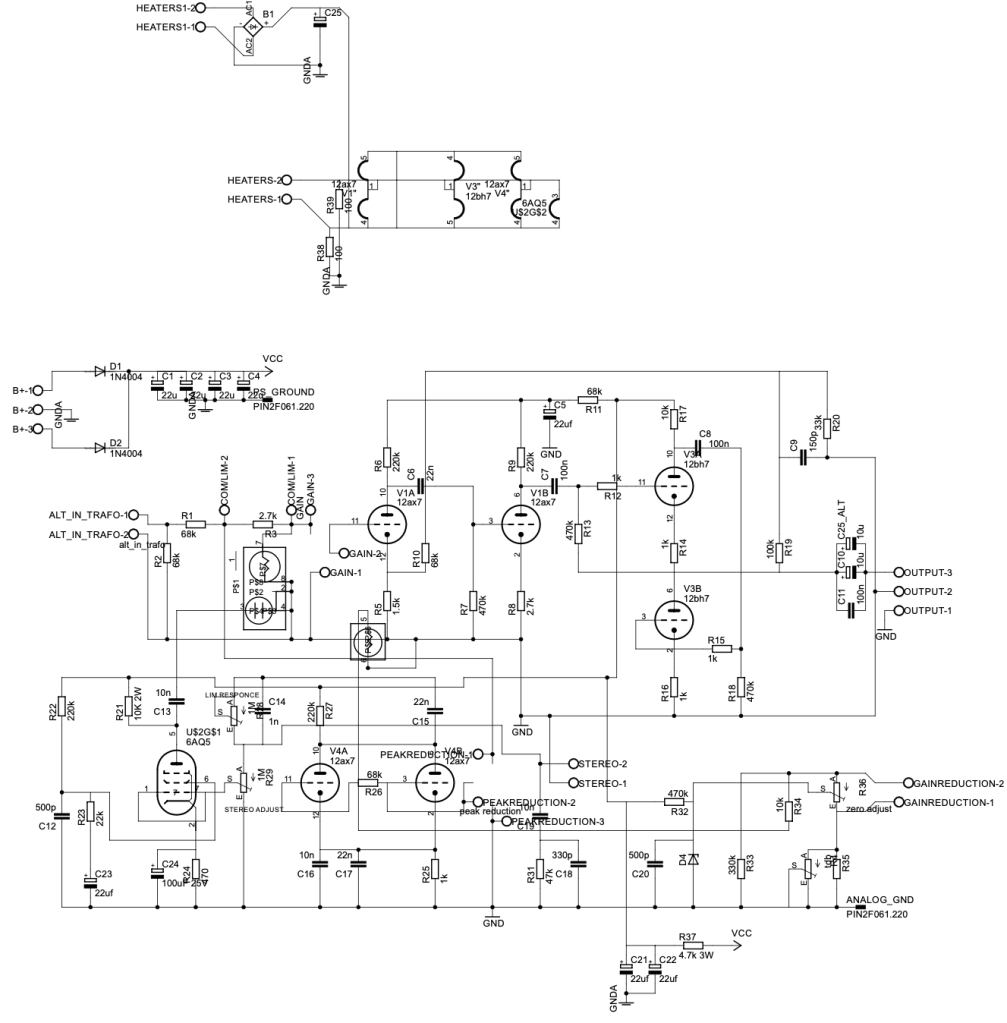
While there are plenty of LA-2A clones on the market, the PYE compressor clone caught my eye.

  • PWM-based compressors are rare, and even the clones are scarce.
  • The original units are prohibitively expensive.

Although the schematics look complex and sourcing components would require significant time and money, I feel deeply drawn to this project. Maybe someday, with enough budget, I’ll take it on.


For now, this concludes my record of the SA-2A before modification. Once I replace the tubes and complete further changes, I’ll share my experiences and the sound improvements in a follow-up post.

See you in the next update! 😊

Stam Audio SA-2A Compressor Review

Hello, I’m Jooyoung Kim, a mixing engineer and music producer.

Today, I’m excited to share my review of the SA-2A, something I’ve been eagerly anticipating! Let’s dive right in.

The Struggle with the Gear

If you’ve been following my blog, you might know that this unit had quite a journey before it landed in my studio. Initially, I bought a faulty one with the idea of enhancing my understanding of circuits and practicing some soldering by fixing it myself.

I thought it might just be a simple fuse issue… But after blowing through about five fuses, I took a closer look at the circuit board.

Despite my inspection, I couldn’t find any blown capacitors or burnt resistors. So, I decided to take it to a repair shop after seeking advice.

The culprit turned out to be a burnt toroidal transformer, damaged by overcurrent.

The challenge was that this early version of the SA-2A used a Cinemag transformer, and Stam Audio wasn’t sure if they had any spares left.

After two weeks of waiting for a response with no luck, I asked them to send me the specifications so I could have a custom transformer made.

After installing the custom transformer, the unit finally came to life!

I purchased the broken unit in January, and the repair was completed by early July, marking a nearly six-month battle.

Of course, I was a bit busy, which contributed to the delay, but it was quite the saga nonetheless!

Measurements

As regular readers of my blog know, I like to run measurements on gear, whether it’s hardware or plugins. While measurements don’t tell the whole story, they do help in explaining things more clearly.

I find it especially useful to compare my impressions from using the gear with the measured data, which can sometimes reveal if my ears are having an off day.

The frequency response graph above shows the response with no compression applied. (Keep in mind the peaks and valleys you see are typical of analog gear.) You can see a noticeable roll-off in the high frequencies.

Here’s the frequency response graph with compression applied and gain compensated. There’s a rise in the high frequencies, and the right-hand graph shows noticeable distortion.

As the Peak Reduction increases, harmonic distortion also changes. It seems much more dynamic than using a plugin.

This is the compression curve graph. Strangely, the left side shows the settings for “Comp,” and the right side shows the settings for “Limit.” They seem switched, don’t they? Perhaps it’s just a labeling issue.

Even when using the device, it felt like the settings were somewhat reversed.

Practical Use

I tested the SA-2A on vocals and lead acoustic guitar in a project I’m currently mixing, as well as on some demo vocals for a production I’m working on. Additionally, I conducted a few simple tests.

My observations are as follows:

  1. It’s a saturation machine that adds a hefty amount of color.
  2. It can sound a bit rough, so careful EQing or the use of de-essers/multiband compressors may be necessary to tame it.
  3. As you increase the Peak Reduction, the high frequencies rise, so setting the Input Gain properly beforehand is crucial.
  4. It’s challenging to use on sources that are already colored.
  5. The lack of an Emphasis knob is a drawback.

I wouldn’t say I’m in love with it, but it certainly has its uses.

Since 2017, there’s been an option to use Sowter transformers, and it seems they’ve started custom ordering these transformers from the two companies they work with.

While the raw sound isn’t spectacular, it integrates nicely into a mix. I plan to experiment more with transformer and tube swapping in the coming months.

I hope you enjoyed reading this review. See you in the next post!

I’m always open to reviewing hardware products! If you’d like me to review a product, please feel free to reach out at joe1346@naver.com.

Stam Audio SA4000 mk2 Compressor Review

Hello, I’m Jooyoung Kim, an audio engineer and music producer.

Today, I’d like to share my thoughts after using the SA4000 mk2 compressor for a couple of months.

  • Appearance

The back panel is equipped with XLR connectors throughout, and the sidechain input is a stereo unbalanced connection via XLR.

The exterior is quite standard for rack equipment, with a solid and heavy build. It’s a 1U unit and features a British Mod, noticeable by the two red Carnhill transformers on the right side.

The unit is relatively deep, so I had to connect a right-angled power cable to mount it properly.

For the sidechain, I used my Send Return TRS to TS cable, converting the TRS to XLR to create an unbalanced stereo XLR to TS cable.

  • Usage

The left side shows the frequency response without the transformers, and the right side shows it with the transformers.

The difference isn’t drastic; the transformers slightly reduce the low frequencies and overall volume.

In terms of harmonics, there isn’t a significant difference except for the volume change. Again, the left side is without the transformers, and the right side is with them.

I examined the Ratio settings for any peculiarities and found that the Knee is slightly softer. The primary difference with and without transformers seems to be the volume.

In practical use, I noticed:

  1. The high frequencies are considerably tamed, making it suitable for use as a bus compressor on harsh hi-hats.
  2. Recording with the transformers engaged reduces the high frequencies, which isn’t to my taste.
  3. When gain-matched, the version with the transformers engaged sounds slightly more pronounced.

These are the main points I’ve gathered.

Among the SSL clone compressor plugins I’m familiar with, I’ve never encountered one with this specific frequency response. It has a unique character.

In particular, I find it effective with BFD drums, where overheads or hi-hats often have excessive high frequencies. Using this compressor effectively tames those troublesome areas. It would also work well on a master bus for retro-style tracks, preserving that vintage feel.

  • Conclusion

Using hardware can be cumbersome. You need to prepare recall sheets for future mix adjustments, carefully manage equipment routing, and more. Despite these hassles, hardware is employed to capture its unique color and character.

This compressor, with its distinct features, has become a regular part of my setup. I’m using it frequently.

However, I don’t want to suggest that hardware is inherently superior. Both plugins and hardware are merely tools. As long as they suit your purpose and deliver the desired tone, it doesn’t matter whether it’s a plugin or hardware.

In that sense, I’m very keen on getting a tube preamp. I’ve been eyeing Oz Design, but it’s a little-known brand, so reselling might be challenging.

That’s all for today. See you in the next post!

I’m always open to reviewing hardware products! If you’d like me to review a product, please feel free to reach out at joe1346@naver.com.