Hi! This is Jooyoung Kim, a mixing engineer and music producer.
Long time no post…!
I was too busy studying English and doing other work. Unfortunately, I failed to achieve the score that I wanted on the TOEFL test. My plan was to apply to a Ph.D. program this year, but I may have overestimated my English ability…T.T..
But I think it is reasonable for graduate schools to have a high TOEFL score threshold. If someone studies in Korea, I think they may have a good command of Korean and need to be proficient in the language. From the opposite perspective, English speakers will think the same way.
So.. I have to study English harder than before..
By the way, today, I’ll introduce Cableguys’ new plugin, Snapback. (The plugin was provided by Plugin Boutique, and if you purchase by the links, I’ll get small commission from them.)
It’s a simple audio layering plugin. However, this plugin has great detection ability and adds many flavors to the sources.
It analyzes the input signal in real time, detects each transient with high precision, and triggers two types of layers: a pre-transient “Snapback” layer and a main transient layer. This allows users to enrich kicks, snares, claps, and percussive sounds without manually adjusting timing in the DAW.
By automating phase-accurate alignment and offering detailed controls such as pitch, timing shift, stereo width, filtering, and dynamics, Snapback makes drum enhancement faster and more musical than traditional manual layering.
Let’s find out more about it’s parameters.
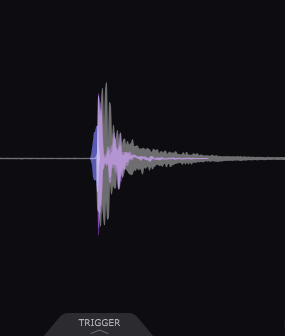
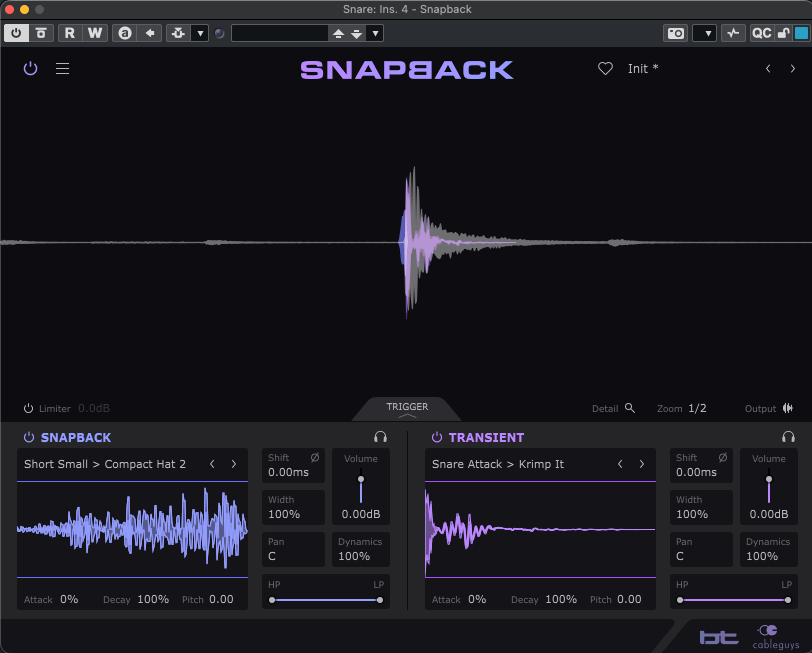
In the analyzer, a blue audio signal appears in front of the main source, with a purple audio signal behind the blue signal. The blue one is ‘snapback’, and the purple one is ‘transient’. They can be adjusted using the parameters at the bottom of the plugin.
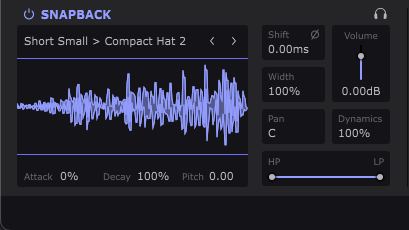
I presume that many people are already familiar with the attack, decay, pitch, and all related parameters. Thus I’ll not elaborate about whole things. However, shift parameters refer to ‘shift timing,’ which can be adjusted from -4 ms to 4 ms. Width can be adjusted from 0% to 200%, and dynamics from 0% to 100%. HP and LP means High pass and Low pass filter.
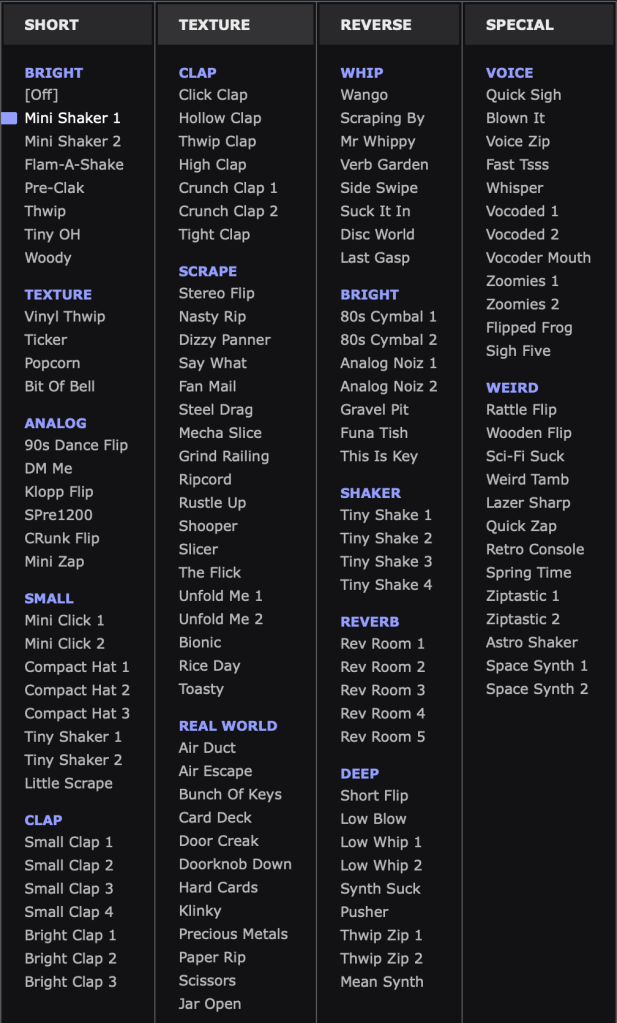
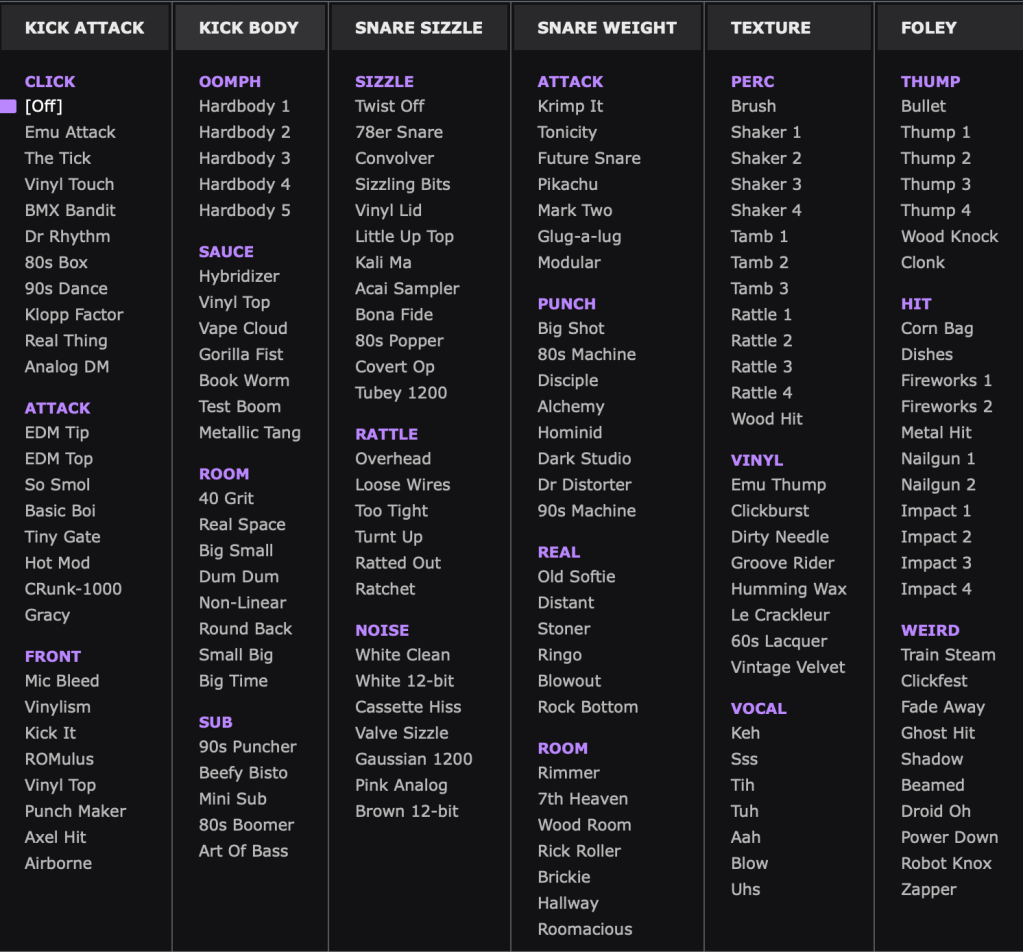
Snapback and transient presets are organized into several stylistic groups, each designed to emphasize a specific aspect of drum layering. So, you can instantly hear how different combinations affect the groove.
Overall, Snapback is a simple tool, but it solves one of the most time-consuming tasks in modern production: clean and precise drum layering.
Its transient detection, timing accuracy, and flexible controls make it a fast and musical solution for enhancing percussion in any genre. I think $29 is really affordable!
That’s all for today. See you in next post!