Basics of Synthesizers (6) – Vector Synthesis & Wavetable Synthesis

Hey there! I’m Jooyoung Kim, a mixing engineer and music producer.

Ugh… English has been killing me lately. Seriously… 😭

I wish it would just sink into my brain step by step, but it feels like I’m cramming it in, and my head’s about to explode. Words, especially, are the worst. Haha.

Anyway, with my schedule being so tight, I’m finally getting around to writing this on the weekend.

It’s been a while, but I’m back with another post on synthesizer basics! 😊

Today, we’re diving into vector synthesis and wavetable synthesis.

Ready? Let’s get started!

(By the way, if you make a purchase through the links in this post, I may earn a small commission, which helps me keep the lights on and keep creating content!)


Vector Synthesis

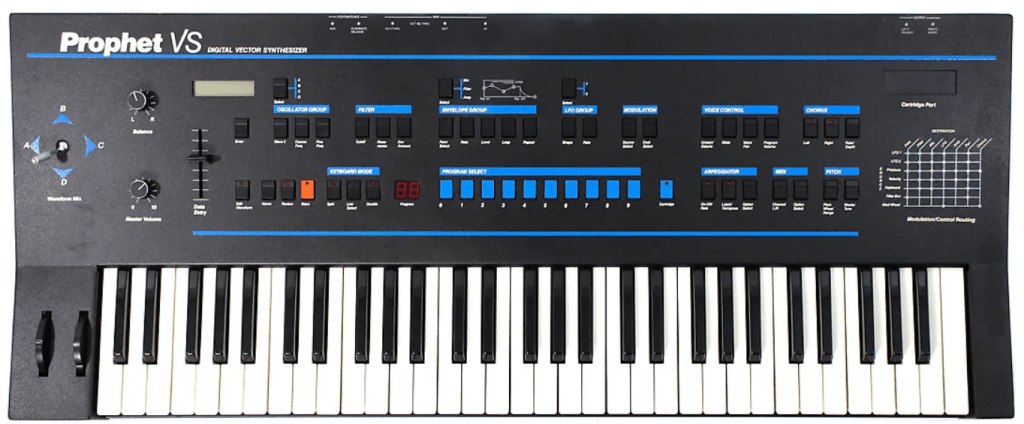
Vector synthesis was a fresh concept introduced by Sequential in the 1980s with their Prophet VS synthesizer.

Prophet VS synthesizer. You can see the joystick on the left.

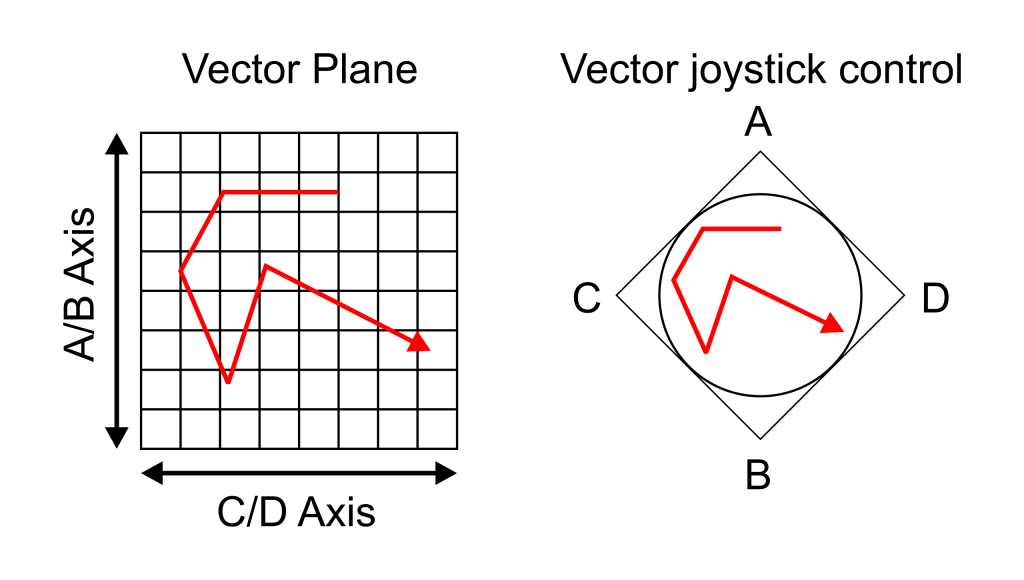
This method assigns different sound timbres to the four corners of a square. Using a joystick, you can intuitively blend these sounds together! The resulting sound, created by mixing these four sources, can be represented as a single point on a coordinate plane using vectors—hence the name “vector synthesis.”

(If you took physics as an elective in high school, this concept might feel pretty familiar!)

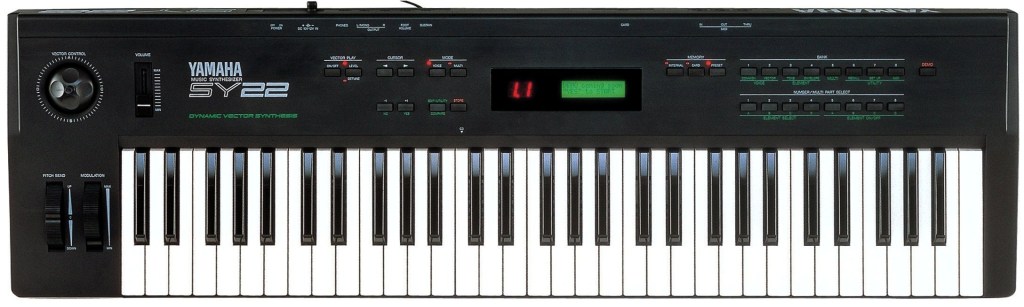
Yamaha SY22
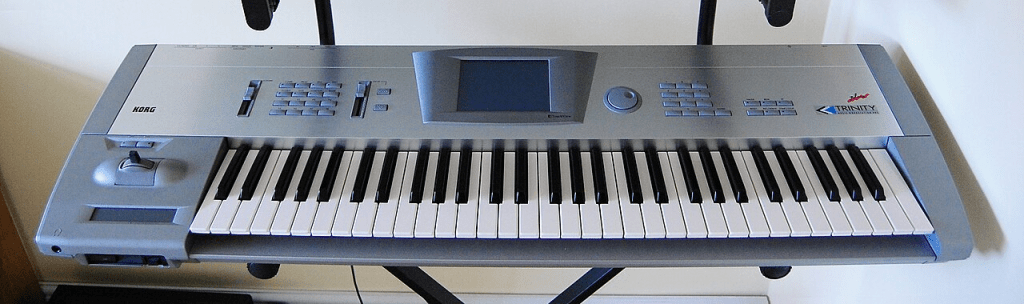
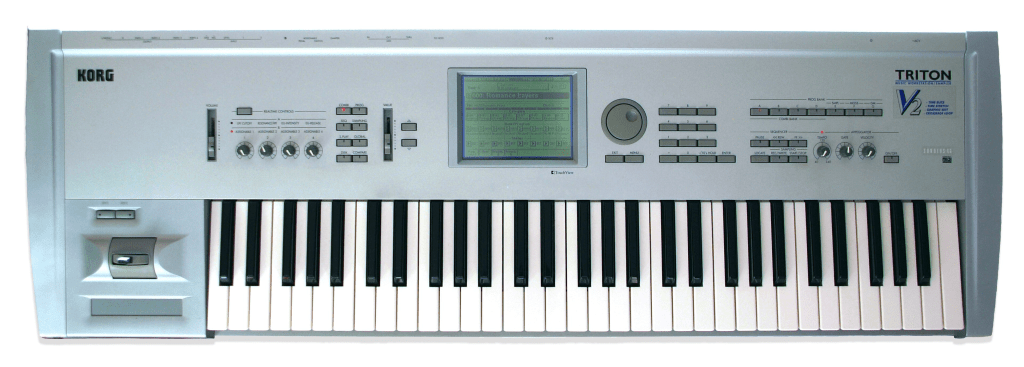
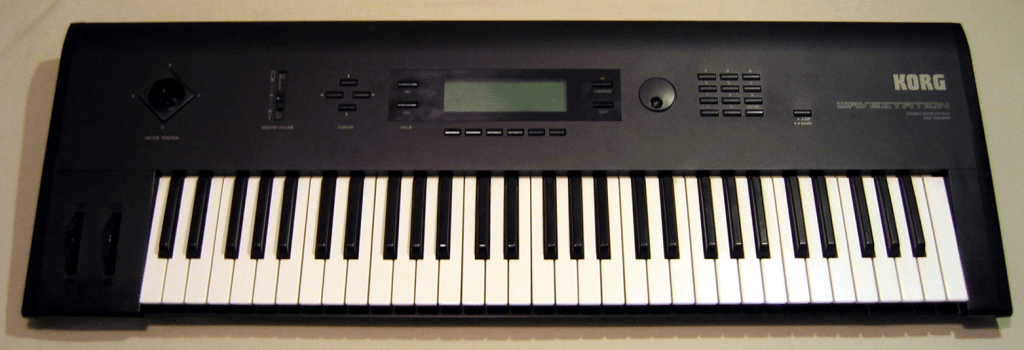
Korg Wavestation

Later, Sequential was acquired by Yamaha, and the development team moved on to join Korg. This led to the release of two vector synthesizers: the Yamaha SY22 and the Korg Wavestation.

Arturia has a virtual instrument called Prophet-VS V.

Korg also released a virtual version of the Wavestation, bringing its advanced vector synthesis system to software.

If you’re curious about vector synthesizers, these are worth checking out!


Wavetable Synthesis

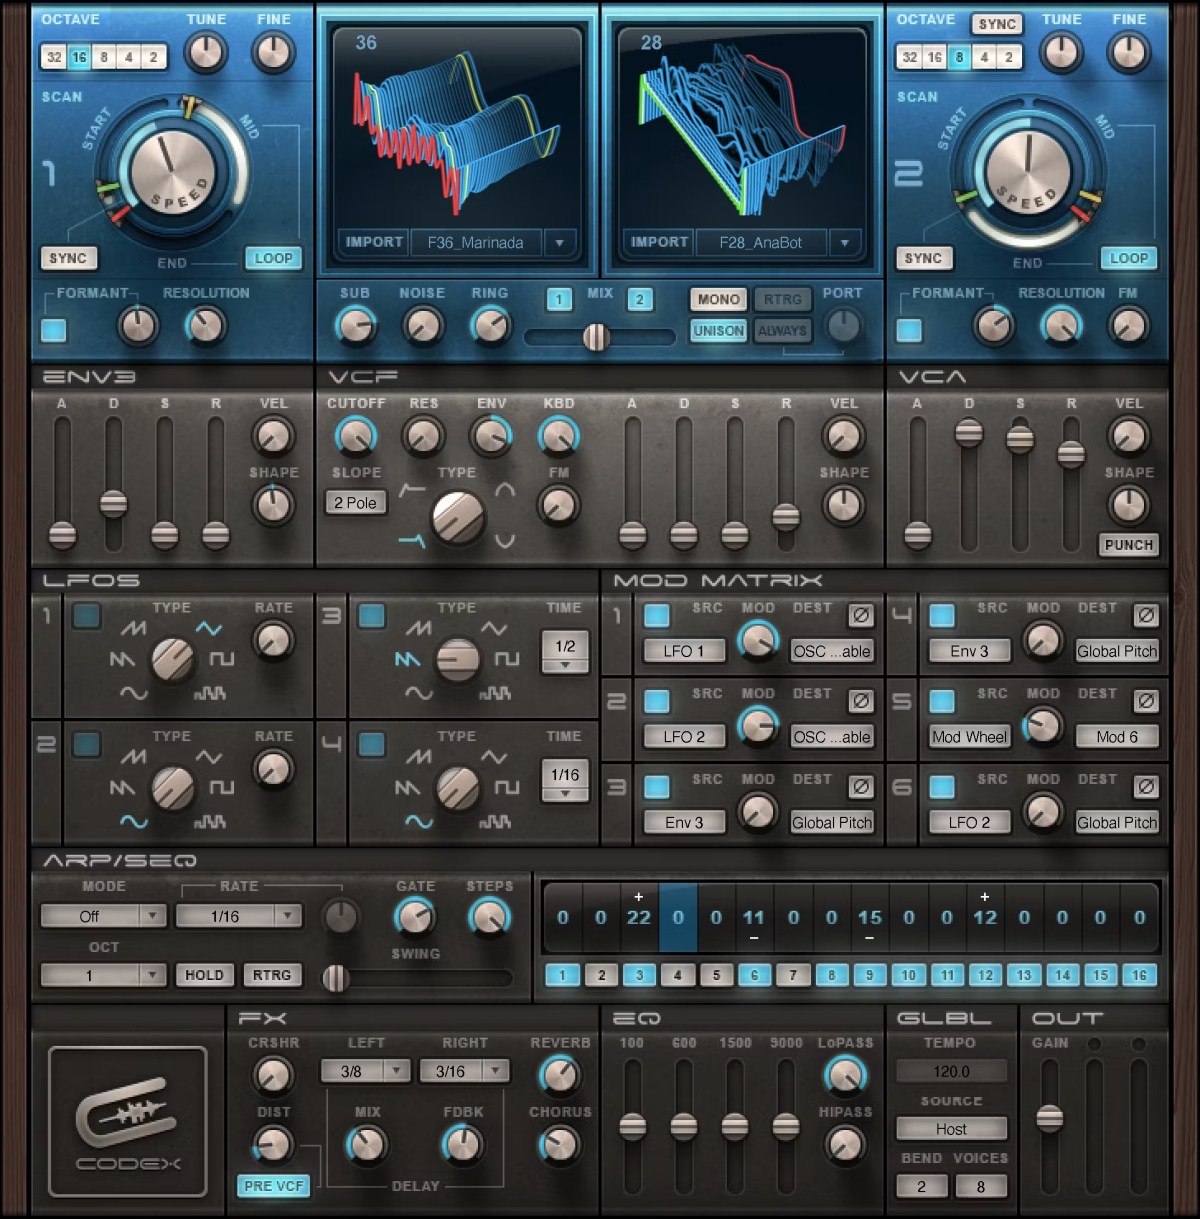
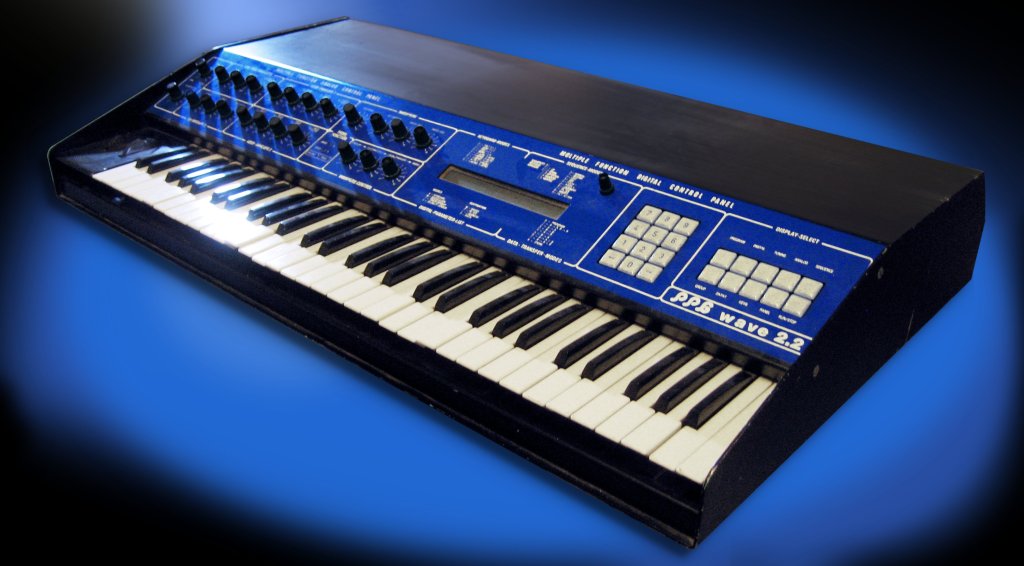
Wavetable synthesis actually predates vector synthesis by a bit. It was first utilized in MUSIC-II, a sound design program developed by Max Vernon Mathews in 1958. It was later commercialized by PPG with their Wavecomputer 360 in the late 1970s and the Wave series in the 1980s.

The concept? It’s about mixing different waveforms to create new sounds. It’s somewhat similar to vector synthesis, in that both methods interpolate between different timbres to generate a sound. That’s why I’m covering both in the same post! 😄

The key difference is this:

  • Vector synthesis calculates the volume balance between four sound sources based on their position in a coordinate plane.
  • Wavetable synthesis works within a single waveform cycle, calculating the amplitude ratios of different waveforms.

This distinction should help clarify how the two approaches differ.

Also, you might notice that both vector and wavetable synthesizers let you tweak the ADSR (Attack, Decay, Sustain, Release) parameters independently. If you’ve read my earlier post on subtractive synthesis, you’ll know I mentioned that these parameters are pretty universal across synthesis methods.

If you’re feeling a bit lost, check out that post for a primer on using something like a Minimoog. Most synths don’t stray too far from that foundation, and trust me, you’ll end up using a Minimoog sound in a track at least once in your life! 😄

Waldorf has recreated the PPG Wave as a virtual instrument, bringing back its iconic 80s sound.

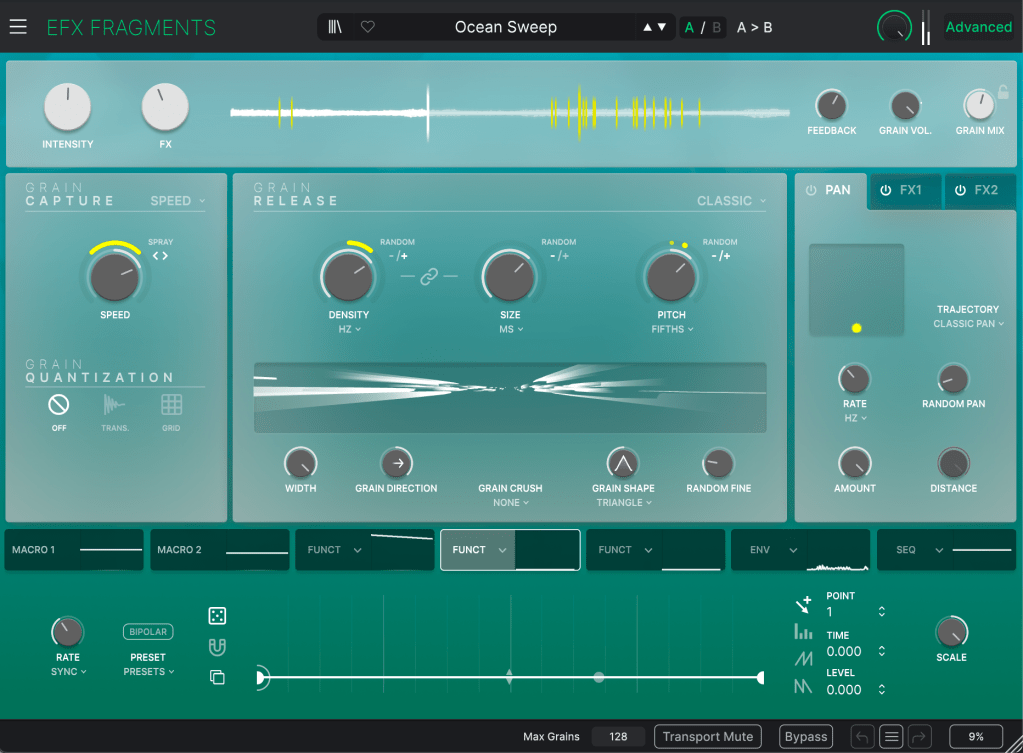
There are tons of wavetable synths out there—Serum, Waves, the free Vital, and LANDR Synth X, to name a few. My personal recommendation? Go with Serum. It’s got a huge user base, which means tons of presets and a great community. Plus, it’s just well-designed.


A Few Final Thoughts

The thing about vector and wavetable synthesis is that you can’t pin down their sound to something specific like sine, triangle, square, or saw waves. Throw in a bunch of different sounds, and the output changes dramatically. Unlike FM synthesis or analog subtractive synthesis, it’s hard to describe the “typical” sound of these methods. 😅

Personally, I love messing around with synthesizers to craft the perfect sound, but it can be a time sink. My advice? Start with a preset that’s close to what you’re after. (If you familiarize yourself with basic waveforms like sine, saw, triangle, and square, it’ll be easier to figure out which category your desired sound falls into.) Build your track first, then tweak the sound later to get it just right.


That’s it for today! Thanks for reading, and I’ll catch you in the next post! 😊

Basics of Synthesizers (4) – Modulation Synthesis and FM (Frequency Modulation)

Hello, I’m Jooyoung Kim, a sound engineer and music producer.

In my last post, I talked about my thesis, but here’s a funny update: the journal that desk-rejected my paper (Transactions on Consumer Electronics) sent me an email asking me to be a reviewer. It’s a bit of a niche SCIE journal, but still Q1-Q2 level, so I was pretty floored. I’m flattered, but since I haven’t even graduated with my master’s yet and my main paper isn’t published, I politely declined. Who am I to judge someone else’s work at this stage? 😅

Now, let’s get to today’s topic: picking up where my synthesizer series left off last month, we’re diving into modulation synthesis, focusing on the legendary FM (Frequency Modulation) synthesis, made famous by the Yamaha DX7.

Here we go!

Modulation

What is modulation? I touched on this in my Basics of Mixing series a while back:

In short, modulation involves using an external signal (the modulator) to alter specific parameters of another signal (the carrier), changing its sound. The external signal is often a Low Frequency Oscillator (LFO), but other sources can be used too.

Types of Modulation

TypeDescription
AM (Amplitude Modulation)Modulates the amplitude of the carrier signal using a modulator. Think tremolo effects.
FM (Frequency Modulation)Modulates the frequency of the carrier signal. Famous for metallic and bell-like sounds, as heard in the Yamaha DX7.
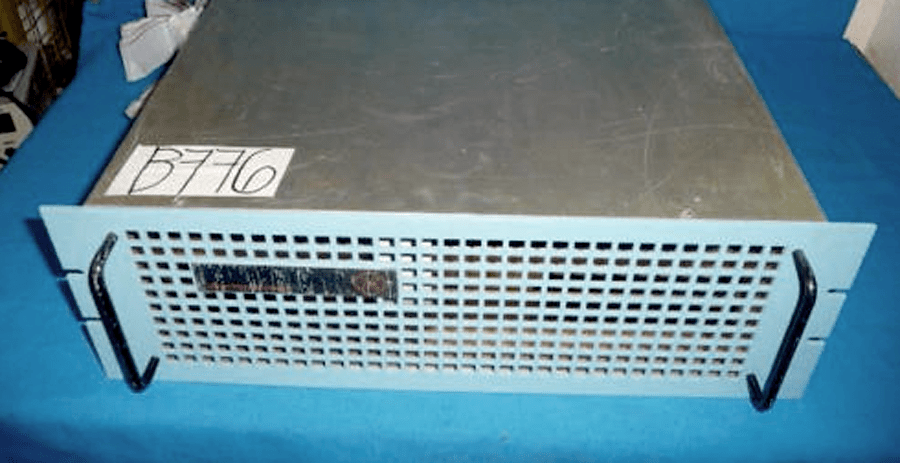
PWM (Pulse Width Modulation)Modulates the pulse width of a square wave. Common in analog synths and compressors like the PYE Compressor. [photo]
RM (Ring Modulation)Multiplies the carrier and modulator signals, producing only the sum and difference frequencies (a+b, a-b).
PM (Phase Modulation)Modulates the phase of the carrier signal. Fun fact: the DX7 is technically PM-based but was marketed as FM for mass appeal.

AM and FM might sound familiar from radio broadcasting. FM, in particular, shines in synths for creating those iconic metallic or bell-like tones. There are also other modulation types like Cross Modulation, Wavetable Modulation, and Granular Modulation, but I’ll cover those in their respective sections later. 😄

FM (Frequency Modulation)

Dr. John Chowning

Meet Dr. John Chowning, the mastermind behind FM synthesis, developed in the late 1960s at Stanford University. [photo] FM synthesis modulates the carrier’s frequency with a modulator, producing complex, irregular harmonics that are perfect for metallic and bell-like sounds.

Yamaha’s YM2612 chip

FM synthesis was a staple in 1990s video games and software. Yamaha’s YM2612 chip (aka OPN2) powered sound cards like AdLib and Sound Blaster, as well as consoles like Sega’s Mega Drive and Fujitsu’s FM Towns Marty.

In 1971, Dr. Chowning saw the commercial potential of FM synthesis and pitched it to companies like Hammond and Wurlitzer, but they all passed. Yamaha, however, struck a deal, securing a one-year license and exclusive rights to the technology by 1975. Looking at its massive success, both Yamaha and Dr. Chowning had incredible foresight! 😊

Yamaha GS-1

In 1980, Yamaha released the GS-1, their first FM synthesizer, with only 16 units made for studio use. It was used by legends like Stevie Wonder, Chick Corea, Herbie Hancock, and Toto.

Priced at $16,000 back then—about $66,000 today, or roughly 1 billion KRW—it was a luxury item.

Yamaha GS-2

The GS-1’s unique sound was a hit, leading Yamaha to release the more portable and affordable GS-2, as well as the CE-20 and CE-25 Ensemble series for the home organ market.

Yamaha CE-20
Yamaha CE-25

Yamaha’s PAMS and DX Series

Yamaha later developed the PAMS (Programmable Algorithmic Music Synthesizer), which offered flexible programming but had too many parameters.

To simplify, Yamaha’s engineers made the modulator and carrier envelope generators share parameters, leading to the DX series: DX-1 (73-key flagship), DX-5 (76-key, budget version of DX-1), DX-7 (6-operator), and DX-9 (4-operator).

The Yamaha DX7 is arguably the most iconic FM synthesizer, selling 200,000 units worldwide at 248,000 yen each—a massive commercial success.

It featured six sine wave operators that could act as either carriers or modulators, with 32 selectable sound algorithms to switch their roles. In the diagrams, each vertical line represents a sound synthesis path, with parallel lines combining, the bottom being the carrier, and those above it modulators.

The DX7 also supported MIDI, often paired with sequencers like the Yamaha QX-1. Beyond bell-like sounds, it’s famous for electric piano (FM EP) and bass (FM Bass) patches—search for those terms, and you’ll find tons of resources. 😄

In one sentence: FM synthesizers excel at creating sounds with irregular harmonics.

Modern FM Synths
Some great virtual instruments carry the DX7’s FM legacy:

If you buy through these links, I earn a small commission, which helps me keep going—thank you! That said, I recommend waiting for bundle sales to grab these at a better price. I previously covered Arturia’s V Collection X bundle, which is worth checking out:

Don’t just take my word for it—try a free virtual synth, play around, and hear the sounds for yourself!

That’s it for today. See you in the next post! 😊

Basics of Synthesizers (3) – Additive Synthesis

Hey there! I’m Jooyoung Kim, a mixing engineer and music producer.

Lately, I’ve been drowning in code.
The program I mentioned in my last update? Yeah, I totally messed up the THD measurement part by mixing it up with the standard crosstalk measurement method. So, I had to scrap everything, re-measure the data, and start over. It’s been taking way longer than expected, and I’m exhausted, haha.

Because of this, my blog posts have been delayed quite a bit.
Thankfully, I wrapped up the measurements this morning, so now I can just tinker with the program whenever I have some spare time.

Anyway, today I want to dive into additive synthesis, continuing our series on synthesizer basics after covering subtractive synthesis last time.

Just a heads-up: the virtual instrument links I recommend throughout this post are affiliated with Plugin Boutique. If you purchase through those links, I earn a small commission, which really helps me keep the lights on. Thanks for the support! 🙂

Let’s get started!


Additive synthesis, as the name suggests, is all about combining sounds to create something new.
The earliest instruments to use this method were the Telharmonium and the Hammond Organ.

These instruments had built-in tone generators called tone wheels, designed to produce specific sounds when you pressed a key.

If you’ve ever seen a Hammond Organ, you’ve probably noticed its drawbars. These let you control how loud or soft the fundamental tone and its harmonics are played. By adjusting them, you could mix the sounds from multiple tone wheels to create a wide range of timbres.

In a way, you could call the Hammond Organ an early mechanical analog synthesizer based on additive synthesis. That said, it’s a bit different from the subtractive synthesis we typically talk about today, right?

When it comes to virtual Hammond Organ plugins, I think IK Multimedia’s Hammond B-3X and Arturia’s B-3 V are the top dogs.
During this summer sale, IK Multimedia’s Total VI MAX bundle, which includes Hammond B-3X, is an absolute steal. Honestly, if you’re thinking about getting just the Hammond B-3X, you might as well grab the whole bundle—it’s super versatile and worth it.


Now, let’s get a bit technical for a moment.

According to the Fourier Series, any periodic signal (like a sound wave) can be expressed as a sum of sine waves:

The Fourier Transform takes this further, allowing even non-periodic signals to be represented as a sum of sine waves:

In theory, this means you can recreate any sound just by combining sine waves.

Sounds like a ton of manual work, right?

Back in the day, not only were these calculations a nightmare, but even playing multiple sounds simultaneously through sampling was a challenge for early computers. That’s why additive synthesis evolved alongside advancements in computing power.


A standout product from this transitional period is the Fairlight CMI.
This beast wasn’t just an additive synthesis synthesizer—it was also a DAW and a sampler.

The panel on the right in the photo is the DAW interface, complete with a stylus for tapping out rhythms on the screen. Pretty cool, right?

One of the Fairlight CMI’s built-in samples, called Orchestra Hit, became iconic in pop and hip-hop. It’s a short orchestral tutti sound from Stravinsky’s The Firebird. Using it in a track instantly gives off that classic 80s–90s old-school vibe.

Arturia’s CMI V plugin does an incredible job of recreating the Fairlight CMI’s interface, complete with its early DAW and mixer windows. It’s a lot of fun to play around with!

Another notable instrument from this era is New England Digital’s Synclavier, which combined FM synthesis and additive synthesis while also functioning as a DAW and sampler. Originally licensed by Yamaha for FM synthesis, by version II, it basically became a full-fledged computer, haha.

Arturia’s got a plugin for this one too. They’re really out here trying to recreate every classic synthesizer as a plugin, aren’t they?


You might’ve noticed by now that additive synthesis is deeply tied to samplers and DAWs. After all, when you layer different sounds at the same time in a modern DAW, you’re essentially using it as a sampler and an additive synthesis synthesizer.

As technology progressed, synthesizers started incorporating wavetable synthesis, allowing for even more precise and varied sound design.

Explaining how to use a specific additive synthesis synthesizer is a bit tricky because it’s really just about layering sounds, using samplers, and working in a DAW. So, I hope this brief history gives you a good sense of it!

That’s all for now—see you in the next post!

Basics of Synthesizers (2) – Subtractive Synthesis

Hey there! I’m Jooyoung Kim, a mixing engineer and music producer.

Looking at synthesizer history, additive synthesis came first but was limited to physical, mechanical methods. Modern additive synthesis came much later, so let’s start with subtractive synthesis!

Quick heads-up: if you buy virtual instruments through the links in this series, I get a small commission, which really helps me keep going. ^^ Ready to dive in?

The Early Subtractive Synthesis Synthesizer: Telefunken’s Trautonium

Subtractive synthesis is named for how it shapes sound by filtering out (subtracting) frequencies. The “filter” here is like an EQ’s cutoff filter, tweaking low or high frequencies.

These synths use voltage to control filters, hence the term VCF (Voltage Controlled Filter). Built entirely with analog circuits, they’re also called analog synthesizers.

They have three main parts:

  1. VCO (Voltage Controlled Oscillator): Generates the signal
  2. VCF (Voltage Controlled Filter): Shapes the sound
  3. VCA (Voltage Controlled Amplifier): Controls volume

The Iconic Minimoog Model D

Left – 1979 Minimoog Model D, Right – 2017 Reissue Minimoog Model D

The Moog Minimoog Model D is the most famous subtractive synth, with others like the ARP 2600, Oberheim OB-1, and Korg MS-20 also standing out. Let’s check out the Minimoog Model D virtual instrument, a favorite for many.

UAD’s Moog Minimoog

Since most subtractive synths share similar concepts, we’ll use the UAD Minimoog as our example. It breaks down into four sections:

  1. VCO: Oscillators (signal generators)
  2. VCF: Filters with resonance control
  3. VCA: Amplifiers with Attack, Decay, Sustain controls
  4. Modulation and other components

Let’s look at the oscillators first.

Oscillators

The oscillator section has about five parts. Oscillators 1, 2, and 3 are exactly what they sound like—three separate oscillators.

Being fully analog, the Minimoog Model D’s tuning could drift due to humidity, temperature, runtime, or electrical conditions. So, each oscillator has a pitch tuning knob. The tuner’s at the far left in the red section (labeled “Tune”), with others in the blue and pink sections.

  • Range: Sets the octave. Higher numbers give lower pitches.
  • Waveform: Chooses the waveform type.

Oscillator 3 could be used for modulation instead of sound output, controlled by a switch on the far left.

The yellow section, though not an oscillator, lets you process external signals through the synth’s filter—a feature often used to apply the Minimoog’s filter to other sounds.

The green section is a noise generator for white or pink noise. You can modulate with noise, an extra LFO, or an envelope filter.

Filters and Output

The filter section is the top three knobs in the “Modifiers” area:

  • Cutoff Frequency: Sets which frequencies to filter.
  • Emphasis: Boosts frequencies near the cutoff point.
  • Amount of Contour: Controls how much the Attack, Decay, and Sustain knobs affect the filter.

Below, the Loudness Contour (Attack, Decay, Sustain) shapes the output sound’s envelope, not the filter’s. (I explained Attack, Decay, and Sustain in my last post.)

Turn on the Filter Modulation switch, and the cutoff frequency gets modulated. The Keyboard Control switches make the cutoff follow keyboard notes:

  • Switch 1 (top): Tracks by 1/3.
  • Switch 2 (bottom): Tracks by 2/3.
  • Both on: Cutoff moves in sync with notes for consistent timbre.

It might feel tricky, but tweak it for five minutes, and you’ll get the hang of it.

Other Minimoog Model D Virtual Instruments

Besides UAD’s Minimoog, there are other solid options:

Arturia’s Mini V is a great Model D emulation.

Air Music Technology also makes a Model D virtual instrument.

As mentioned, the Minimoog can filter external signals. There are even standalone filter plugins, like:

Arturia’s Filter Mini, a plugin designed for this purpose.

Not all Moogerfooger pedals from Moog come from the Minimoog, but the Moogerfooger MF-101 Lowpass Filter uses its 4-pole (24dB/octave) ladder filter design. Moog turned these pedals into plugins too.

I’ve covered these separately before. [link]

Owning a Physical Model D

I always wanted a real Minimoog Model D and ended up with Behringer’s Model D reissue. Hardware synths shine when run through preamps or compressors for a fully analog vibe. But tuning is a chore, and since it’s monophonic, you’d need to record each note for chords. Also, dusting those knobs is a nightmare! 😅

Still, it’s affordable, so a used analog synth like this can be a cool addition.


Not all subtractive synthesis synthesizers work exactly like the Minimoog, but understanding its basics should give you a solid foundation for handling most early subtractive synths.

See you in the next post! 🙂