Neve 33609 Compressor Story

Hello, this is engineer, music producer Jooyoung Kim.

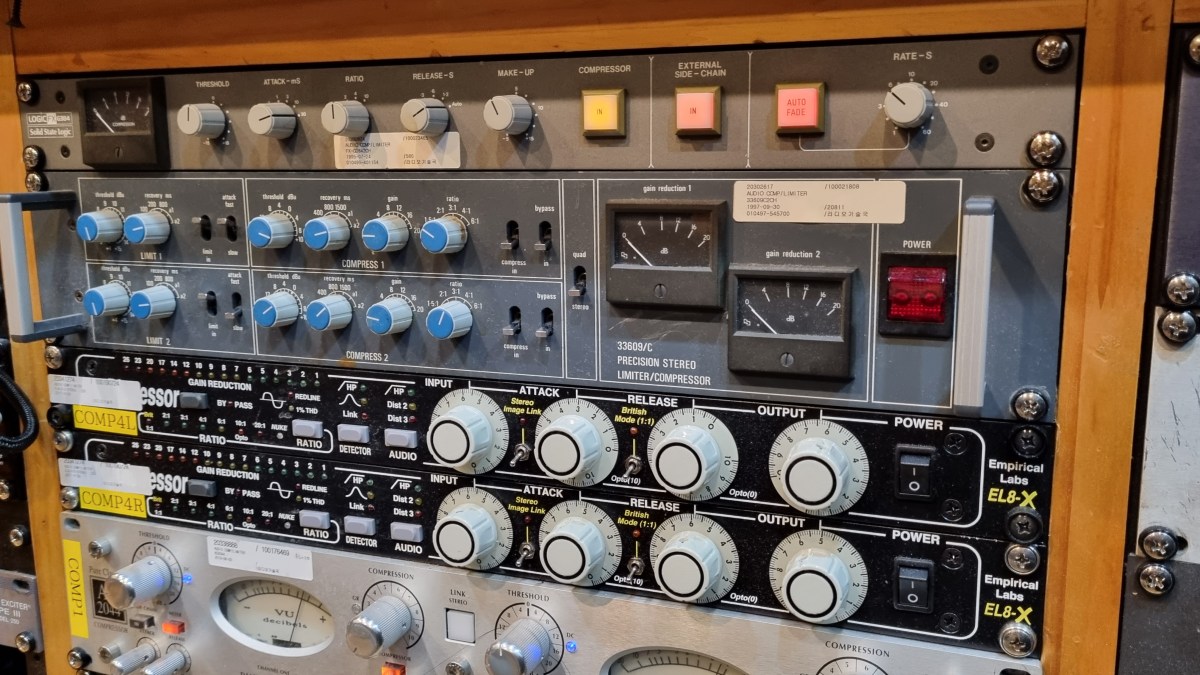
Recently, I saw a Neve 33609 C hardware compressor listed for 7500$ on a second-hand trading site. Since I often use the plugin version, I was tempted to buy it, which led me to share some thoughts about the 33609 on my blog.

The 33609 is widely used as a master or bus compressor. There are five versions: the original 33609, and the C, J, JD, and N versions.

https://vintageking.com/blog/2016/06/neve-33609-compressor

You can find detailed differences between these versions in the link above. Here’s a brief summary:

  1. Original 33609: A rack-mounted version of the Class A/B 2264, 32264, and 33314 (broadcast version) compressor/limiter console modules.
  2. 33609/C: This version replaces the original’s Maranair/St. Ives transformers with Belclere ones, improves the power supply, and swaps the Discrete BA440 circuits with BA640 ICs.
  3. 33609/J: Introduced in response to high demand from Japan after the C version was discontinued. It uses the same BA640 ICs as the C version, though many preferred the original Discrete BA440 circuits.
  4. 33609/JD: Created to satisfy those preferring the Discrete BA440 circuits, denoted by the ‘D’ in JD.
  5. 33609/N: The current version, featuring custom-made transformers from Maranair, closely resembling the original 33609 transformers. It includes a switchable Attack Fast/Slow option not found in other versions and retains the Discrete BA440 circuits like the JD version.
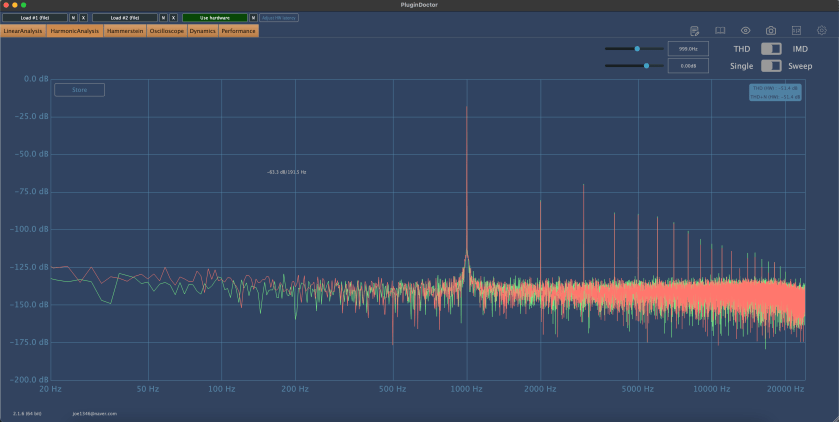
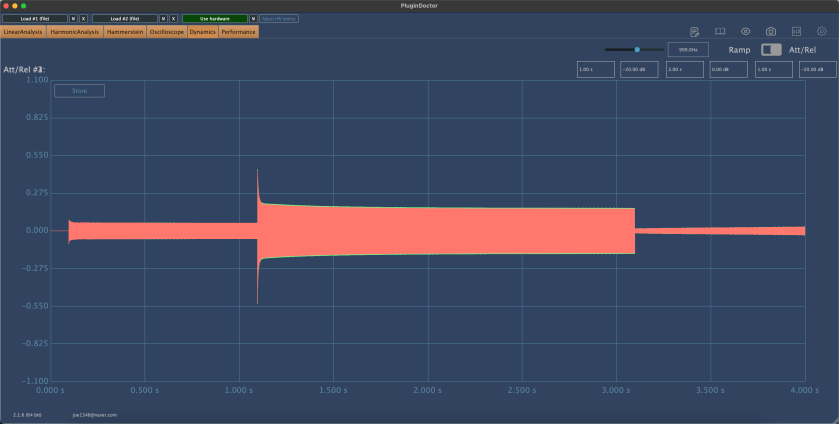
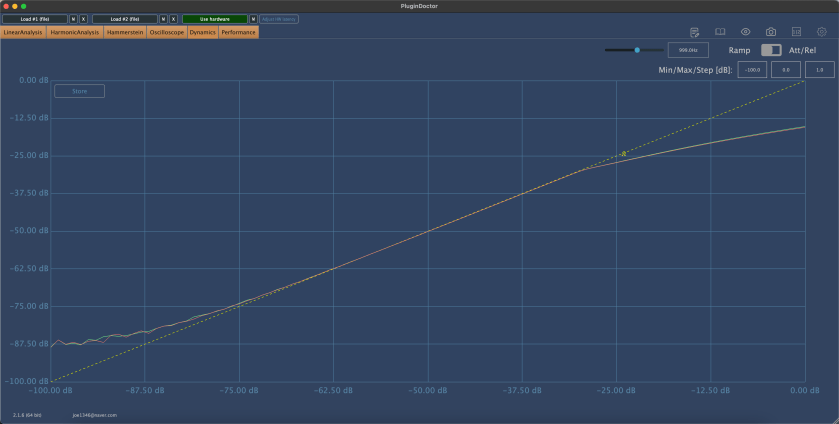
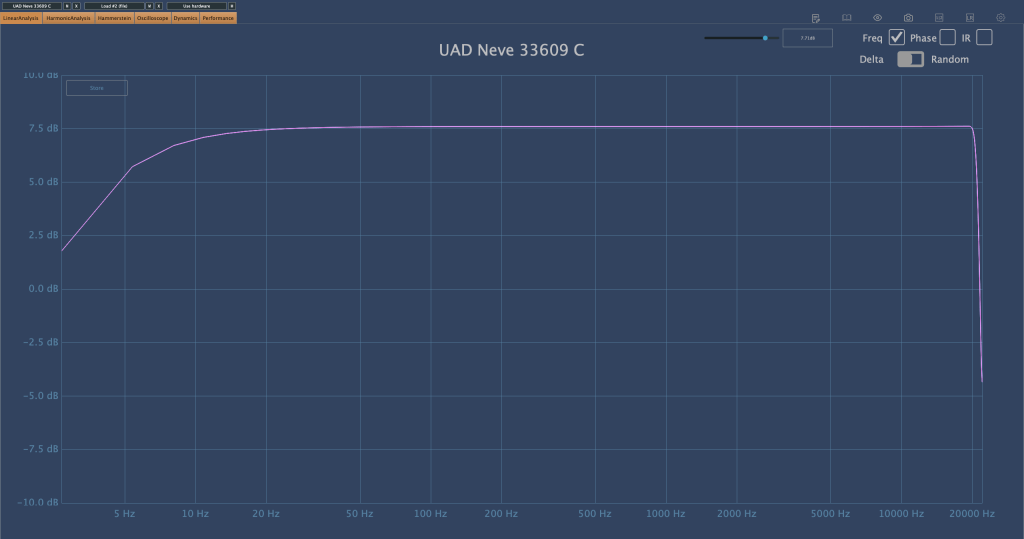
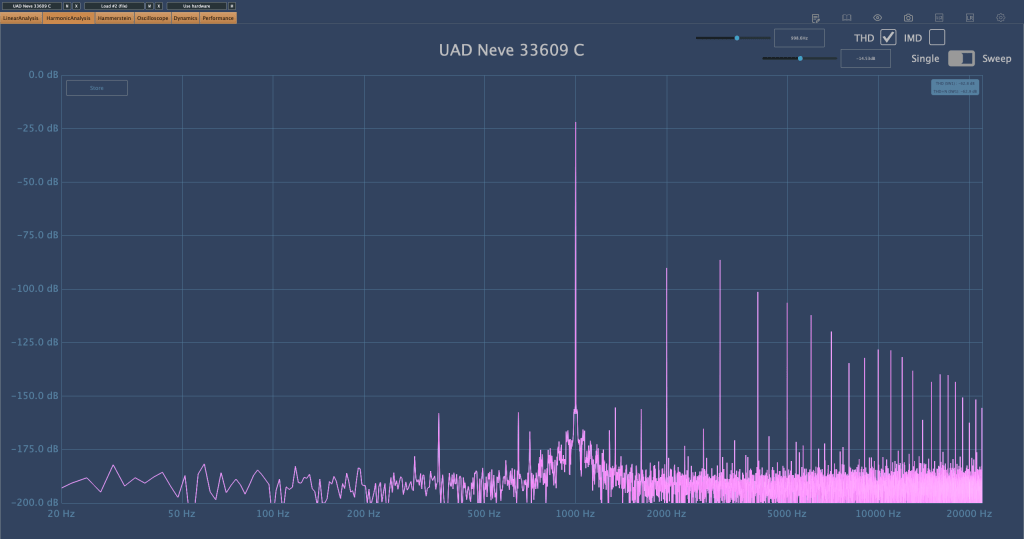
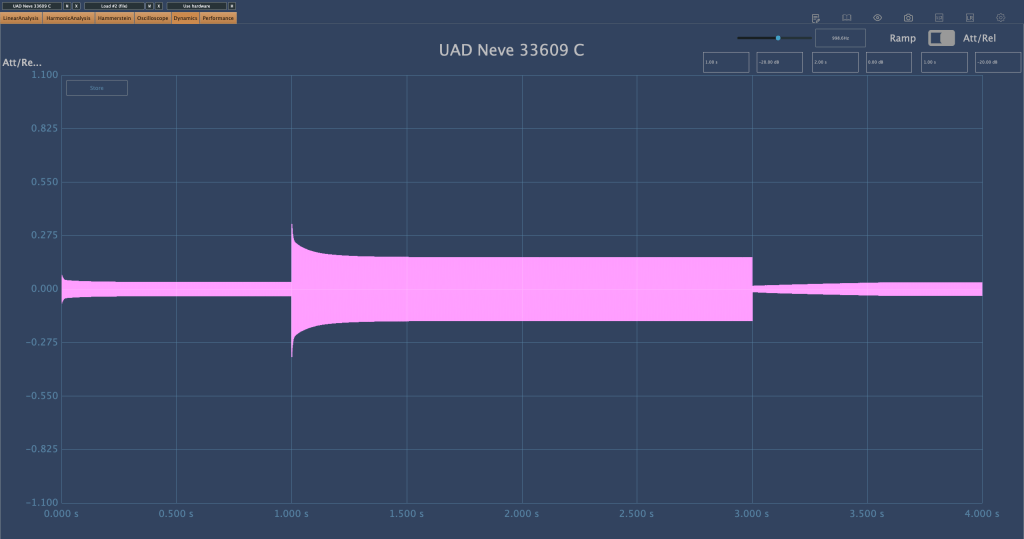
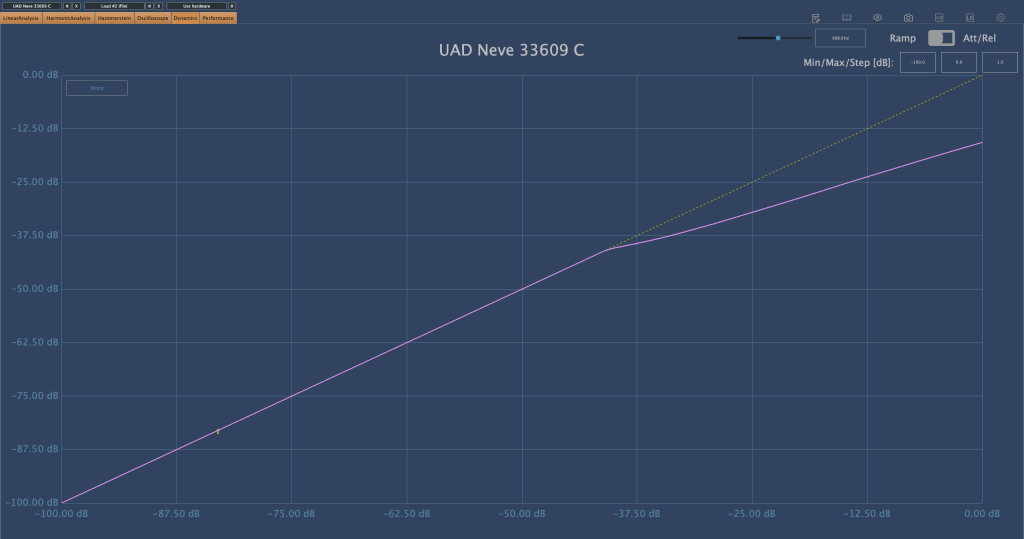
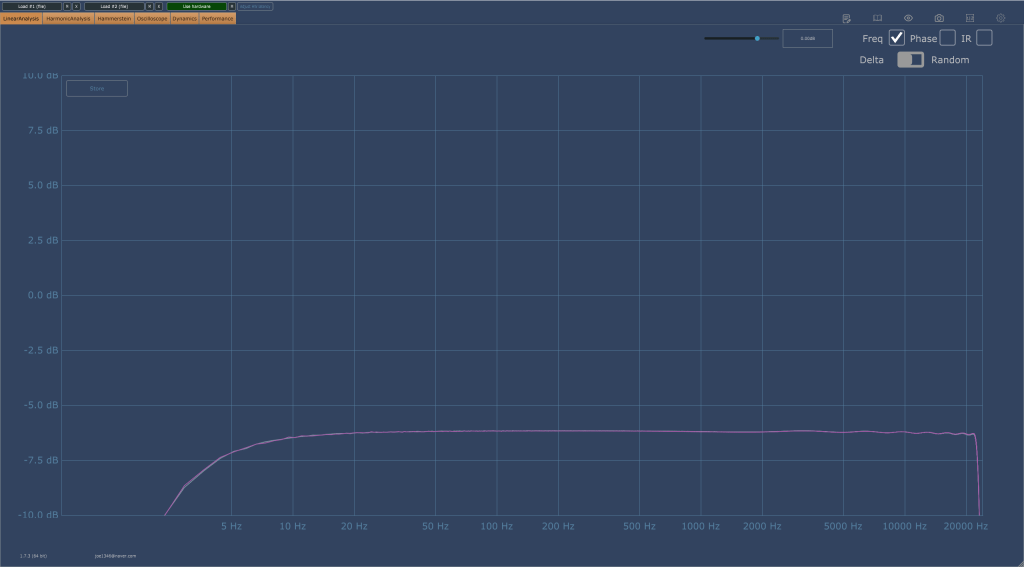
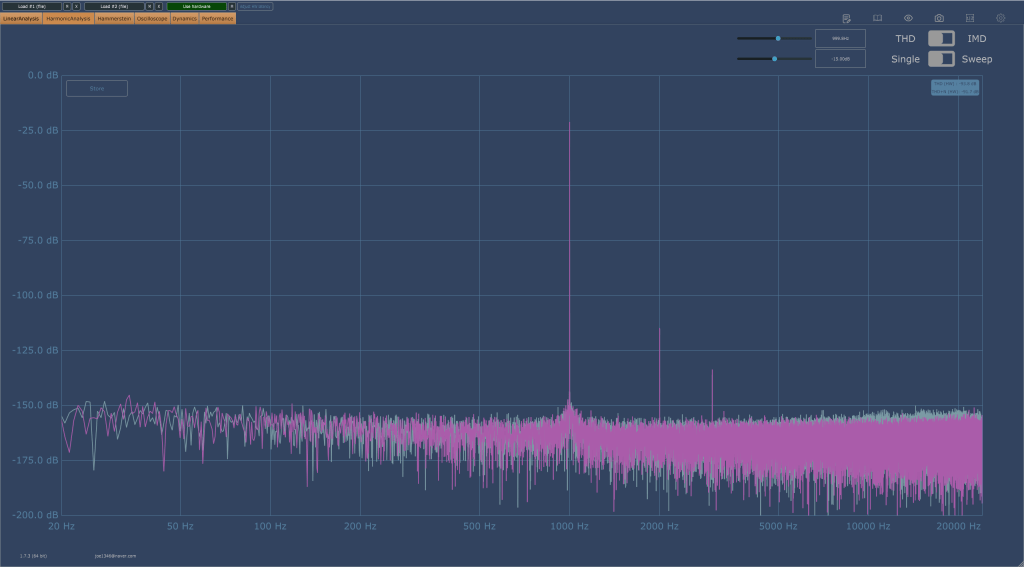
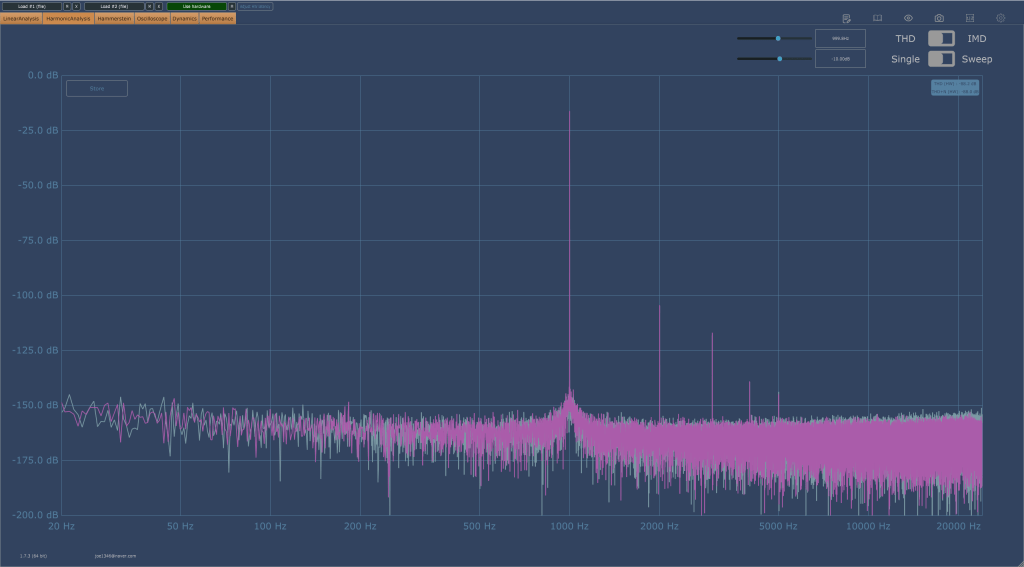
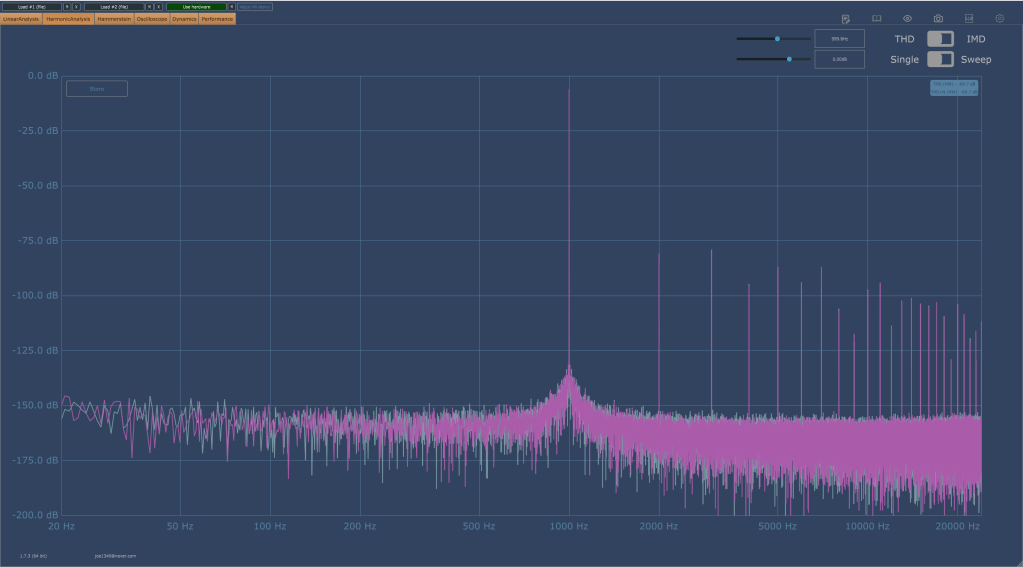
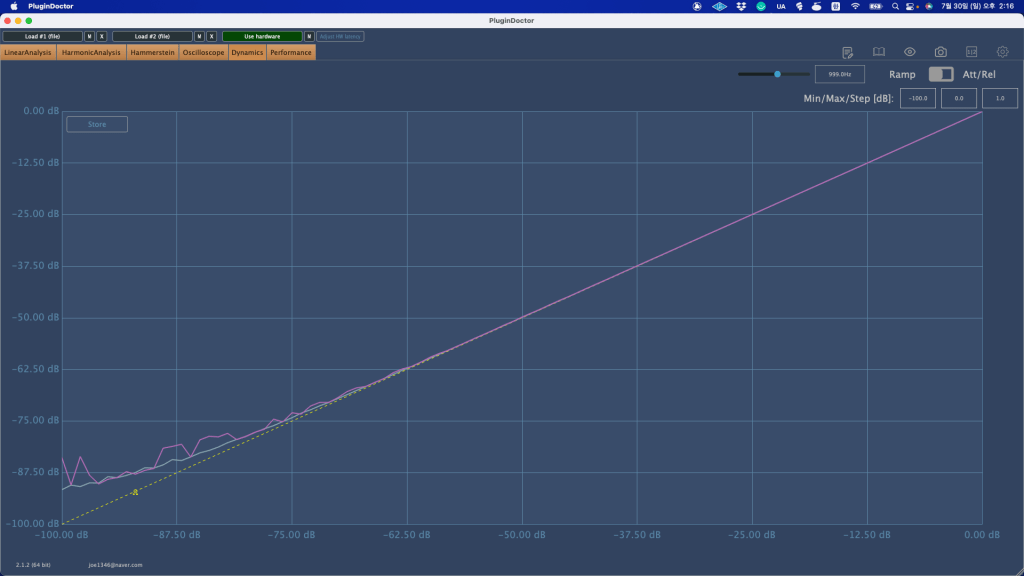
While working at a studio, I measured the 33609/C hardware with a plugin doctor program. Unfortunately, I don’t remember the exact settings used, but:

  1. The Frequency Response (FR) graph was likely tested to see how the input values affect the output.
  2. The Harmonic Distortion (HD) graph probably measured how the harmonic content changes with different threshold settings.
  3. The Attack/Release Oscillator might have been used to observe how the release values change between Auto1 and Auto2 settings.
  4. The Ratio Compression graph was likely used to check for the presence of a knee.
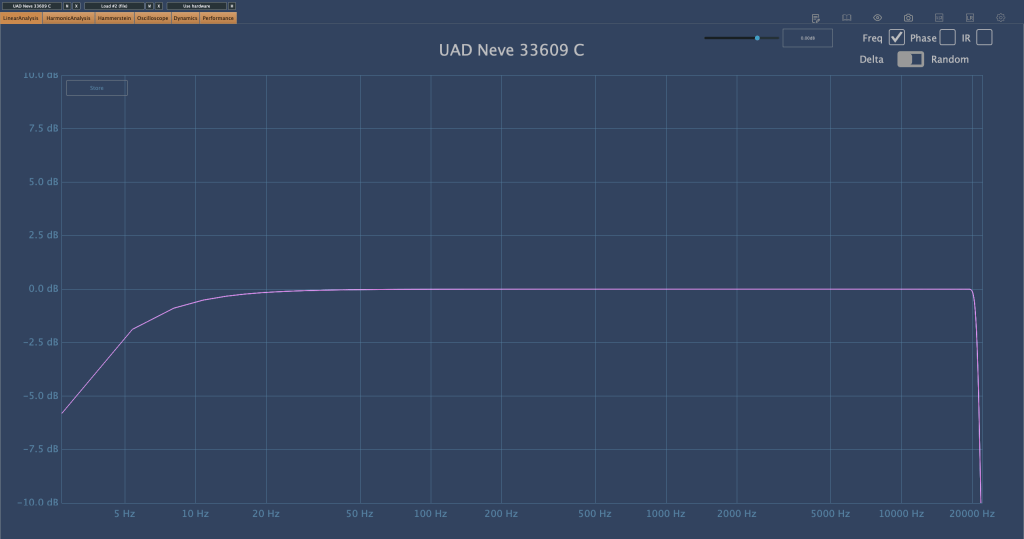
This is the UAD 33609/C plugin. It looks a bit different, partly due to the screen size.

Although I’d love to share more insights, I haven’t had much hands-on experience with the 33609/C hardware, so I can only show you these measurements…😢

There are so many things I want to buy. Even if I can’t afford the 33609, I’d love to get a diode bridge compressor similar to it, and an SSL 4000-style compressor. I’ve already found a potential SSL 4000-style compressor, so I might buy that soon. As for the 33609, maybe when I earn more money…

Both compressors are ones I frequently use in my mixes, and having the hardware would be incredibly useful. The SSL is clean, while the 33609 has a nice coloration.

Lately, I’ve also been eyeing a tube preamp that’s been on my mind constantly…haha. I wish I could just buy all the gear I want.

See you in the next post! 🙂
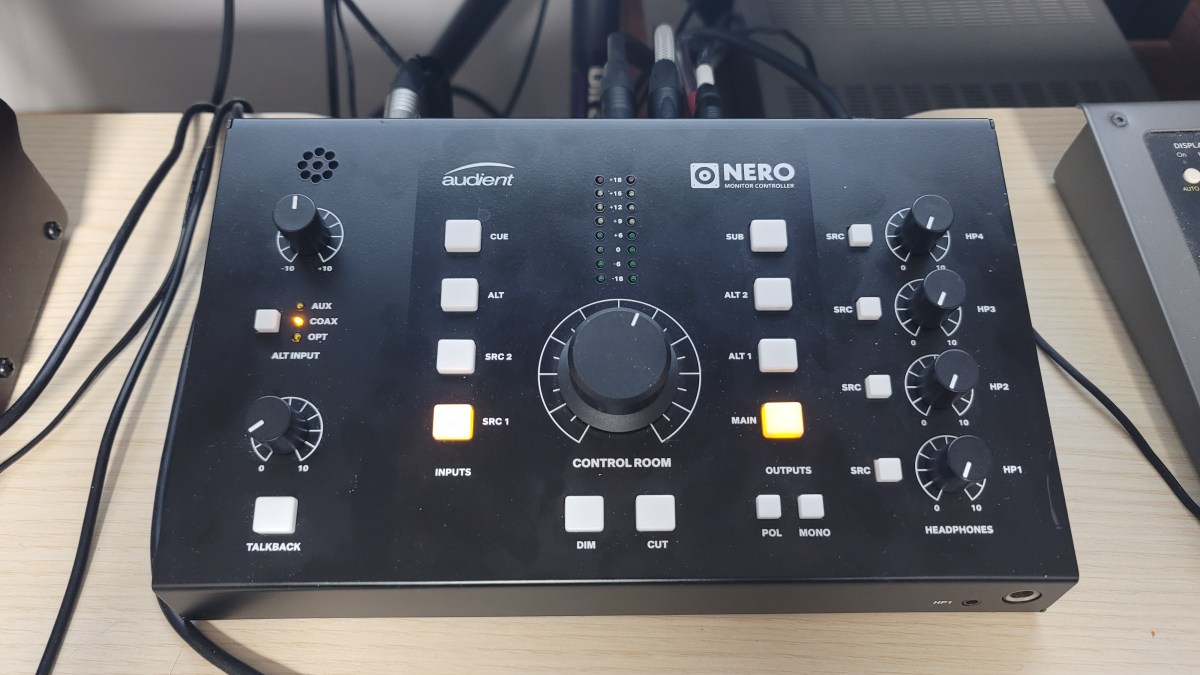
Audient Nero Monitor Controller Review

This article was written on May 27, 2023.

Hello? This is engineer and singer-songwriter Jooyoung Kim.

The volume knob was pushed to the side when I bought a rack the other day, so for convenience’s sake, I’m going to review the Audient Nero monitor controller I purchased a few weeks ago.

  • Appearance and Function

The exterior is just plain. It’s made of steel plate, so it doesn’t feel as light as plastic material, and the knob has a reasonable amount of resistance, so it’s just decent quality.

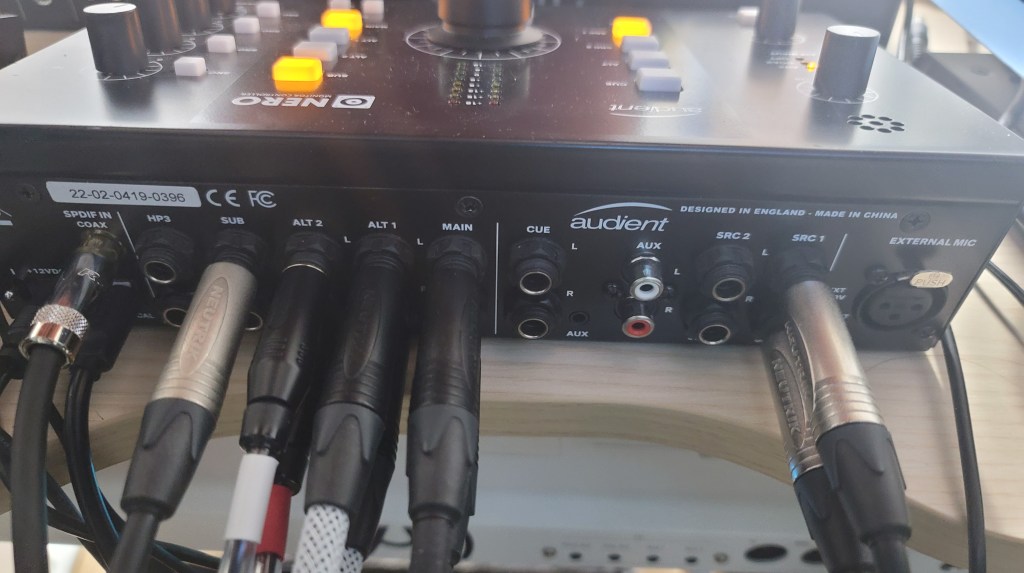
A total of 4 headphones can be connected. You can connect 1 headphone using the 1/8″ or 1/4″ jack on the front, and 3 headphones can be connected using the back.

A total of 4 inputs can be selected: Cue, Alt, Src1,2, and Alt
Alt can also be selected separately from 3 types: Optical, Coaxial, and Aux.

There are three outputs: Main, Alt 1, and 2. you can connect a subwoofer using the Sub terminal button. What was a little disappointing was that you couldn’t select the crossover frequency when choosing a subwoofer. The crossover band was a bit low, so when I connected my 8-inch subwoofer, it didn’t come out as powerfully.

In addition, a talkback microphone can be used, the input source can be set differently for each headphone jack, and there are functions such as Dim, Cut (Mute), Pol, and Mono. It would have been nice to have L/R conversion, but it was a bit disappointing.

  • Measurement and Usage

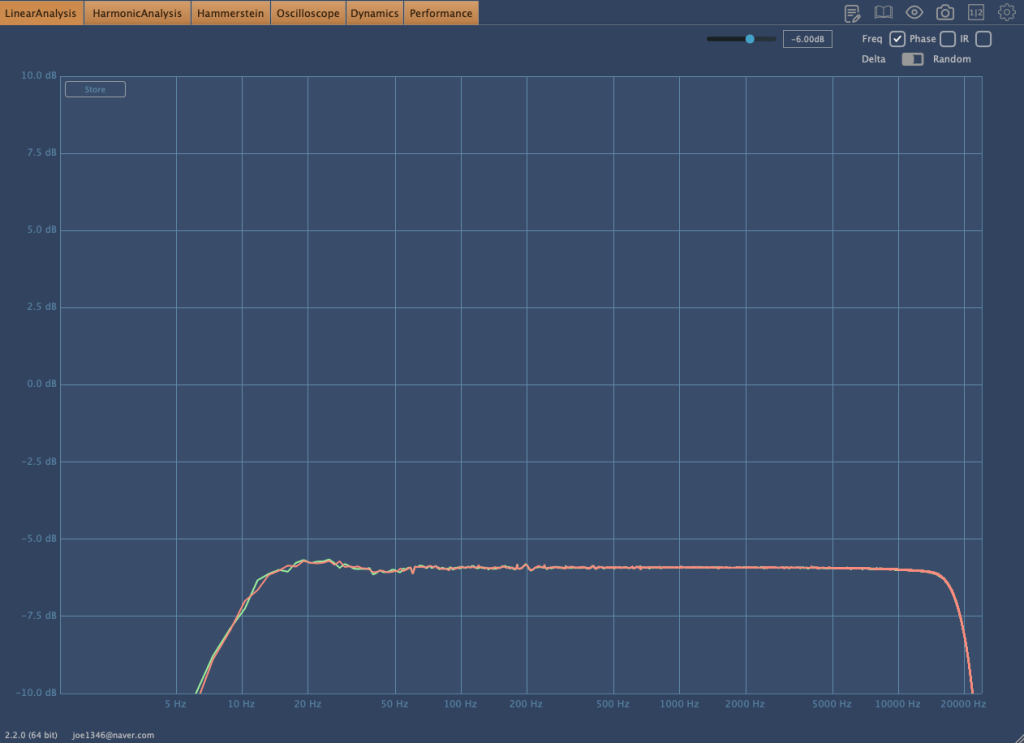
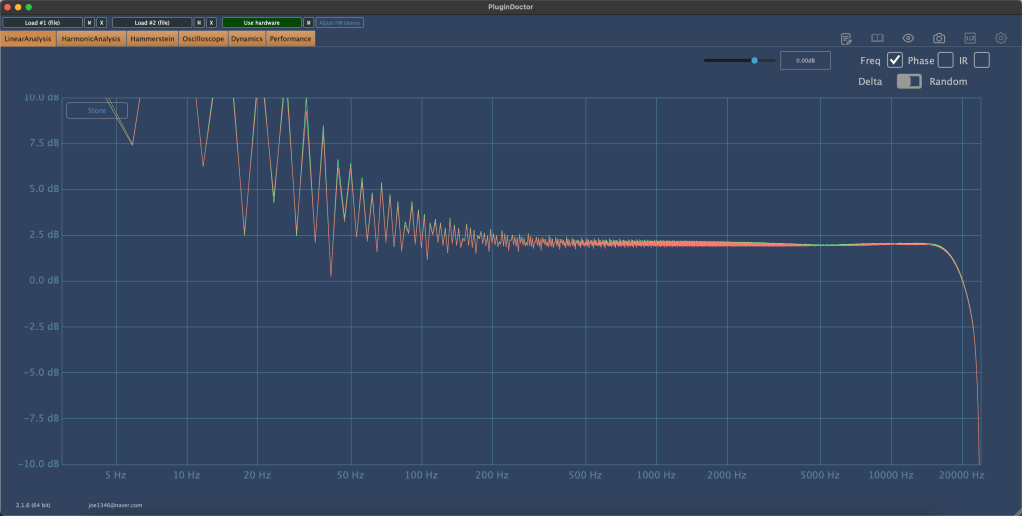
Once an analog connection is made, the output is basically reduced by about 6dB. And both in terms of listening and measurement, the high frequencies were slightly cut off.

​Still, I was surprised by the fairly decent performance. Fortunately, I think it’s worth it for the sake of convenience.

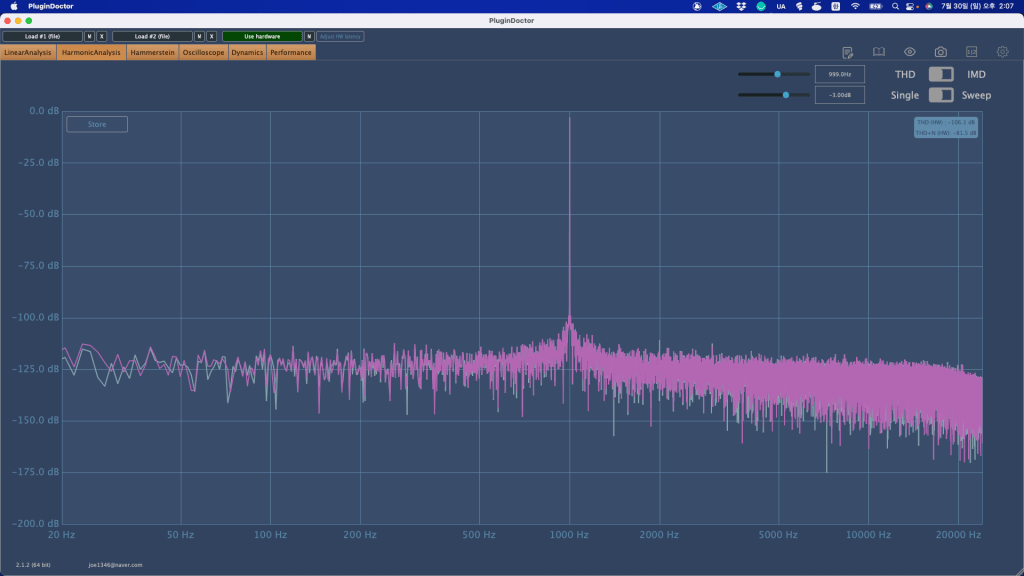
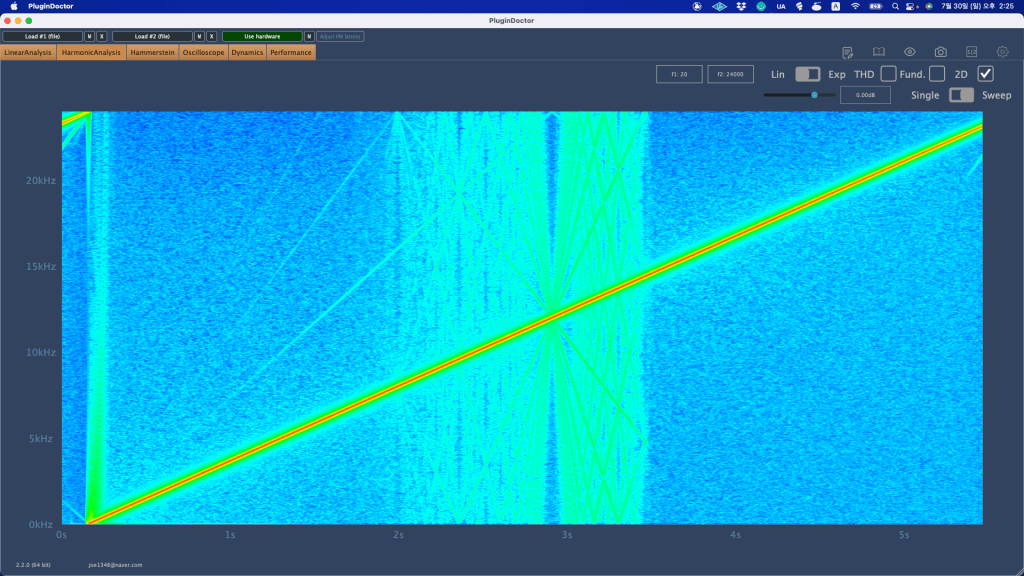
Also, basically, the overtones rise a little, but not to such a huge level. The picture on the right below shows that the headroom was exceeded and distortion occurred, so I thought it would be useful as long as it wasn’t in extreme situations.

I also wanted to measure Coaxial Digital, but an error occurred and measurement was not possible. However, basically, when you make a digital connection, the volume becomes lower than when you make an analog connection, and the analog connection sounds much more detailed than the digital connection.

I’m not sure because I haven’t disassembled it and looked inside, but I think it’s probably the DAC chip difference. To make a digital connection, you need to use Grace Design or Cranesong…^^;;

  • Conclusion

There are no particular inconveniences while using it. The number of ins and outs and performance are just satisfactory, and I don’t think I’ll even think about changing it if nothing happens.

I think I can say that he’s ‘a fairly good friend.’

Dangerous 2Bus Review

This article was written on August 9, 2023.

Hello? This is engineer and singer-songwriter Jooyoung Kim.

Today I’m going to review the old Dangerous 2Bus that I purchased a few months ago. Well, shall we begin?

  • Appearance

The highlight is the slightly old-fashioned purple color. It’s a little more dull purple than the product photo above, but it reminded me of the Evangelion animation.

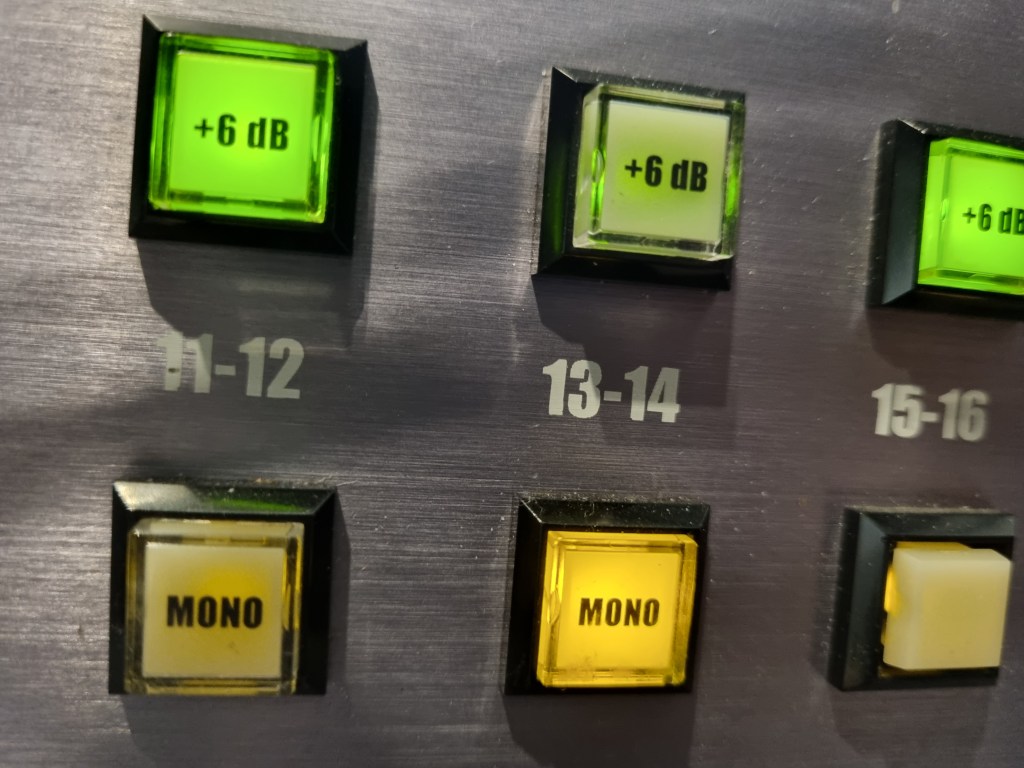
Each channel is grouped in stereo, and when you press the mono button, you can use each of the two linked channels in mono.

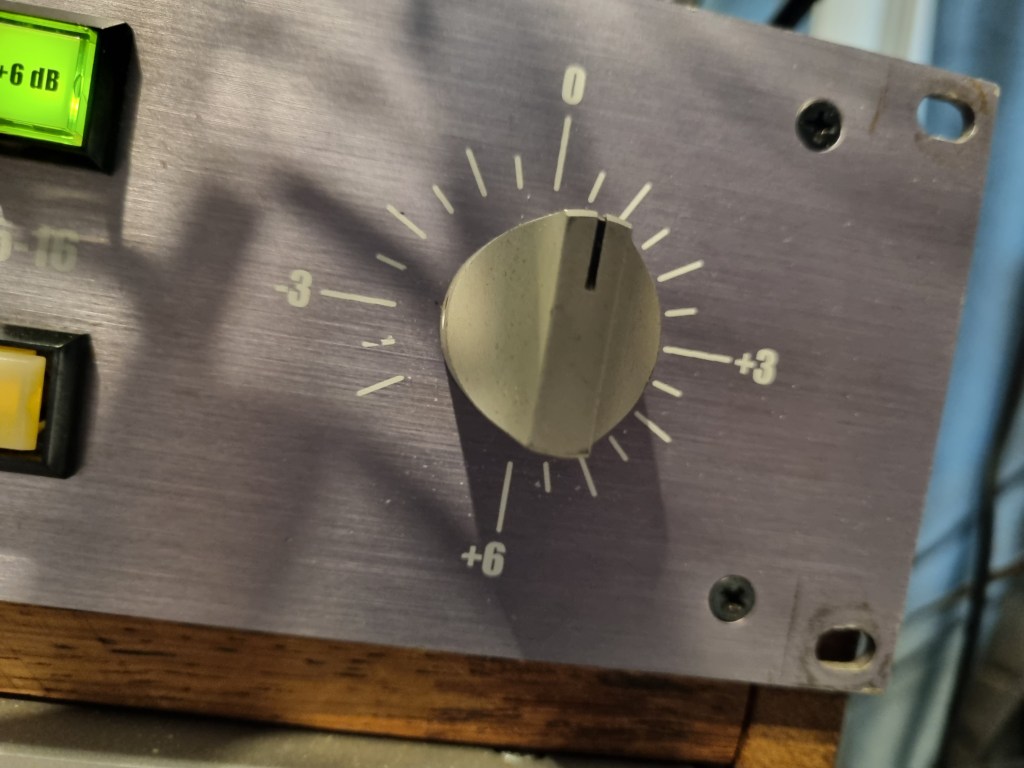
Additionally, there is a function that can increase 6dB for each channel through the 6dB button. The final volume can be adjusted with the front step knob.

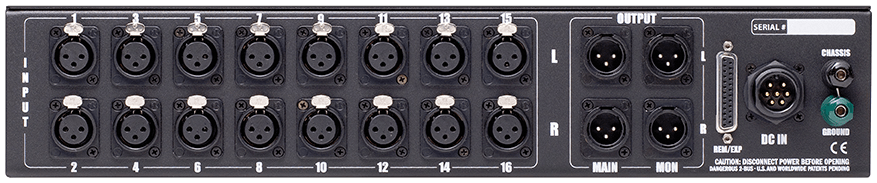
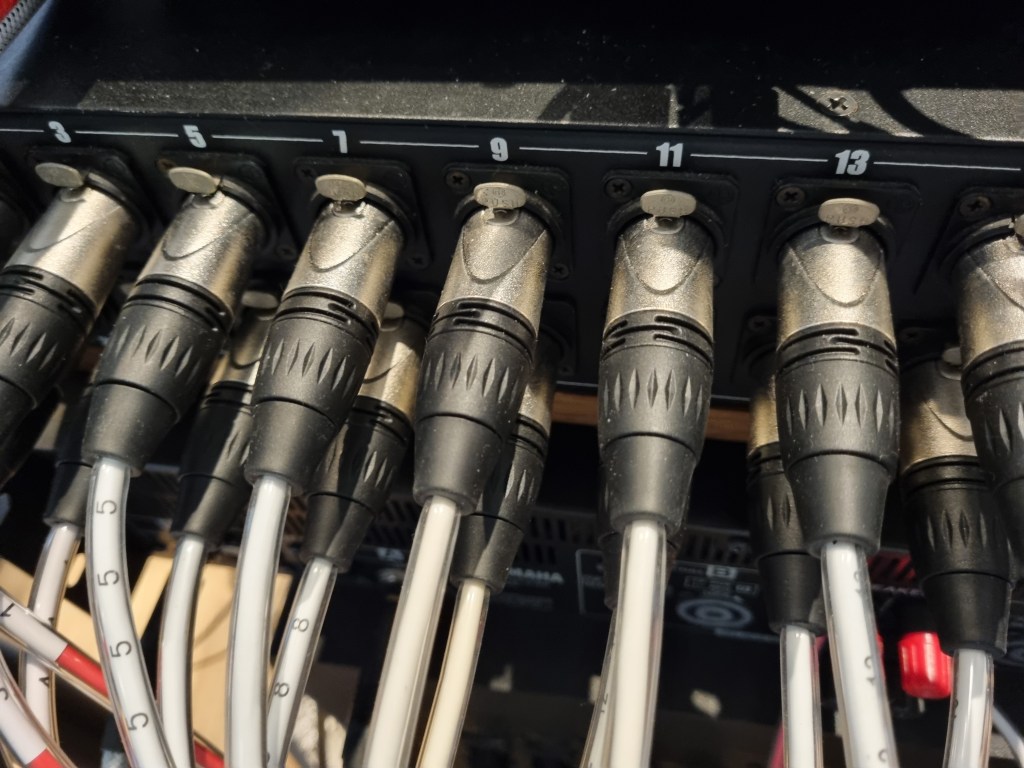
There are two outputs at the back, Main and Monitor, which can be used for different input sources.

REM/EXP is a terminal that expands the channel by connecting an additional Dangerous summing mixer via a D-Sub cable. A separate external power source is used for power.

  • Measurement

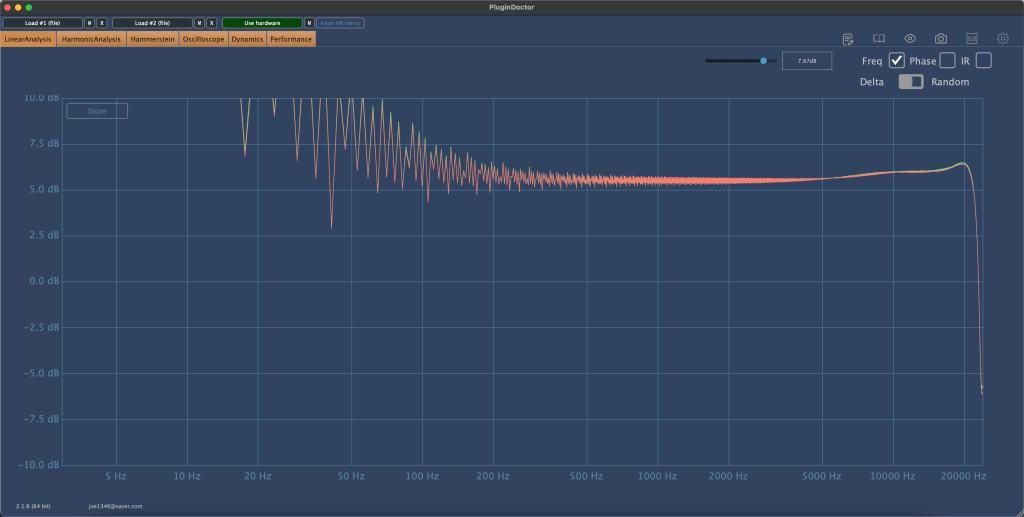
Basically, this is the frequency response graph that can be seen when the In Out volume is adjusted.

If the volume is low,

the frequency response appears like this. You can see that the low range is slightly emphasized and the high range is cut.

It’s a simple drum sound with BFD3 and guitar with bass and power chords. The sound is deteriorated because it’s Sound Cloud, but it would be good to see how it changes.

Harmonic distortion was almost non-existent.

The basic noise floor was also small.

​Another feature is that if you use the stereo channel without pressing the mono button, the sound is reduced by about 6dB. That’s why I thought they made a 6dB button.

This time, I gained some understanding of the equipment while using it in the mix, and it has its pros and cons. I like it, but I think it might not be good for people who like a lot of high-pitched sounds.

Still, it seems to be worth the price of a used product.

I hope you enjoy my review.
See you again in the next article..:)

I’m always open to reviewing hardware products! If you’d like me to review a product, please feel free to reach out at joe1346@naver.com.