iZotope Ozone 12 Release and Upgrade Sale (Until October 6)

Below is a natural, precise, and professional English translation of your blog post, tailored for an English-speaking audience. It maintains the conversational yet technically accurate tone of the original, avoiding any awkward phrasing or overly casual language that could undermine its credibility. The [Link] placeholders are included as requested, and the table is preserved in a clear, readable format. The translation is crafted to feel engaging and authentic for an international audio engineering audience.


iZotope Ozone 12 Release and Upgrade Sale (Until October 6)

Hello! I’m Jooyoung Kim, an engineer and music producer.

I’ve been meaning to continue my synthesizer explanation series, but I’ve been swamped with studying English lately… time is slipping away! ^^;;

Instead… well, not quite “instead,” but iZotope recently released Ozone 12, and to celebrate, Plugin Boutique is holding a sale. So, I thought I’d dive in and review it.

I received Ozone 12 as an NFR (Not for Resale) copy for this review. If you purchase through the links in this post, I’ll earn a small commission, which helps keep the lights on!

Let’s take a closer look, shall we?

Plugin/Module Overview

Plugin/Module NameDescriptionElementsStandardAdvanced
Stem EQIndependently EQ vocals, bass, drums, or instruments in a stereo file
Bass ControlAdjusts low frequencies
UnlimiterRestores overly compressed transients (powered by machine learning)
ClarityCreates smooth masters (seems like high-frequency enhancement)
MaximizerLimiter
EqualizerTraditional EQ
ImpactFine-tunes dynamics
StabilizerAdaptive mastering EQ
ImagerStereo imager (free to use!)
Match EQMatches frequency characteristics to a reference track
Master RebalanceAdjusts stem volumes at the mastering stage
Low End FocusLow-frequency specialized processor
Spectral ShaperFrequency-specific shaper
Dynamic EQDynamic EQ
ExciterExciter (think saturator, with 7 types)
DynamicsCompressor/limiter
Vintage TapeTape emulation
Vintage CompressorVintage-inspired compressor
Vintage LimiterVintage-inspired limiter
Vintage EQVintage-inspired EQ
Other Features
Master Assistant: Custom FlowCreates a customized mastering chain
Master Assistant ViewVisualizes the mastering process in Ozone 12
Stem FocusPrecise stem separation
Track ReferencingManages reference tracks
Transient/Sustain ModesEmphasizes transients or sustain
Assistive Vocal BalanceAdjusts vocal clarity and balance
DitherDithering
Codec PreviewTests compressed formats like MP3/AAC
Additional Plugins
AudiolensAudio analysis and reference tool
iZotope RelayLightweight channel strip for communication between iZotope plugins
Tonal Balance Control 2Frequency balance analyzer

Wow, that’s a lot, isn’t it? 🙂

The Elements version doesn’t include individual plugins and is limited to a streamlined version of the integrated plugin (number 5 in the list). Since there’s so much to cover, I’ll focus on the key plugins and the new additions in Ozone 12.

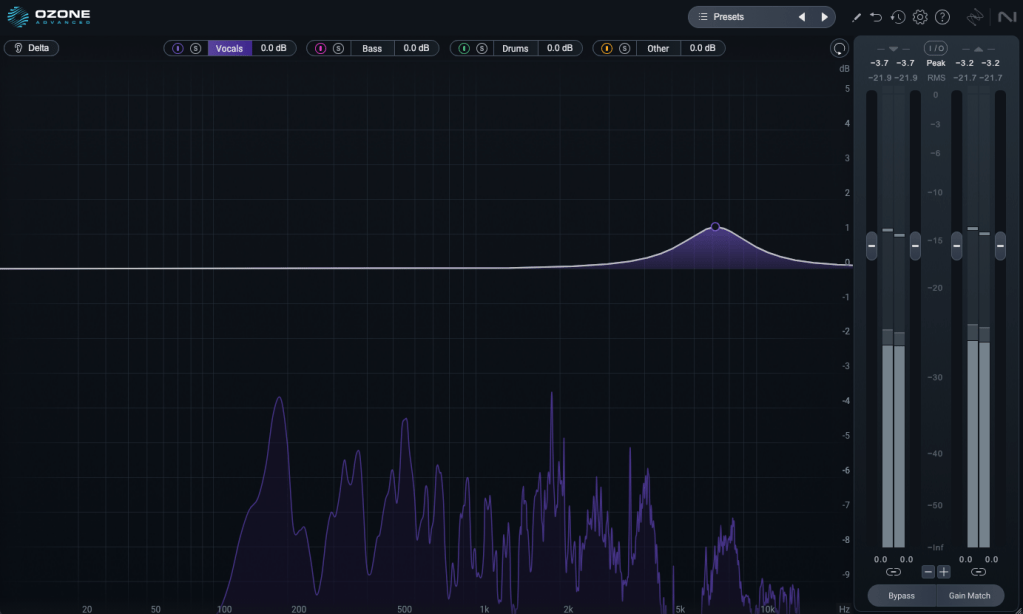
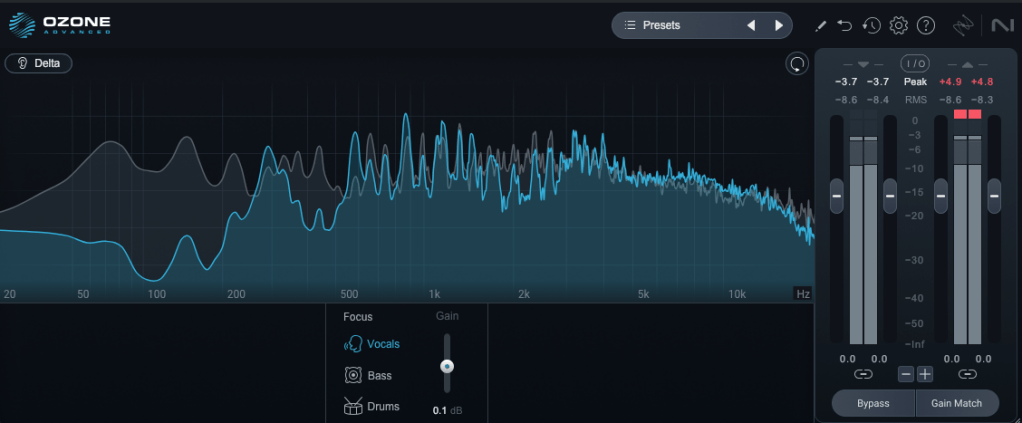
1) Stem EQ

I’ve never been a huge fan of stem separation tools in the past, but the technology has come a long way.

It’s not perfect, but it doesn’t sound unnaturally detached either. The way EQ is applied to stems feels impressively natural.

Compared to the older Master Rebalance, Stem EQ is much more precise. The sound is noticeably different, suggesting they’ve updated the algorithm.

This isn’t just for mastering engineers—it’s versatile enough to significantly alter the feel of the source material, making it a useful tool for many users.

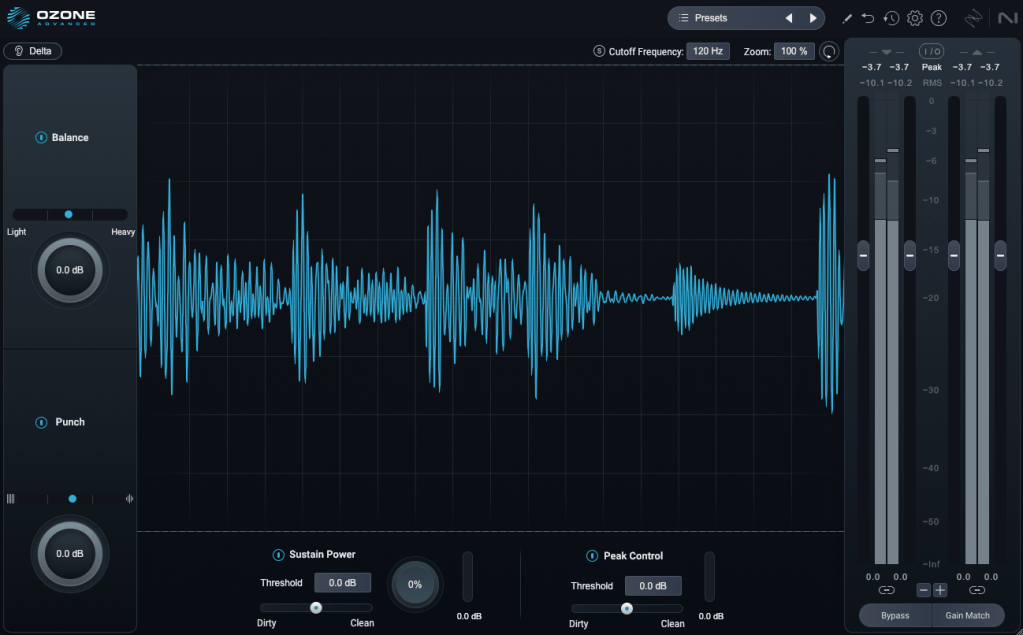
2) Bass Control

This one’s a winner! iZotope plugins are known for their intuitive interfaces, clearly showing what you’re adjusting. Bass Control is no exception, displaying only the low-frequency waveform to give you a clear sense of whether the sound feels light, heavy, or punchy.

3) Unlimiter

Think of Unlimiter as an attack shaper. It doesn’t fully restore the original transients, but it does a great job of naturally enhancing them.

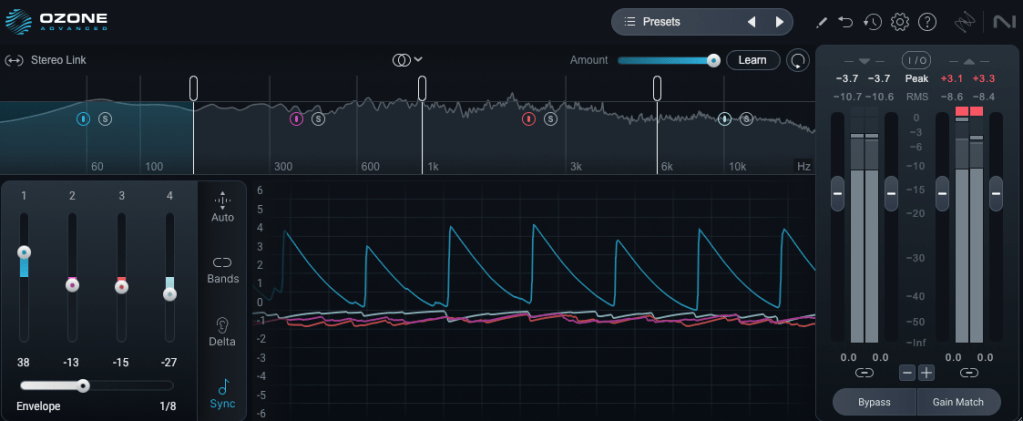
4) Impact

This is a fun one. Impact lets you emphasize or reduce transients on a per-frequency basis. It’s another reminder of how critical transients are in both mixing and mastering!

Applying it lightly to the low end can group the kick and bass together, creating a cohesive, groovy feel. Pretty cool!

5) Ozone

This is the core of it all, right? One-click mastering!

Personally, I’m not a huge fan of one-click solutions, and after testing it on a few projects, it feels like there’s still room for improvement.

That said, unlike older versions that relied solely on one-click mastering, you can now pick and choose effects to create a custom chain. Starting with suggestions for EQ, limiter, and imager can be a great jumping-off point! 😊

The other plugins are fairly well-known, so I’ll skip the deep dive there.

Both iZotope and Acon Digital have made it possible to perform stem mixing at the mastering stage using just a stereo track. It’s wild how far we’ve come!

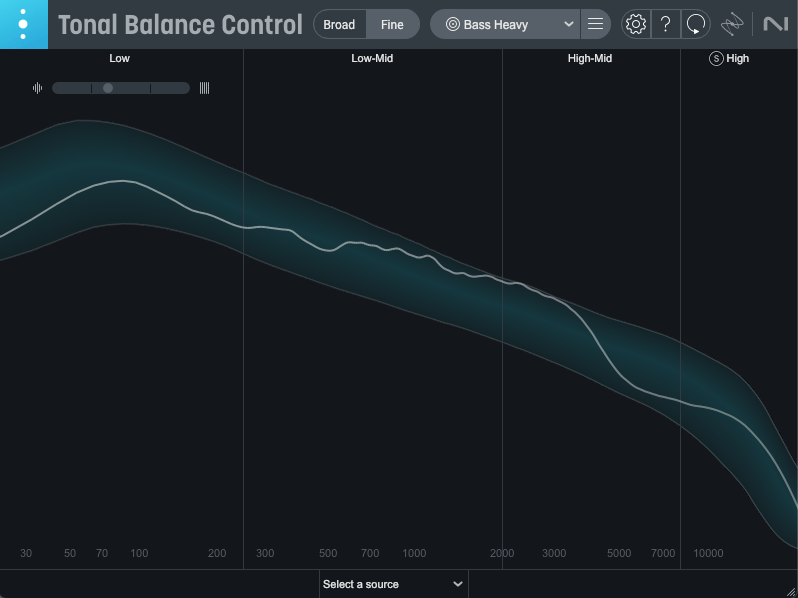
Oh, and among the Advanced version’s additional plugins, I highly recommend Tonal Balance Control 2. When my ears feel off (like when I’m under the weather), this plugin always reveals something’s slightly amiss.

It’s also fantastic for studying other tracks and establishing your own reference point. Definitely give it a try!

Ozone comes in three versions: Elements, Standard, and Advanced. The table above details which plugins are included in each, so check it out to find the one that suits your needs.

Personally, I love Low End Focus, Stem EQ, Bass Control, and Impact, so I’d recommend Advanced. Standard is a solid choice too, but Elements might feel a bit limiting.

You can try the demo to see for yourself. I hope you find it useful!

Until next time! 😊


Brainworx May Sale (1) – Amek Mastering Compressor, Mäag Magnum-K, Millennia TCL-2 (Until May 31)

Hello! I’m Jooyoung Kim, a mixing engineer and music producer.

Plugin Alliance has started charging taxes for Korean buyers, making Plugin Boutique a more cost-effective choice. With Plugin Boutique, you can often get free plugins or collect points, even for the same products.

This month, Plugin Boutique is holding a big sale on several Brainworx plugins from Plugin Alliance, so I’m here to highlight a few.

In a previous post, I focused on Saturation and Bettermaker plugins. This time, I’ll dive into compressors: Amek Mastering Compressor, Mäag Magnum-K, and Millennia TCL-2.

Let’s get started!
(I numbered this post as (1) in case I cover more plugins later, but no promises… 😅)

AMEK Mastering Compressor

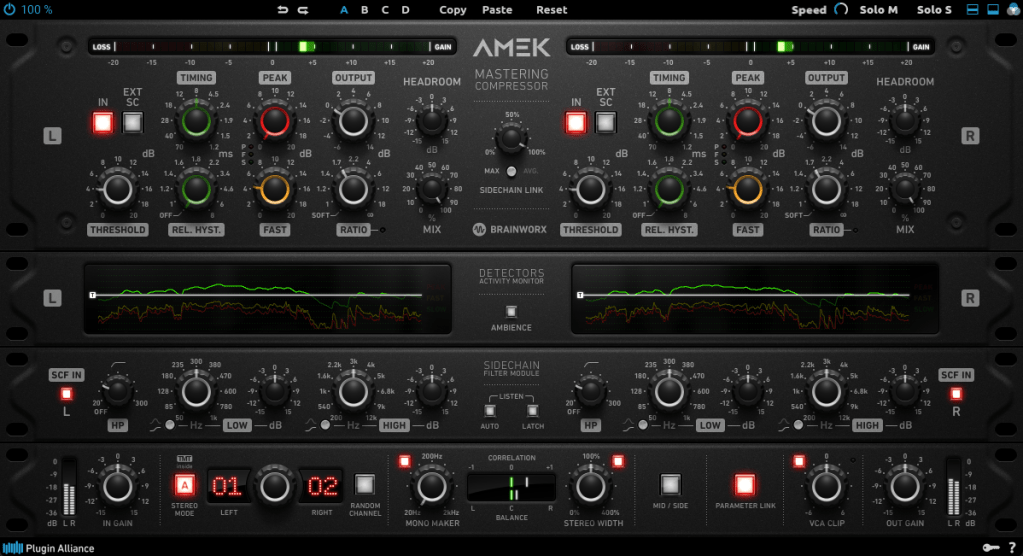
This compressor is inspired by the Amek 9098 console and compressor… or so they say. It’s probably best to think of it as Brainworx’s unique take on an Amek-based compressor.

Its standout features are:

  1. Multiple detector settings (Fast, Peak)
  2. Timing and Release Hysteresis parameters instead of traditional Attack and Release

These can be a bit confusing, so let’s break them down.

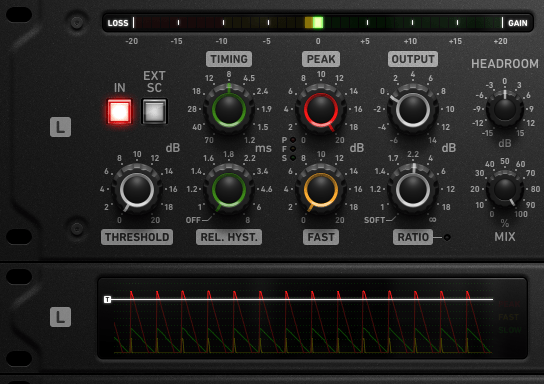
The Peak parameter enhances detection of transient peaks, while the Fast parameter makes the attack respond more quickly.

Timing directly adjusts the speed of Attack and Release, while Release Hysteresis links the Fast detector to the signal’s volume, reacting faster to loud sounds and slower to quiet ones.

A bit tricky, right? 😄

Also, this compressor has automatic Make-Up Gain, so you’ll need to slightly reduce the Output Gain to balance the sound.

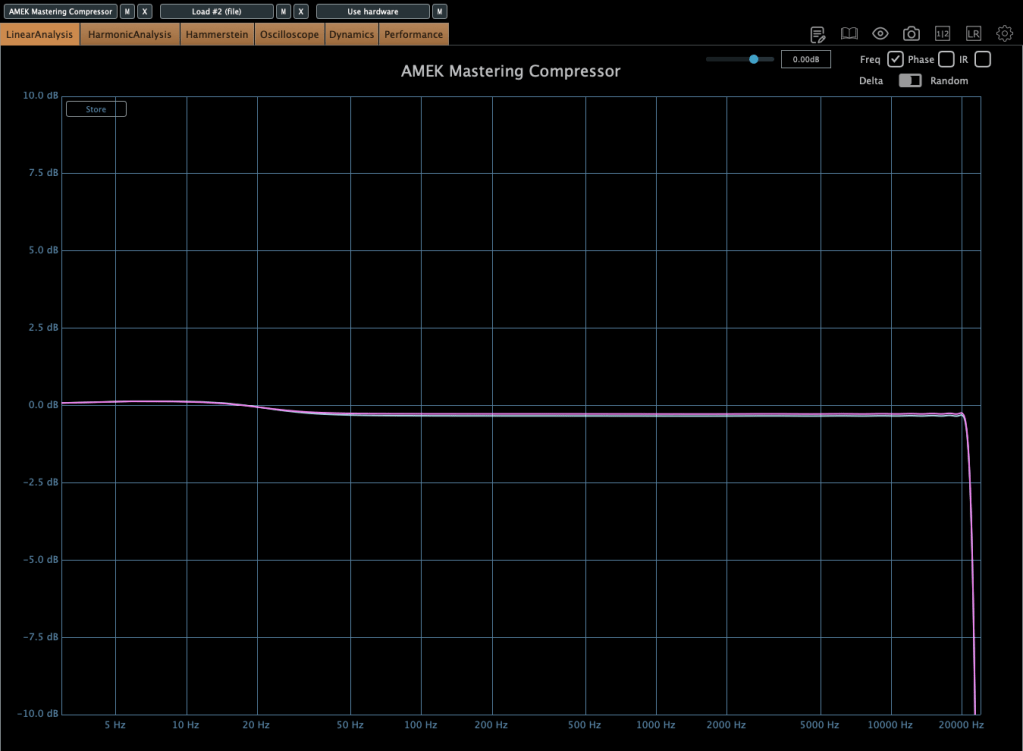
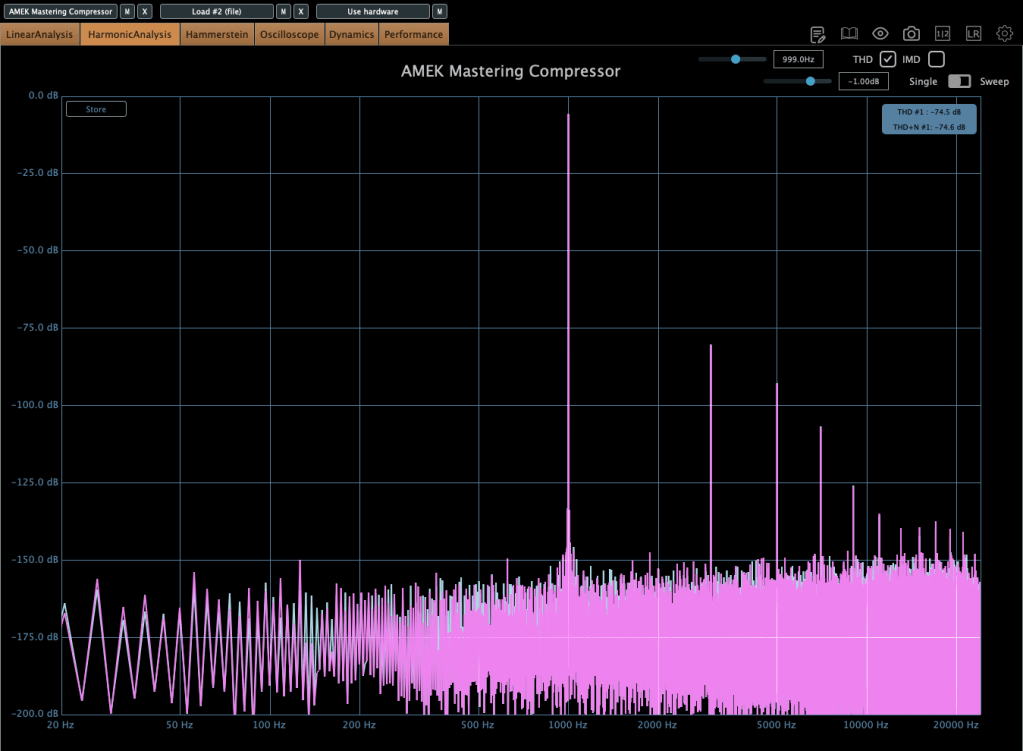
In terms of frequency response, it slightly boosts the low end, and when compression kicks in, the high end gets a subtle lift. True to its “Mastering Compressor” name, it’s very clean with minimal harmonic distortion.

Millennia TCL-2

The Millennia TCL-2 is a plugin emulation of Millennia’s opto compressor, often compared to the Avalon AD2044 as a top-tier stereo opto compressor.

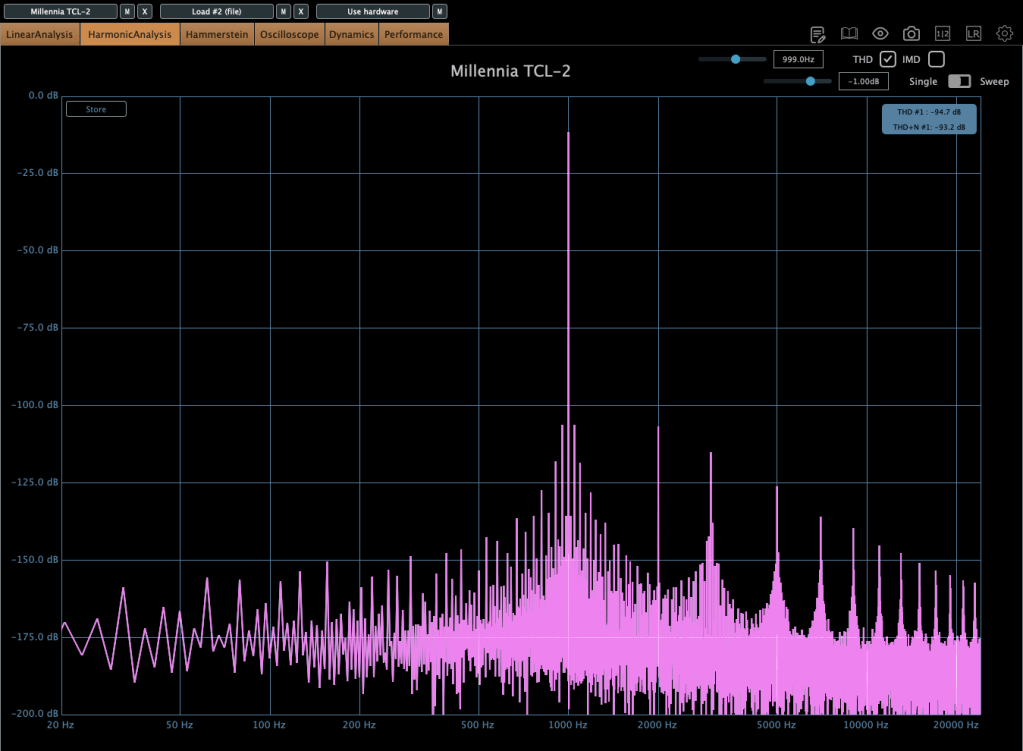
It’s exceptionally clean, producing very little harmonic distortion even under compression. You won’t notice significant changes in the frequency response either.

The parameters are fairly standard, so there’s not much to dive into here.

From my experience, it’s ideal when you want a smooth opto compressor without expecting high-frequency saturation.

Mäag Audio Magnum-K

The Mäag Audio Magnum-K is a compressor that incorporates Mäag Audio’s signature Air Band EQ.

This one’s a bit complex to use. It’s easiest to think of it as three sections: Magnum Compressor, K Compressor, and EQ2.

The Magnum section should feel familiar, but the FB/FF (Feedback/Feedforward) setting on the far right is unique. Feedback mode offers smooth compression, while Feedforward mode is more aggressive.

The K Compressor is a one-band compressor centered at 3kHz, essentially functioning as a de-esser to tame vocal sibilance.

The EQ2 section operates in parallel with the original signal, blending with the Magnum and K Compressor signals before soft clipping kicks in.

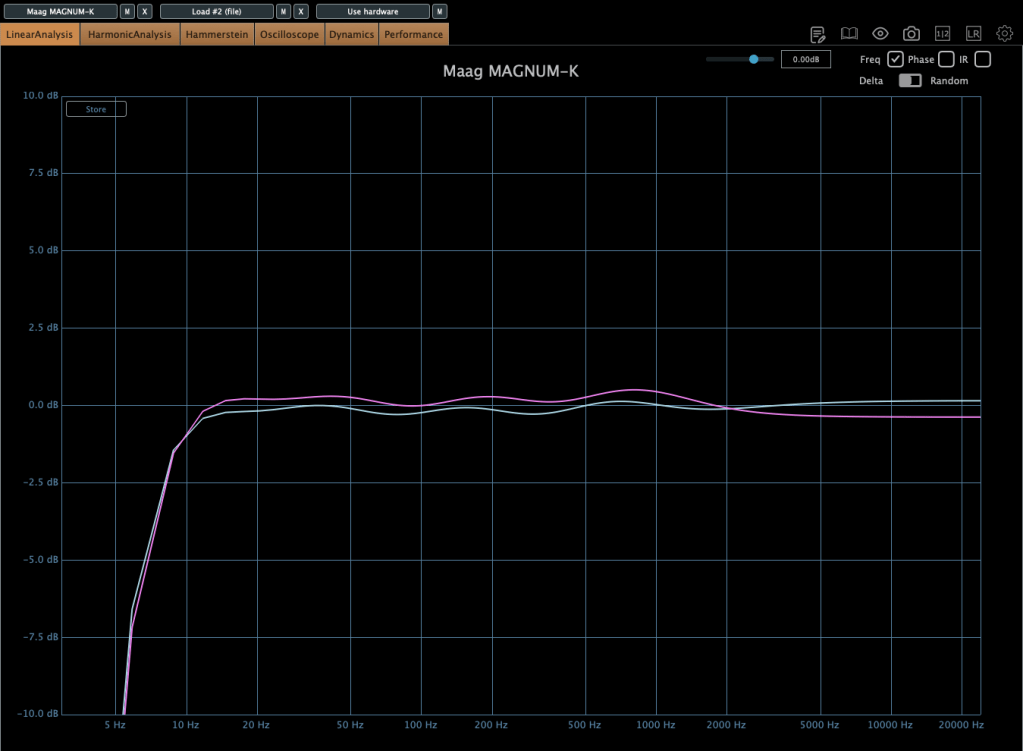
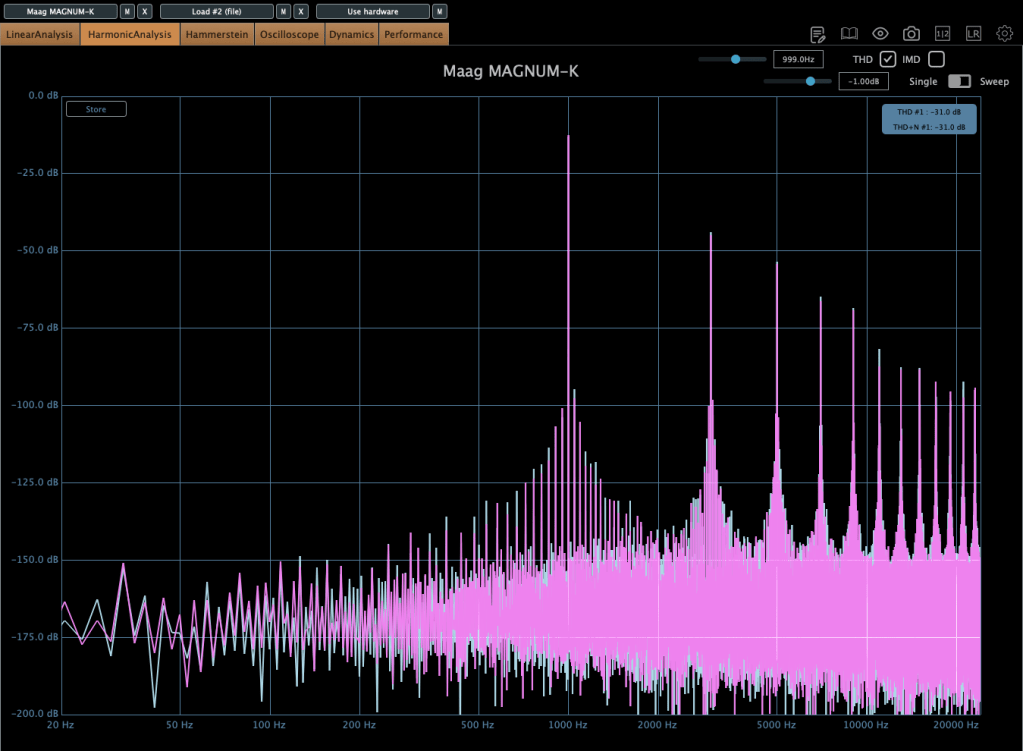
It adds some coloration, and when compression engages, the midrange feels fuller. The left and right channels can slightly differ, creating a richer effect. If you don’t like this, you can use M/S mode or Digital Mode for uniform channel processing.

Until the end of this month, these compressors and other Brainworx plugins are on sale at Plugin Boutique, so it’s worth checking them out.

Plus, if you buy any plugin from Plugin Boutique this month, you’ll get Bitwig Studio 8-Track DAW for free, so don’t miss out!

See you in the next post! 😊
Basics of Mixing (End) – 14.5 The Codecs of Music Files

Hello? This is Jooyoung Kim, a mixing engineer and music producer. Today, I’ll talk about the music file codecs, final article of basics of mixing series. Those posts are based on my book, Basics of Mixing, published in South Korea.

Let’s dive in!


Codec

The term codec stands for coder-decoder—a hardware or software that encodes and decodes digital signals. There are three main types of codecs:

  1. Non-compression: WAV, AIFF, PDM(DSD), PAM
  2. Lossless Compression: FLAC, ALAC, WMAL
  3. Lossy Compression: WMA, MP3, AAC

Non-compression codecs retain 100% of the original audio data with no compression applied.

Lossless compression codecs reduce file size while preserving all original data. This means they sound identical to uncompressed formats like WAV.

Lossy compression codecs remove some audio data to achieve a much smaller file size, which can affect sound quality depending on the compression level.

In the music industry, WAV, MP3, and FLAC are the most commonly used formats for mastering and distribution.


How is file size determined?

For WAV files, size is determined by sample rate and bit depth. How about mp3 and FLAC?

MP3 files use bitrate, rather than sample rate and bit depth. You’ve probably seen MP3 files labeled 256kbps or 320kbps. This means 256,000 bits or 320,000 bits of audio data are processed per second. Higher bitrates result in better sound quality but larger file sizes.

FLAC files use compression level to control file size. A higher compression level takes longer to encode but results in a smaller file. However, since FLAC is lossless, the sound quality remains unchanged regardless of the compression level.

If you want to compare how different codecs affect sound quality, you can use tools like Sonnox Codec Toolbox or Fraunhofer Pro-Codec.


This is the last article for the ‘Basics of Mixing’ series. Time is really quick..haha.

I hope these posts have helped expand your knowledge and improve your mixing skills.

Thanks for reading, and I’ll see you in the next post!

Brainworx Mixing Month Plugin Sale (2): Black Box Analog Design HG-2 (~3/31, $31.90)

Hey there! I’m Jooyoung Kim, an engineer and music producer.

Today, I’m picking up where I left off to talk about more of the Brainworx plugins on sale this month:

  1. Shadow Hills Mastering Compressor – Compressor
  2. Shadow Hills Mastering Compressor Class A – Compressor
  3. Black Box Analog Design HG-2 – Saturator
  4. Black Box Analog Design HG-2MS – Saturator
  5. Mäag Audio EQ4 – EQ
  6. SPL Transient Designer Plus – Transient Shaper

In this post, I’ll be diving into the Black Box Analog Design plugins from that list—specifically HG-2 and HG-2MS.

As I mentioned last time, I personally bought and have been using 1, 3, and 5. For this round, I received NFR (Not for Resale) licenses for 2, 4, and 6 from Brainworx via Plugin Boutique.

Also, if you purchase through the links in this blog, I’ll earn a small commission, which really helps me keep going—so thank you in advance! ㅜㅠ

Ready? Let’s get started!


3 & 4) Black Box Analog Design HG-2 and HG-2MS

Click image to purchase Black Box Analog Design HG-2Ms

When I tested these two, I noticed that with the same parameter settings, their responses are pretty much identical. The differences are outlined in the manual, but since they’re so similar, I’ll explain them together using the HG-2MS as the reference point.

First off, these plugins are recreations of the HG-2 hardware from Black Box Analog Design. As you’d expect, it’s all about those glorious vacuum tubes front and center. The HG-2 uses a combination of pentode and triode tubes, running your signal through both for that signature tube saturation—that’s the core of what this hardware (and plugin) is about.

It also has an extra triode tube you can blend in. The original hardware’s signal routing looks something like this:

The output stage features a Sinemag transformer, while the parallel saturation path uses a pair of 12AX7 triode tubes.

Looking at the parameters, the “Saturation” knob on the far left controls the amount of parallel saturation. The IN/OUT button toggles whether this parallel processing is active, and the ALT TUBE button switches the tube manufacturer for the parallel saturation path, altering the harmonic distortion character.

Even if you turn off the Saturation knob, the signal still passes through the pentode and triode tubes in series, so this is a piece of gear (or plugin) that’s inherently heavy on saturation. That means if you set either Pentode or Triode to 0%, you’ll get no sound at all.

Let’s break down how it works:

Photo: Frequency response—Default state, Saturation In, Alt Tube pressed, from top to bottom

This shows the frequency response in the default state, with Saturation turned on, and with Alt Tube engaged.

Photo: Frequency response—Dark vs. Bright calibration, from right bottom

Here’s the response with the Calibration knob set to Dark and then Bright.

Photo: Frequency response—Air Amount at 100%

This is with the Air Amount cranked to 100%.

Photo: Harmonic distortion—Default state, Saturation In, Alt Tube pressed, from top to bottom

These show harmonic distortion in the default state, with Saturation on, and with Alt Tube pressed. You can see the distortion really jumps when you add parallel saturation—it’s noticeable in the harmonics, and you can hear it too; the overtones come alive.

Photo: Default state vs. Saturation In, left and right

Interestingly, even though this isn’t a compressor, it starts to subtly compress when the input gets loud enough. The left is the default state, and the right is with parallel saturation active.

Now, these parameters let you shape how the parallel saturation sounds. Hit the Solo button, and you can isolate just the parallel saturation signal.

Photo: Frequency response by parameter—High Pass, Band Pass, Flat, Band Stop, Low Pass, from up to down

I measured the frequency response for each setting to show which frequency bands they affect—High Pass, Band Pass, Flat, Band Stop, and Low Pass.


Add colorful, frequency-selective tube saturation with M/S processing. Made by Brainworx, this is your mix bus’ best friend. Celebrated mix engineers like Dave Pensado, Bob Horn, and Jack Douglas rely on the sweet tubes and creamy-sounding transformers of the HG-2.

Personally, I like setting the Saturation to Flat, dialing back the Pentode a bit, and boosting the Triode. It gives a really nice sound—perfect for adding a touch of saturation at the final stage, like a sweet seasoning for your track.

If you’ve been thinking about a tube saturation plugin, this is a great chance to snag one at a discount.

That’s it for now—see you in the next post!