Basics of Mixing – 9.1 Harmonics and Saturation

Hello, I’m Jooyoung Kim, an audio engineer and music producer.

Today, I’d like to talk about two crucial aspects of sound: harmonics and coloration. As audio engineers, we know from experience—and from measurements—that the audio signal changes when it passes through hardware or plugins.

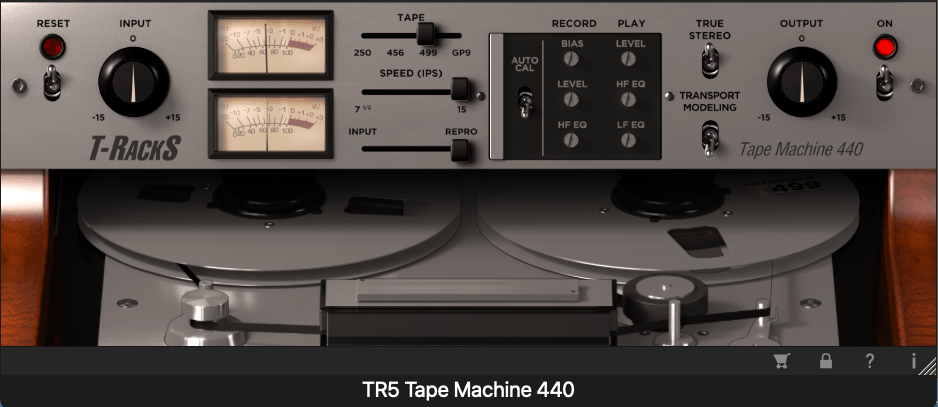
For example, why do sounds processed through vacuum tubes and tape machines end up so different from each other?

It’s a topic worth considering for anyone involved in sound production: how exactly does the signal change, and why?

Of course, if it sounds good, that’s all that matters. But if we take that approach, we could say the same for EQs and compressors—if it sounds good, it’s good enough, right?

That said, this chapter will focus on explaining the devices that introduce coloration to sound.

When an analog audio signal passes through analog devices, harmonics are generated due to the non-linear behavior of these devices.
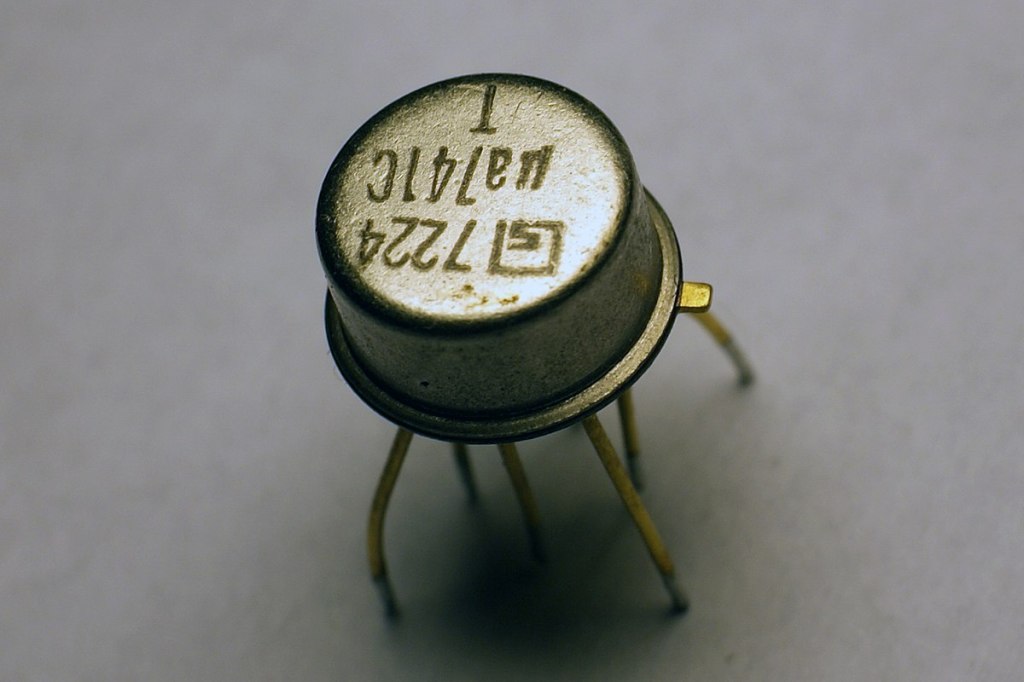
OP Amp
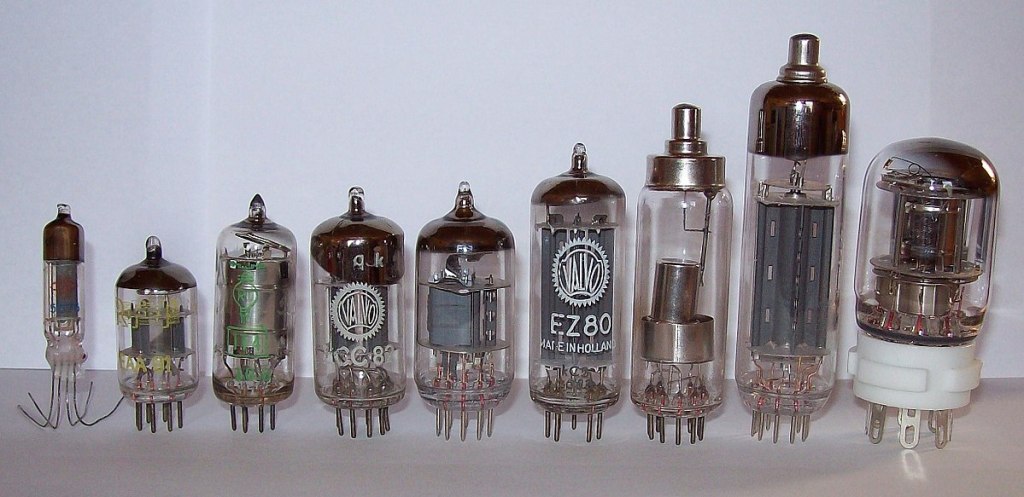
Vacuum Tubes

For example, when components like transistors (such as OP Amps) or vacuum tubes are part of the circuit, they create non-linear responses in the output, which results in harmonic distortion.
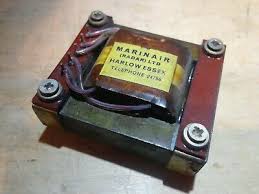
Legendary Marinair Transformer used in Neve Hardware (Photo from AMS Neve)

If you’re a fan of hardware, you’ve probably heard the term “transformer.” When you insert a transformer like the one shown above at the input or output stage of hardware, it creates non-linearities that result in harmonics.

This is why different components alter the character of a device, and why those who modify gear often swap out transformers, tubes, or transistors!

Why do non-linear behaviors generate harmonics? We could explain this through Fourier analysis, but I’ll spare you the math to keep things interesting.

(If you’re curious, look up non-linear systems and functions.)
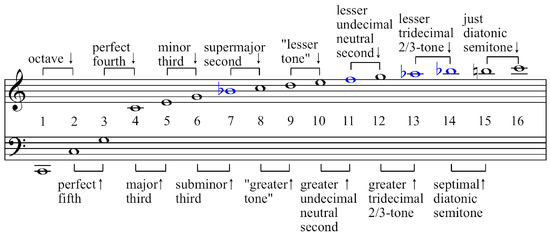
Harmonics

If you’ve studied music, you might recall learning about harmonics and harmonic series in class. Generally speaking, even-order harmonics sound more harmonious and pleasant, while odd-order harmonics tend to create dissonance and can sound harsher.

So, if a device emphasizes odd-order harmonics, it will sound sharper. On the other hand, if it emphasizes even-order harmonics, it will blend more smoothly into the mix.

Now, are there analog devices that exclusively boost even or odd harmonics? Not really.
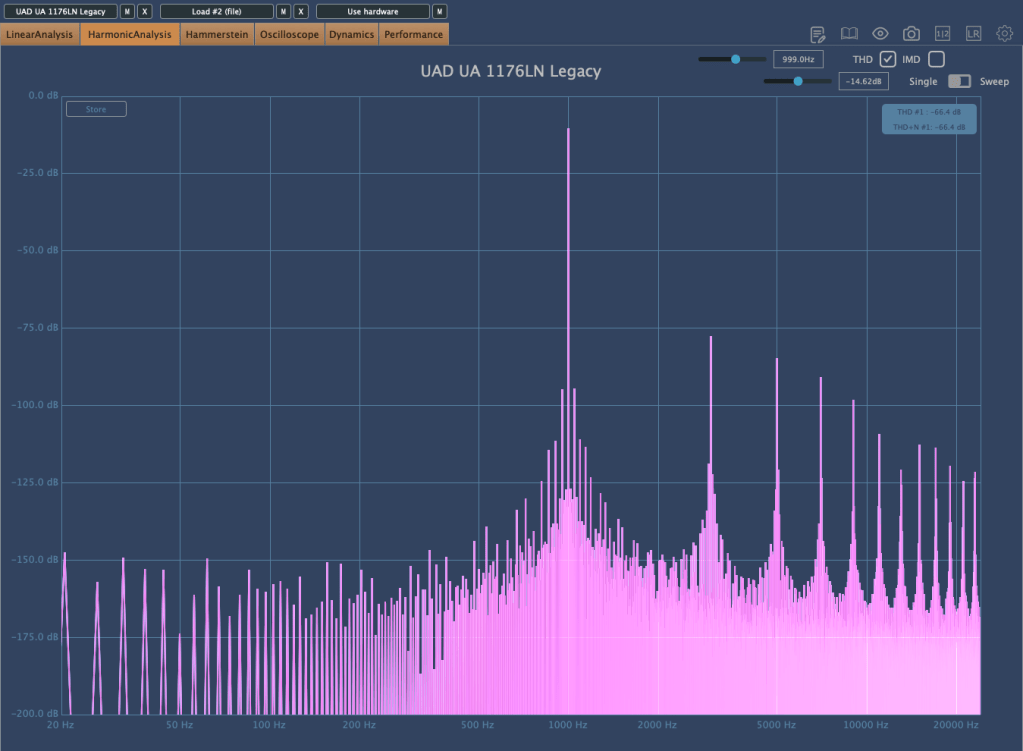
UA 1176LN Legacy Plugin that boosts only odd harmonics

As shown above, you’ll find this kind of control in plugins, but not in analog hardware.

Additionally, because of non-linear responses, the levels of second, third, fourth, and other harmonics also vary in non-linear ways.

So how should we understand these devices? Do vacuum tubes and transistors have unique characteristics?

We’ll continue exploring these questions in the next post.
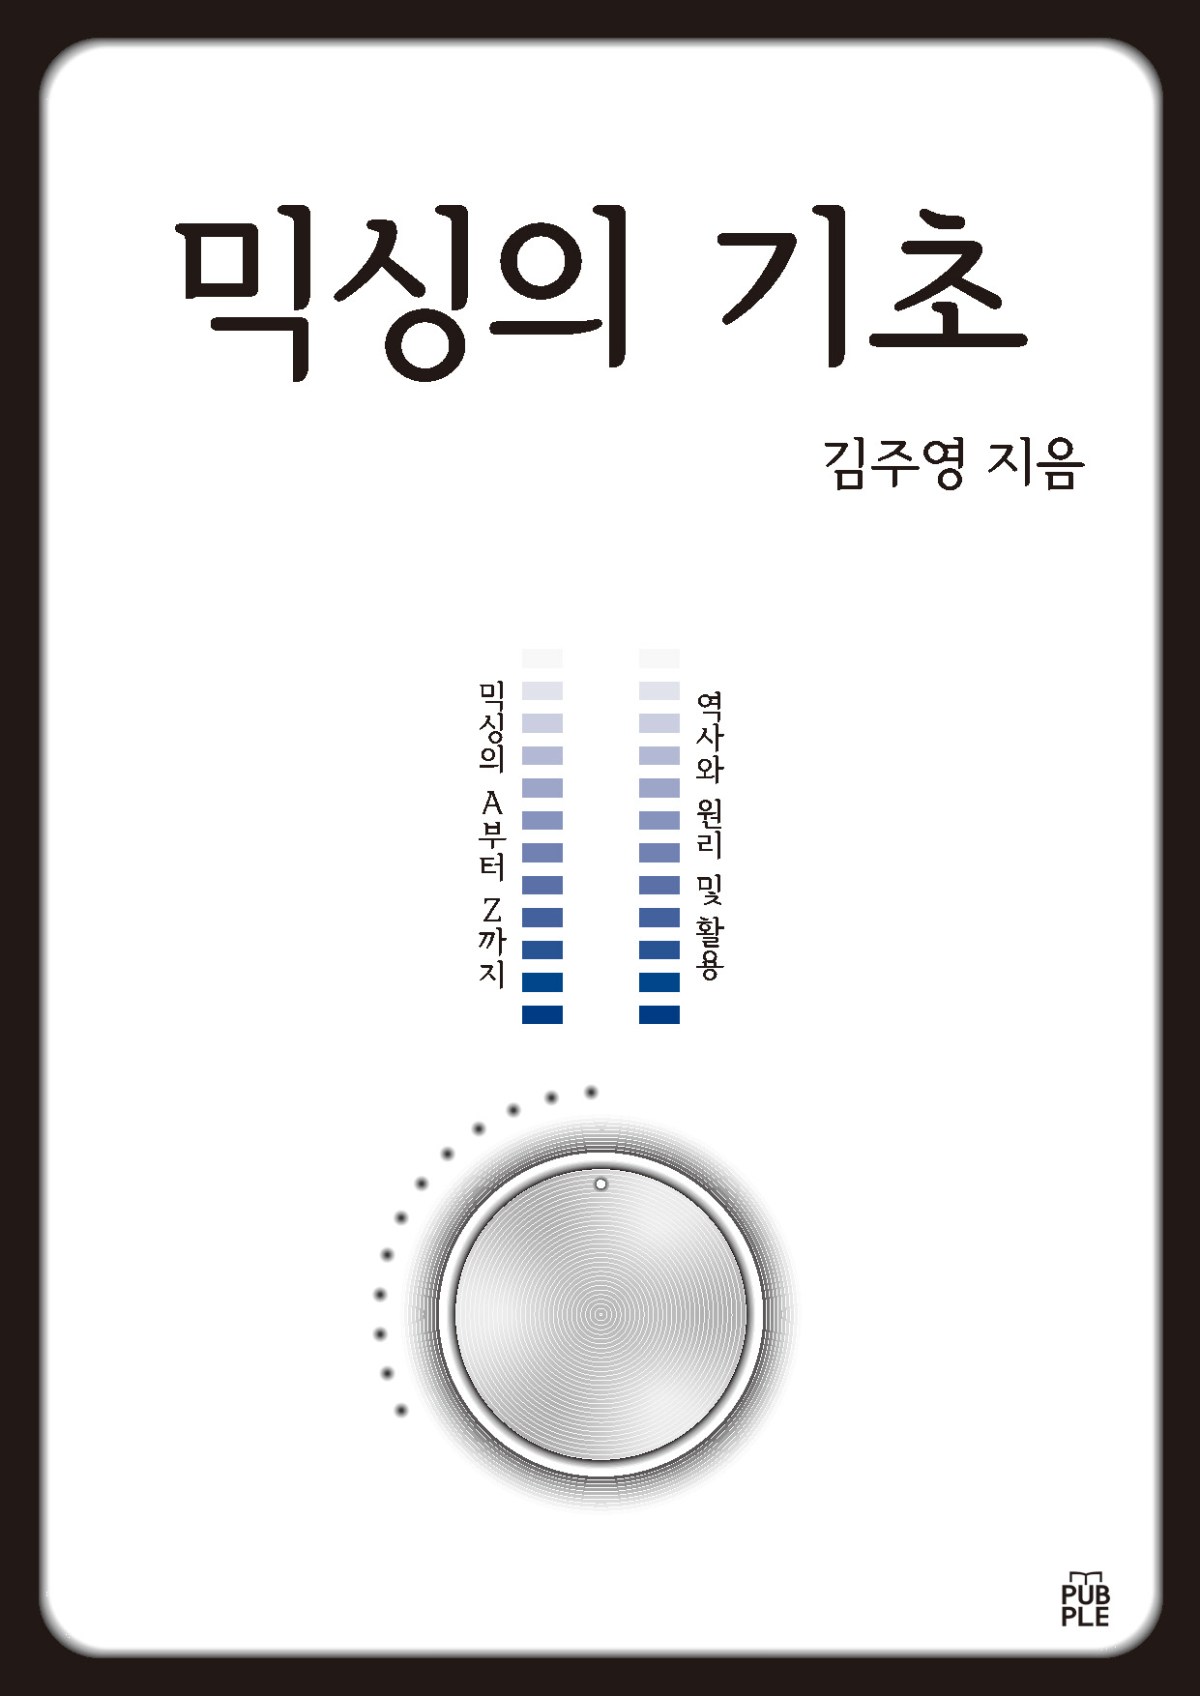
My New Book, “The Basics of Mixing,” is Now Published in Korea!

Hello! I’m Jooyoung Kim, an audio engineer and music producer.

I’m excited to announce that the book I’ve been working on for quite some time about mixing has finally been published in Korea!

Since I first started diving into audio engineering head-on, I’ve gone through countless books and resources. One of the biggest frustrations I encountered was the lack of educational materials available in Korean. As I continued my studies, I made a promise to myself that I’d one day write a book on mixing.

After finishing the manuscript, I sent it to several publishers, but many found the content to be too complex. While navigating those hurdles, I discovered the POD (Print on Demand) service offered by Kyobo Bookstore in Korea, which allowed me to publish the book online. Although it’s a bit limiting, the book can now be purchased through Kyobo’s website.

I’m deeply grateful to my mentor, Director Yongsoo Choi, and Professor Minho Jang from my university, for reviewing my manuscript. I’m also honored that the renowned engineer, Director Jongpil Koo from Klang Studio, read the book and wrote a recommendation for it. There are so many people to thank for their support and encouragement throughout this process.

To be clear, I’m not claiming to be an expert or someone with an extraordinary career. But I’ve worked hard to organize and share everything I know in the most comprehensive way possible. While the content isn’t exactly easy, I believe it’s worth the effort.

Since this blog is mostly in English, I know most of you won’t be able to read the book. However, if you have any questions about its content, feel free to reach out to me at joe1346@naver.com, and I’ll be happy to respond.

That’s all for today’s post. Thanks for reading!

Basics of Mixing – 8.3 How to Use Reverb?

Hello, this is Jooyoung Kim, music producer and audio engineer.

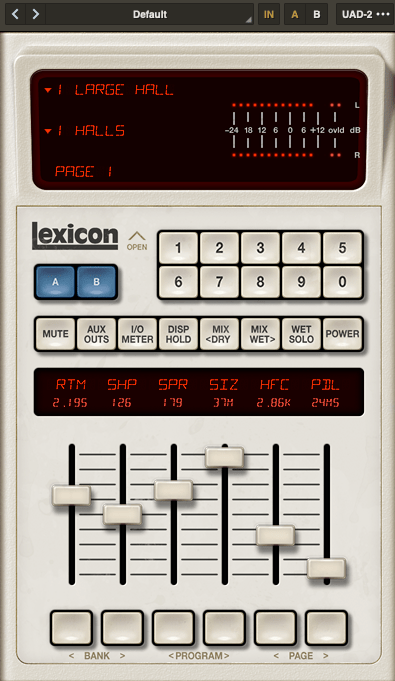
Last time, we explored the history and types of reverb. Today, we’ll dive into the practical ways to use reverb in your mix. Let’s get started!

When you first open a reverb plugin, the numerous settings can be overwhelming. But in reality, you only need to focus on three key parameters:

  1. Pre-Delay
  2. RT60 (Reverb Time)
  3. Type of Reverb

Pre-Delay refers to how much time passes between the original sound and the reverb effect. If the listener is close to the sound source, a larger Pre-Delay feels natural, while a smaller Pre-Delay is ideal if the source is far away.

RT60 measures the time it takes for the sound to decay by 60dB. While the decay time can vary depending on the frequency, you can generally think of it as the time for the reverb to fade out.

Reverb types are crucial because they give your mix different atmospheres depending on the choice. Knowing these basics should be enough to get you started!

Understanding Reverb Parameters
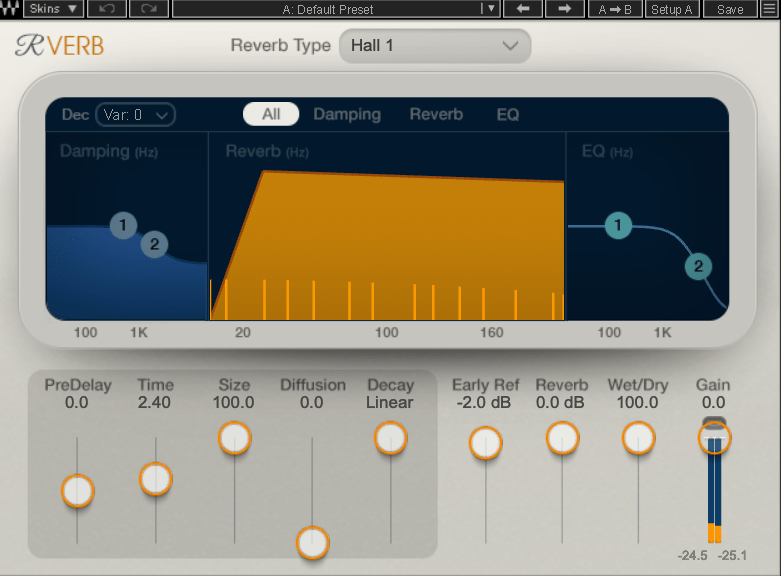
Here’s RVerb, a basic digital reverb plugin from Waves.

Time represents RT60, but what about Size? Size controls the virtual space’s dimensions, affecting the initial reflections and how the reverb tail forms.

Diffusion varies across plugins. It manages whether the reverb tail is formed by the direct sound or by the reflections. Lower values make the tail clearer and less cluttered, while higher values create a fuller sound.

Decay isn’t always present, so we’ll skip that for now. Early Reflections control how strong the initial echoes are. Smaller rooms produce stronger early reflections, while larger rooms have weaker ones. Wall materials can also affect this.

Reverbs like Shimmer add pitch modulation, Plate and Spring reverbs adjust materials, and Chamber reverbs may let you adjust mic and speaker positions.

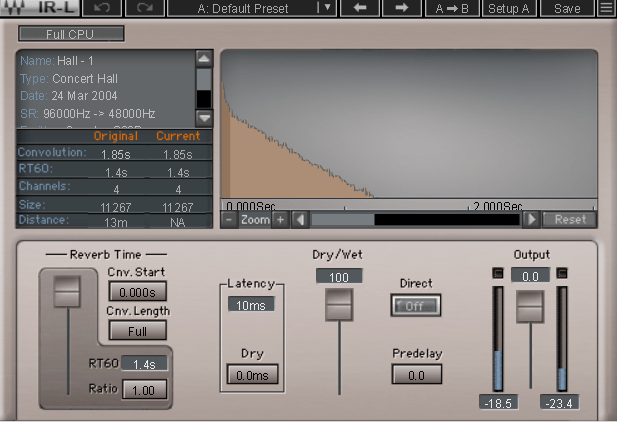
With IR (Impulse Response) reverbs, drastic changes to settings like Pre-Delay can feel unnatural, so if you’re not satisfied with the sound, it’s better to switch to a different reverb entirely.

Reverb EQ

There’s a reason why many reverb plugins include built-in EQs.

When applying reverb, EQ is key. Think of a live concert venue like a club in Hongdae. Outside, you mostly hear bass, while the vocals are hard to make out, right? This is because low frequencies travel further, while high frequencies lose energy faster in the air.

To simulate the natural acoustics of a real venue, especially for orchestral performances, applying EQ to the reverb can help create a more realistic reverb effect. Additionally, reducing some lows and mids from the reverb will help prevent the reverb from muddying up your mix, allowing for a clearer sound.

Reverb Compression & Saturation

What happens when you apply compression to reverb? Compression reduces dynamic range, which gives the illusion of a longer reverb tail, making it feel like the reverb lasts longer.

You can also add tonal color through hardware or plugin saturation to alter the feel of the reverb. For example, sidechaining the reverb to a vocal or lead instrument can reduce the reverb when those elements are prominent, and increase it when they are not.

Gated Reverb

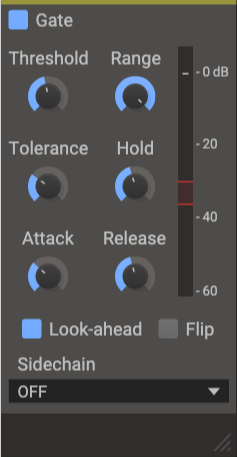
By using a gate, you can tightly control the reverb to match the groove of the track. Using sidechain techniques with gates or envelope followers, you can craft tight, precise reverb effects. This technique works wonders in genres like funk, but it can feel out of place in ballads—so choose carefully!

Various Reverb Uses

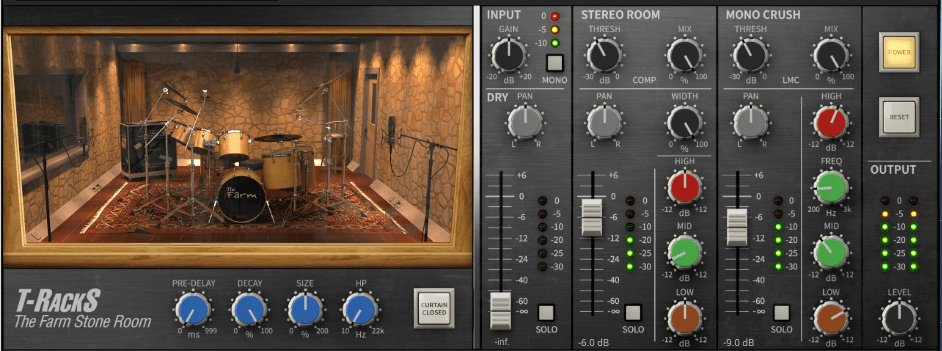
It’s common to use more than one reverb in a mix. For instance, a UAD Precision Reflection Engine can add artificial ambience to dry tracks, while you might apply a Plate Reverb specifically to the snare drum.

For consistency, you might apply a Hall Reverb across all elements in the mix. And don’t forget to adjust your Send Panning for spatial accuracy.


That’s about it for reverb usage! While theory helps, there’s no substitute for hands-on experience. Keep experimenting, and I’m sure you’ll get the hang of it.

Until next time, see you in the next post! 😊

Heavyocity MicroFX Intro Sale (Until 9/20)

Hello, this is Jooyoung Kim, music producer and audio engineer.

Today, Heavyocity has released a new set of plugins called MicroFX.

Heavyocity is known for selling virtual instruments and effects plugins, especially well-suited for film and video music production. However, the new MicroFX plugins can be used for a variety of purposes beyond those genres.

There are three plugins in the series:

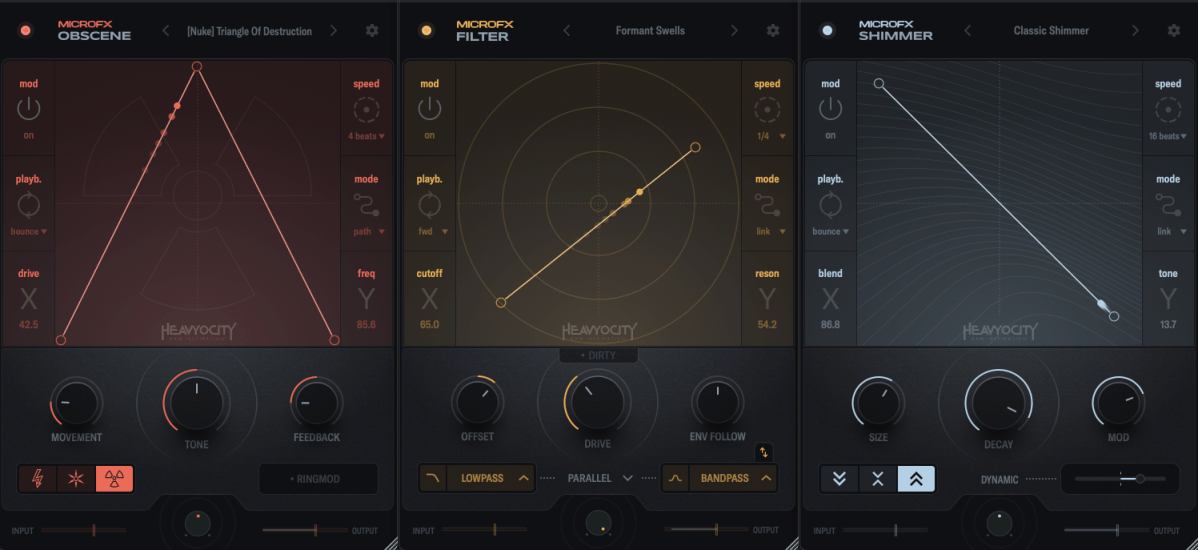
  1. Obscene (Distortion)
  2. Filter
  3. Shimmer

Let’s take a closer look at each of them.

Obscene

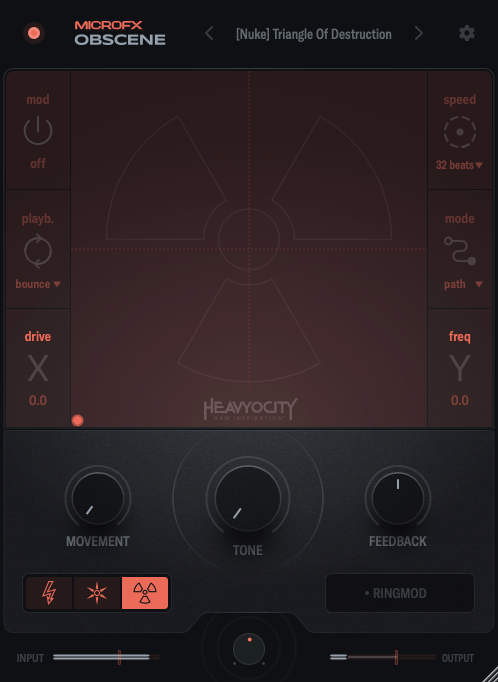
Obscene true to its name, this plugin delivers a powerful, in-your-face distortion effect.

There are three types of distortion to choose from: BLASTER, CRUSHER, and NUKE.

  • BLASTER offers a guitar pedal-style distortion.
  • CRUSHER adds bitcrushing to the distortion.
  • NUKE provides a fuzz-like distortion.

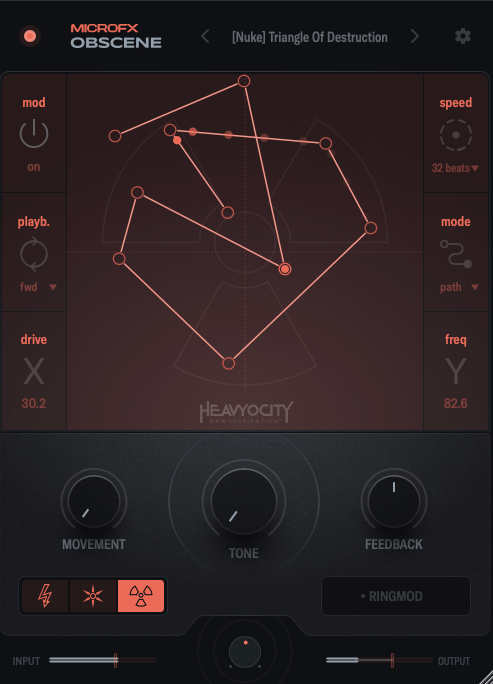
On the graph, the X-axis controls the amount of distortion, while the Y-axis adjusts ring modulation and internal filtering.

You can activate the Mod function, and by double-clicking on the screen, you can place points, which are influenced by the speed settings on the right. You can place up to 15 points.

When you adjust Movement, the frequency response and harmonics change over time. The Tone control acts like a tilt EQ, while Feedback may seem subtle at first but becomes more noticeable as the distortion increases. The large knob at the bottom center is the Mix control.

Filter

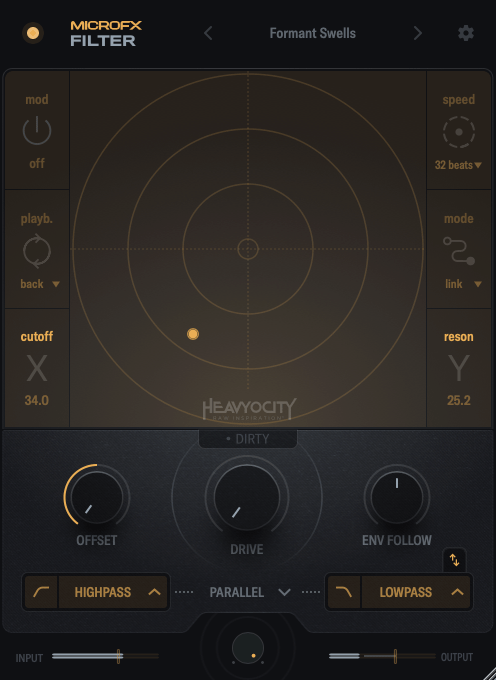
Filter is a simple but versatile plugin.

In this case, the X-axis controls the cutoff frequency, and the Y-axis adjusts the resonance.

Through the buttons below the central knob, you can choose which filters to apply to the high and low frequencies.

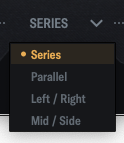
By clicking the center of the interface, you can choose whether to link the filters in series, parallel, LR (left/right), or MS (mid/side) modes.

When you adjust Movement, the frequency response and harmonics change over time. The Tone control acts like a tilt EQ, while Feedback may seem subtle at first but becomes more noticeable as the distortion increases. The large knob at the bottom center is the Mix control.

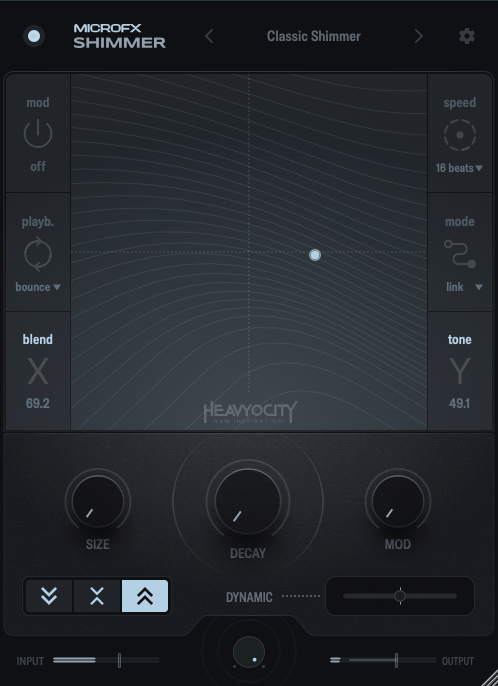
Shimmer

Shimmer reverb will be covered in more detail in my upcoming blog post on the basics of mixing. It’s a reverb plugin that incorporates pitch modulation, producing a bright, extended effect.

This shimmering, elongated reverb is particularly popular in instrumental and cinematic music, especially on guitars.

Shimmer captures that classic sound well.

The X-axis controls the blend of the pitch-shifted delay, while the Y-axis adjusts various internal reverb parameters to shape the overall tone.

The buttons on the lower left let you shift the pitch an octave down, an octave up, or both.

The Size, Decay, and Mod knobs function like typical reverb controls, so I won’t explain those further.

Dynamic is a fader that adjusts the internal dynamics. Pulling it to the left applies an expander to the reverb’s input and output, while pushing it to the right activates a ducking compressor.

Summary

All three plugins are well-crafted and highly useful for sound design. If you’re interested, I recommend checking them out!

These plugins are priced at $42.9 each, or $108.9 for the bundle. Additionally, if you purchase from Plugin Boutique this month, you’ll receive either the Pyros distortion plugin or Bloom Vocal Aether Lite for free.

Thanks for reading, and I’ll see you in the next post! 🙂