Hello, this is engineer, music producer Jooyoung Kim.
Recently, I saw a Neve 33609 C hardware compressor listed for 7500$ on a second-hand trading site. Since I often use the plugin version, I was tempted to buy it, which led me to share some thoughts about the 33609 on my blog.
The 33609 is widely used as a master or bus compressor. There are five versions: the original 33609, and the C, J, JD, and N versions.
https://vintageking.com/blog/2016/06/neve-33609-compressor
You can find detailed differences between these versions in the link above. Here’s a brief summary:
- Original 33609: A rack-mounted version of the Class A/B 2264, 32264, and 33314 (broadcast version) compressor/limiter console modules.
- 33609/C: This version replaces the original’s Maranair/St. Ives transformers with Belclere ones, improves the power supply, and swaps the Discrete BA440 circuits with BA640 ICs.
- 33609/J: Introduced in response to high demand from Japan after the C version was discontinued. It uses the same BA640 ICs as the C version, though many preferred the original Discrete BA440 circuits.
- 33609/JD: Created to satisfy those preferring the Discrete BA440 circuits, denoted by the ‘D’ in JD.
- 33609/N: The current version, featuring custom-made transformers from Maranair, closely resembling the original 33609 transformers. It includes a switchable Attack Fast/Slow option not found in other versions and retains the Discrete BA440 circuits like the JD version.


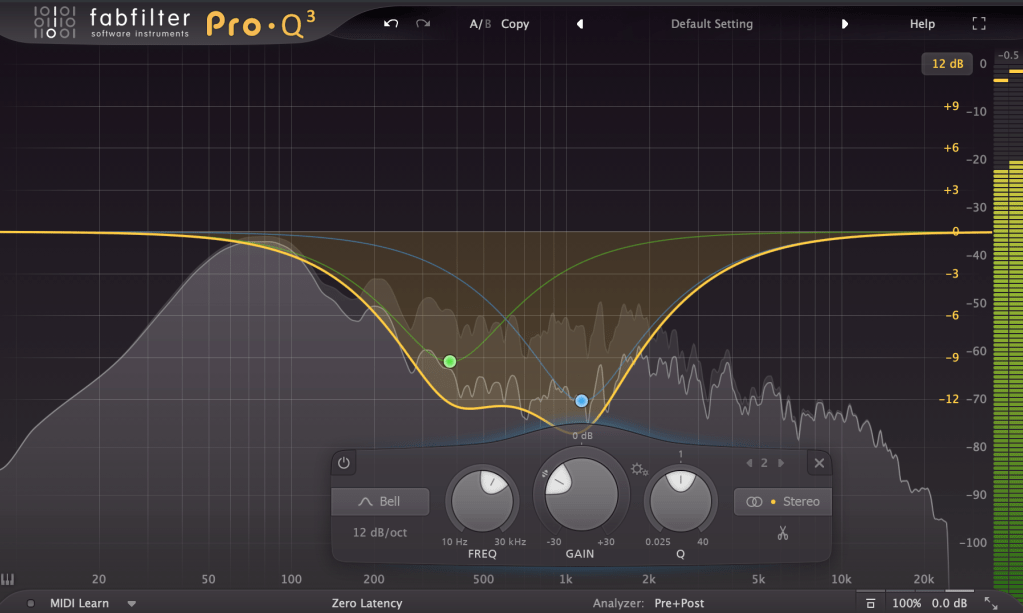
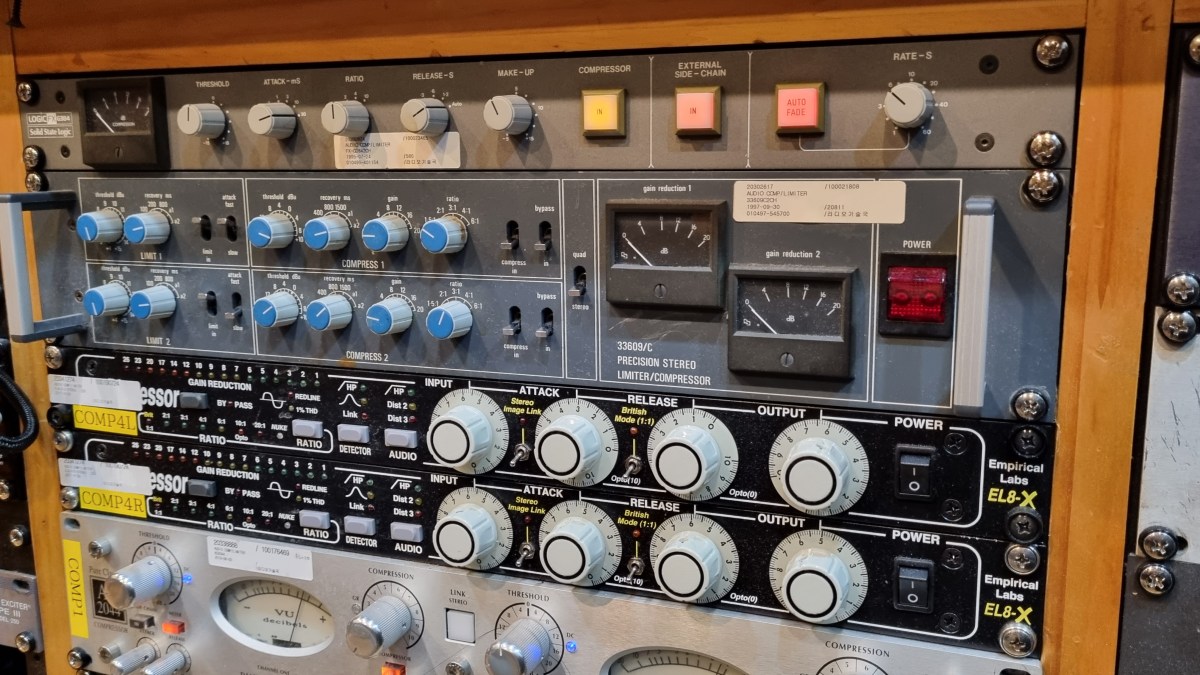
While working at a studio, I measured the 33609/C hardware with a plugin doctor program. Unfortunately, I don’t remember the exact settings used, but:
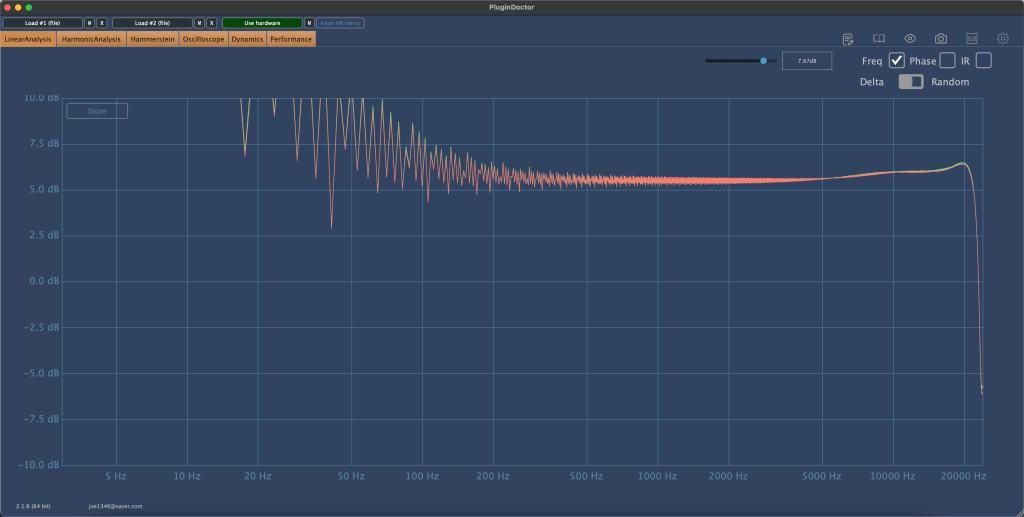
- The Frequency Response (FR) graph was likely tested to see how the input values affect the output.
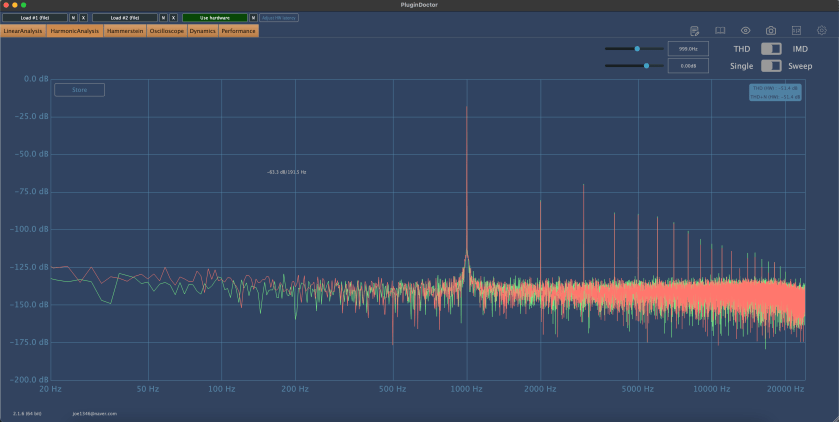
- The Harmonic Distortion (HD) graph probably measured how the harmonic content changes with different threshold settings.
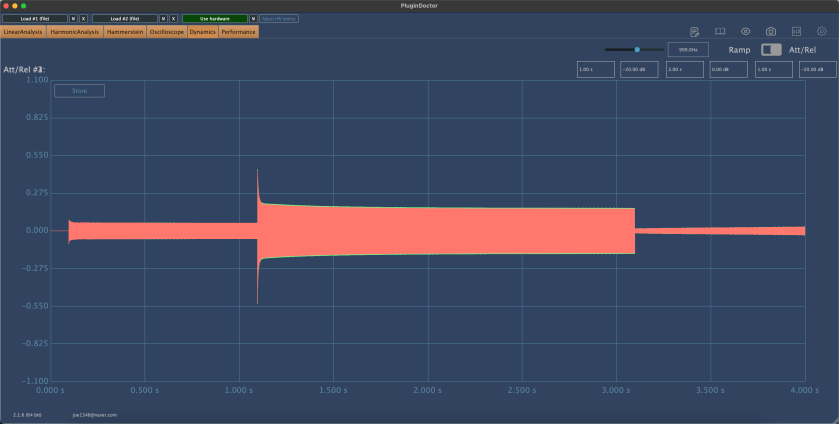
- The Attack/Release Oscillator might have been used to observe how the release values change between Auto1 and Auto2 settings.
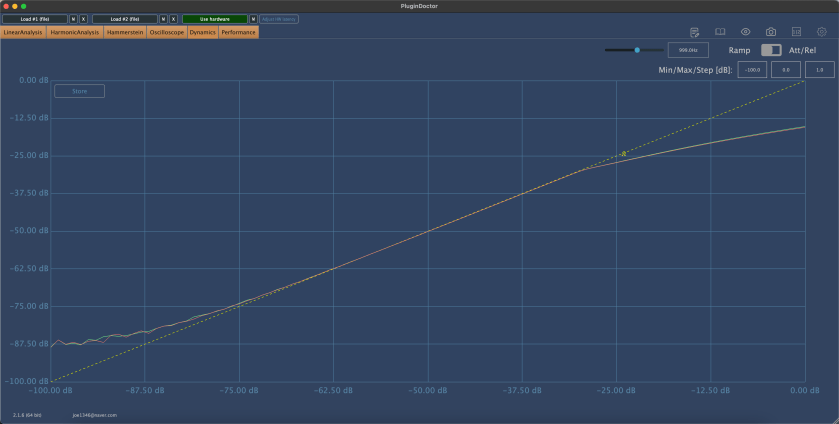
- The Ratio Compression graph was likely used to check for the presence of a knee.
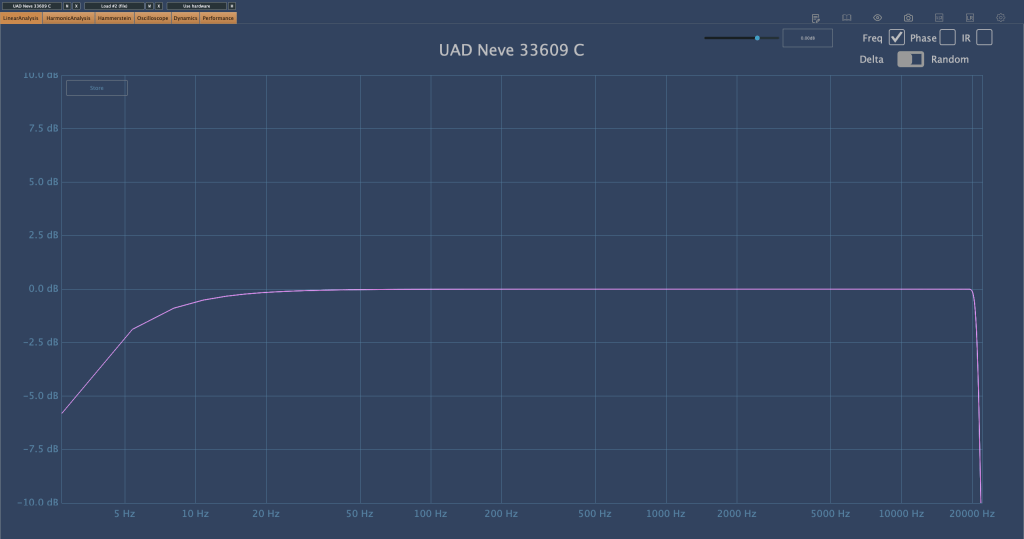
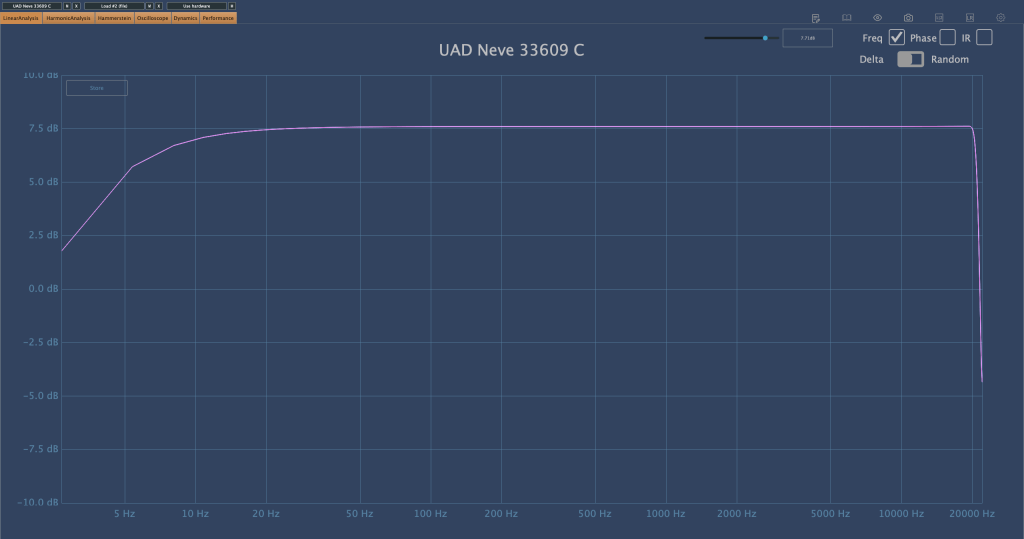

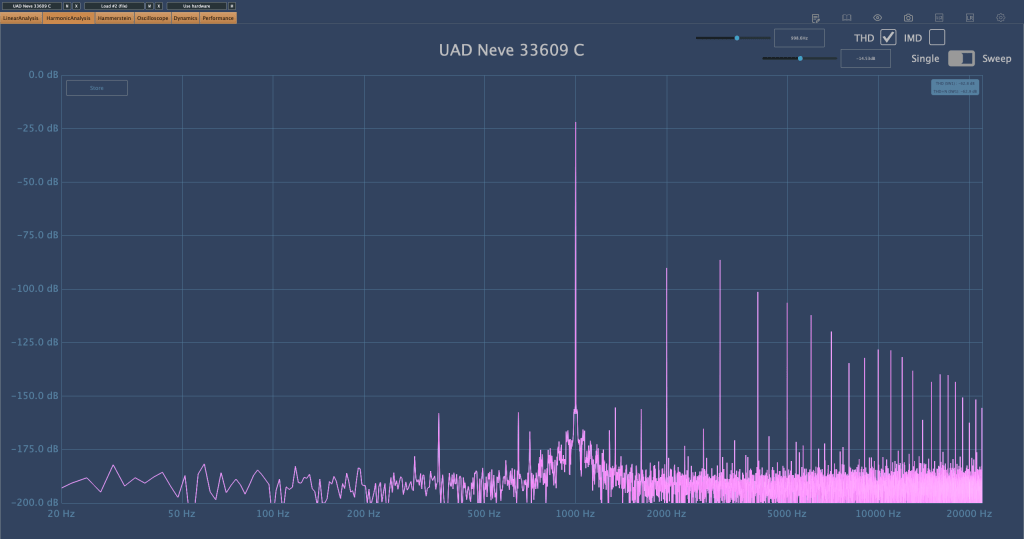
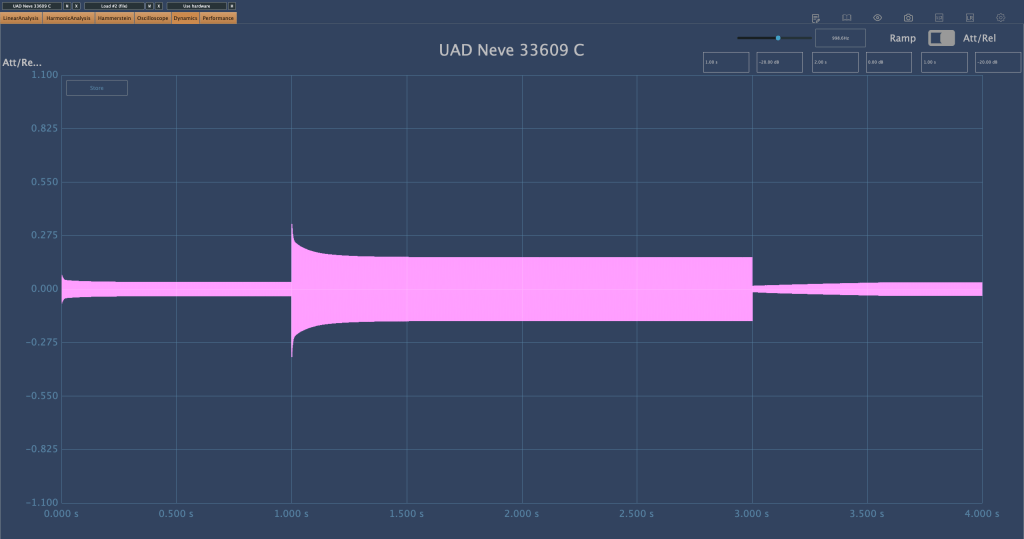

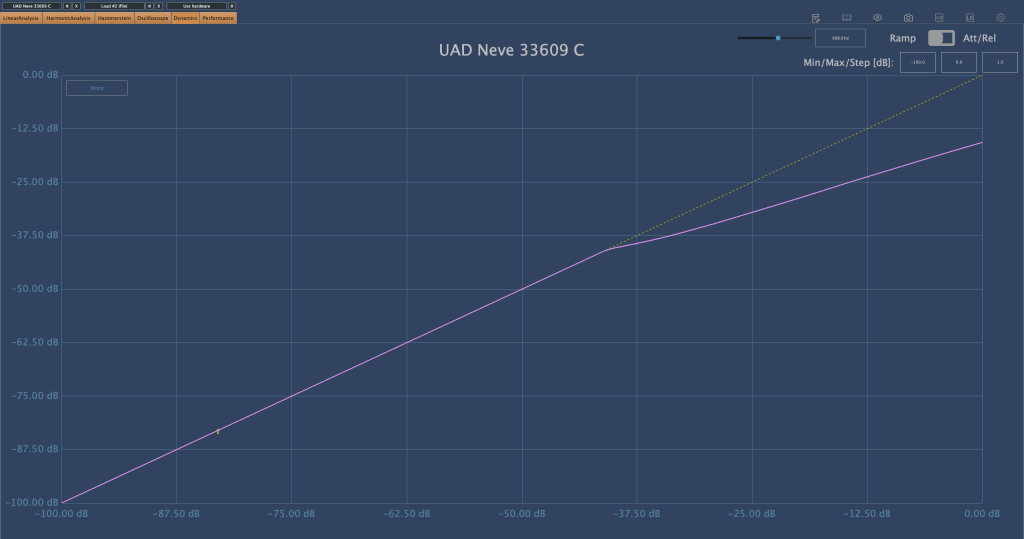
This is the UAD 33609/C plugin. It looks a bit different, partly due to the screen size.
Although I’d love to share more insights, I haven’t had much hands-on experience with the 33609/C hardware, so I can only show you these measurements…😢
There are so many things I want to buy. Even if I can’t afford the 33609, I’d love to get a diode bridge compressor similar to it, and an SSL 4000-style compressor. I’ve already found a potential SSL 4000-style compressor, so I might buy that soon. As for the 33609, maybe when I earn more money…
Both compressors are ones I frequently use in my mixes, and having the hardware would be incredibly useful. The SSL is clean, while the 33609 has a nice coloration.
Lately, I’ve also been eyeing a tube preamp that’s been on my mind constantly…haha. I wish I could just buy all the gear I want.
See you in the next post! 🙂