Life Update: Live Sound Engineer, Mixing Instructor, and Thesis Work (Oct 26, 2025)

Hello everyone, this is mixing engineer and music producer Jooyoung Kim.

It’s been another busy week, so this one’s going to be a short life update post. ^^;


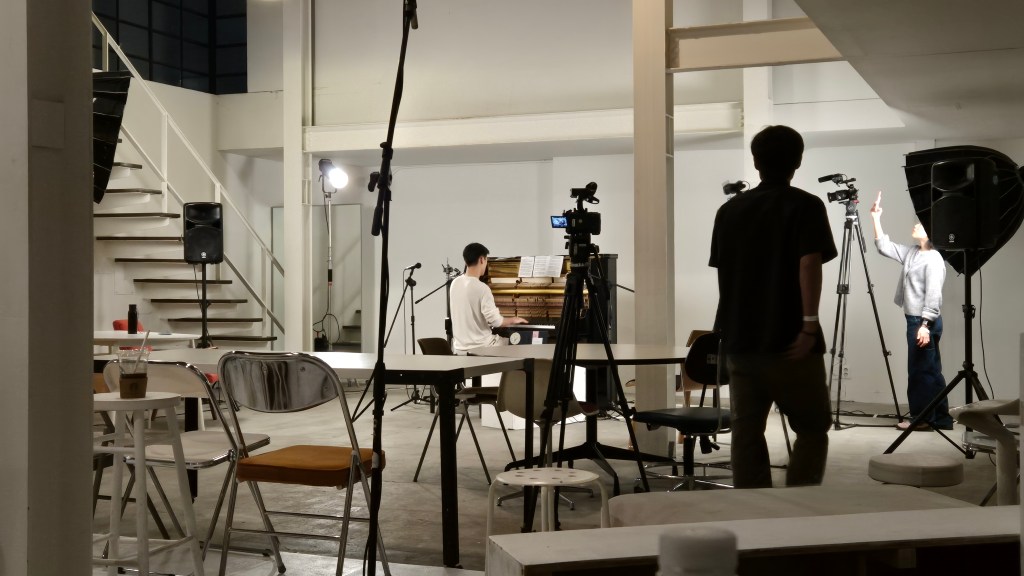
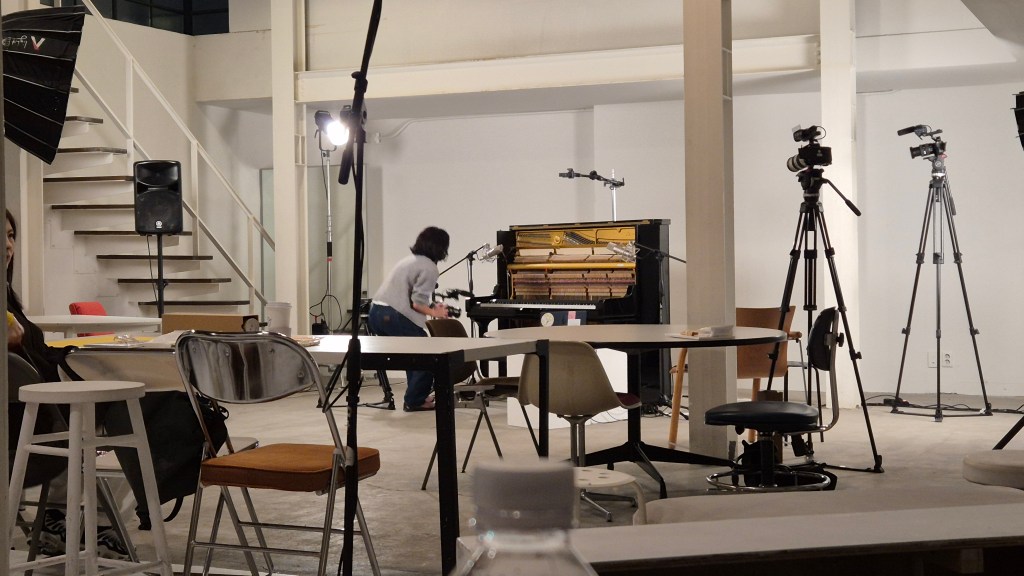
Last Saturday, we held the second “Frisketch x Yeonjun Yoon | Um” concert.

I worked as the sound director again. We used the same venue as the June concert, but this time we positioned the piano differently.

In the meantime, I picked up another Peluso P87 and added two RØDE NT55s for ambience. The sound came out much closer to what I had in mind this time.

Because of the speaker placement, I decided to run the mix in mono. Since the only instrument was the piano, the main mic (P87) captured it beautifully.

That said, when the artist mentioned, “I wish the piano tone were a bit less metallic,” I completely agreed. Haha.


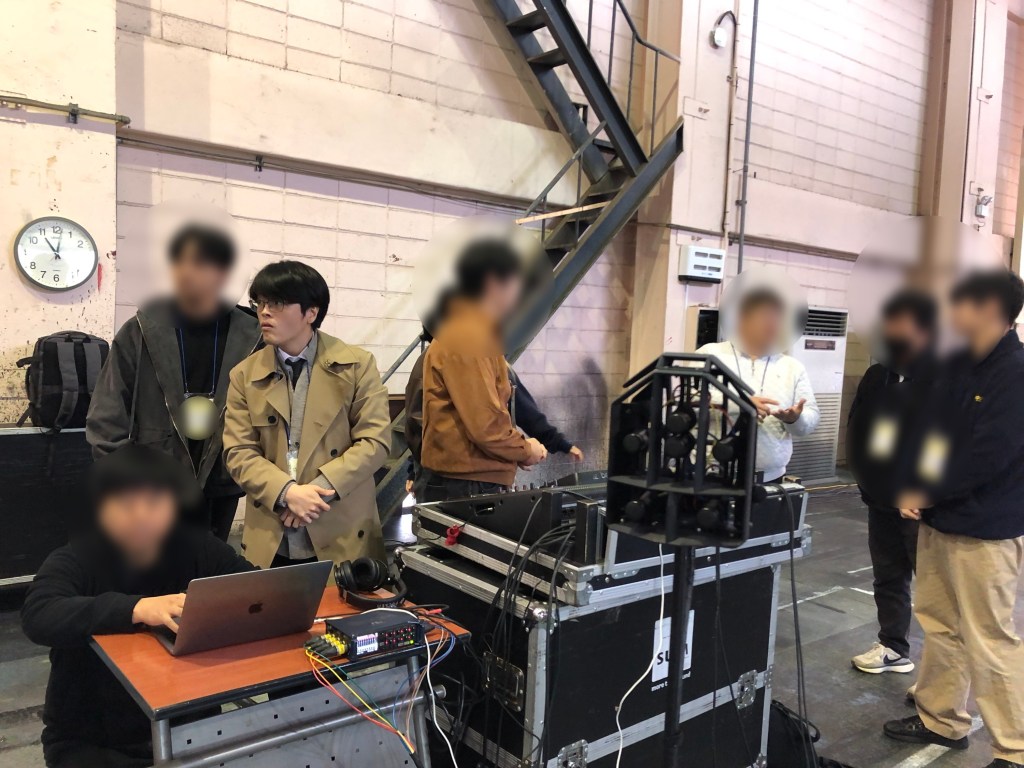
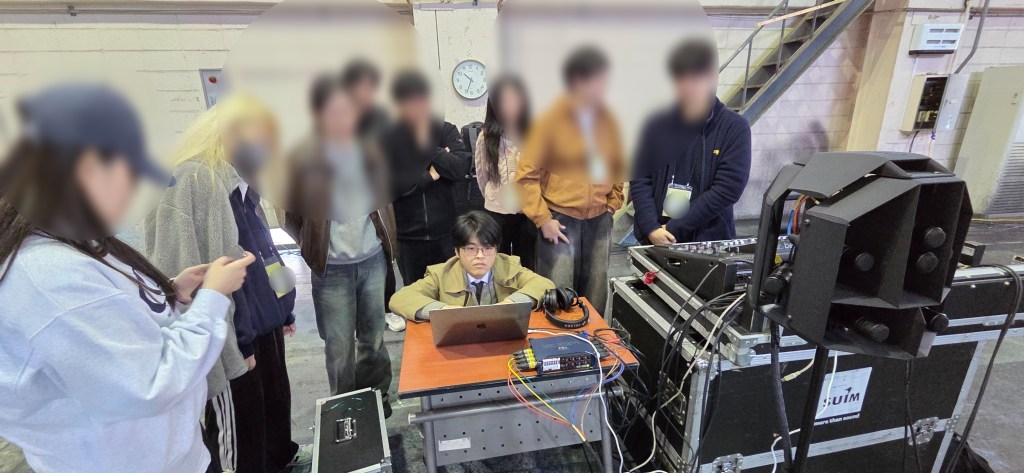
Then on Tuesday and Wednesday, I assisted Sound Director Sung-won Yang in his class “Mixing with IR Reverb” at the Arko Arts Human Resources Institute in Ilsan.

On Wednesday afternoon, I took over and led the mixing lecture myself.

Sometimes I wonder if I made things too difficult, but the topics I consider most important in mixing tend to be the challenging ones.

So I told the students, “It’ll all make sense later—trust me,” and just went for it. Haha.

Honestly, I had so much I wanted to cover, but time was short. I trimmed and trimmed until the lecture fit the schedule perfectly—but it still felt a bit like a Spartan session.

Hopefully it wasn’t too much to absorb all at once.


By the way, I don’t think I’ve mentioned this here before, but I’ve been teaching major practical courses at my graduate school since finishing my master’s degree.

I used to give private lessons only to a few close acquaintances, but now that I’m officially teaching as part of the program, I’ve been thinking a lot more seriously about pedagogy and teaching methods.


Also, my master’s thesis has finally appeared on D-Collection (The archive of theses in South Korea).

The topic is the same as my journal publication, though since it’s an earlier research version, the experimental conditions may feel a bit rougher.

I wanted to cite my published journal paper in the thesis abstract (which is normally standard practice), but unfortunately the publication and submission dates overlapped too closely.

I even contacted the university library afterward, but they said the submission was already finalized and online revisions weren’t possible.

Still, since the journal was published first, there’s no real issue academically.

(For context: a thesis isn’t considered an official publication—once your advisor approves it, the degree is granted.)

Interestingly, I couldn’t find another case online where the timing overlapped this perfectly. ^^;


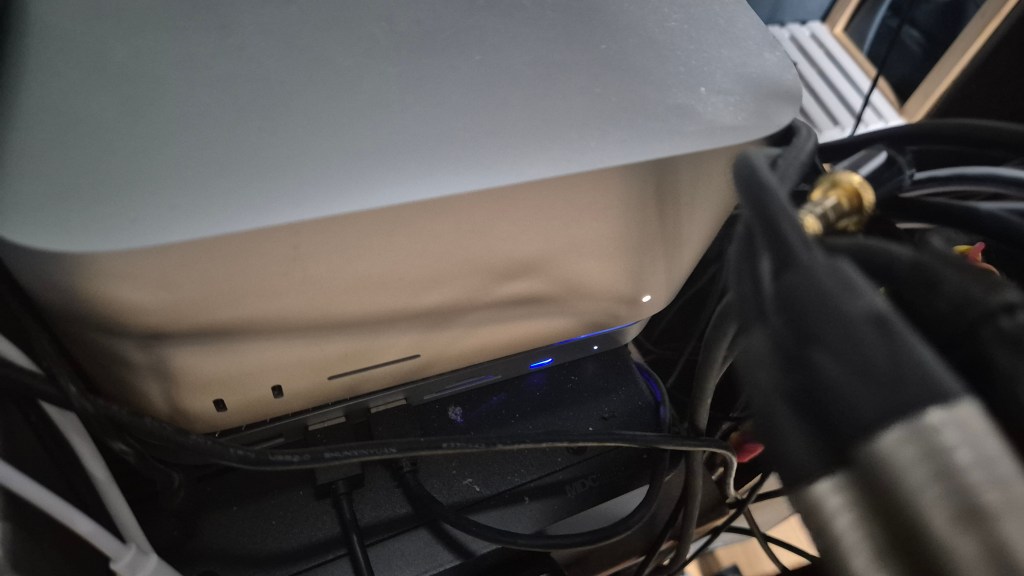
As for my recent live recordings, I’ve finished most of the mixing, and now my Mac Studio is running endless deep learning sessions again.

Compared to my old Windows PC with a GTX 1080, the Mac runs quieter and stays much cooler.

I’m redoing the experiment I failed back in May, and this time I plan to take my time and turn it into a proper paper.

I already got IRB approval, so I’m hoping the training finishes soon.

(Each CNN run takes about 20 days, by the way… hahaha… ha… 😭)

I’m planning to try a WaveNet model as well, but I’m slightly worried it might overrun the IRB deadline. 😭


That’s how things have been lately.
See you in the next post!

Softube Empirical Labs Prof Punch-Knuckles Introduction

Hello! This is Jooyoung Kim a mixing engineer and music producer.

Today, Softube’s new plugin, Empirical Labs Prof Punch-Knuckles, is released.

I received the NFR code for this product from Plugin Boutique for this review, and if you purchase the plugin using the links included in this article, I’ll earn a small commission that helps me keep going… 🙂

Let’s start!


Distressor and Mike-E

If you really interested in mixing hardware, you may know the Empirical Labs’ Distressor (EL-8) and Mike-E (EL-9).

The goal of the Distressor’s development was to create a versatile unit that could emulate the sonic signatures of many vintage compressor types, such as opto, FET, and tube designs. However, it wasn’t sound like those, but the saturation character was really great! Now, it is a compressor that has become a modern ‘classic’.

Mike-E is a channel strip whose compressor section is based on the Distressor.

And Prof Punch-Knuckles is a saturator based on those two pieces of modern classic hardware.


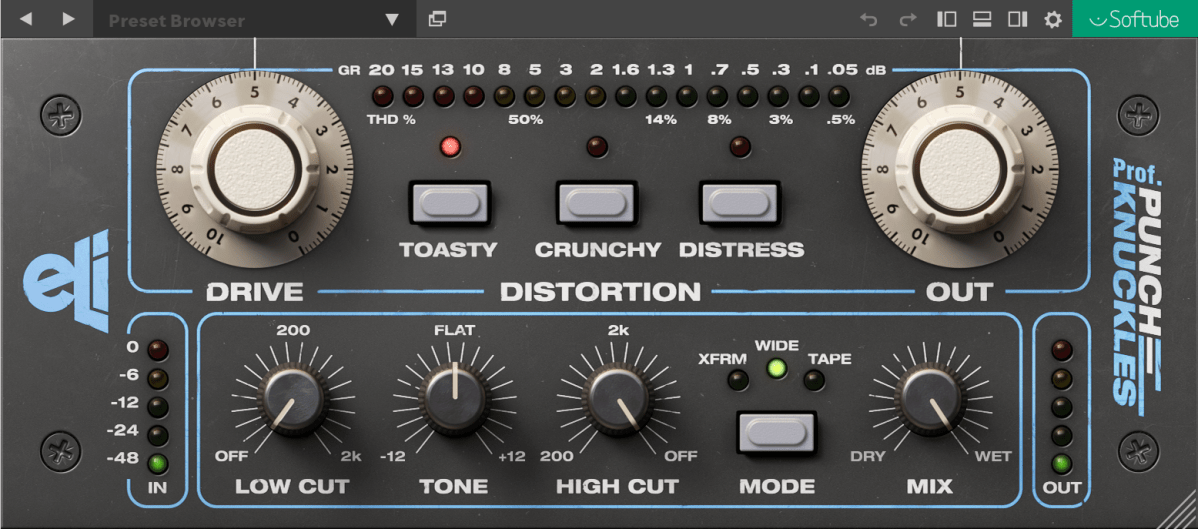
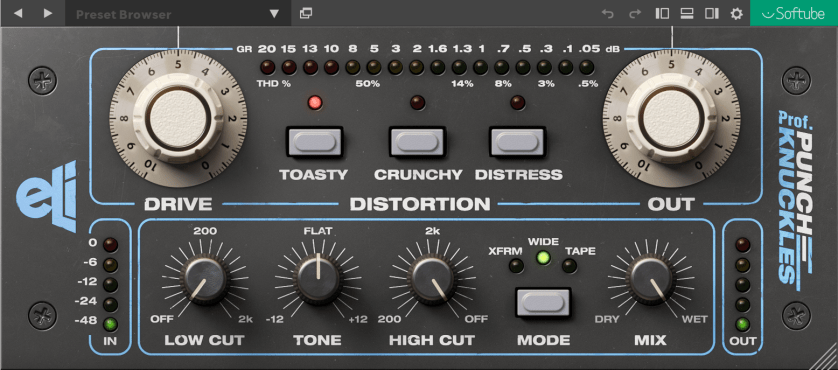
Empirical Labs Prof Punch-Knuckles

There three types in this plugin.

In the manual, those types are explained like this.

  1. Toasty: Based on the saturation in the compressor of Mike-E
  2. Crunchy: Based on the preamp distortion of the Mike-E
  3. Distress: The compressor circuit of Distressor and Mike-E

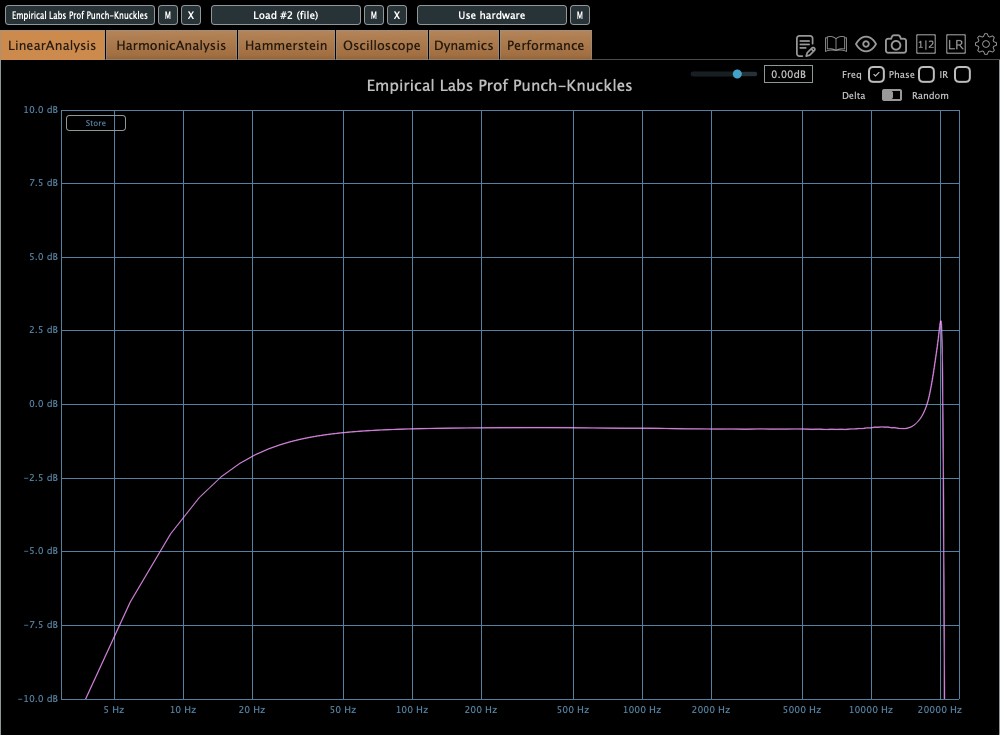
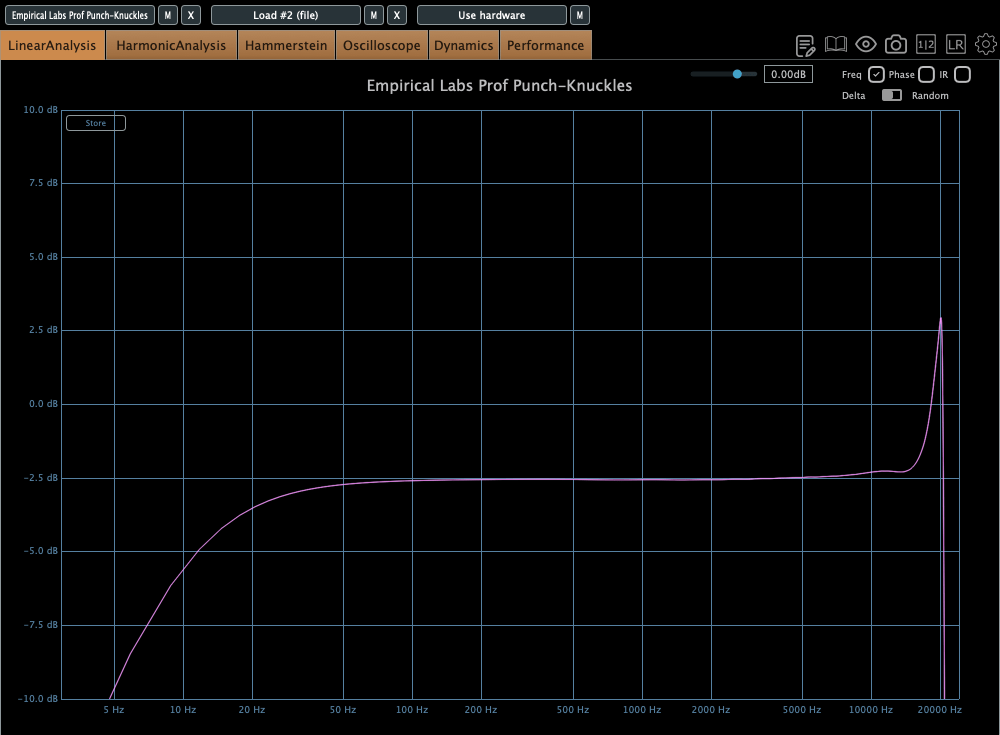
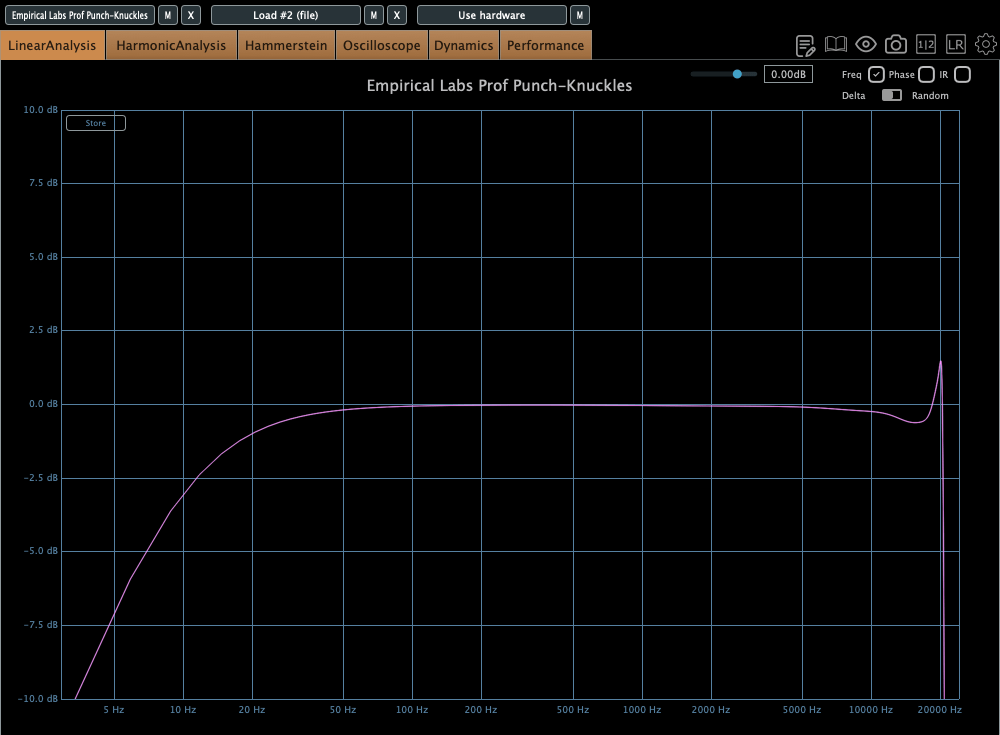
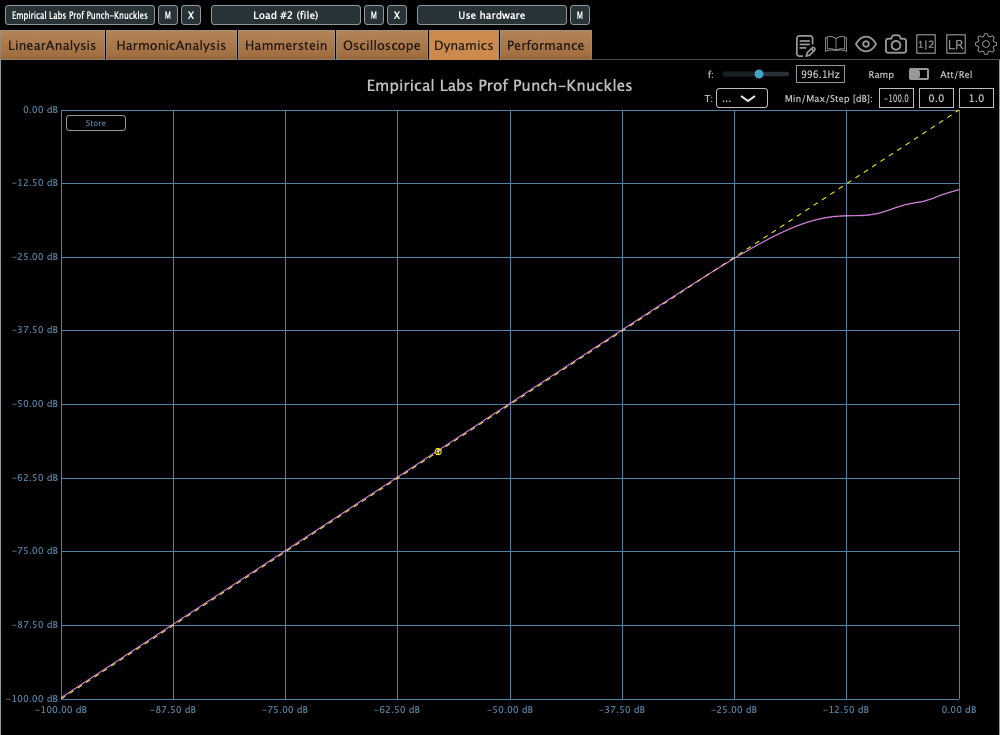
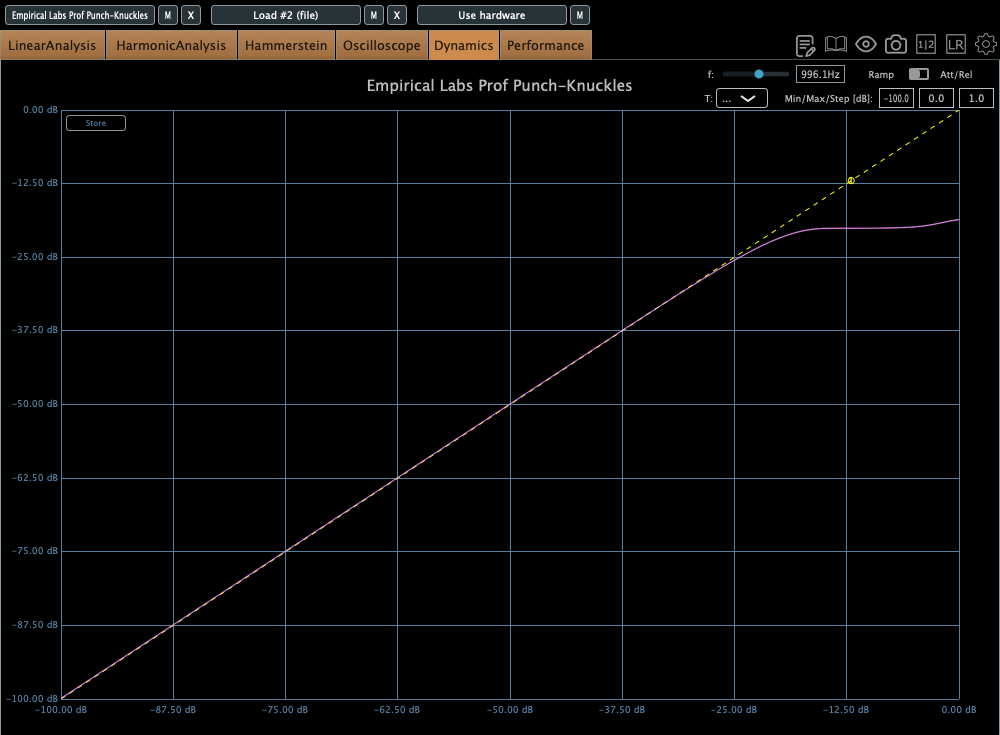
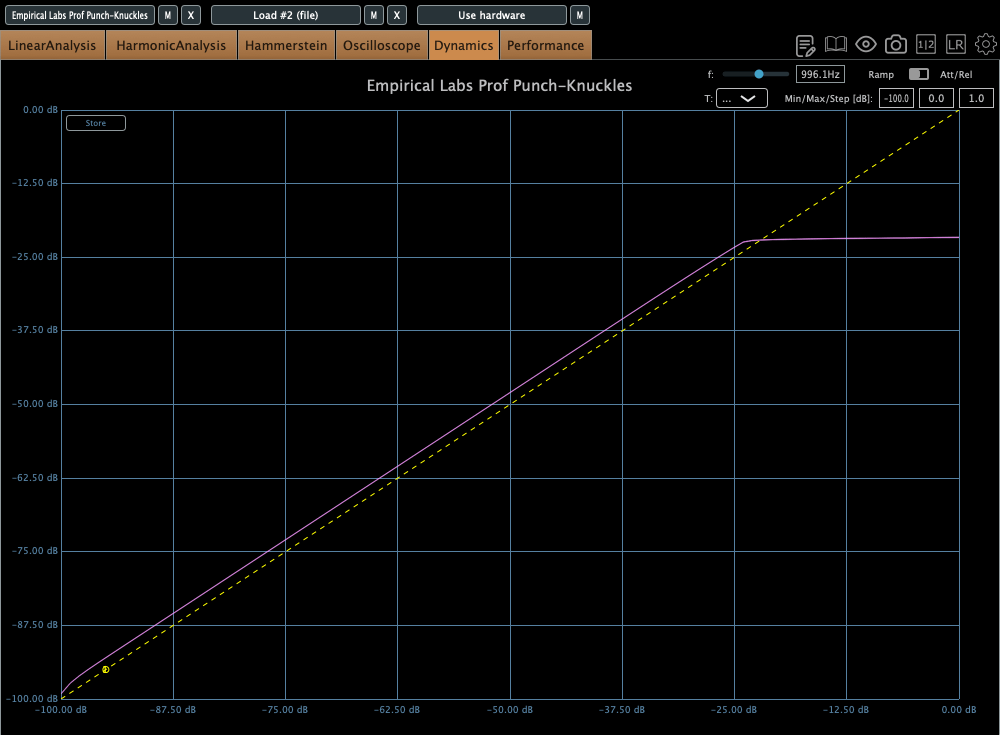
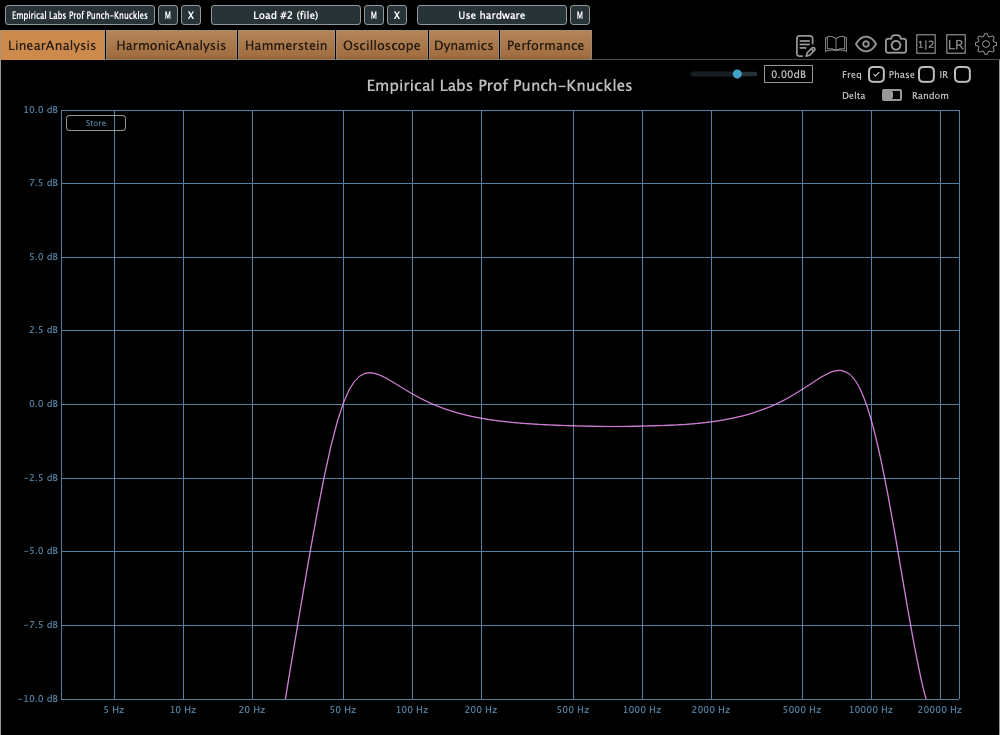
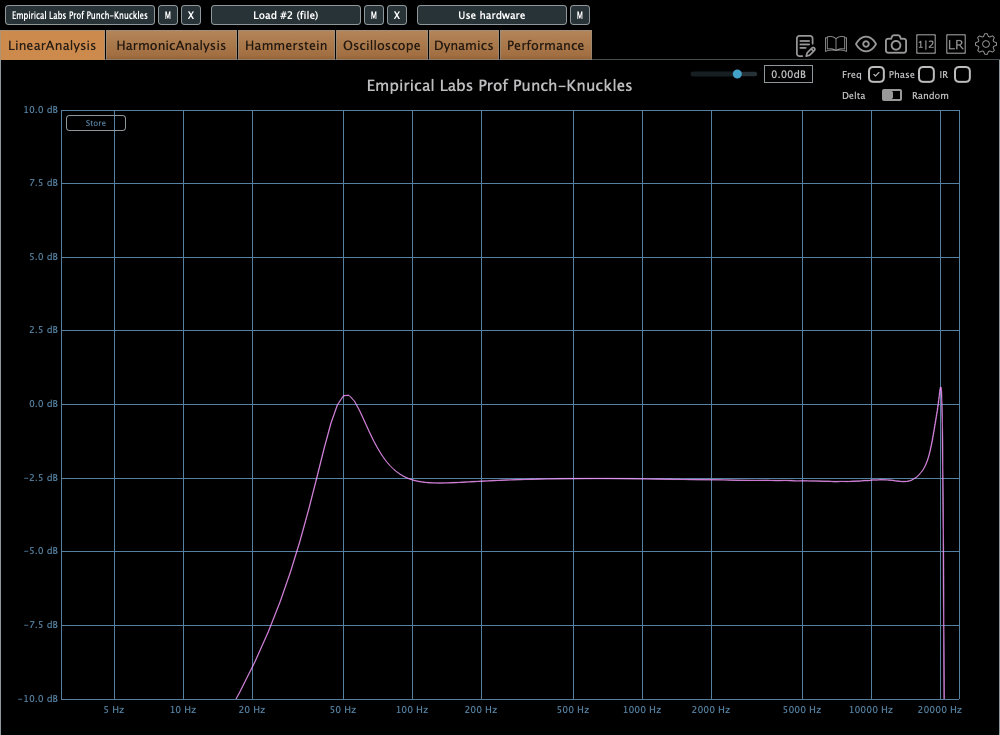
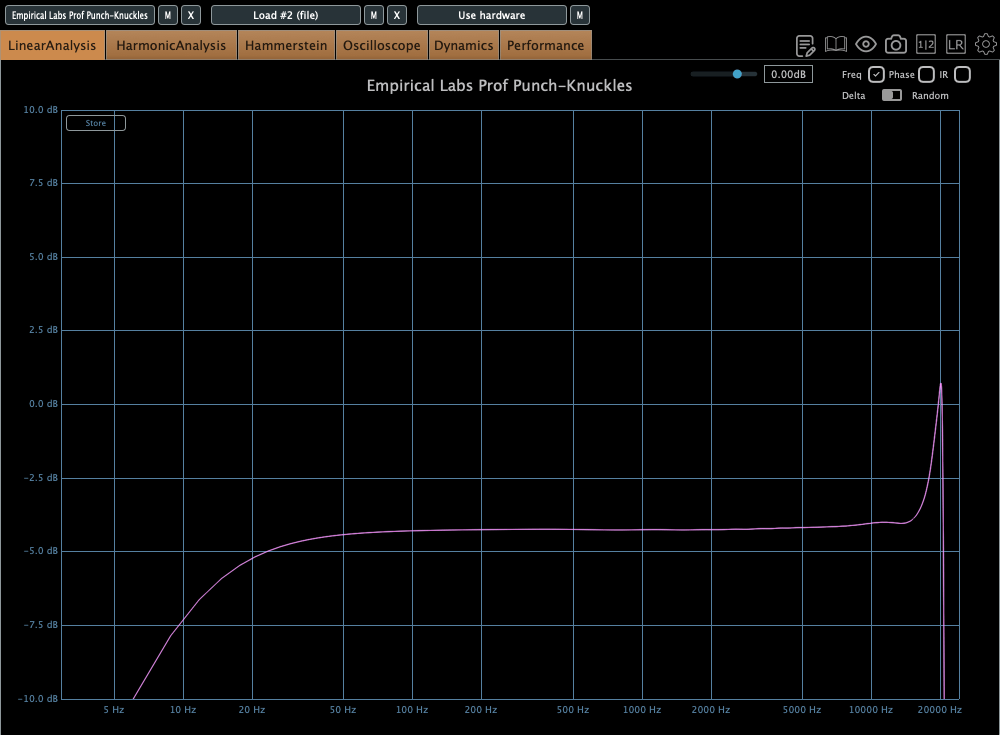
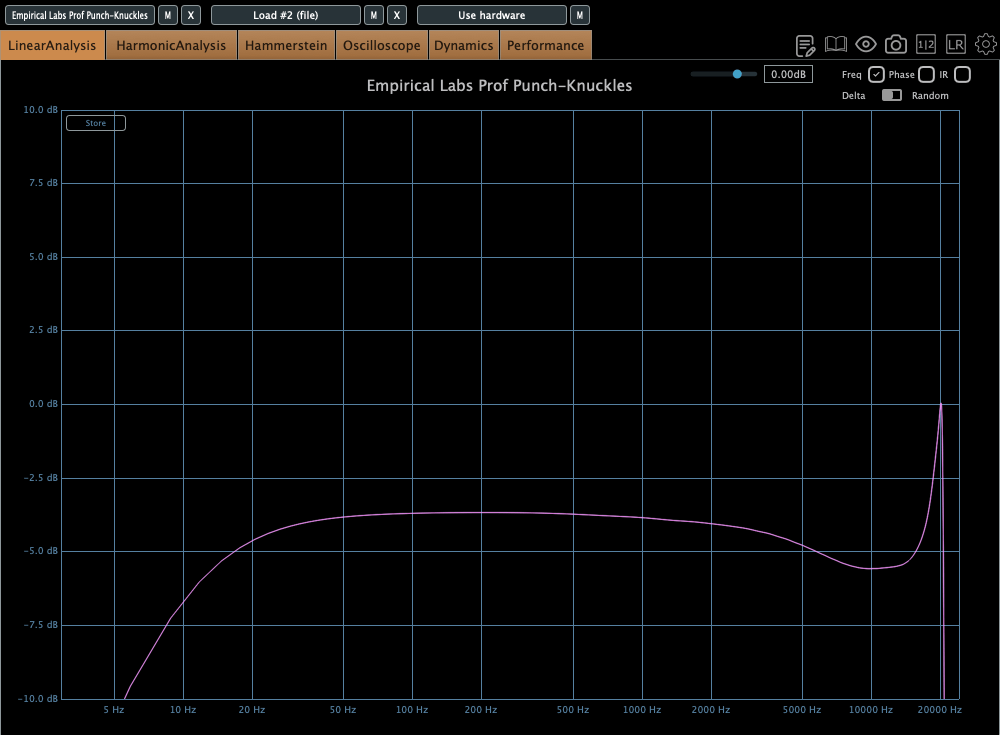
(The frequency response and the compression curve corresponds to each type’s designated sequence)

The ‘Toasty’ and ‘Crunch’ types look like soft-knee limiters, but the ‘Distress’ type clearly behaves like a hard-knee limiter.

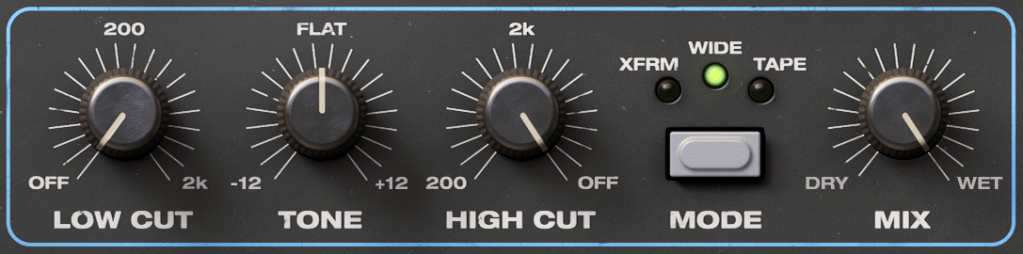
Furthermore, the low-cut and high-cut filters aren’t merely simple attenuators. They instead emphasize the frequencies around the cutoff, creating a resonant effect.

There are 3 modes too,

  1. XFRM: Transformer distortion tone, emphasizing low frequencies
  2. Wide: A wide-range distortion
  3. Tape: Emphasizes the distortion in the top end

Harmonic distortions are quite different depending on the types and modes. I didn’t include the graph, however, because it wouldn’t be helpful for clarity.


Over All

Having used this plugin a few times, I now understand why the Distressor has been a long-time favorite. The sound of the Distortion mode is superb, and I anticipate utilizing it in several upcoming mixing projects.

I strongly recommend it specifically for the quality of its saturation.

iZotope Ozone 12 Release and Upgrade Sale (Until October 6)

Below is a natural, precise, and professional English translation of your blog post, tailored for an English-speaking audience. It maintains the conversational yet technically accurate tone of the original, avoiding any awkward phrasing or overly casual language that could undermine its credibility. The [Link] placeholders are included as requested, and the table is preserved in a clear, readable format. The translation is crafted to feel engaging and authentic for an international audio engineering audience.


iZotope Ozone 12 Release and Upgrade Sale (Until October 6)

Hello! I’m Jooyoung Kim, an engineer and music producer.

I’ve been meaning to continue my synthesizer explanation series, but I’ve been swamped with studying English lately… time is slipping away! ^^;;

Instead… well, not quite “instead,” but iZotope recently released Ozone 12, and to celebrate, Plugin Boutique is holding a sale. So, I thought I’d dive in and review it.

I received Ozone 12 as an NFR (Not for Resale) copy for this review. If you purchase through the links in this post, I’ll earn a small commission, which helps keep the lights on!

Let’s take a closer look, shall we?

Plugin/Module Overview

Plugin/Module NameDescriptionElementsStandardAdvanced
Stem EQIndependently EQ vocals, bass, drums, or instruments in a stereo file
Bass ControlAdjusts low frequencies
UnlimiterRestores overly compressed transients (powered by machine learning)
ClarityCreates smooth masters (seems like high-frequency enhancement)
MaximizerLimiter
EqualizerTraditional EQ
ImpactFine-tunes dynamics
StabilizerAdaptive mastering EQ
ImagerStereo imager (free to use!)
Match EQMatches frequency characteristics to a reference track
Master RebalanceAdjusts stem volumes at the mastering stage
Low End FocusLow-frequency specialized processor
Spectral ShaperFrequency-specific shaper
Dynamic EQDynamic EQ
ExciterExciter (think saturator, with 7 types)
DynamicsCompressor/limiter
Vintage TapeTape emulation
Vintage CompressorVintage-inspired compressor
Vintage LimiterVintage-inspired limiter
Vintage EQVintage-inspired EQ
Other Features
Master Assistant: Custom FlowCreates a customized mastering chain
Master Assistant ViewVisualizes the mastering process in Ozone 12
Stem FocusPrecise stem separation
Track ReferencingManages reference tracks
Transient/Sustain ModesEmphasizes transients or sustain
Assistive Vocal BalanceAdjusts vocal clarity and balance
DitherDithering
Codec PreviewTests compressed formats like MP3/AAC
Additional Plugins
AudiolensAudio analysis and reference tool
iZotope RelayLightweight channel strip for communication between iZotope plugins
Tonal Balance Control 2Frequency balance analyzer

Wow, that’s a lot, isn’t it? 🙂

The Elements version doesn’t include individual plugins and is limited to a streamlined version of the integrated plugin (number 5 in the list). Since there’s so much to cover, I’ll focus on the key plugins and the new additions in Ozone 12.

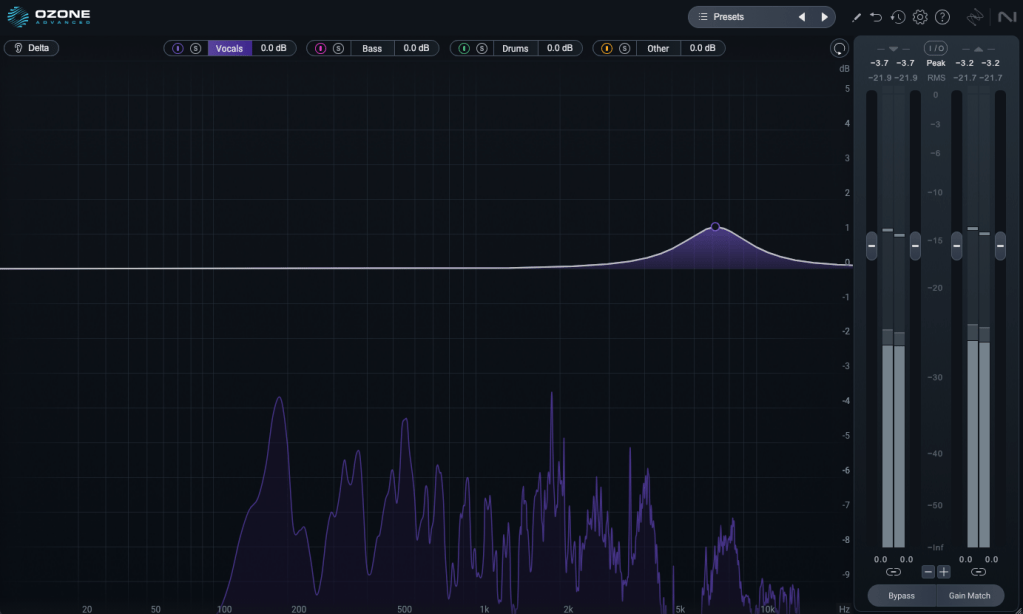
1) Stem EQ

I’ve never been a huge fan of stem separation tools in the past, but the technology has come a long way.

It’s not perfect, but it doesn’t sound unnaturally detached either. The way EQ is applied to stems feels impressively natural.

Compared to the older Master Rebalance, Stem EQ is much more precise. The sound is noticeably different, suggesting they’ve updated the algorithm.

This isn’t just for mastering engineers—it’s versatile enough to significantly alter the feel of the source material, making it a useful tool for many users.

2) Bass Control

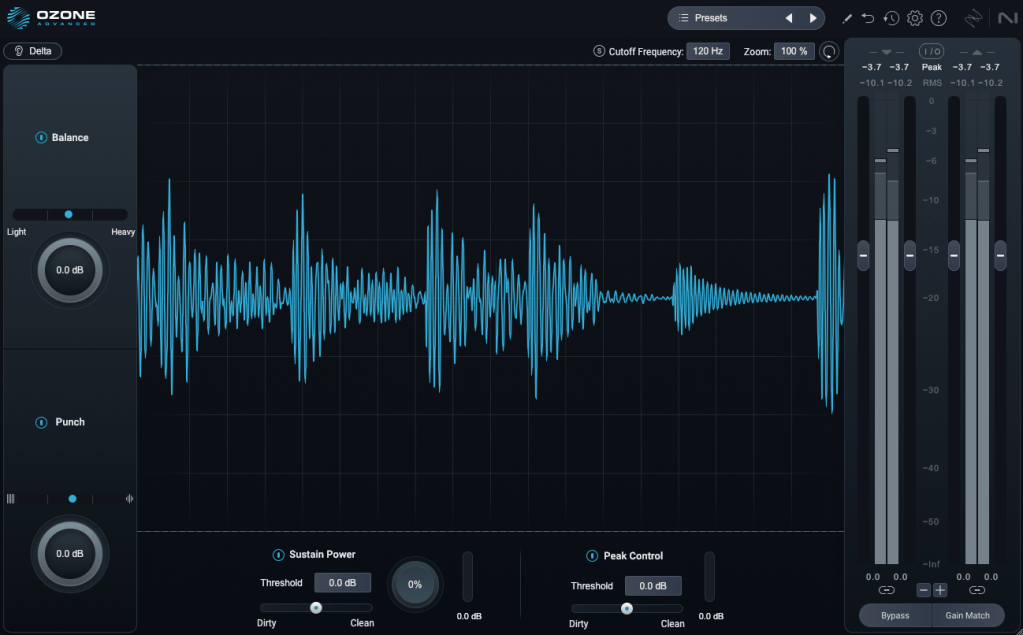
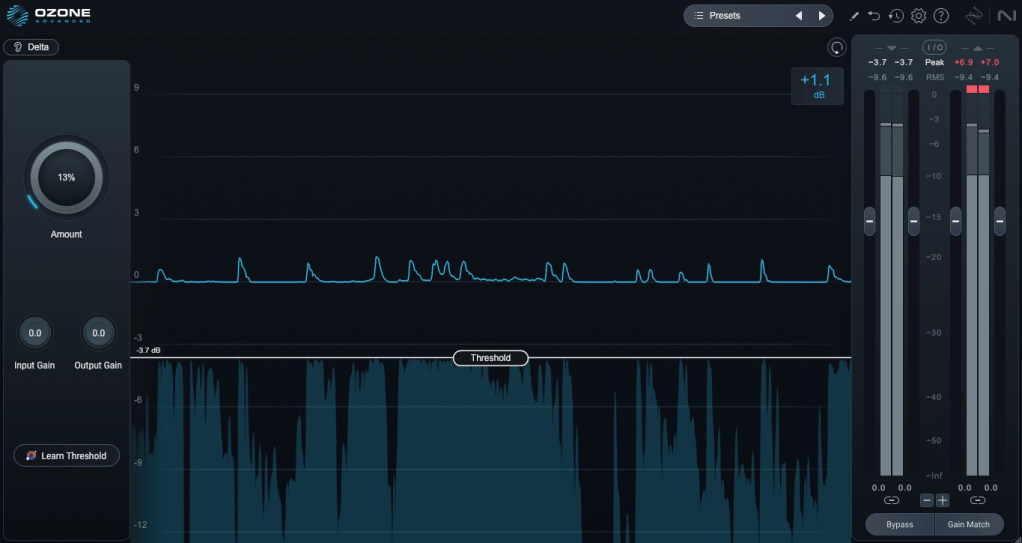
This one’s a winner! iZotope plugins are known for their intuitive interfaces, clearly showing what you’re adjusting. Bass Control is no exception, displaying only the low-frequency waveform to give you a clear sense of whether the sound feels light, heavy, or punchy.

3) Unlimiter

Think of Unlimiter as an attack shaper. It doesn’t fully restore the original transients, but it does a great job of naturally enhancing them.

4) Impact

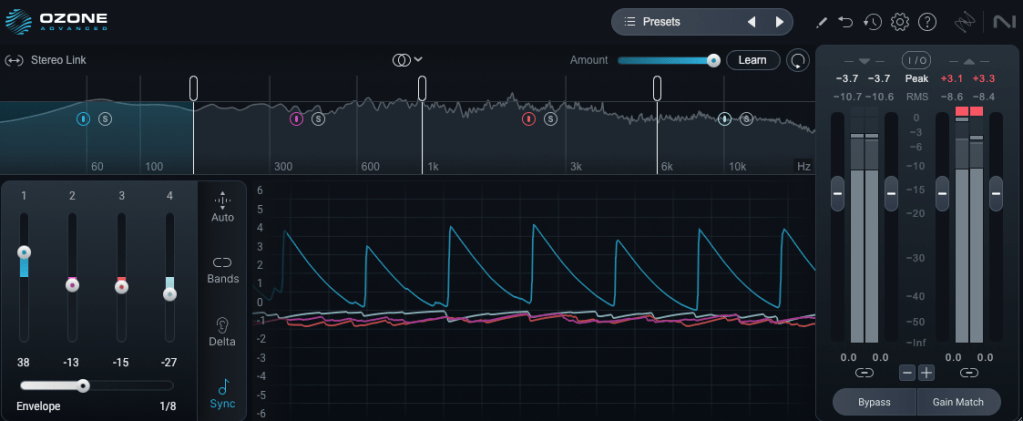
This is a fun one. Impact lets you emphasize or reduce transients on a per-frequency basis. It’s another reminder of how critical transients are in both mixing and mastering!

Applying it lightly to the low end can group the kick and bass together, creating a cohesive, groovy feel. Pretty cool!

5) Ozone

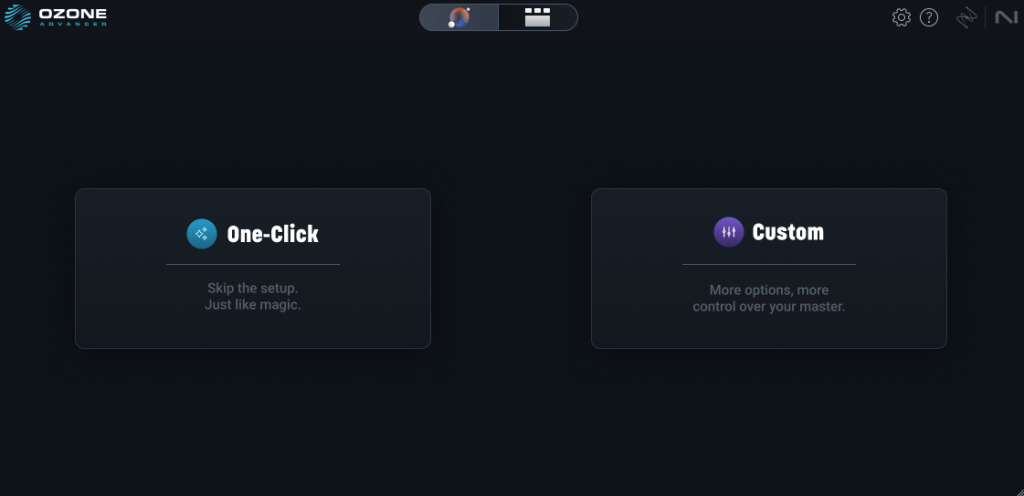
This is the core of it all, right? One-click mastering!

Personally, I’m not a huge fan of one-click solutions, and after testing it on a few projects, it feels like there’s still room for improvement.

That said, unlike older versions that relied solely on one-click mastering, you can now pick and choose effects to create a custom chain. Starting with suggestions for EQ, limiter, and imager can be a great jumping-off point! 😊

The other plugins are fairly well-known, so I’ll skip the deep dive there.

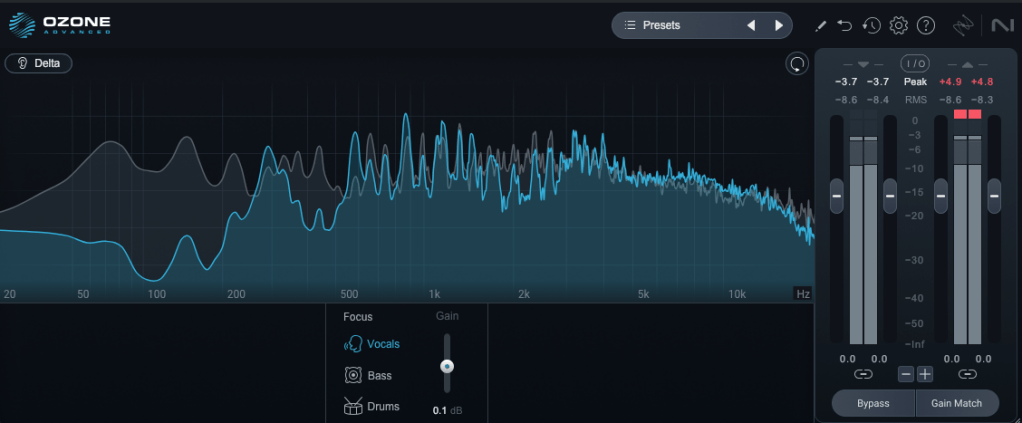
Both iZotope and Acon Digital have made it possible to perform stem mixing at the mastering stage using just a stereo track. It’s wild how far we’ve come!

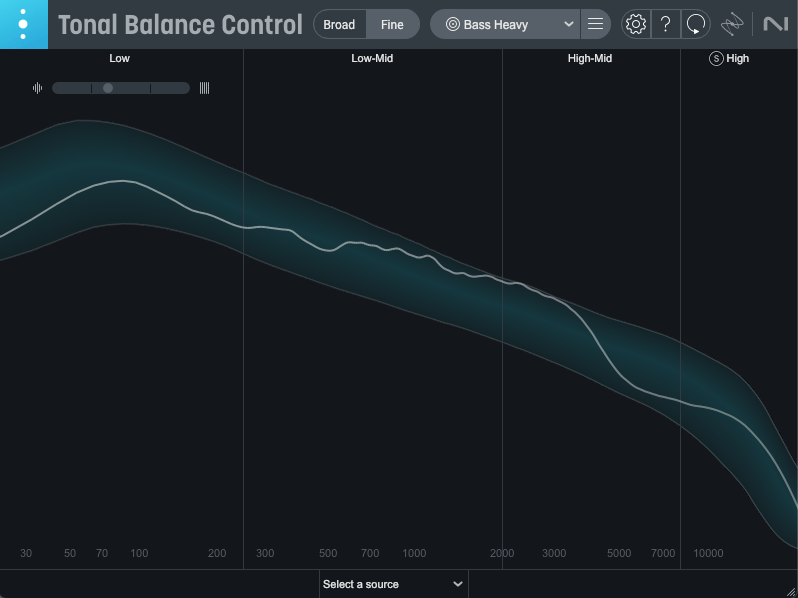
Oh, and among the Advanced version’s additional plugins, I highly recommend Tonal Balance Control 2. When my ears feel off (like when I’m under the weather), this plugin always reveals something’s slightly amiss.

It’s also fantastic for studying other tracks and establishing your own reference point. Definitely give it a try!

Ozone comes in three versions: Elements, Standard, and Advanced. The table above details which plugins are included in each, so check it out to find the one that suits your needs.

Personally, I love Low End Focus, Stem EQ, Bass Control, and Impact, so I’d recommend Advanced. Standard is a solid choice too, but Elements might feel a bit limiting.

You can try the demo to see for yourself. I hope you find it useful!

Until next time! 😊


I Earned the Stage Sound Engineer Level 3 Certification

Hello, this is Jooyoung Kim—sound engineer and music producer.

In Korea, there is a government-issued certification called Stage Sound Engineer (Level 3, 3 is the first (or beginner) level, followed by 2 and 1.).
It doesn’t have a direct equivalent in the US, UK, or Canada, but you can think of it as something like a formal audio engineering license, proving both practical and theoretical knowledge in live sound.

As I’ve been working in the audio field, I realized that while practical skills are essential, having an official certification also helps when listing credentials on a résumé. For a long time, I wasn’t sure if it was worth pursuing—but I figured if I didn’t get it this year, it would only become harder later. So, I decided to take the exam.


Studying for the Written Exam

I had already bought some textbooks back when I ambitiously wanted to “master all of audio engineering.”
Unfortunately, the exam content had been updated recently, which meant my older materials were out of date.

At first, I tried to get by without buying the new edition, but after checking last year’s exam questions, I realized too many things had changed. So, I finally bought the updated books just two days before the exam and studied them intensely.

In total, I prepared for about ten days—definitely a crash course. The audio-related parts were manageable thanks to my background, but the legal regulations and stage-specific terminology were quite difficult. Memorization has never been my strong suit (even in English vocabulary study these days, I struggle a lot!).

I didn’t go through the entire book cover to cover, but I solved past exams one set per day and focused on reviewing the parts I got wrong. It was a very “efficient cramming” strategy.


The Practical Exam

Since much of the practical portion overlapped with my usual work, I didn’t need to prepare too heavily.

The main part was a listening test: adjusting pink noise with a 15-band graphic EQ to balance different frequency ranges, and identifying test tones across the EQ bands.

Because I couldn’t find a simple 15-band graphic EQ plugin anywhere, I actually built one myself as a VST3 and AU plugin. If anyone needs it, I uploaded it here:

🔗 GitHub – JYKlabs/15-Band-Graphic-EQ

Mac users can simply extract the files and place them in /Library/Audio/Plug-Ins/VST3 and /Library/Audio/Plug-Ins/Components.

Windows users can place the VST3 file in their VST3 plugin directory. (Since I only built it on Mac, I haven’t tested it on Windows yet.)

The plugin is extremely minimal—no extra features, just a straightforward EQ.

During the actual exam, there were 10 listening questions in total. The first five (identifying effects) were fairly easy, but the last five (detecting EQ adjustments applied to music or noise) were much harder. Since the exam environment was different from my usual studio setup, I struggled a bit.

Also, I tend to think of EQ in terms of musical intervals, but the test was structured entirely in octave relationships, which threw me off at first.

Still, since passing only required 6 correct answers out of 10, I managed to make it through. Thankfully, my hearing was in decent condition that day (sometimes ear fatigue can really mess me up).


Final Thoughts

Unlike in South Korea, many Western countries don’t offer official government-issued certifications specifically for live or stage sound engineering. Instead, recognition and credibility often come from trusted industry certifications, educational credentials, or portfolio evidence.

For example, the Certified Audio Engineer (CEA) credential from the Society of Broadcast Engineers (SBE) is well-regarded and requires both experience and passing a technical exam. For those focused on live sound, programs like Berklee’s Live Events Sound Engineering Professional Certificate offer structured, practical training.

Even if you already have solid skills, it can sometimes be difficult to secure projects or convince clients without something official to show. That’s where certifications and structured programs help: they provide a clear, external validation of your abilities and open doors that pure experience alone may not.

At the end of the day, audio work is unpredictable: sometimes you’re mixing in a studio, other times you’re troubleshooting live sound under pressure. The more prepared you are, the easier it is to adapt.

Thanks for reading, and I’ll see you in the next post!