Noise(소음) Single

Hello! I’m Jooyoung Kim, a mixing engineer and music producer. In this post, I’ll be sharing the process behind my single album released in 2021. Although the timeline might feel a bit off since I wrote this a while ago, I hope you enjoy reading about the journey.

The inspiration for the song began near a construction site close to my home.

From the year before last to last year, there was continuous construction right next to my house, which was extremely noisy. Towards the end of the construction, they seemed to be in a hurry, working even in the early mornings and sometimes on weekends, which was incredibly stressful. At the same time, I was dealing with some personal family issues that made things even more suffocating.

So, I pre-wrote the lyrics to express my desire to escape this situation. I started composing the song more concretely from February this year.

I wanted the lyrics to be fairly simple but impactful, so I aimed to incorporate rock elements. I also thought using unconventional industrial percussion could effectively convey the feeling of noise.

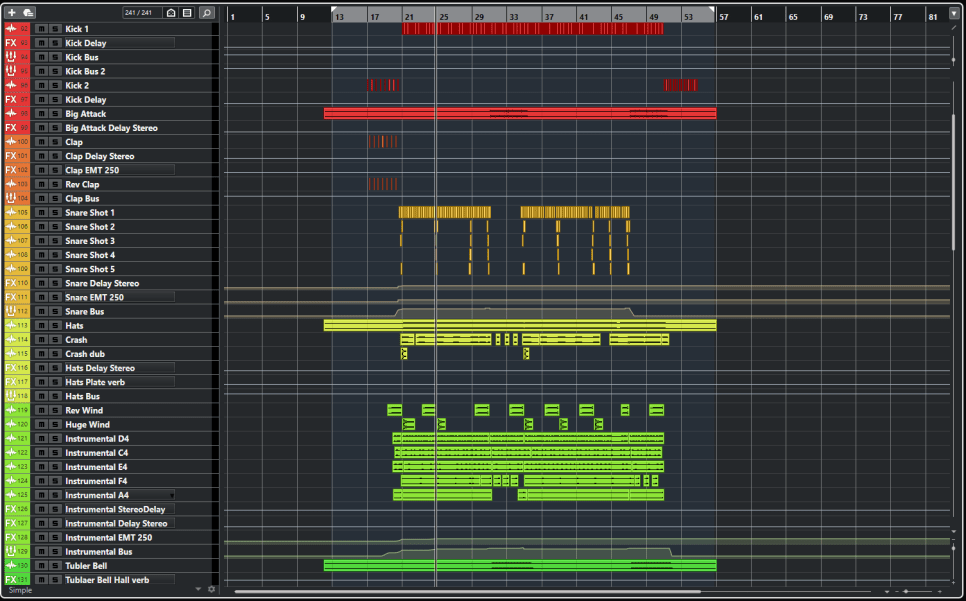
Thus, I used a snare drum with significant reverb and a strong attack, along with various metal percussion sounds and tubular bells used in orchestras.

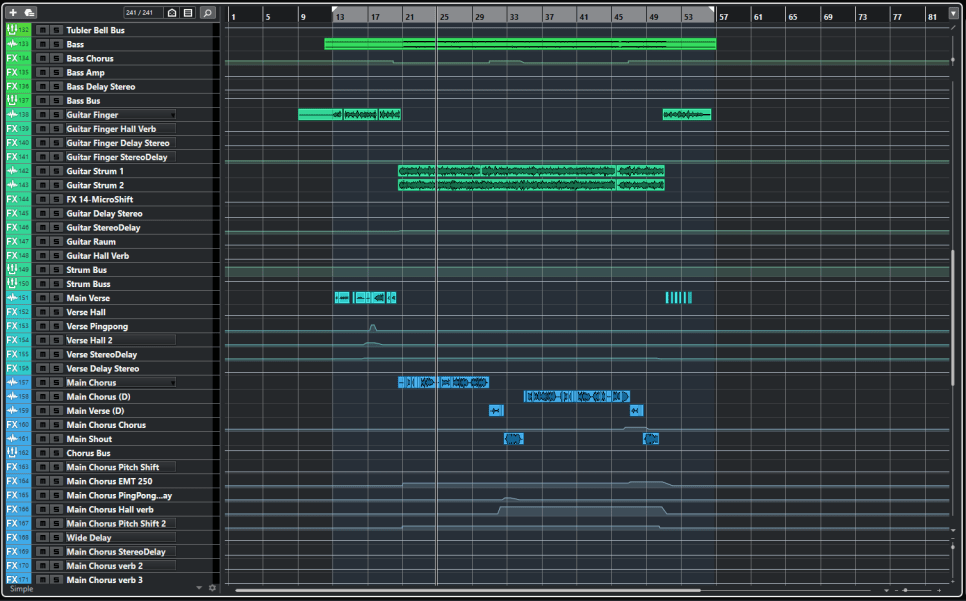
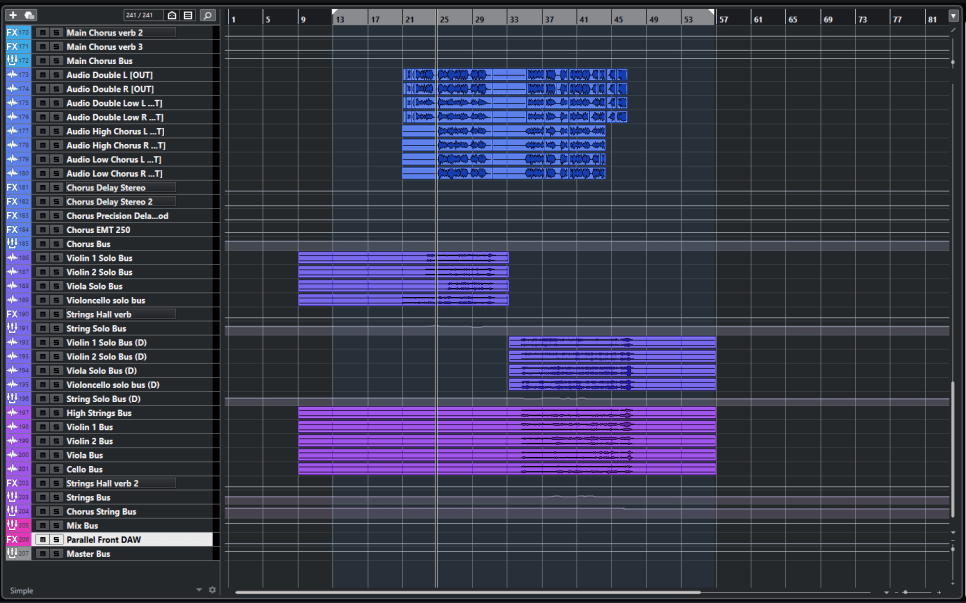
When I reopened the project file, I noticed I had used over 100 tracks for the mix (with 46 tracks for the instruments).

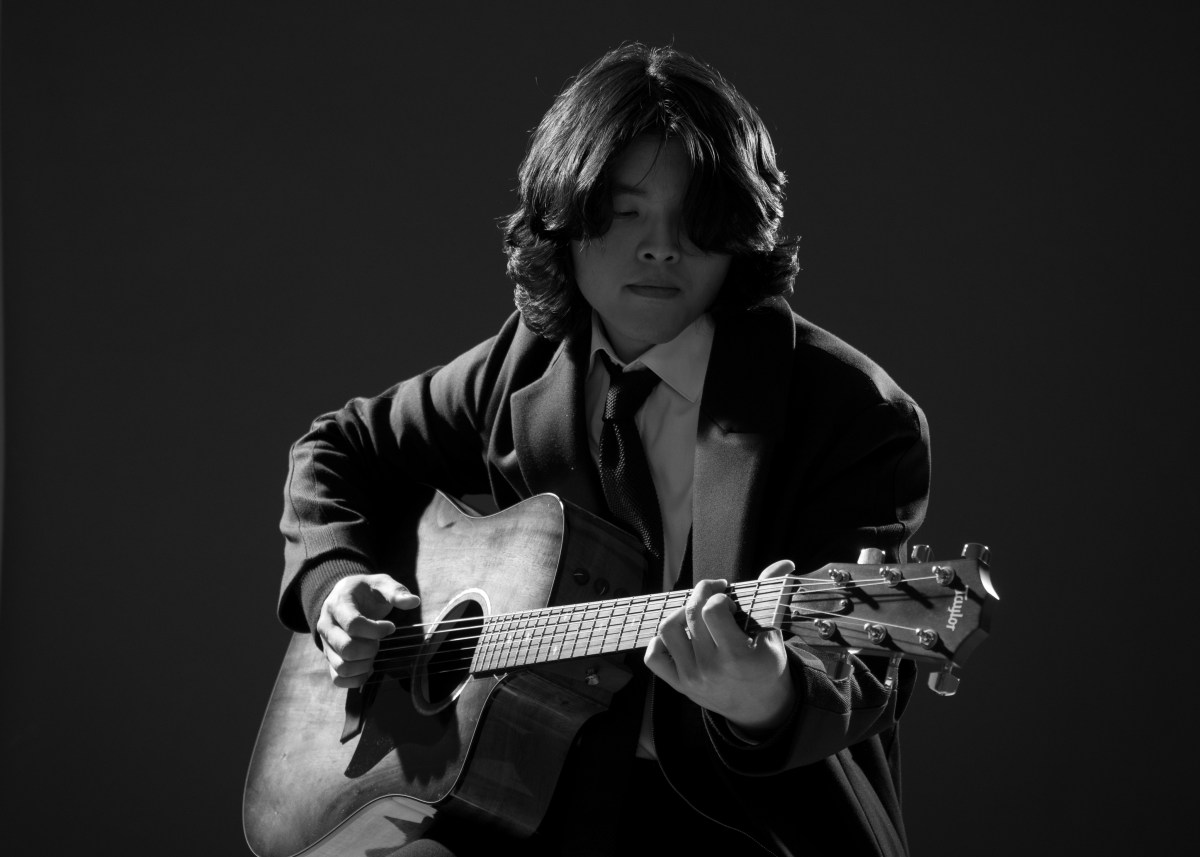
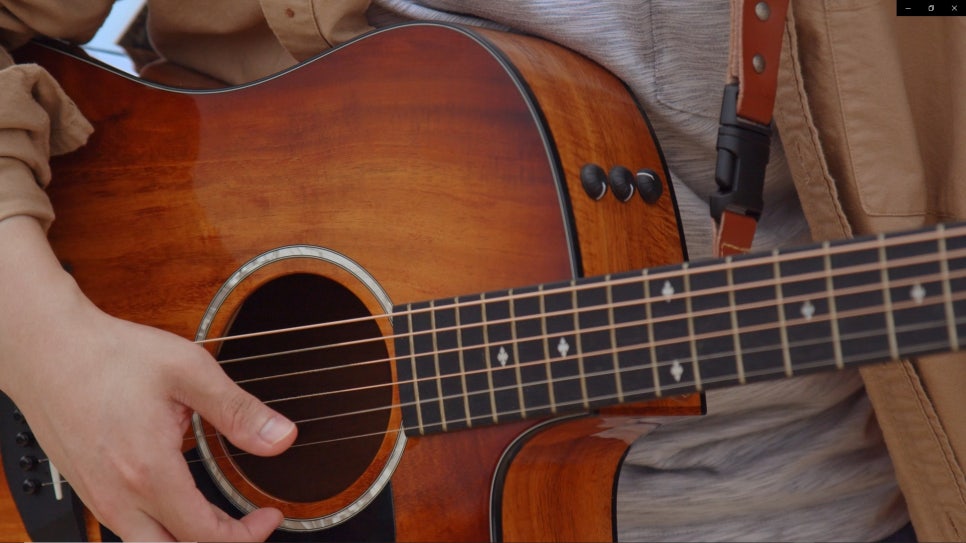
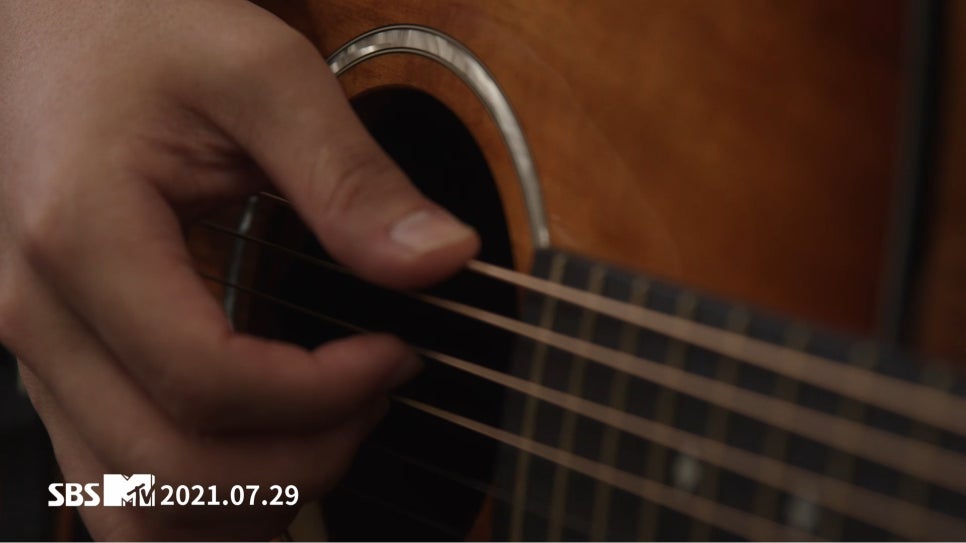
For the vocals, I used a Peluso P87 microphone, and for the guitar, a Peluso CEMC6. Both were recorded through the HA-73EQ.

Additionally, I recorded the guitars using different Nashville tunings for the left and right channels.

Apart from the percussion, I paid special attention to the strings. I arranged the parts separately using sheet music and included them through BBCSO.

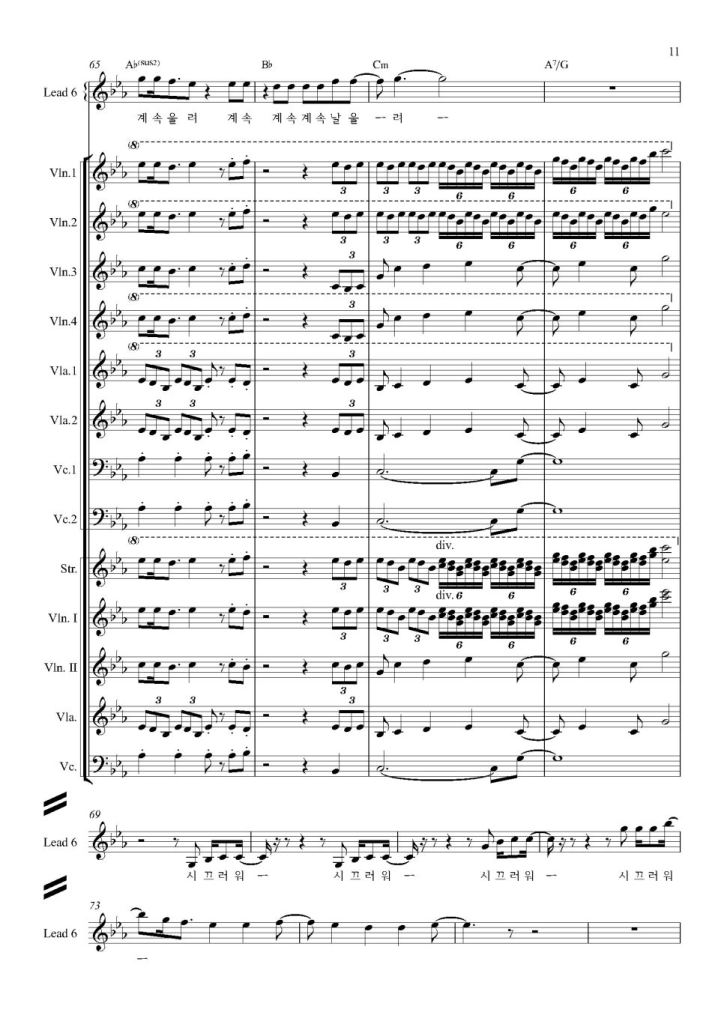
Looking at some of the sheet music, you can see there are quite a few notes.. ^^;;

Orchestrating these instruments took as long as mixing them. Once I get more familiar with it, I’ll be able to work faster, but for now, I put a lot of intent into each part.

Another critical part I focused on was the beginning and end guitar sections. I tried to enhance the groove and rhythm through bass movement, and I hope it came across as intended.

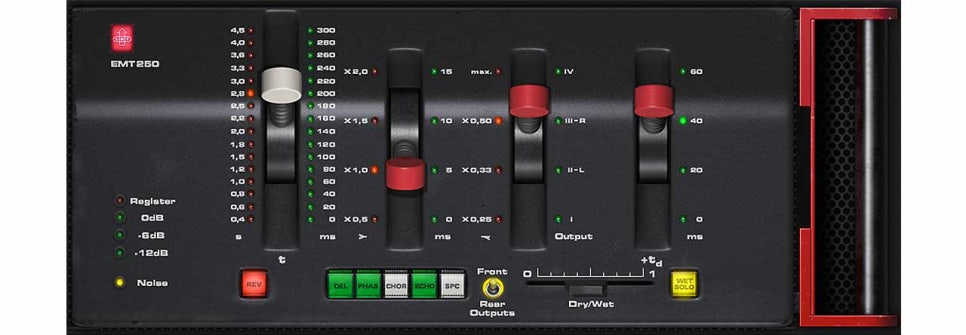
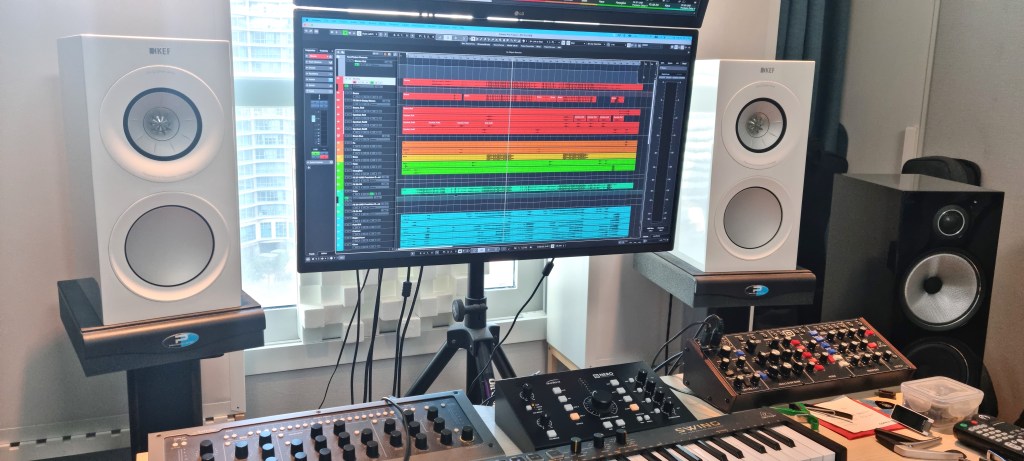
In terms of mixing, the EMT250 I purchased at the time played a significant role. Its broad and expansive reverb matched the song perfectly.

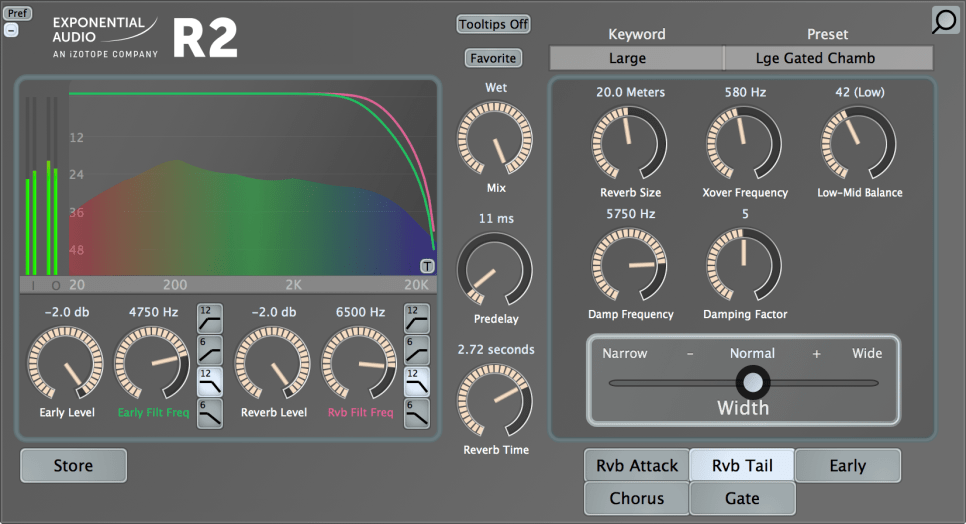
I got the R2 at a very reasonable price, yet its natural reverb exceeded its cost. So, I used it for the overall hall reverb.

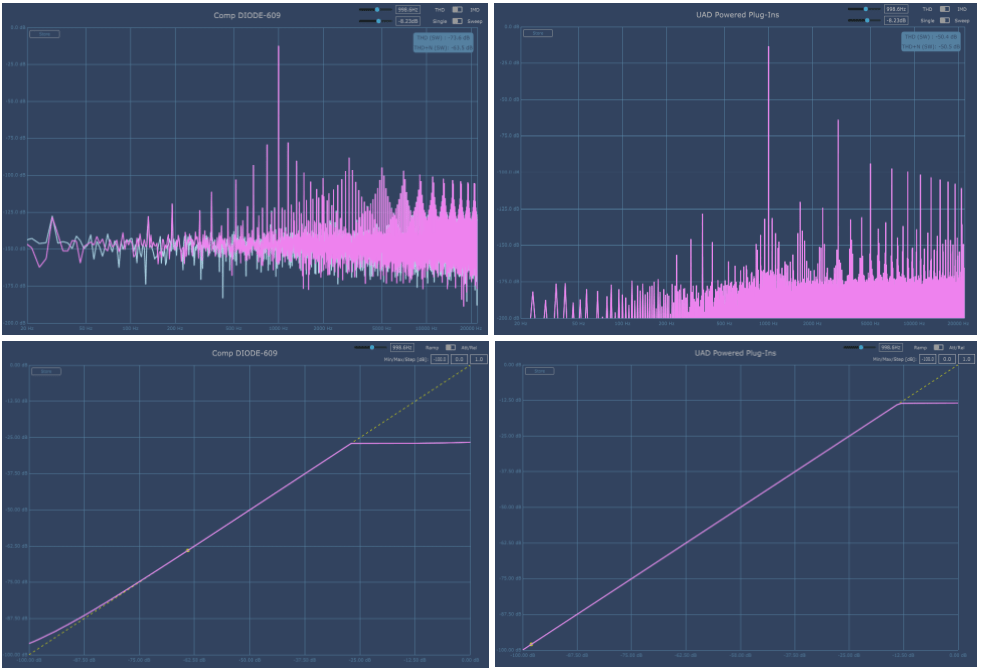
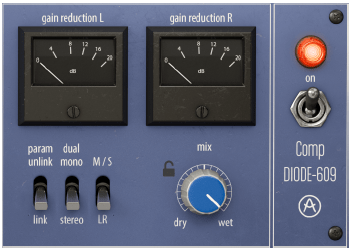
Explaining every detail of the mix would take too long.. Another unique aspect of this mix was adding parallel saturation and heavy compression at the final mix stage to make the sound a bit noisier.

Other than that, there wasn’t any notable processing. The pitch and rhythm tuning, along with the volume automation, took the most time. Aligning the string tracks with the timing and articulation was a painstaking process, revisited countless times.

Thus, after completing all the composing, arranging, recording, and mixing, I sent the track to a mastering studio.

I’m always curious about how different places produce sound, and I wanted to visit the studio to check the sound directly if possible. So, I booked a session at 821 Sound Studio but had to conduct it online due to COVID-19.

On the mastering day, the engineer sent me the files, and I was immediately impressed by how well the sound was captured, so I gave my approval right away.

I had been focusing on the higher frequencies and missed some details in the lower range, but the engineer brought out the groove in the low end perfectly, which was very satisfying.

(The engineer provided two versions: one with more aggressive processing and another balanced version. The aggressive one brought out the groove I intended.)

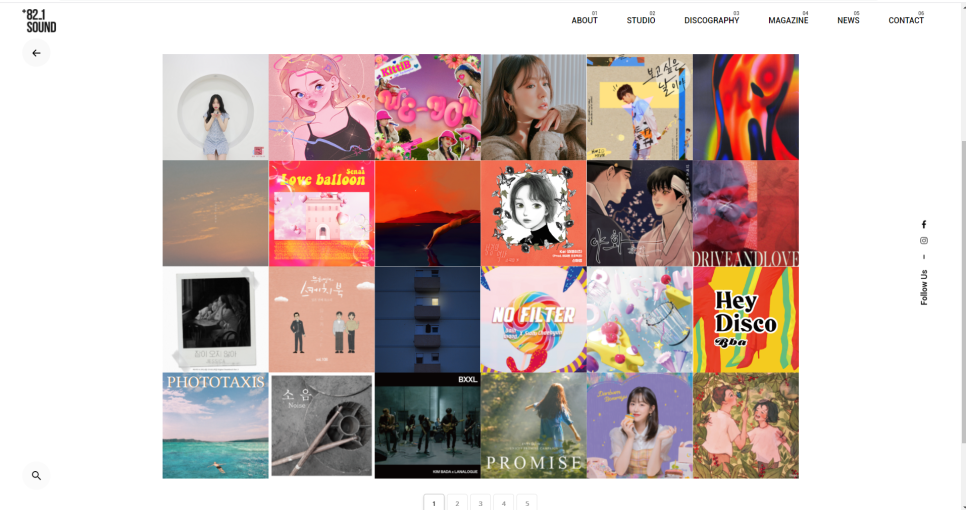
My track is listed in the discography on the lower left side of the 821 Sound website.

Examining the waveform later, I was surprised by how dynamic it remained despite looking heavily compressed. It reaffirmed the importance of mastering engineers.

I had to wait for about three weeks for the appointment and felt bad about not being able to visit the studio. The engineer kindly invited me to visit once the COVID-19 situation improved, and I promised to do so when possible.

I also worked on the music video simultaneously. I collaborated with PD Kilsangmun, who operates as a one-man team.

We had a Zoom meeting before the shoot to discuss the direction, color, and feel of the music video.

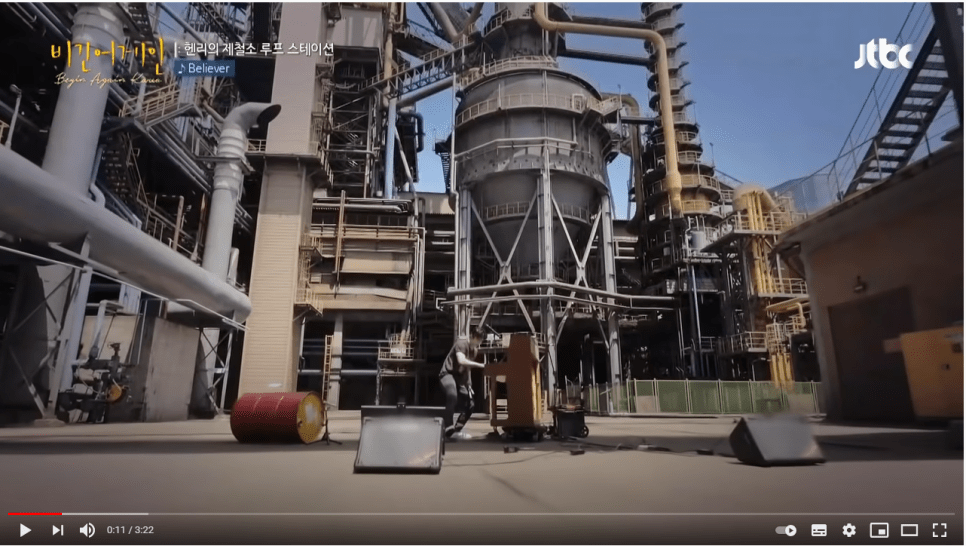
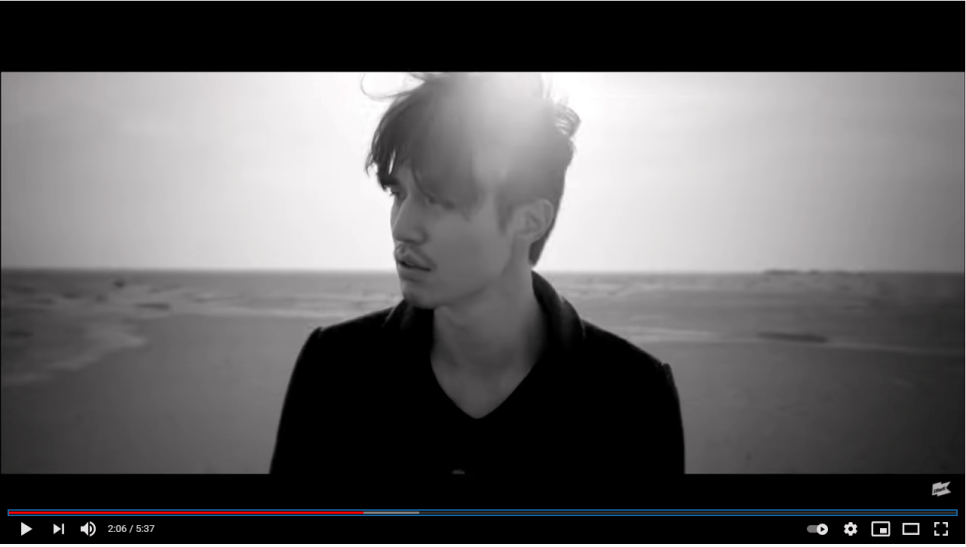
I wanted to shoot in a setting similar to the backgrounds in Rain’s “Gang” music video and Henry’s loop station scenes from JTBC’s “Begin Again.” I also wanted the color tones similar to Kim Dong-ryul’s “Lonely Voyage” and Replay by Wonder K.

The PD had a different interpretation of “noise,” viewing it as the overwhelming information in the world and wanting to depict an escape from it.

After exchanging ideas, the PD sent a plot. Unlike my previous music videos, the PD handled the entire story this time.

The initial plan was to film people overwhelmed by information like noise in a 3D effect, but we decided to go with a more traditional music video approach if that proved too challenging.

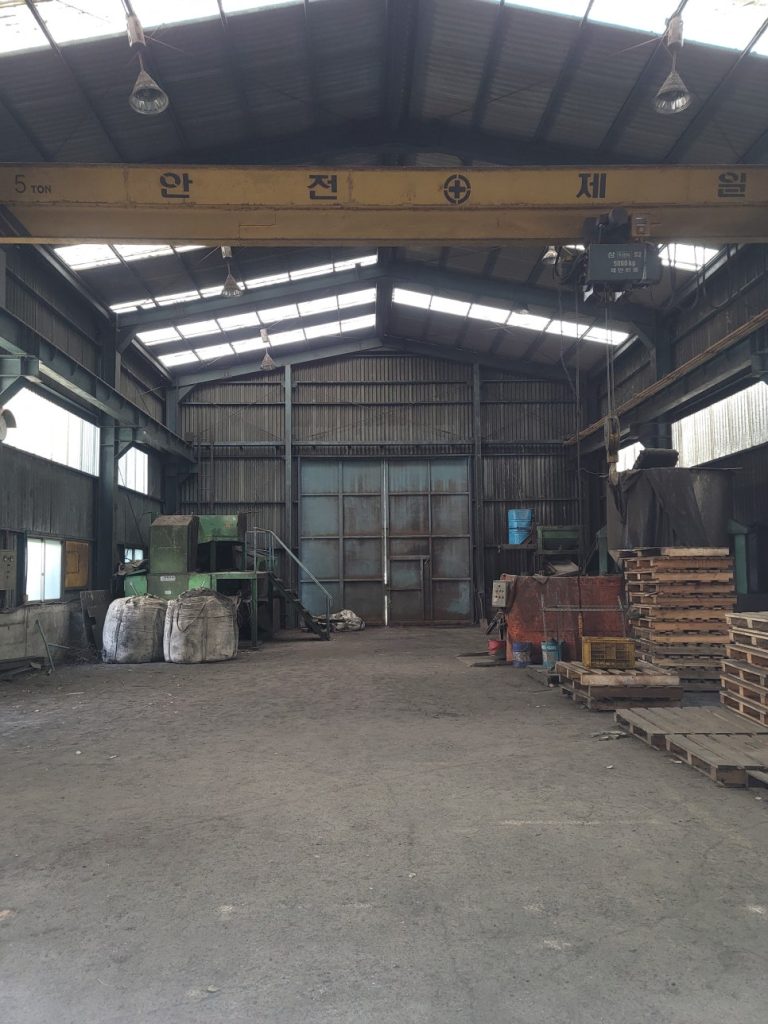
We chose an abandoned factory in Pohang for its low cost and nearby sea for additional shooting locations.

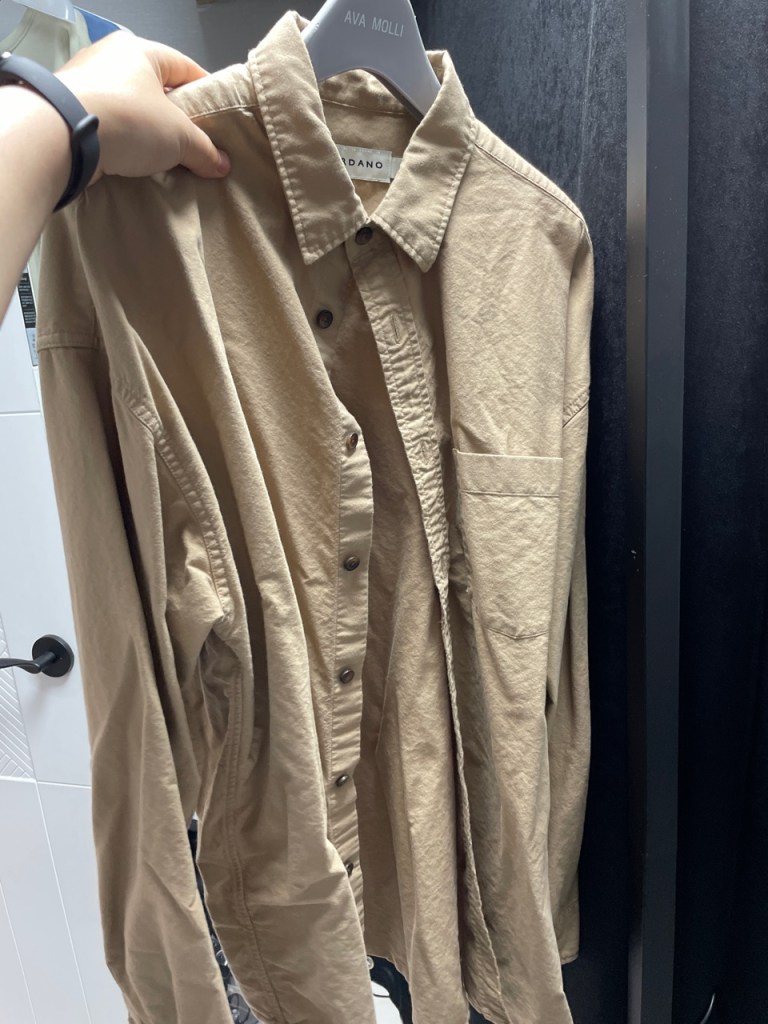
A few days before the shoot, I realized we hadn’t discussed costumes. Since I didn’t have the budget to buy new outfits, I used my own clothes.

The PD wanted a work uniform or khaki pants look, but I mostly had semi-formal or denim styles. So, we decided on a white t-shirt and blue jeans, with the PD providing an additional shirt.

We scheduled the shoot for Sunday, July 18th. As the PD works solo, he drove us to the location (I felt bad since I have a dormant license..).

We started early at 5 AM and arrived at the beach in Pohang around 10 AM. We began with the beach scenes as it would be difficult to shoot after sunset.

The sky seemed ready for rain, and the forecast predicted rain in the afternoon.

We shot the beach scenes, including multiple takes of running scenes from various angles. The PD ran alongside me, both of us sweating but with some relief from the breeze.

After about two hours of shooting until noon, we debated whether to eat. Both of us tend to feel unwell if we eat on important days, so we skipped lunch as well.

Instead, we had some snacks and rested at a cafe before heading to the abandoned factory.

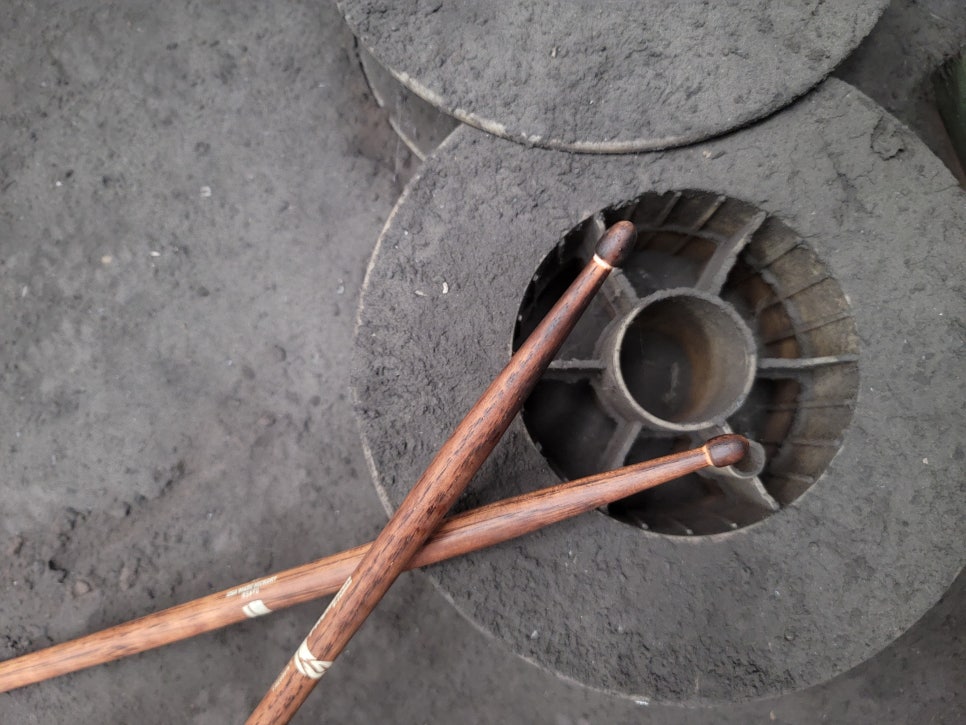
The factory was dusty, with lots of dust kicked up during drone shots.. ^^;;

Eventually, my clothes were soaked, and shooting became difficult. I had a spare white t-shirt, so I switched between the two.

Despite the physical toll, it felt liberating once everything was done. As we hadn’t eaten all day, I offered to treat the PD to anything he wanted on the way back. However, most places at the rest stop were closed except for a few restaurants.

Feeling sorry, I promised to buy him a drink once the music video was out, but COVID-19 has made meeting up difficult.

We also took photos for the album cover at the factory. Ironically, the first photo we took turned out to be the best, which I edited for the album cover.

The PD drove us back, and we returned around midnight.

Two weeks later, on July 27th, the editing was complete. We decided to go with the second option without the 3D effects as the PD found it challenging.

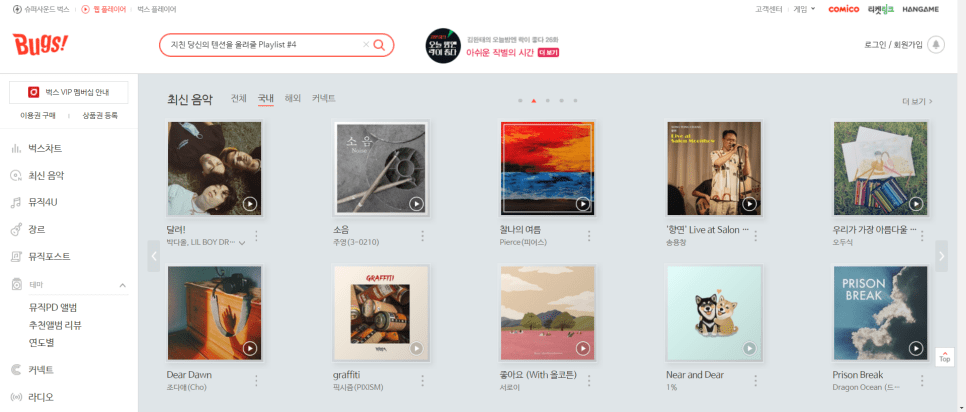
This time, it seemed more niche, and it didn’t get featured prominently elsewhere, but thankfully Bugs featured it on their main page.

That’s the end of this song’s production diary. I couldn’t write in great detail as time has faded some memories, but I hope you found it interesting! 🙂

I’ll see you in the next post~!

Arturia FX Collection 2 Plug-In Review (Part 3, Comp Diode-609)

※This article is a review written on July 21, 2021 after being selected for the FX Collection 2 experience group run by ‘Samick’ and receiving product support for a certain period of time. I only received support for the product and wrote the rest myself.

Finally, this is Diode-609, a clone of Neve’s 33609. Rupert Neve can be said to be synonymous with British sound. In addition to the famous Neve 1073, 1081, and 2254, he left a great mark by creating many famous sound equipment and companies such as the Focusrite and Portico series. Unfortunately, he passed away in February of this year…

​Neve 33609 is a solid state Compressor/Limiter 2 Step Processor using a diode bridge. (Although there is no limiter, this 2-step method is also used in the Shadow Hills Mastering Compressor) The diode bridge is made of a shunt (circuit configuration method) like the 1176, and is said to use 4 diodes. It is said to use Optical Gain Reduction and VCA, and like SSL G Comp, it has an Auto Release function.

​Arturia’s manual says that it was used with analog EQs such as Sitral W295 and was mainly used in the Mix Bus stage in the 70s and 80s, and was also used as a Master, etc., and as an individual Compressor. However, it is recommended to use it with analog EQ on the group and master bus.

I knew that 33609 was only available in Precision Comp from IK Multimedia in addition to UAD, so it was nice to see it as a new plug-in. I’m happy that I have a new option, but the thought of spending money again brings tears to my eyes..

​As it is a plug-in that I am interested in, I will compare Diode-609 with UAD’s 33609C along with sound samples.

First of all, Signal Flow is like the picture. I think it will be easier to understand if you simply think of it as going through the Compressor, then the Limiter, and then going to Out.

You can think of this as the same as UAD’s 33609, but the difference is that UAD cannot use an external sidechain.

  • Control Difference

Just by turning on the plugin, there are some differences between UAD and Arturia’s clone plugins. Let’s take a look at not only the location of the compressor or limiter, but also the number of compressor knobs, additional knobs or switches, oscilloscopes, etc., one by one.

  • Compressor

First of all, Arturia’s products can be adjusted smoothly by allowing you to choose between a step knob or a smoothly rotating knob. Previous products are the same, but I couldn’t tell you..^^;;

​Also, what is unique is that you can select the Attack Time. Arturia’s Attack is 5ms (Fixed, adopted from existing hardware), variable from 5 to 75ms, and UAD’s Attack is 3ms (Fast; they say it was adopted from existing hardware, but I don’t know why they are different from Arturia..^^;;) , 6ms(Slow).

Ratio can also be selected up to a smaller value, such as 1.2:1 or 1.1:1, and the Release value appears as a number, but Auto Release is slightly different. Arturia’s a1 automatically changes between 100ms and 2000ms and a2 automatically changes between 50ms and 5000ms, and UAD’s a1 automatically changes between 40ms and 800ms and a2 automatically changes between 150ms and 1500ms.

The basic Frequency graph when all limiters and compressors are removed from the plug-in are Arturia on the left and UAD on the right. The two are quite different.
Attack was set to Fix and Fast, Release was set to a1, and Ratio was set to 2:1. As the parameters change, the graph also changes.

Arturia is on the left, UAD is on the right. Harmonic Distortion is also a bit different.

​By the way, Arturia’s Diode-609 has a fairly high and shaky floor noise. It seems that the noise from the AC circuit was brought directly from it. Personally, I wish they could make this type of noise more selectable. The bass is about 150dB and the treble is about 140dB, so it’s low, but you still need to be careful when using it on individual tracks.

Also, the Compression Curve is slightly different. In particular, Arturia is impressive in that the sound becomes louder from a very quiet sound. I think it might be because of floor noise.

Both companies seem to have reproduced the part where compression occurs quite similarly.

  • Samples

I selected a few samples and compared them. Arturia set the Attack to Fixed, set the Release to a1, and only adjusted the Threshold and Make Up Gain.

There are three ratios: 1.5:1, 3:1, and 6:1.

No extreme processing was done. At 6:1, I adjusted the VU meter so that the needle moves only within 0 to 4 dB.

I feel sorry for not being able to tell you about various cases, but if I assume various cases and do everything, not only will I be tired, but I think the viewers will also be tired, so I will just compare them like this.

My personal experience is that Arturia’s Attack Fixed is slower and the minimum value of a1 Release is longer, so UAD reacts a little quicker. Conversely, Arturia responds more smoothly. I think you can feel this well in Drum.

In addition to these basic parameter differences, the characters of the two plug-ins seem to be quite different due to the difference in Harmonic Distortion.

  • Limiter

There is no significant difference in the limiter’s parameter configuration. The Attack Time of Arturia Diode-609 and UAD 33609C is the same at 2ms (fast) and 4ms (slow).

However, the difference in Release Time is that Arturia’s a1 is 100ms~2000ms and a2 is 50ms~5000ms, while UAD’s a1 is 40ms~2500ms and a2 is 150ms~3000ms.

This is a graph where the Threshold is lowered to the minimum, Release is set to a1, and Attack is set to Fast.

Arturia is on the left, UAD is on the right. Like Compressor, Harmonic Distortion appears a little differently, and different Noise seems to be another characteristic.

​Compression Curve seems to appear similar. They press it without any mercy.

  • Samples

I selected a few samples and compared them.

Arturia and UAD both have the same parameters, so I set Release to a1 and only adjusted Fast, Slow, and Threshold of Attack. No separate gain compensation was provided.

Personally, I was surprised to find that it felt somewhat similar. I wonder if it’s because the attack time is the same and the attack nuance is similar.

However, the difference is noticeable in Release and the feeling of release is a bit different. Still, I don’t think the two feel completely different like Compressor.

  • Advanced Control

First, let’s look at the right side of the plugin. When you click on the VU meter, it turns into an oscilloscope measuring dB. You can click again to change it to a VU meter.

From the left below, there are three switches: a Link switch that links two channels, a switch that selects Stereo and Dual Mono, and a switch that allows Mid/Side processing.

Additionally, there is a Mix knob and power switch that can be used to mix original and processed sources.

Click Advanced in the top right corner of the plugin and Sidechain controls for triggers will appear below.

​I think this part is the biggest advantage of the Arturia Comp Diode-609. It can accept not only internal sidechains but also external signals, so you can use sidechains, and you can use the Look ahead function and Sidechain EQ for both internal and external signals. You can also listen to all of the sidechain signals.

The Input Drive on the right is not a Sidechain function, but a Saturation knob that makes Harmonics Distortion stronger.

  • Comp Diode-609 Overall Review

It is difficult to say that it is an exact replacement for the UAD Neve 33609 C, but I think it is a good friend to use for songs where the attack is not fast or strong.

​In particular, the Sidechain feature seems to have been included so well that I wish it were included in all Compressor plugins.

Another disappointing thing is that noise cannot be controlled. I wish there was an update to turn off the noise. Rather than saying “Wow! I love it!”, I think it’s just another new Bus Comp option.

Arturia FX Collection 2 Plug-In Review (Part 2, EQ Sitral -295)

※This article is a review written on July 21, 2021 after being selected for the FX Collection 2 experience group run by ‘Samick’ and receiving product support for a certain period of time. I only received support for the product and wrote the rest myself.

EQ Sitral-295

The Sitral-295 plug-in is a clone plug-in of the Siemens Sitral W295 EQ.
Siemens Sitral W295 EQ is an EQ module included in the Sitral console produced by Siemens, and was produced in West Germany in the 60s and 70s.

Siemens is the parent company of the former Telefunken company and is now a multinational conglomerate, so it would be a good idea to take a look if you are interested in the history of equipment.

​This Sitral-295 plug-in consists of a total of 3 modules and is composed of Discrete Class A. Surfing the web, I heard that you can think of German-style Pultec or Neve. There is also a story behind the fact that many of Neve’s devices originated from the Sitral console’s schematics.

Some say that it seems that Rupert Neve copied the Sitral console’s U273 limiter circuit diagram and created the Neve 2254.

The Signal Flow of the Sitral-295 plugin is as shown in the photo above.

Excluding the three switches, Range, Charakter (German), and Auto Gain, you can think of it as simply moving from the left to the right of the plug-in. Each function will be explained in the description of the module below.

  • Visualizer

A Visualizer is literally just an analyzer. It shows the EQ curve adjusted by LR or MS, and shows the audio frequency currently being played.

Analog device clone EQ plug-ins often do not have this function, so it is a bit inconvenient when using them for the first time, but Arturia seems to have done a good job keeping this convenience in mind.

  • Saturation
Harmonic Distortion of Original Charakter
Frequency Response of Original Charakter

Sitral-295 is an EQ that adds saturation by default even if you select nothing. Even with all EQ and filters turned off, high cut is applied from about 14kHz and low cut is applied from 10 to 20Hz.

Harmonic Distortion of Alternativ Charakter
Frequency Response of Alternativ Charakter

If you change the Charakter from Original to Alternativ, the nuance of the cut will change slightly, and the second overtone will rise slightly.

  • Module 1, 2

Out of a total of 3 modules, 2 modules have the same configuration and are responsible for Left and Right respectively. These two modules consist of Filters on both sides and three EQs in the center.

The slope of the filter is not separately written, but I measured it with Plugin Doctor and it seems to be around 8~9dB/Oct. Actually, these types of double EQs are used for a saturation feeling rather than a surgical feeling, so the slope value doesn’t seem to be particularly important, but it would have been better if it had been written down..^^

For the remaining EQs, the Q value cannot be adjusted, and the low range can be adjusted to a fixed dB of 50, 100, and 300Hz, the midrange to 300~8000Hz, and the high range to a fixed dB of 5, 10, and 30kHz.

When I used it myself, it felt brighter in the mid-range than the UAD Neve 1073, and the mid-low range was somewhat similar to that of the UAD Pultec, but the mid-high range felt very different. I think you can just think of it as a new Saturation EQ.

​When I just turn it on in the sibilance band by default, it sticks out with a sharp feeling that I don’t like, so it’s a bit burdensome, but I think it’ll be fine if you just organize that band well. Or, I don’t think it would be a bad idea to just set it as default to friends who lack the 3~5kHz band.

  • Module 3

The third module has switches. M/S is a button that changes to Mid/Side, Auto Gain is a button that makes the amount of input gain and output gain the same, and the chain shape below is a link button that links L, R or M, S.

You can think of Range as similar to the Mix knob. At diamond shape, EQ and Filter are not applied at all, and at 1, they are applied at 100%. 0.5 applies only to 50%.

As mentioned above, Charakter is a switch that slightly changes the basic Frequency Response and Harmonic Distortion.

  • EQ Sitral-295 overall review

I think the Saturation EQ leaves something to be desired in the mid to high range. Of course, you can adjust it, but in fact, it is quite annoying to adjust it..^^;;

Still, Sitral-295 definitely has character, so I think I’ll use it someday.

I created a sample track in the order of the original track – Arturia EQ Sitral-295 – UAD Neve 1073 – UAD EQP-1A, so if you are curious, you can give it a listen.

What is this blog for?

Hello music lovers!
My name is Jooyoung Kim and I’m mixing/mastering engineer & singer-songwriter.
I’m thrilled to announce the launch of the English version of my music production blog!

I’ve been running a Korean blog for a while now, sharing my passion for music production with a dedicated audience. As my passion for music has grown, so has my desire to connect with music enthusiasts worldwide. With this English version, I’m excited to embark on a new journey of sharing my knowledge, experiences, and insights with a global community of music lovers.

To kick things off, I’ll be translating some of my most popular Korean blog posts into English. This way, you can get a taste of the content I’ve been creating and the topics that resonate with my Korean readership. As I settle into this new space, I’ll also be crafting fresh content specifically tailored for my English-speaking audience.

Whether you’re a seasoned producer or just starting to explore the world of music creation, I hope my blog will be a valuable resource for you. I’m committed to providing in-depth tutorials, sharing industry tips and tricks, and delving into the creative process behind music production.

I’m excited to connect with you all and embark on this musical adventure together! Feel free to leave comments, share your thoughts, and let me know what topics you’d like to see covered in the future.

Happy music making!

-Jooyoung Kim