Basics of Mixing – 7.1 What is Delay?

Hello! This is Jooyoung Kim, an mixing engineer and music producer. Today, I want to delve into the time effect known as delay.

Shall we get started?

So, what exactly is delay?

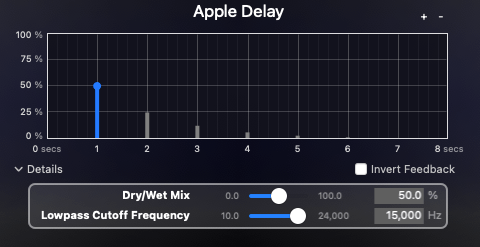
It’s simple, really. Delay is an effect that repeats the same sound with a time difference.

Why would we use this effect, though? There are several reasons, which can be summarized as follows:

  1. Using only reverb can sometimes create unnatural reverb tails.
  2. The feedback feature allows for the creation of very long reverb tails.
  3. It can add an artificial groove to a source.
  4. Special delay effects can be applied to instruments (especially common with electric guitars, and can also be used with short delays).

Effectively using delay can create a rich and natural reverb. If you’ve only been using reverb to add space to your mix, try incorporating delay as well.

I personally favor UAD’s Precision Delay because it lets you set the delay time in seconds rather than adjusting it via feedback. By setting the delay time similarly to RT60, which I’ll discuss in the reverb section, the sound can fade naturally.

Using a delay plugin to set the pre-delay instead of the reverb plugin’s pre-delay can also be effective. Especially if the reverb plugin doesn’t allow synchronization of the pre-delay time with the BPM, you can achieve a precise pre-delay using a delay plugin that does.

Setting a very short delay with minimal feedback and then filtering out high and low frequencies, while adjusting the volume, can create a subtle groove that wasn’t originally show in the source. This can add a sticky, rhythmic feel to percussion, which is particularly useful in genres like R&B and hip-hop.

Using historical replica delays can also help recreate the vintage sound of old-school or retro music.

There are countless crucial aspects of mixing, but I believe that handling reverb effectively is one of the key factors that define the quality of a sound. However, this is an area that’s hard to explain solely with words. You really have to experiment with various delay and reverb plugins to grasp it fully. It’s a challenging aspect, even for me.

Today, we’ll wrap up with this brief overview of delay. See you in the next post!

Types and connections of patchbays, configuration of the system

This article was written on July 17, 2023. It is different from my current audio system, but I translated it and wrote it because I thought it would be helpful in planning the patch bay. Good luck!

Hello, I’m Jooyoung Kim, an engineer and music producer.

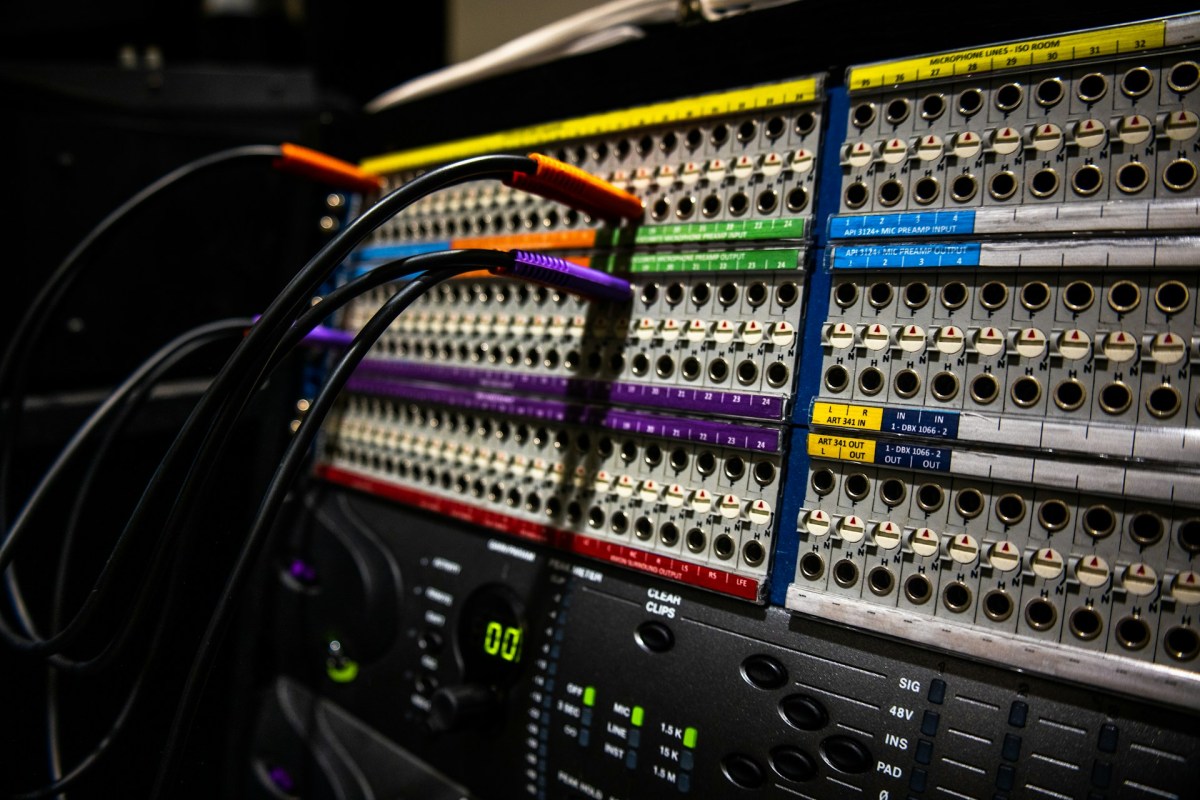
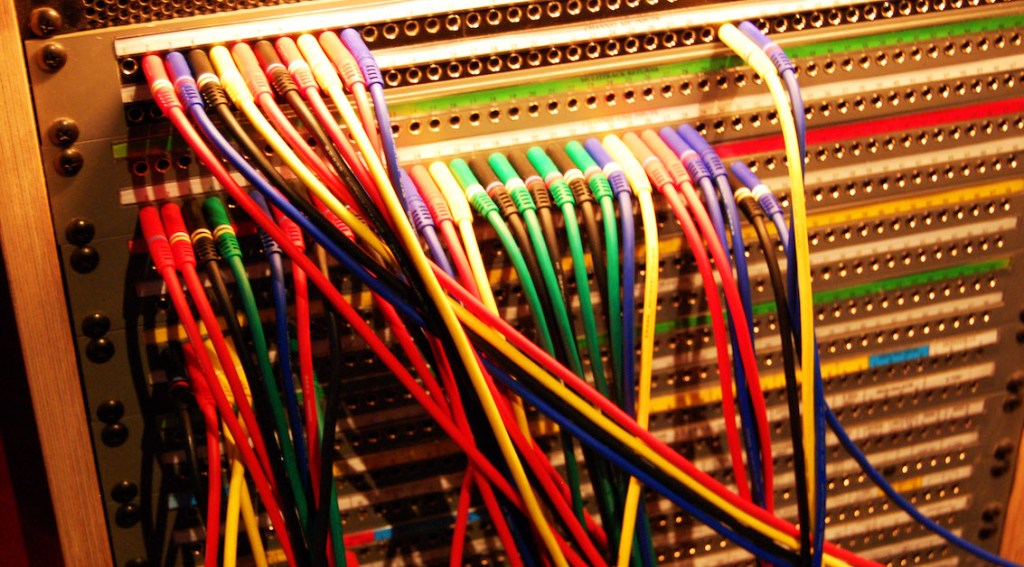
As musicians and engineers accumulate more hardware equipment, they often consider adding a patch bay to their setup. Today, I’d like to discuss patch bays and their usage. Let’s dive in!

Types of Patch Bays

There are various standards for patch bays, primarily categorized based on connector types:

  1. TRS
  2. XLR
  3. Bantam (TT)

You’re likely familiar with TRS and XLR connectors, but Bantam might be new to you. Due to its smaller size, Bantam connectors are commonly used in 1U patch bays, which can accommodate up to 96 holes.

However, TRS patch bays can have up to 48 holes and XLR patch bays can have up to 16 holes.

TRS and Bantam patch bays are further categorized based on internal connection methods:

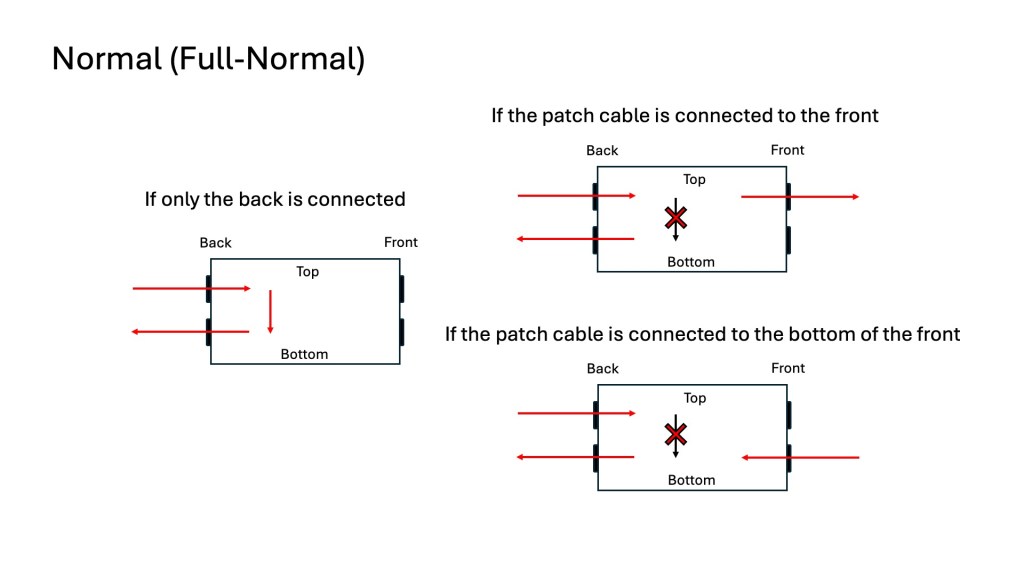
  1. Normal (Full-Normal)
  2. Half-Normal
  3. De-Normal (Non-Normal/Thru)

Once you understand these, it becomes straightforward:

Normal (Full-Normal): The rear signal is connected without plugging in a cable at the front. Plugging in a front cable disconnects the rear connection.

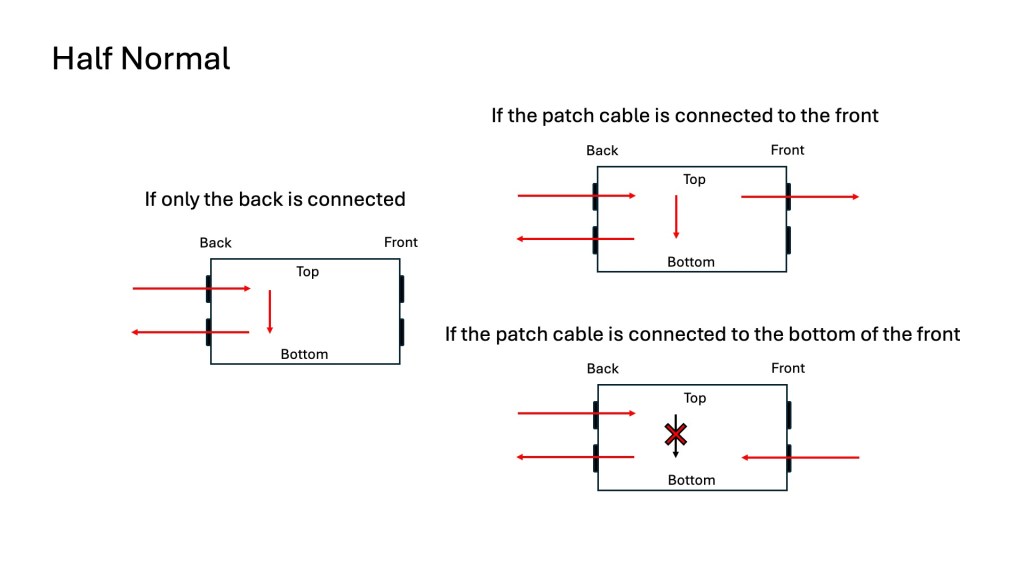
Half-Normal: Like Full-Normal, but plugging in a front cable splits the signal for parallel processing.

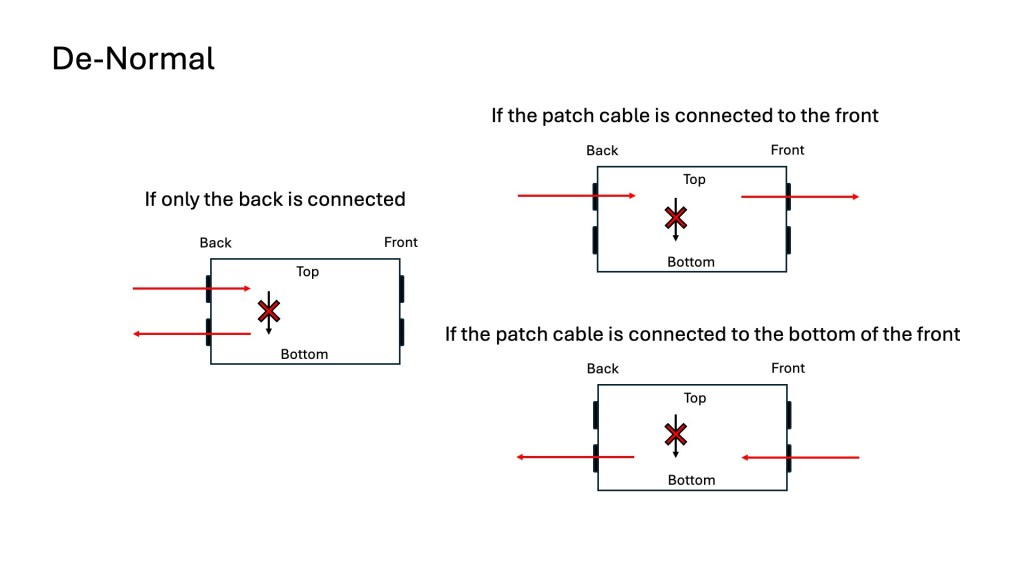
De-Normal (Non-Normal/Thru): I opted for a patch bay that supports all three modes, even though I primarily use Full-Normal.

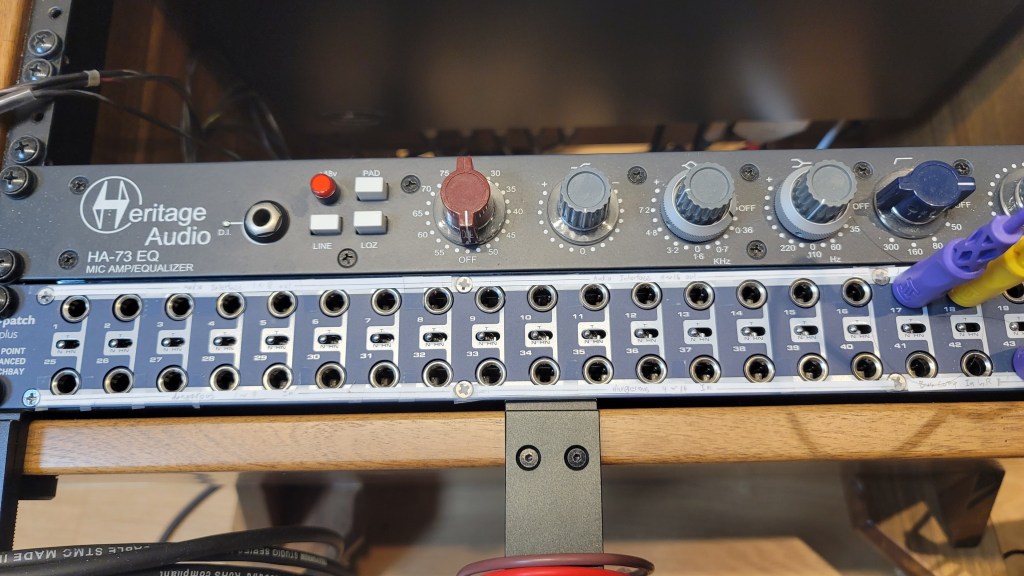
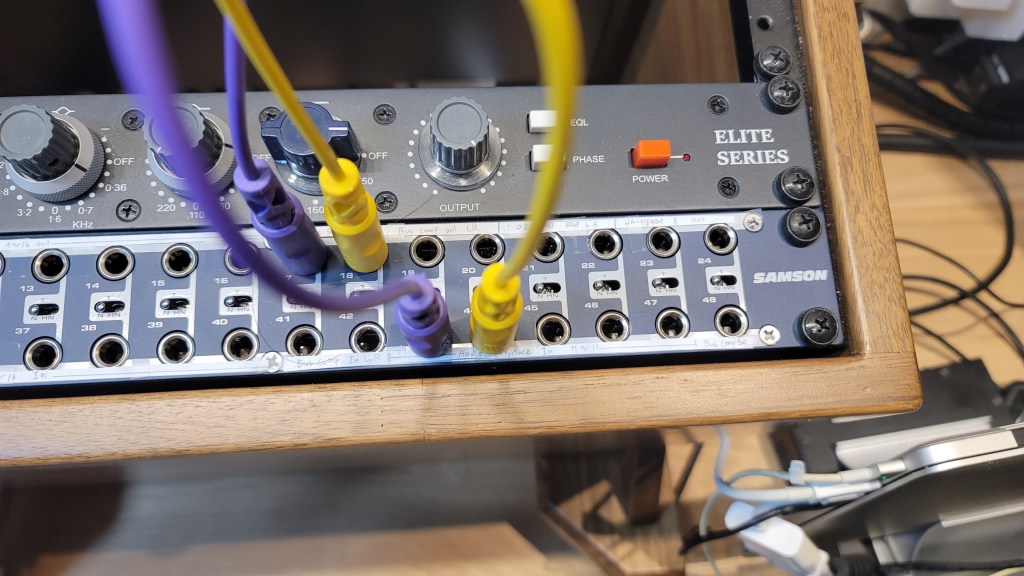
I bought Samson S-Patch: It supports all three modes, but labeling can be tricky due to the narrow spacing.

Configuring Your Patch Bay

Knowing the types of patch bays, the next step is planning your setup. Begin by listing the In/Out of your equipment. Here’s an example with my gear:

EquipmentInOut
Orion Studio Synergy Core12Line Out 16 /
Monitor Out 4
Dangerous 2Bus16Main Out 2 /
Monitor Out 2
Heritage Audio HA73EQ
(Mic Pre)
0 (Mic In not considered)1
OZ design OZ-2200
(Mic Pre)
0 (Mic In not considered)2
Bus CompressorLine In 2 / Side Chain 12

Prioritize your connections:

  • Out on top, In on the bottom for signal flow from top to bottom in Full and Half-Normal patch bays.
  • Begin with the equipment with the most Ins and Outs.

Although there are some limitations, like not fully utilizing some of Antelope’s Ins and the mic preamps’ Line Ins, this setup is efficient without wasting patch bay channels. For mic preamp Line Ins, external cable connections can be made as needed.

And label your patch bay accurately. You can find companies that print labels, but they may charge high shipping fees. Alternatively, you can cut paper strips for labeling.

I purchased an 8-pack TRS patch cable bundle from Hosa, available at an affordable price on Amazon.

With this setup, your patch bay-based system configuration is complete. While my setup focuses on mixing hardware, those using hardware synthesizers can also benefit from a patch bay to enhance their workflow and creativity.

I hope this information is helpful to all music enthusiasts. See you in the next post!

Basics of Mixing – 6.7 Limiters and Clipping

Hello, I’m Jooyoung Kim, an engineer and music producer.

We’ve discussed various processors that control dynamics. Today, let’s talk about limiters and clipping.

Let’s dive right in!

Limiters

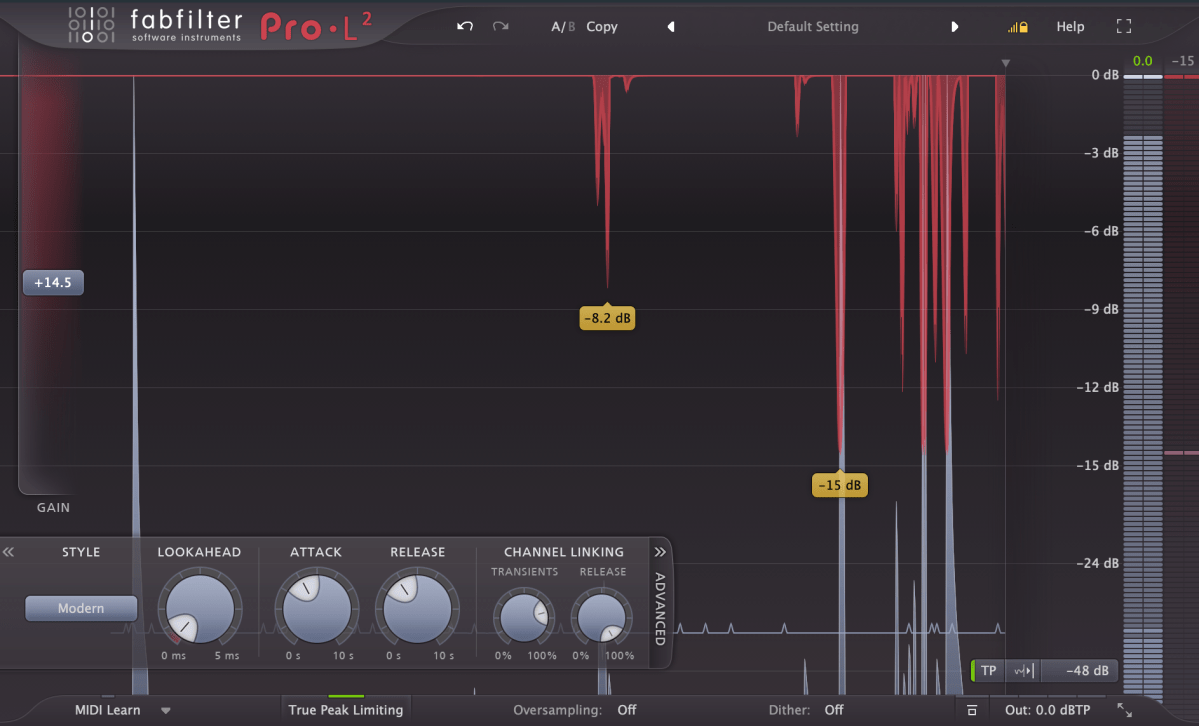
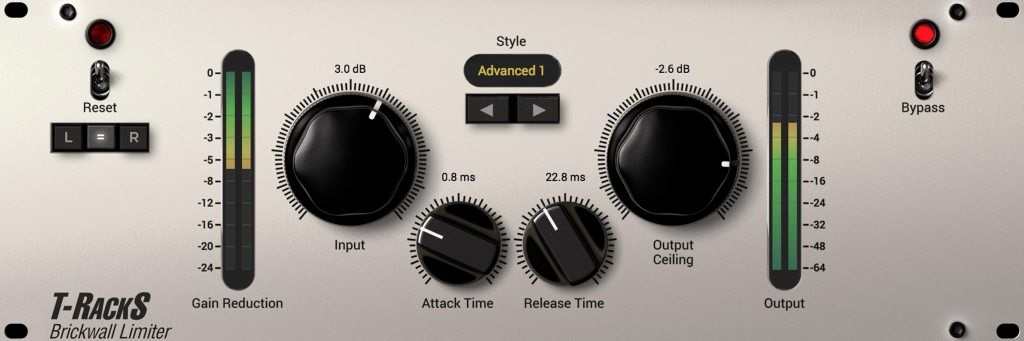
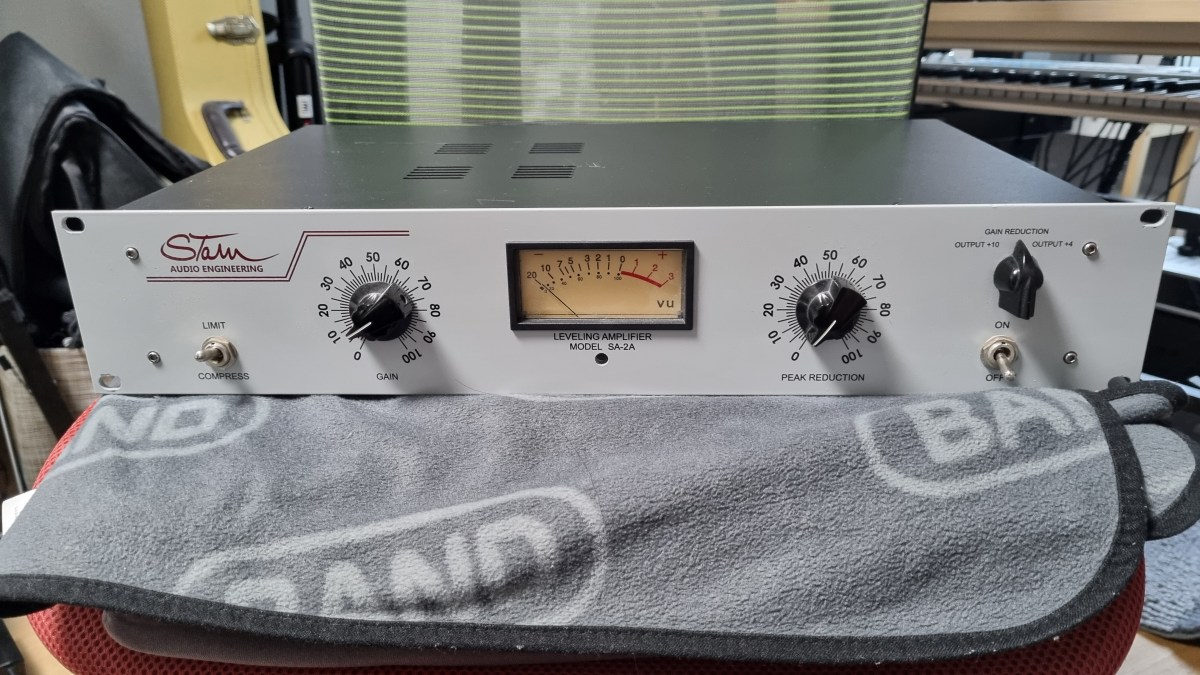
A limiter is a type of compressor. Generally, when the ratio exceeds 10:1, we call it a limiter. When it reaches ∞:1, it’s often referred to as a brickwall limiter.

Limiters are processors that aggressively compress sound to prevent it from exceeding a certain volume level. A simple example of this would be guitar effects like distortion or overdrive, which are types of limiters. In mastering, limiters are used at the final stage to ensure the volume doesn’t exceed a certain level.

Any limiter, when viewed on a waveform, shows the top and bottom parts being cut off. This truncation introduces strong harmonic distortion, known as clipping, which we can perceive as a distorted sound.

Distortion-type limiters result in noticeable clipping, producing a heavily distorted sound. To minimize such distortion, some compressors/limiters include a feature called soft clipping.

Clipping / Soft Clipping

Elysia Alpha Compressor with Soft Clipping Function

Soft clipping gently smooths out the sharp edges of clipping. When a sine wave undergoes limiting with soft clipping, the result is a waveform that doesn’t have the abrupt cuts seen in regular clipping.

While soft clipping still introduces distortion, the sound is smoother compared to hard clipping. Using limiters or soft clipping helps to increase the overall loudness of a track. The reason for boosting volume is that people tend to perceive louder music as higher quality. However, equal LUFS (Loudness Units relative to Full Scale) values do not always mean the perceived volume is the same. For example, in vocal music, if the vocals are prominent, the music may seem louder even with similar LUFS values.

Even if you’re not mastering your own tracks, considering these aspects during mixing can help you create better productions.

Next time, I’ll explore reverb effects like delay. See you then!

Basics of Mixing – 6.6 De-Essers and Multiband Compressors

Hello, I’m Jooyoung Kim, an engineer and music producer.

Today, we’ll delve into two subtypes of compressors: De-Essers and Multiband Compressors.

Let’s get started!

De-Essers

A De-Esser is a type of compressor that reduces “ess” sounds, also known as sibilance. Waves even has a De-Esser named “Sibilance” specifically for this purpose.

Sibilance typically falls between 3kHz and 10kHz. A De-Esser works by activating the compressor when the sound in this specific range exceeds a certain threshold. Unlike using an EQ, which reduces the selected frequency range across the entire source, a De-Esser targets only the problem area. You can think of it as a single-band compressor.

De-Essers are not only useful for reducing vocal sibilance but also for taming harsh high frequencies in acoustic guitar strums and other similar sounds.

For instance, the Oxford SuprEsser by Sonnox offers a wide range of frequencies to adjust, making it versatile for various applications beyond its primary function of reducing high frequencies.

Multiband Compressors

A Multiband Compressor allows you to set different compression parameters for different frequency ranges. This is particularly useful when dealing with audio sources containing multiple instruments, which can be challenging to manage with a simple compressor.

For example, you might use a Multiband Compressor on a drum bus or to handle looped sources from platforms like Splice. It’s also commonly used in mastering.

Sidechain functionality in these compressors can add an interesting and effective dynamic to your tracks. For example, you can sidechain the low frequencies of other instruments to duck when the kick drum hits, or use it to carve out space for the vocal’s frequency range.

I’ll cover sidechain techniques more thoroughly in a future post, but mastering sidechain within dynamic plugins can significantly enhance the fun and effectiveness of your mixing. I’m not an expert yet, but I’m learning alongside you.

That’s all for today. See you in the next post!